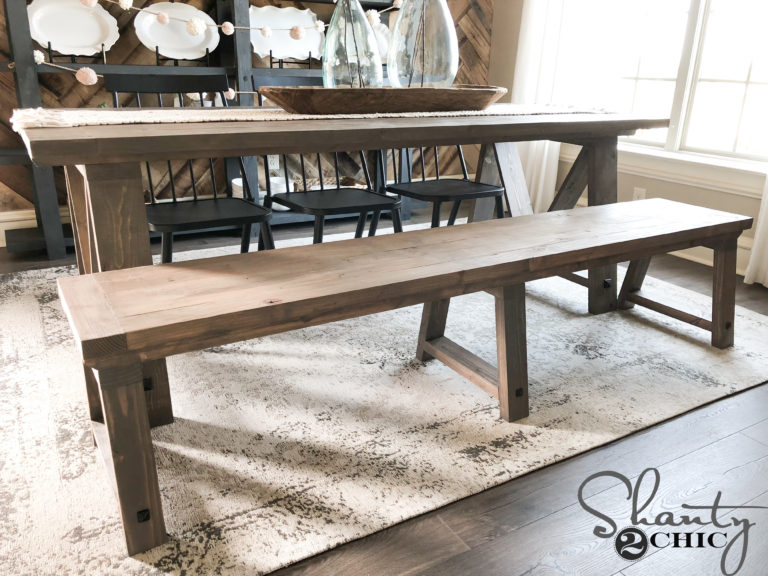
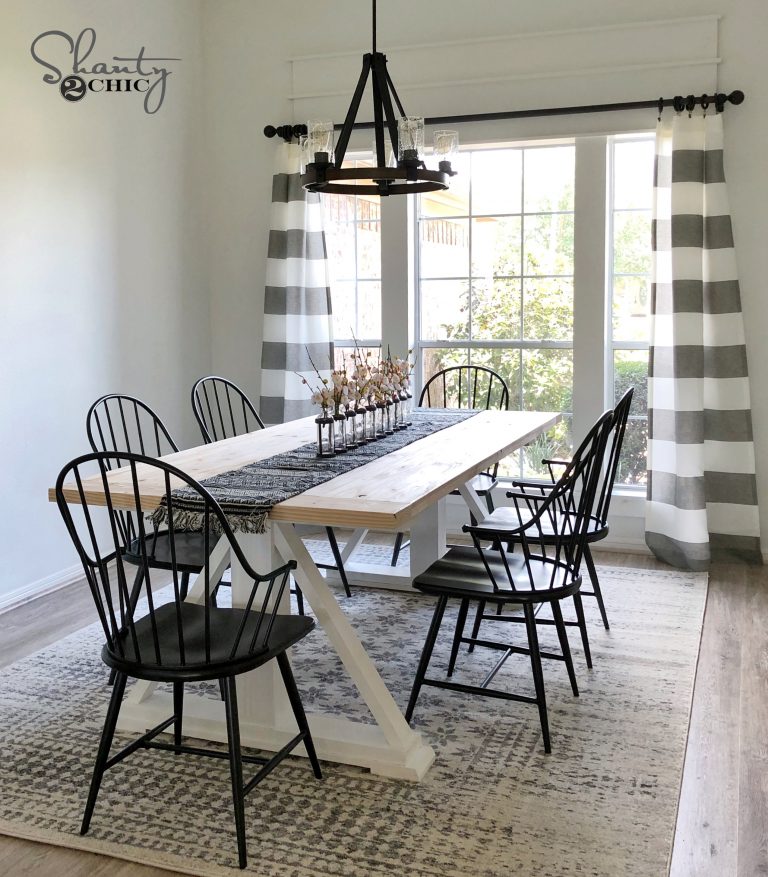
Learn how to build a DIY Bench with free plans, instructions and a how-to video! I love the dining table I designed for my sweet friend a few months back. She was a former speech therapist for my little guy for years, and now is a great family friend. We built her this beautiful X base DIY dining table, and she decided she wanted a coordinating dining bench for one side of the table. Before we get started, be sure to check out the DIY video tutorial below!
When designing this bench, I decided to keep the lines the same as the table but leave the X out. I think that keeps the focus on the beauty of the table base without looking too busy. You can download and print the free plans with cut list, dimensions and tutorial at the bottom of this blog post! I love how cute it turned out!

Table of Contents
Which wood should I use to build a bench?
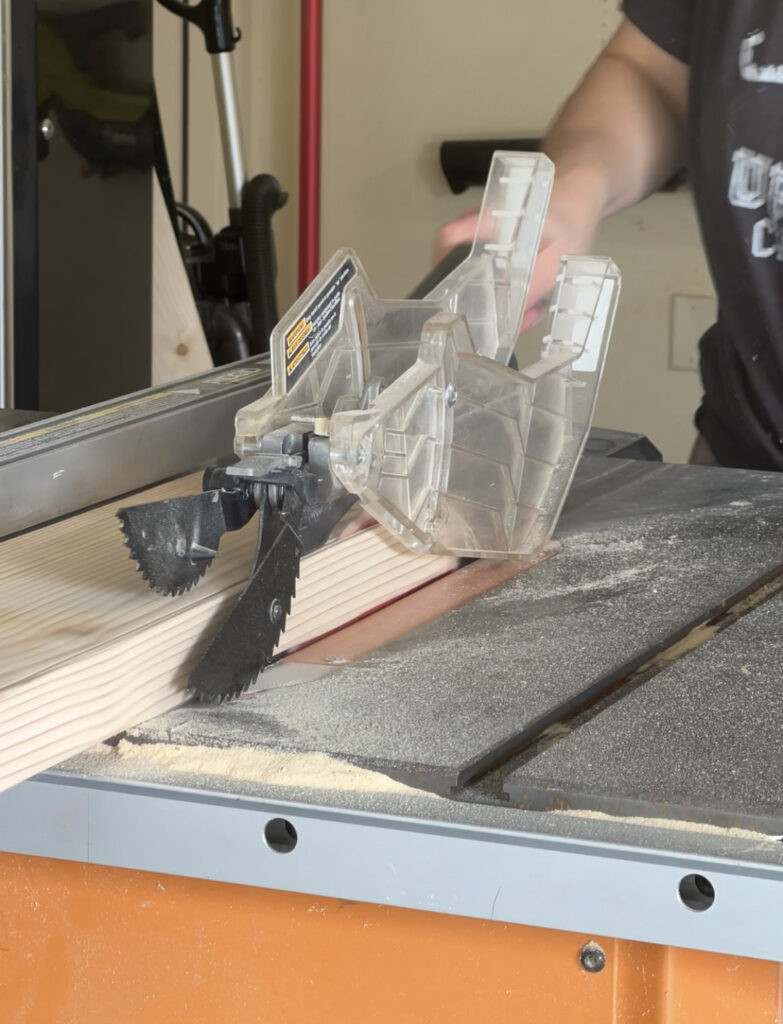
I chose to use 2 x 6 framing lumber for this bench. The price of these are down now and they are my favorite 2x board to build with! I ripped most of the pieces to 4″ wide and then the longer horizontal runners are ripped to 2 1/2″ wide. When using 2×6 boards, I like to make the cross cuts first and then run them through the table saw. That makes them smaller and easier to handle going through the table saw. This is totally a preference, just a tip I have learned along the way! You can check out our video on ripping 2x boards HERE.
Build the top of the bench
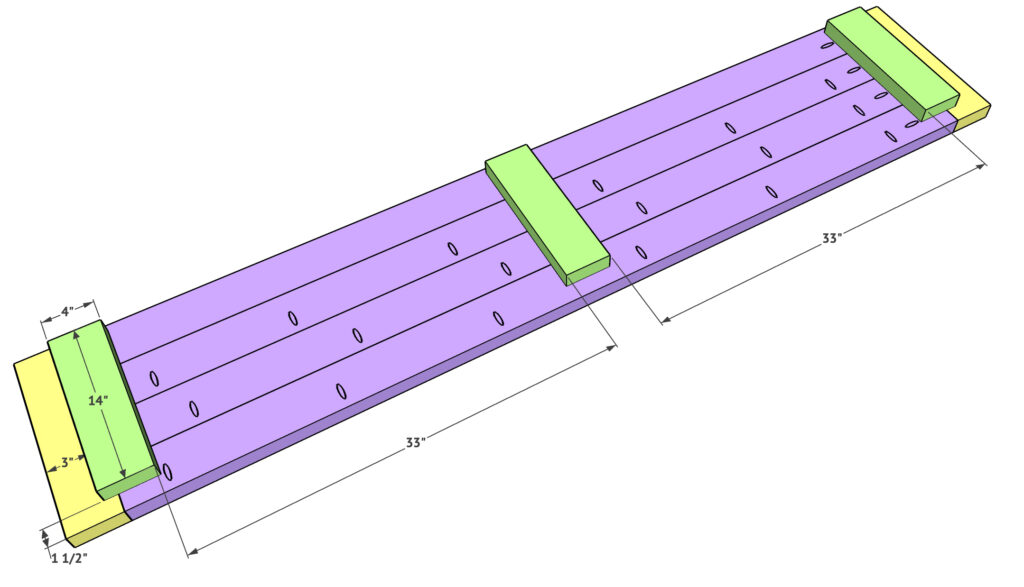
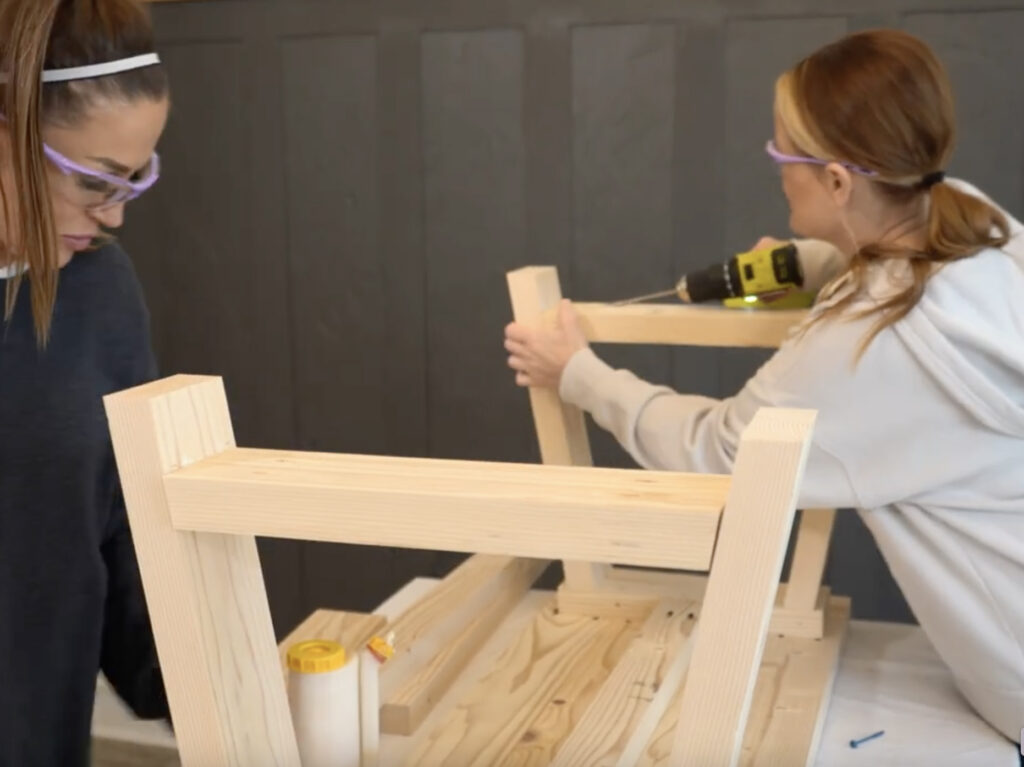
I chose to build this bench upside-down. It made assembly super easy! I used my Kreg Jig 720PRO to make all of my pocket holes for the bench. All of the pocket holes are 1.5″.
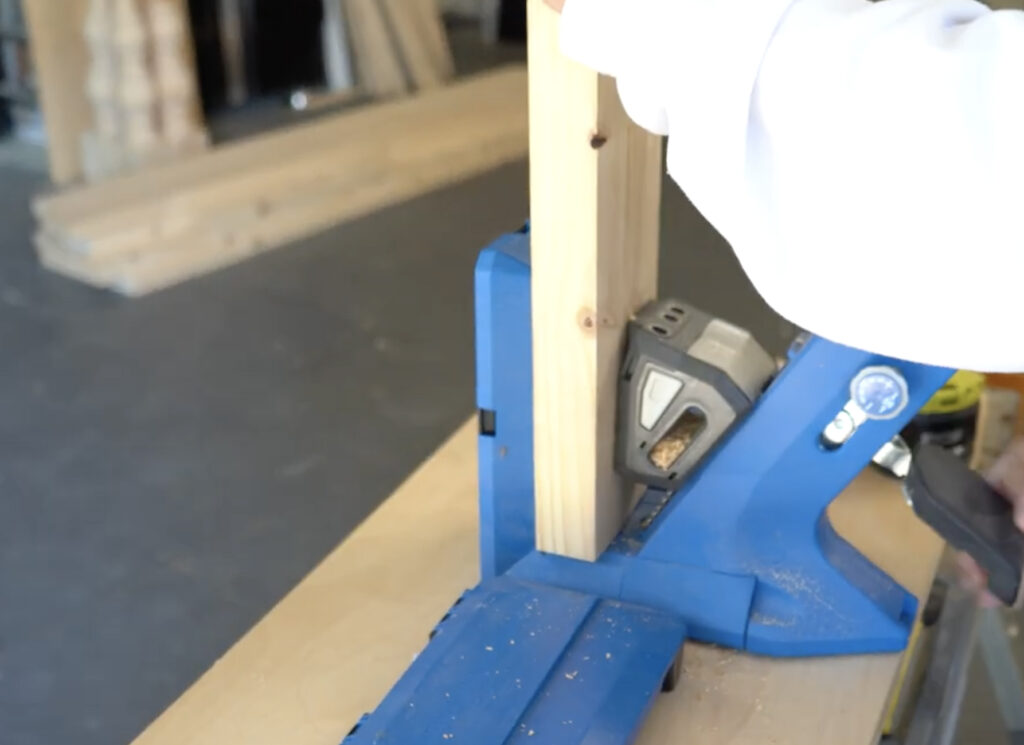
You can learn more about the Kreg Jig 720PRO and learn which model of Kreg Jig is best for you HERE in this post! We won’t ever build without a Kreg Jig again!
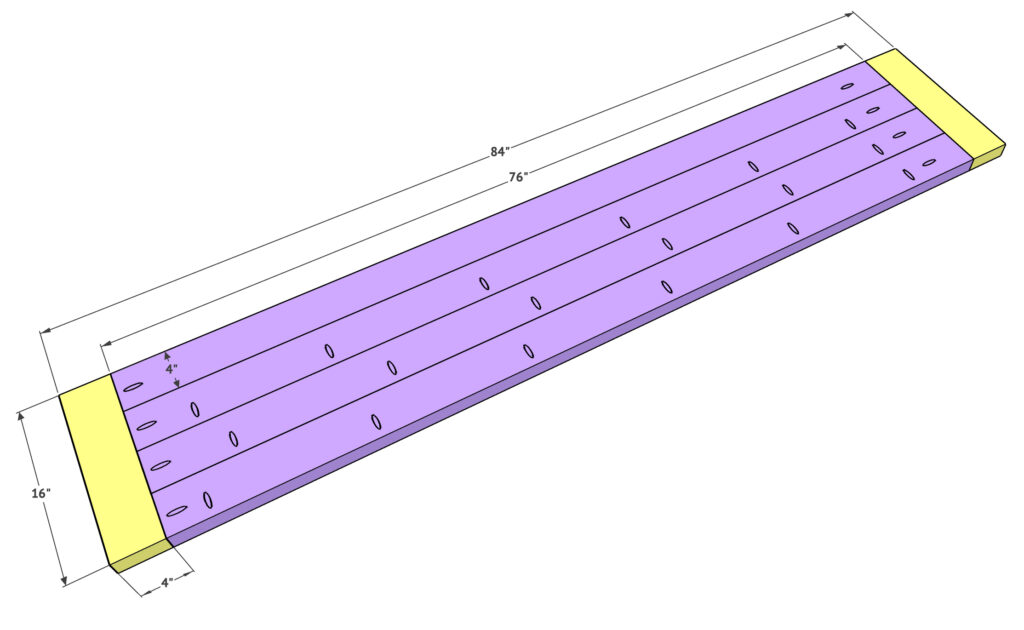
Add 1.5″ pocket holes down 3 of the 4 long plank boards and also on each end of all 4 boards. Attach the 4 boards together using your drill and 2.5″ pocket hole screws. You want the 4 boards to be flush on both ends.
We used our very favorite Kreg Face Clamps to help hold these boards while we attached them! You can find those HERE! Get 2! You will thank us.
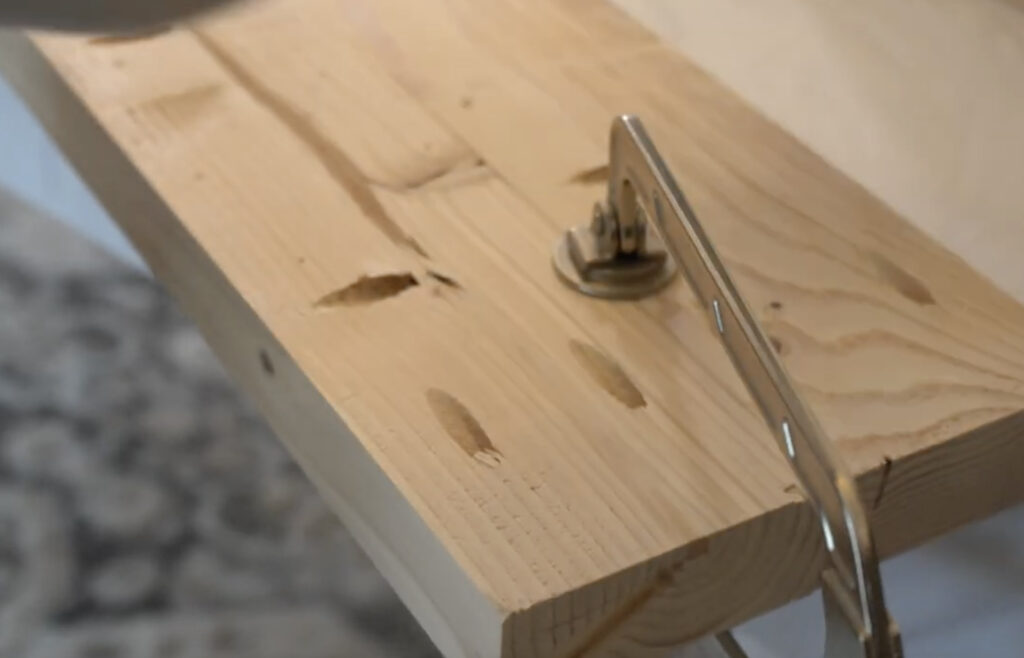
Attach the breadboards
Line the breadboards up with the sides of the planked boards and mark the cut. Use your miter saw to cut the piece to size and attach one board on each end using 2.5″ pocket holes through the pocket holes on the ends of the planks and into each breadboard.

Attach the top of the legs
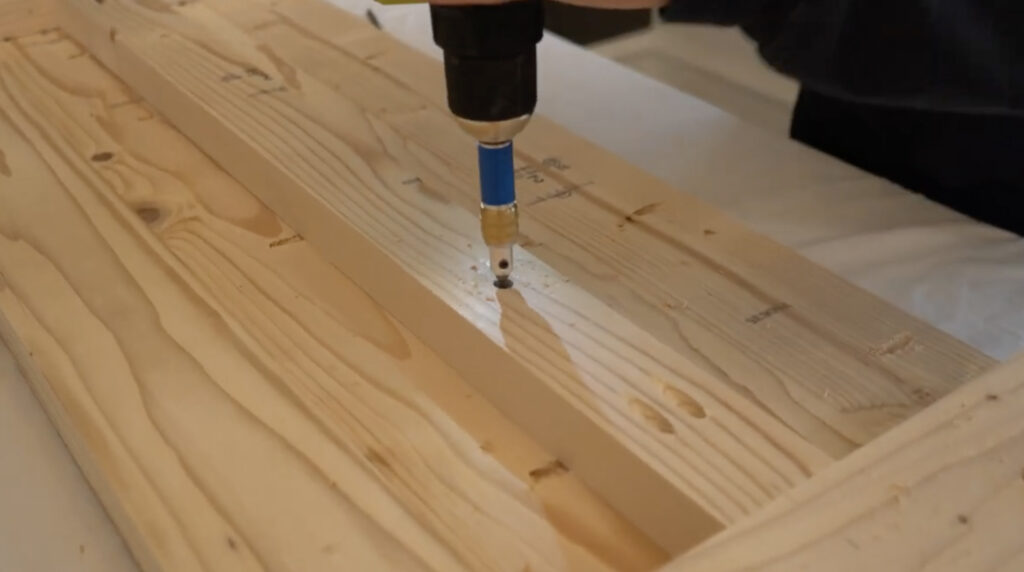
Next, attach the tops of the legs to the bottom side of the planked bench top. Note the placement in the plans. These are also ripped to 4″ wide each. Attach them using wood glue and 2.5″ wood screws through the piece and into the planked top.
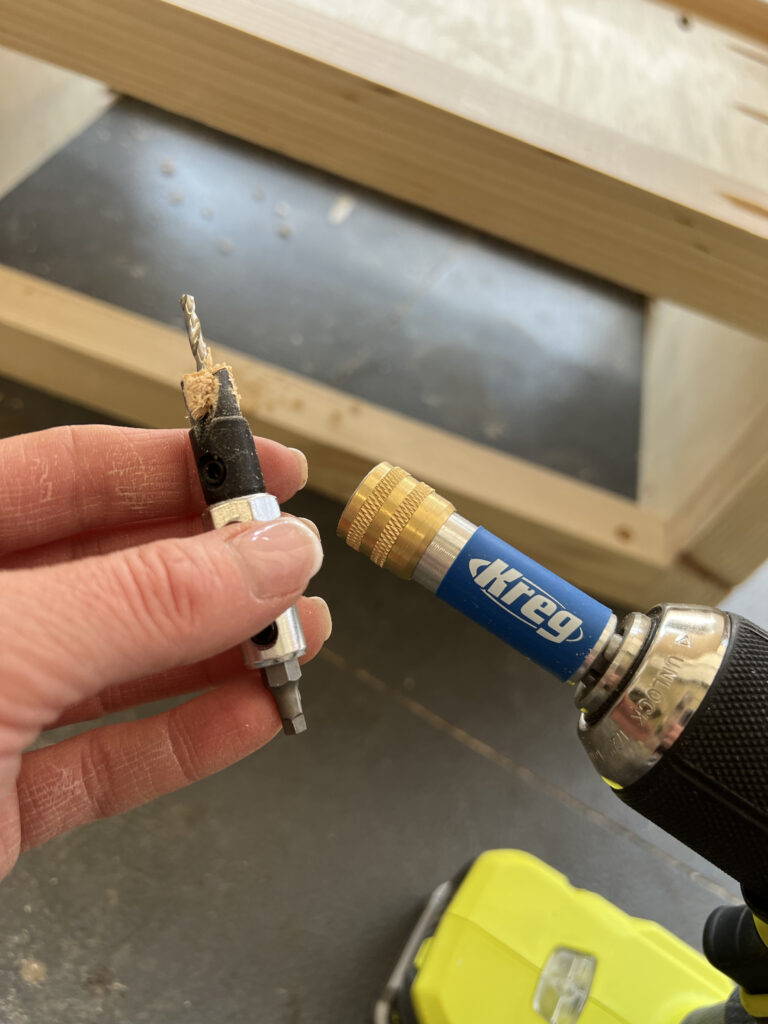
Kreg Quick-Flip
We used the Kreg Quick-Flip to quickly pre-drill the holes to attach these boards to the bench top. We LOVE our new Kreg Quick-Flip tools! I find myself using it for so many pre-drilling applications. You can find it HERE on Amazon!
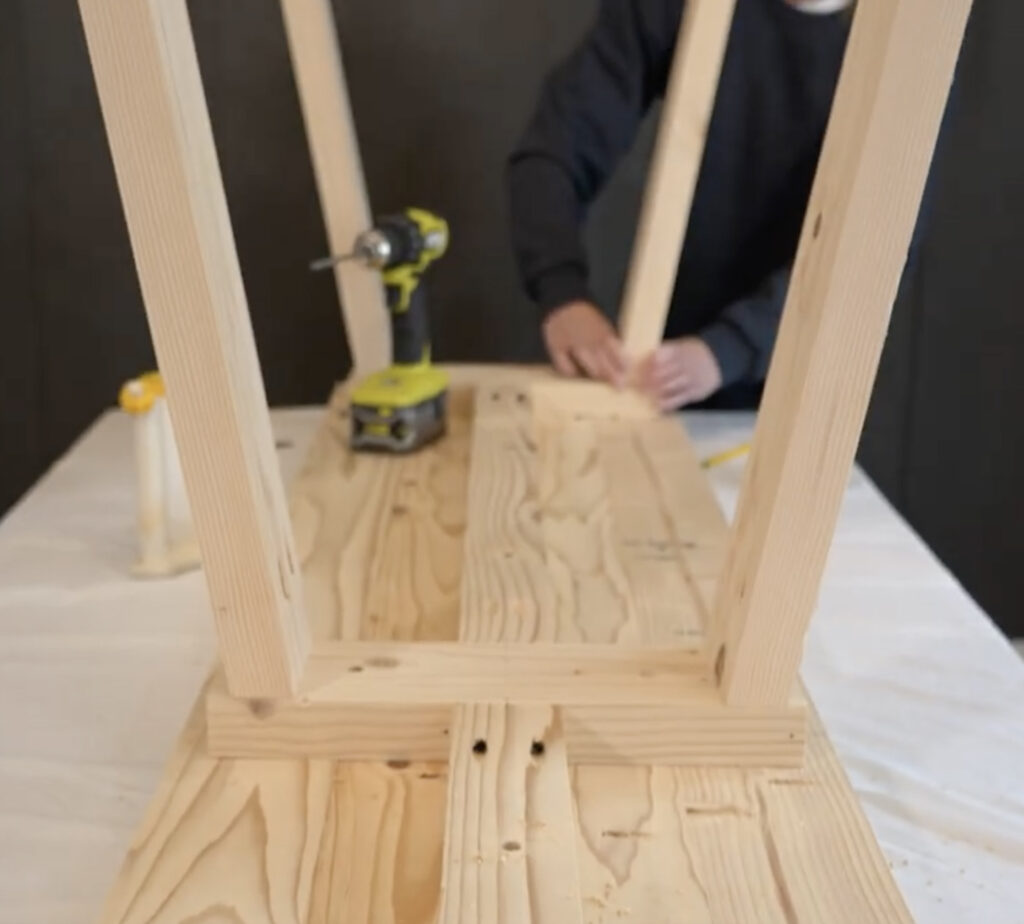
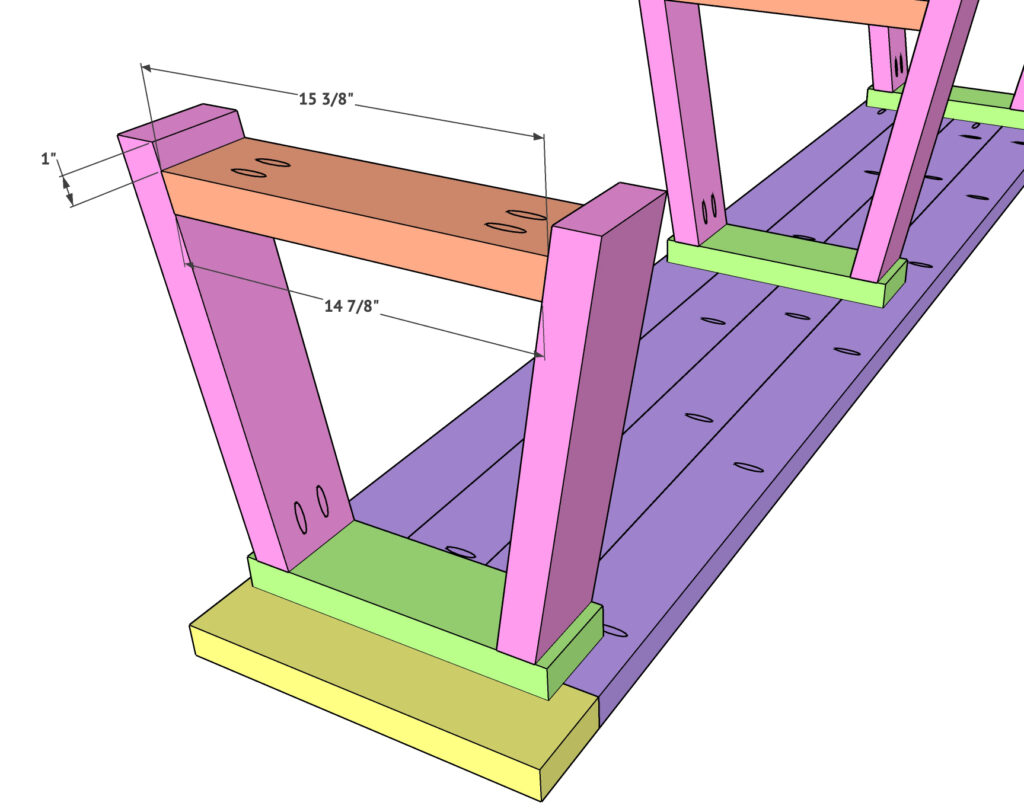
Attach the bench legs
Now attach the bench legs. These are also ripped to 4″ wide each and each end is cut at a 10˚ angle running parallel. Add 1.5″ pocket holes on the inside top of each leg board. Attach them to the top pieces you just attached to the plank top using wood glue and 2.5″ pocket hole screws. The legs will line up 1″ from the sides of the top boards.

Add the leg supports
Add the leg supports next. These are also ripped to 4″ wide each. They are cut at a 10˚ angle running opposite ways on each end. Add 1.5″ pocket holes on the bottom of the support boards and attach them to the legs using wood glue and 2.5″ pocket hole screws.
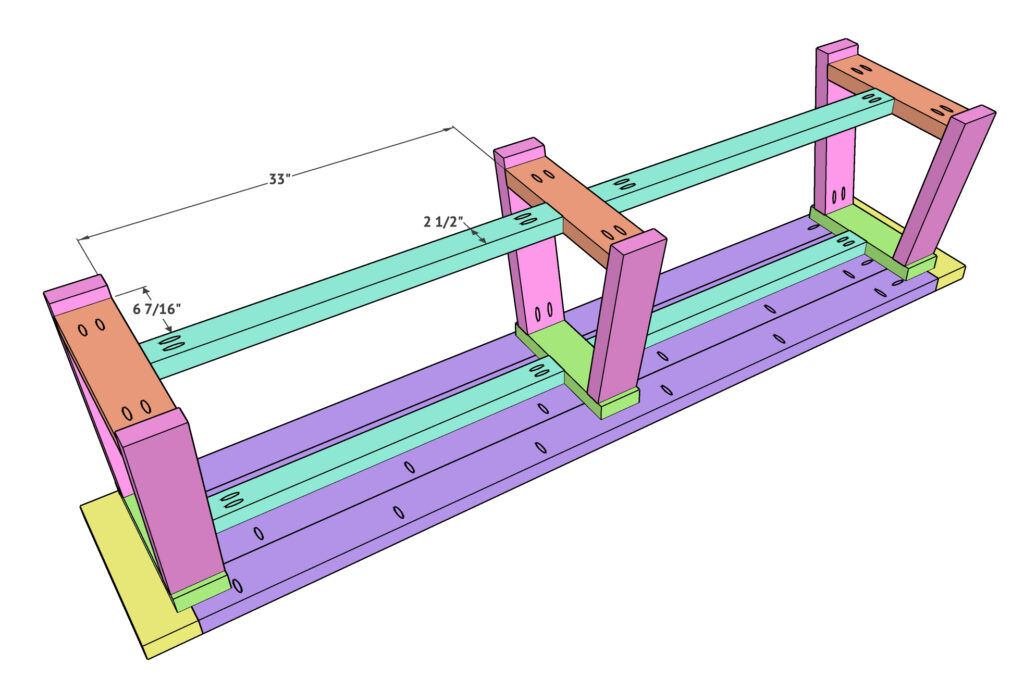
Attach the horizontal supports
The final step is adding the horizontal runners or support boards. These are the only boards that are ripped to 2.5″. Add 1.5″ pocket hole screws to the bottom and ends of each support board and attach them to each leg assembly with wood glue and 2.5″ pocket hole screws. The top boards will attach to the top of the leg assemblies and the bottom runners will attach to the leg supports.
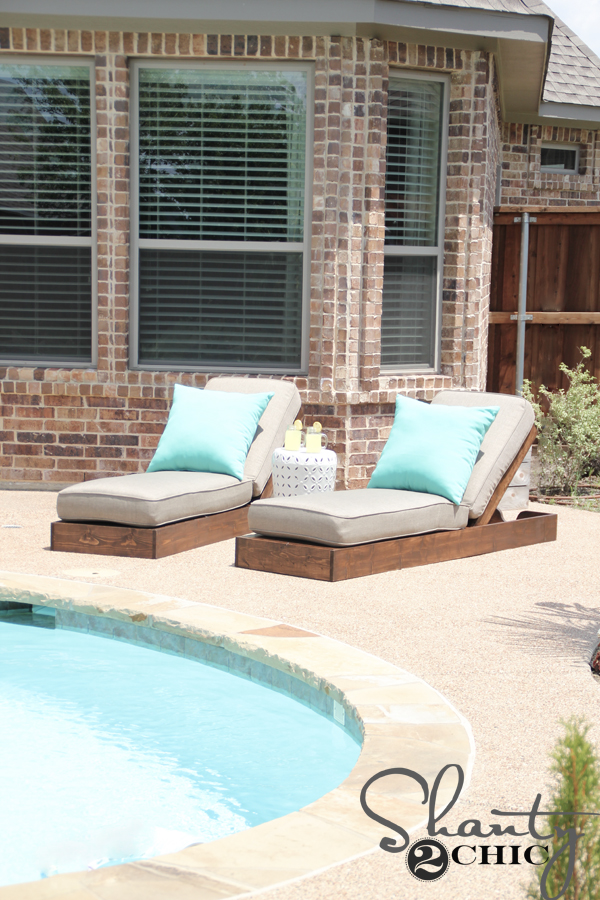
Finish the bench
The last step is finishing the bench! I matched this bench to the dining table I built for her. Before staining, I used my sander to sand over the entire piece with medium grit sandpaper, and then followed up by sanding with a fine grit. I used Varathane Dark Walnut wood stain for the finish. I applied the stain with a staining pad going with the grain. I added a coat of polyurethane over that to protect the finish.

Free Printable Woodworking Plans!
Download and print the free plans for this DIY Bench by clicking HERE!
Check out these other dining room benches and other plans!


This dining bench build is really well done—simple, sturdy, and very practical for everyday use. Projects like this highlight how important accurate joinery and the right choice of materials are for long-term stability. Using well-engineered boards like quality plywood can help maintain strength while keeping the structure consistent over time. We’ve come across useful material insights on platforms like https://plywoodbazar.com/
for similar furniture and interior applications. Great tutorial and very usable design!
This dining bench build is a great example of how simple woodworking techniques can produce highly functional furniture. The clean lines and sturdy construction make it a versatile piece that can work well with different dining table styles. The step-by-step plans also make the project approachable for anyone interested in building their own seating solutions.
From an interior industry perspective, dining benches are becoming increasingly popular in residential and hospitality interiors because they maximize seating while keeping the layout visually open. Well-crafted wooden benches like this highlight how thoughtful material use and strong joinery can create durable furniture pieces that stand the test of time. We’ve also been following similar furniture and material trends across the interior industry here: https://plywoodbazar.com/
The Driving Directions service is an online mapping application that provides users with the ability to travel the world with ease. This navigation service has the potential to revolutionize the way you travel by directing you from point A to point B in a manner that is both precise and effortless. In a world filled with a plethora of opportunities, driving-directions.io acts as a reliable companion for you to have as you move around and discover new places. The navigation capabilities, which include turn-by-turn directions, real-time traffic updates, multi-stop planning, and other features, can help you navigate the maze of roads in a short amount of time!
Are you prepared to play the game BitLife – Life Simulator and experience an interesting virtual life? Before your life is over, start your life over and make the right choices little by little, year by year, until you eventually become a model citizen.