Hey guys! I finished the girls’ bed skirts a couple days ago and thought I would share how I did them.
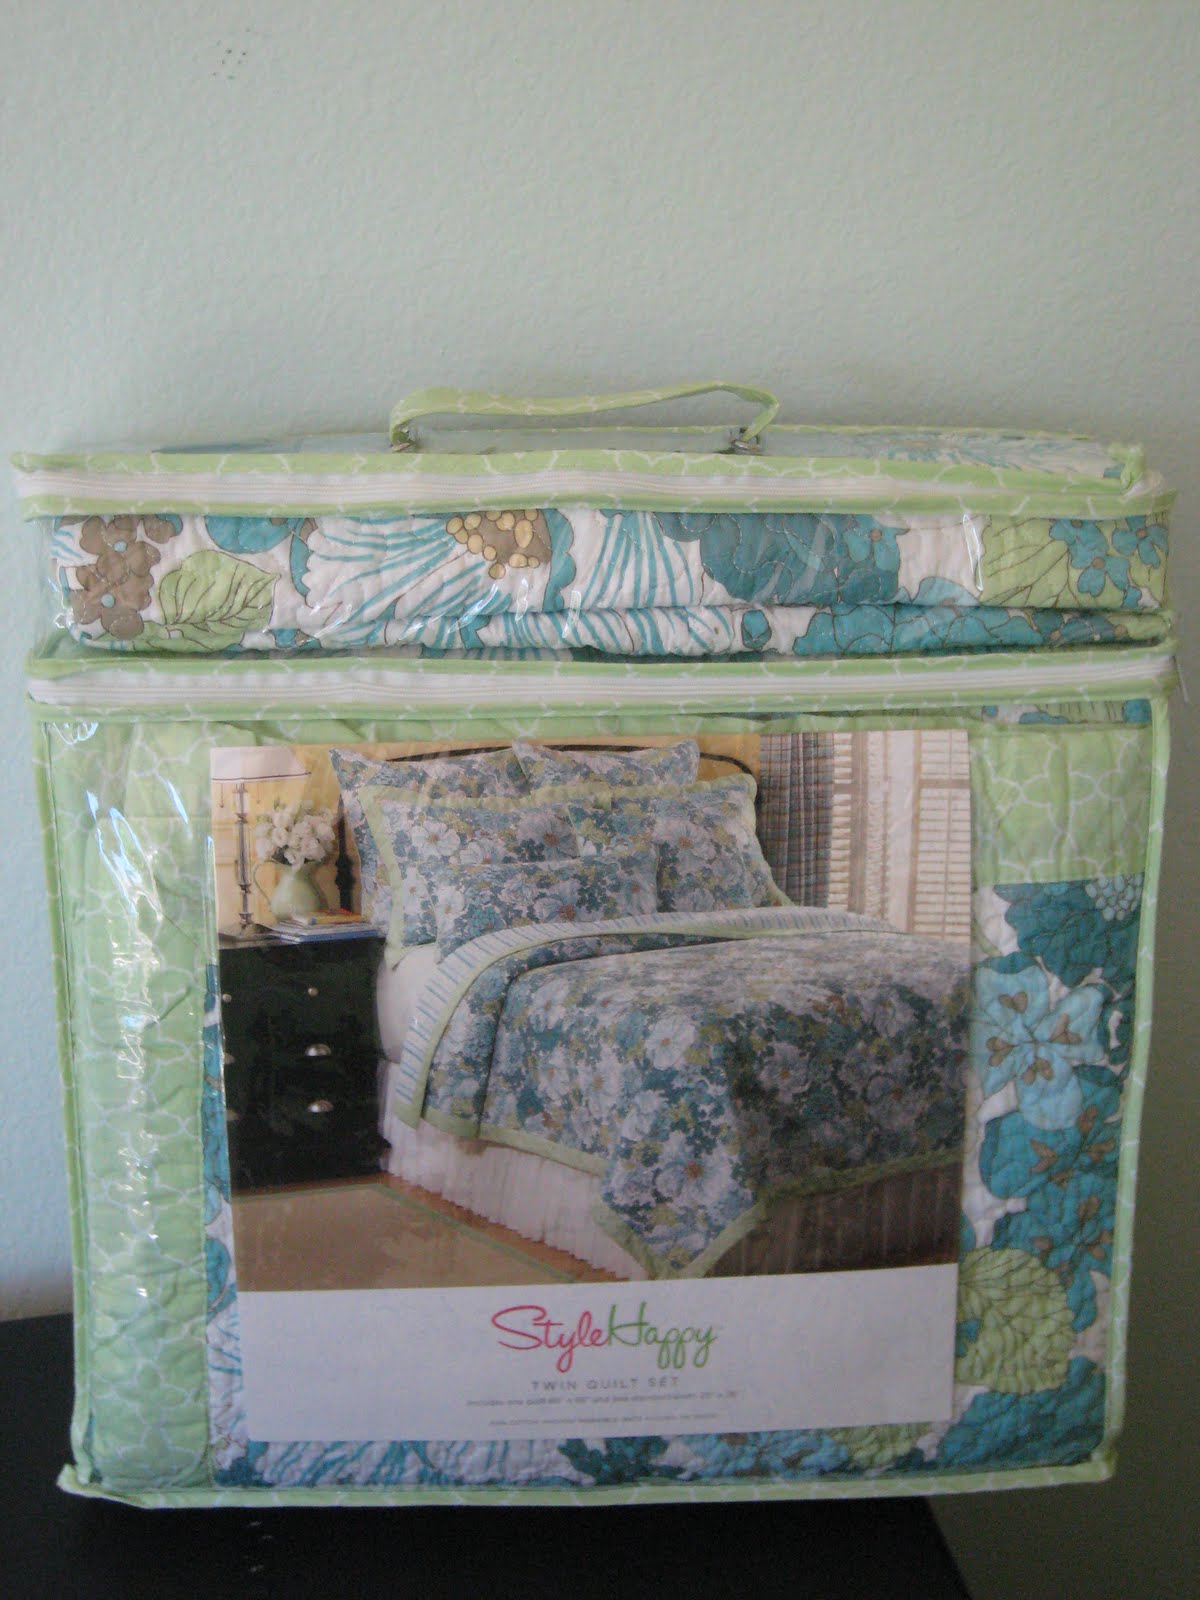
Here are the thrifty but oh so cute quilts I found at Home Goods…
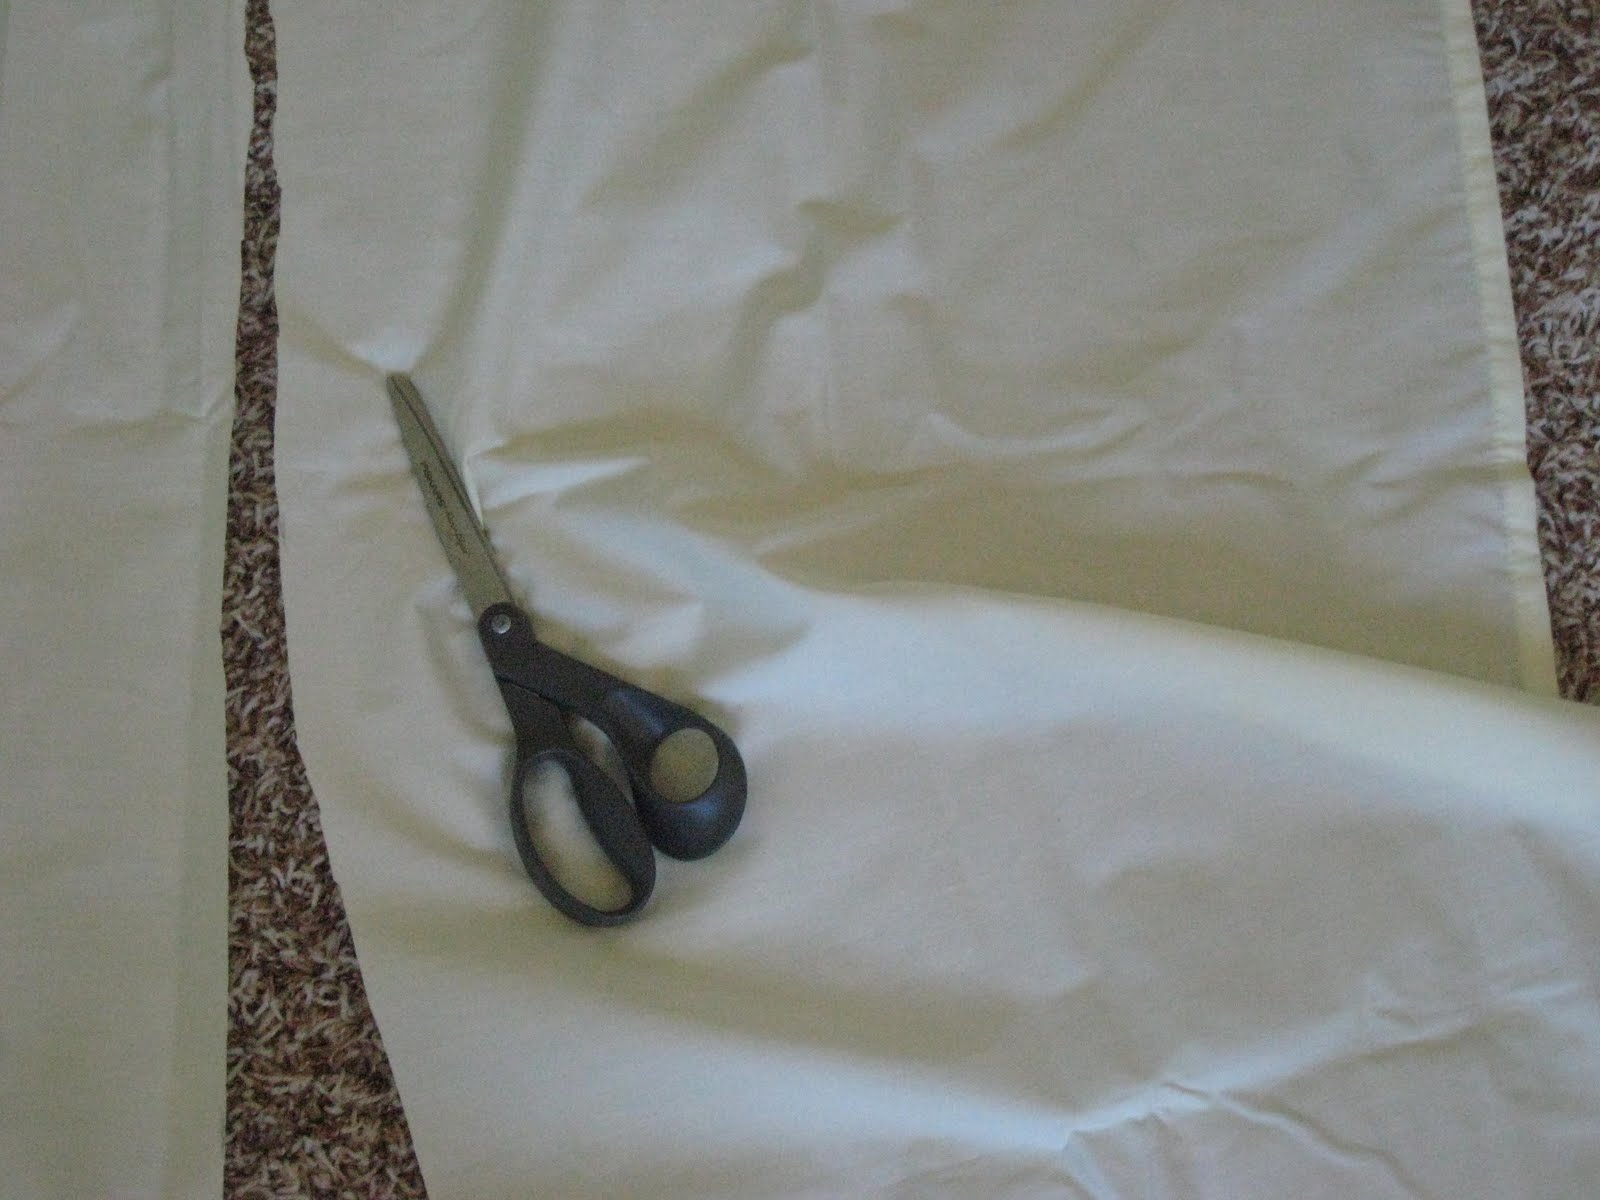
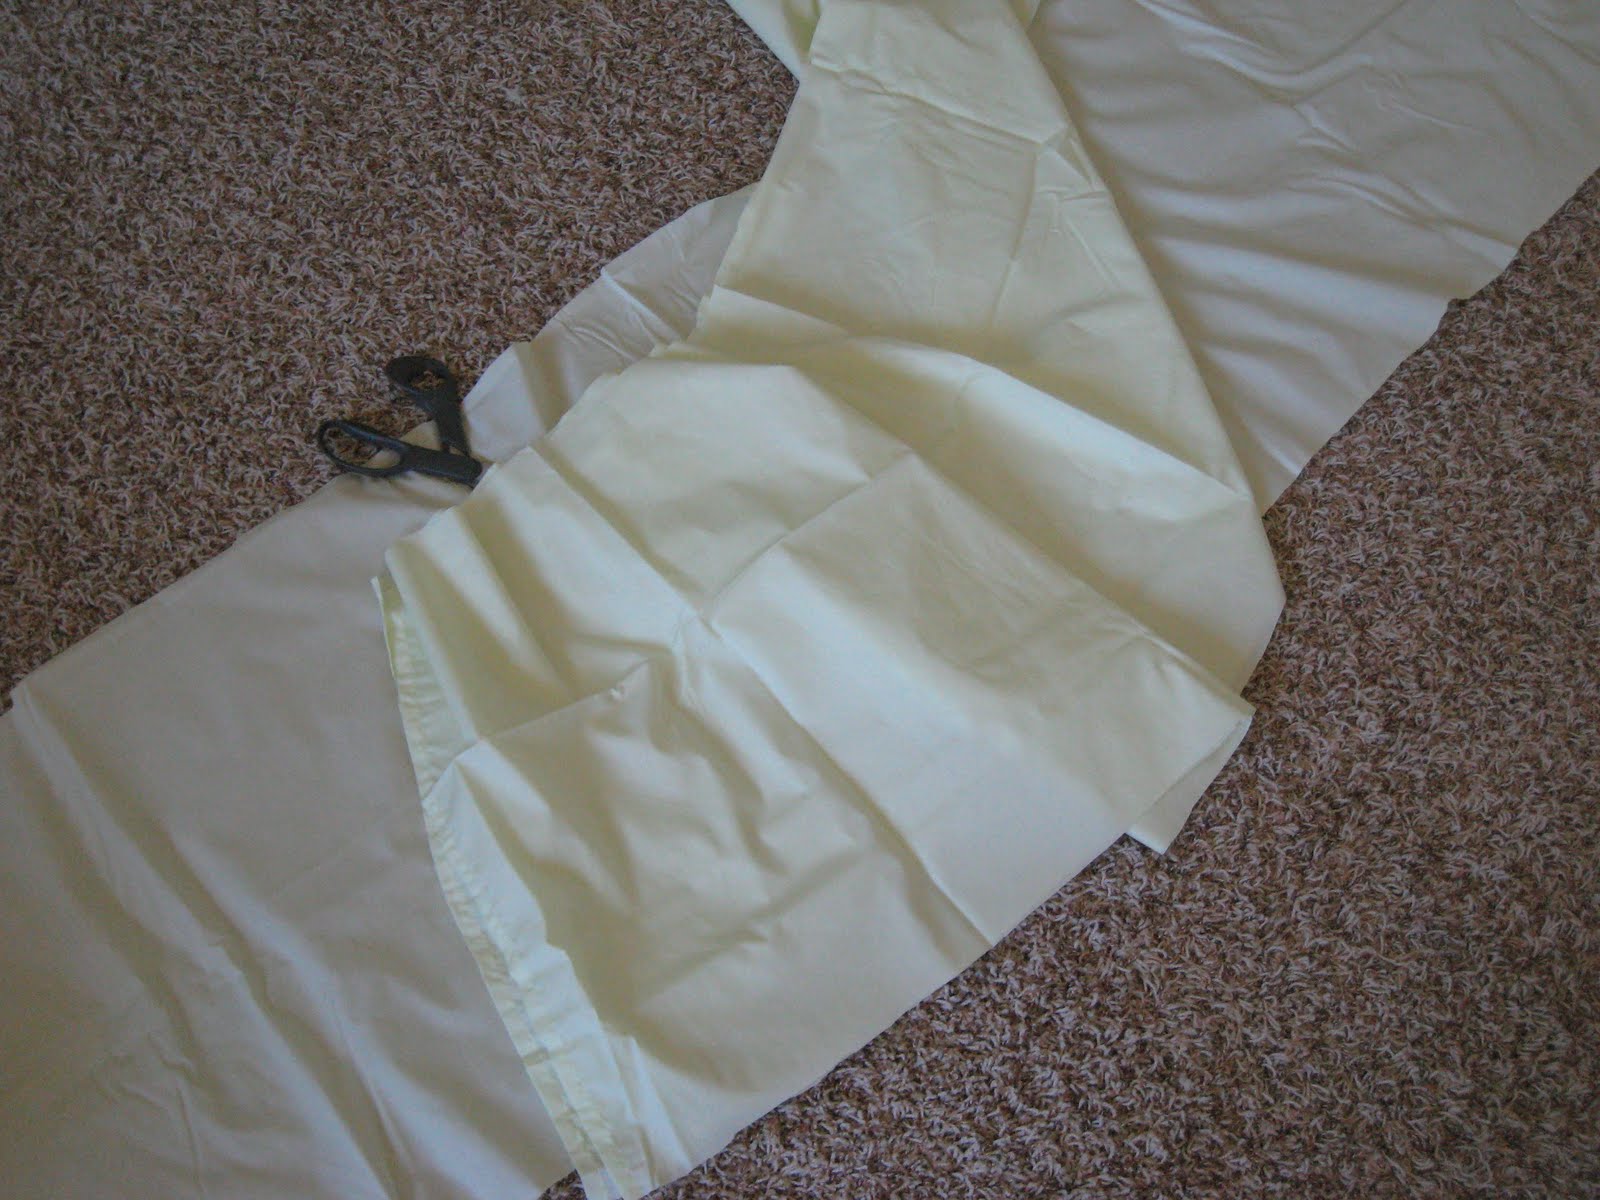
I love quilts and I have found the best way to find coordinating fabrics is to buy matching sheets. I knew I wanted to go with the celery color with the walls being blue and I found two full sheet sets at Home Goods that matched perfectly. My first step was to open up one of the flat sheets and lay it on the ground.
I measured the drop from the top of the box spring to the floor and came up with 15″. I added 2″ for the hem and 1″ for seam allowance. That left me with 18″ strips to cut. I measured these out using a tape measure and a pencil.
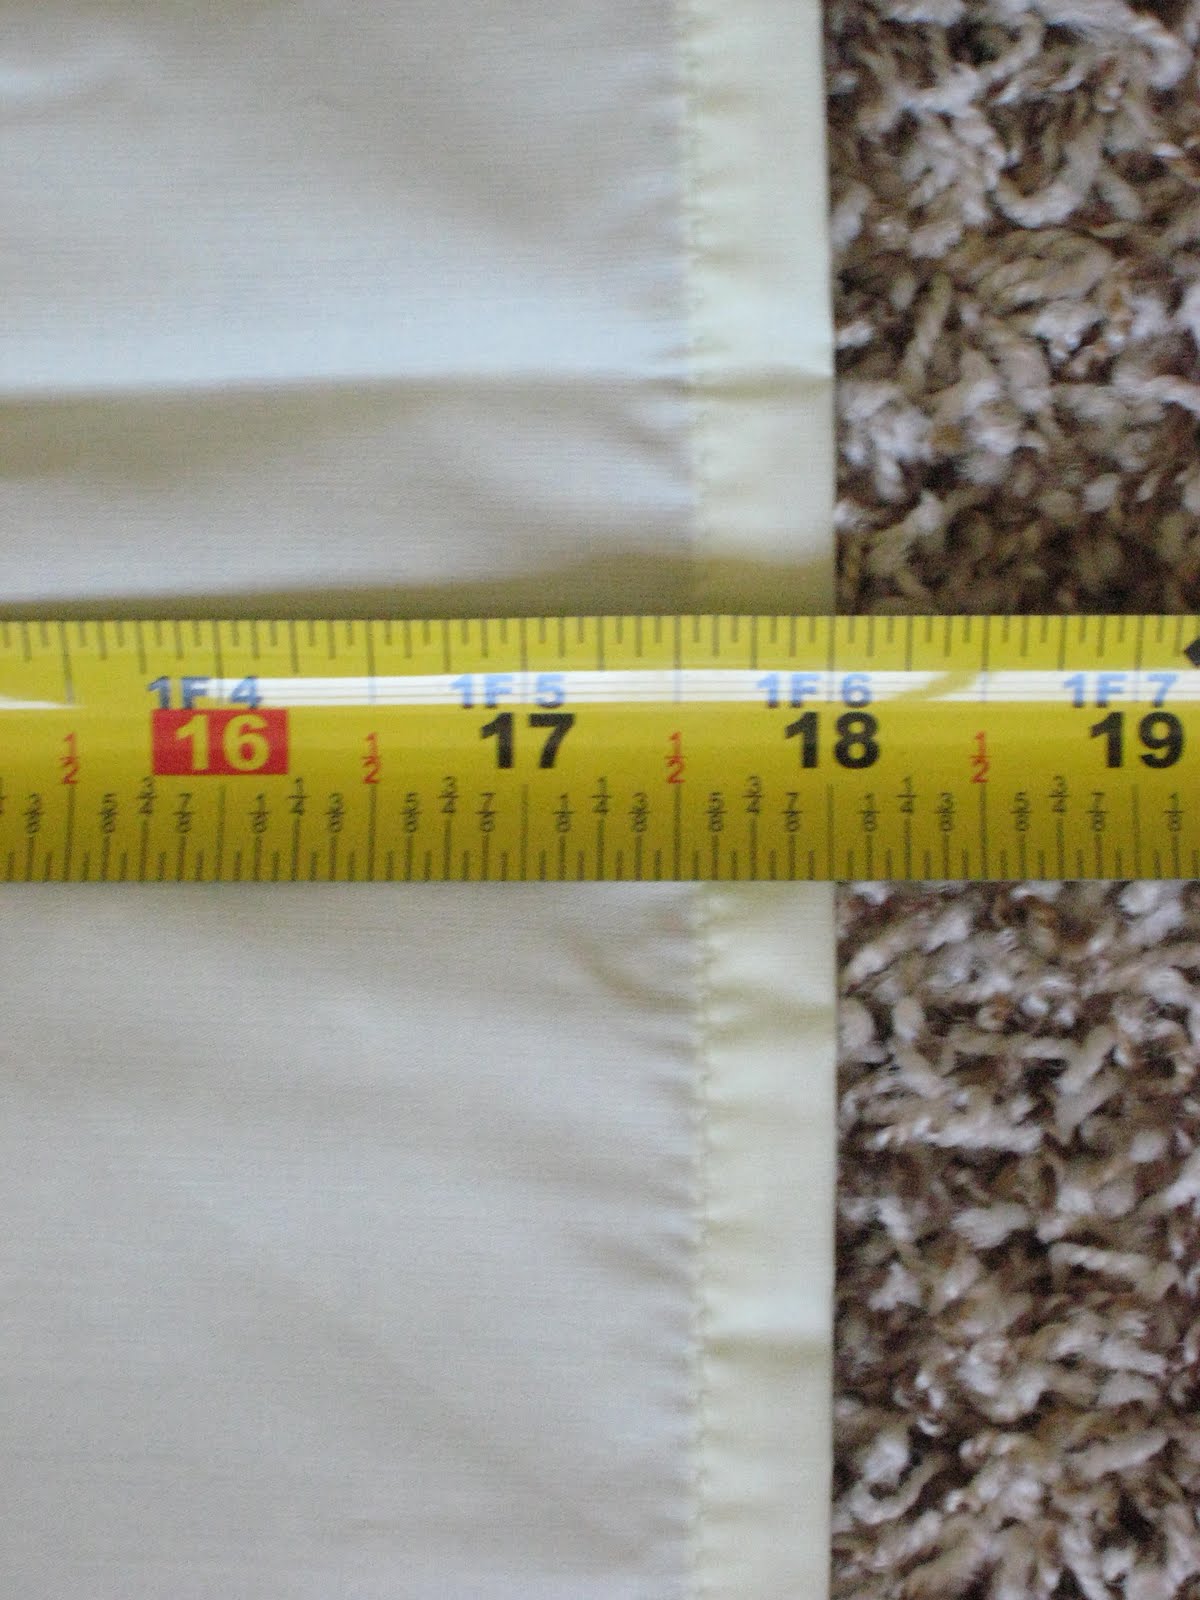
Since I was going to ruffle this skirt I doubled the fabric for the sides and front of the bed. That left me cutting 5 strips that were each 18″ wide.
My next step was to iron my hem. I measured a 2″ fold along the bottom of each piece and ironed it flat to hold it in place. Once that was finished I ran a straight stitch down the hem. That easy.
The other thing you will need is a flat white sheet the size of your bed. I got mine at Walmart for $3.
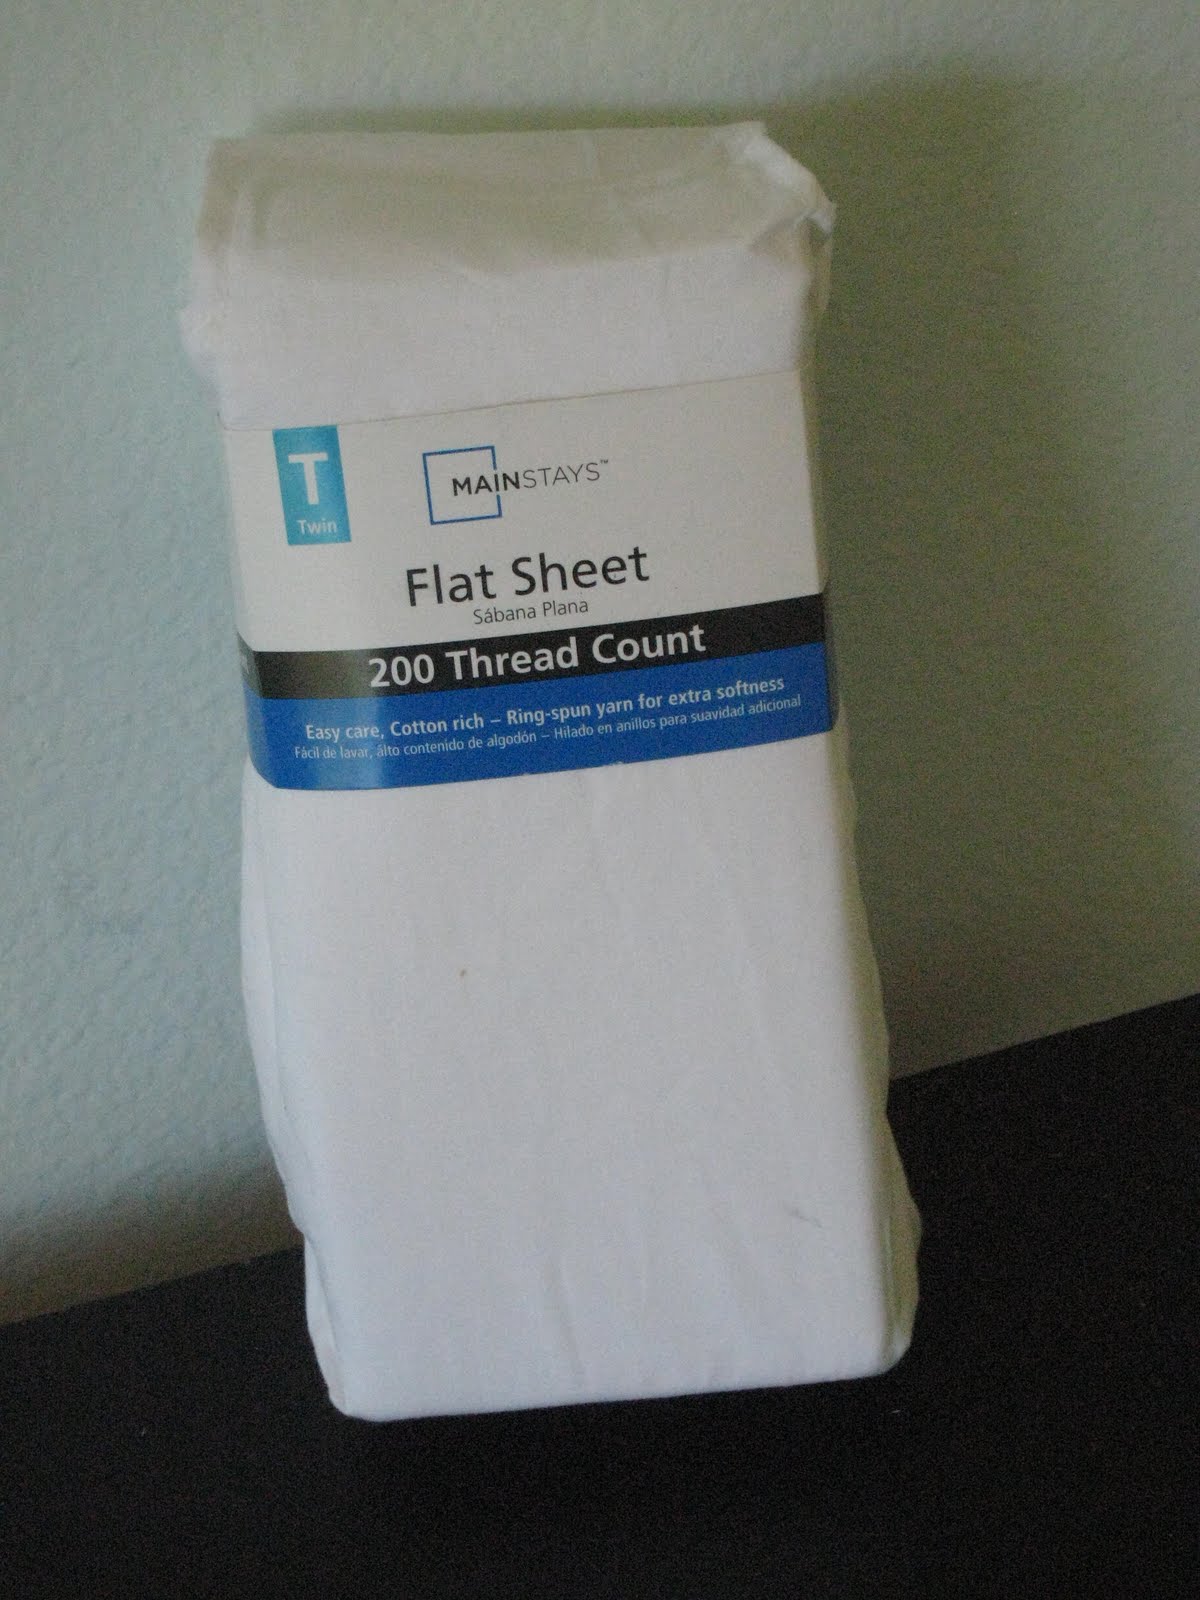
You lay it flat on your box spring and cut around the outline of the bed leaving about 1/2″ for your seam allowance. Now it’s back to your other fabric.
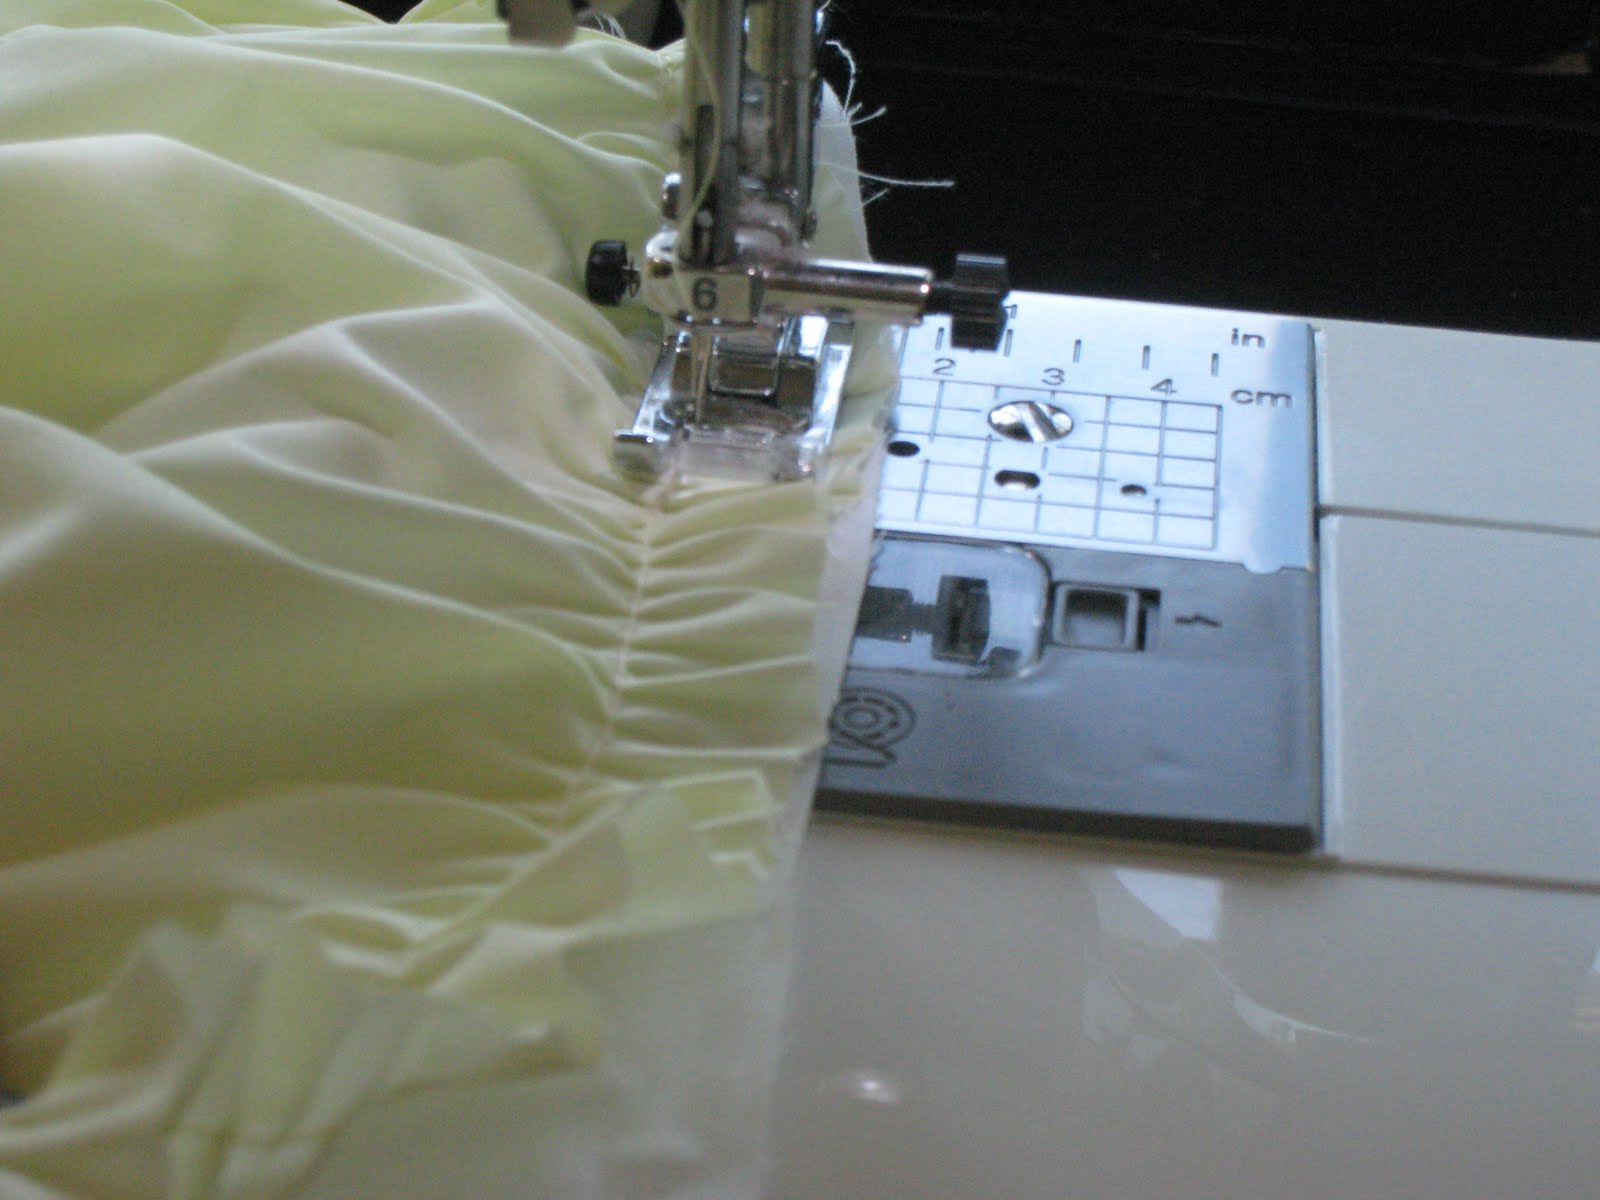
I used my all time favorite attachment on my machine to make my ruffles…
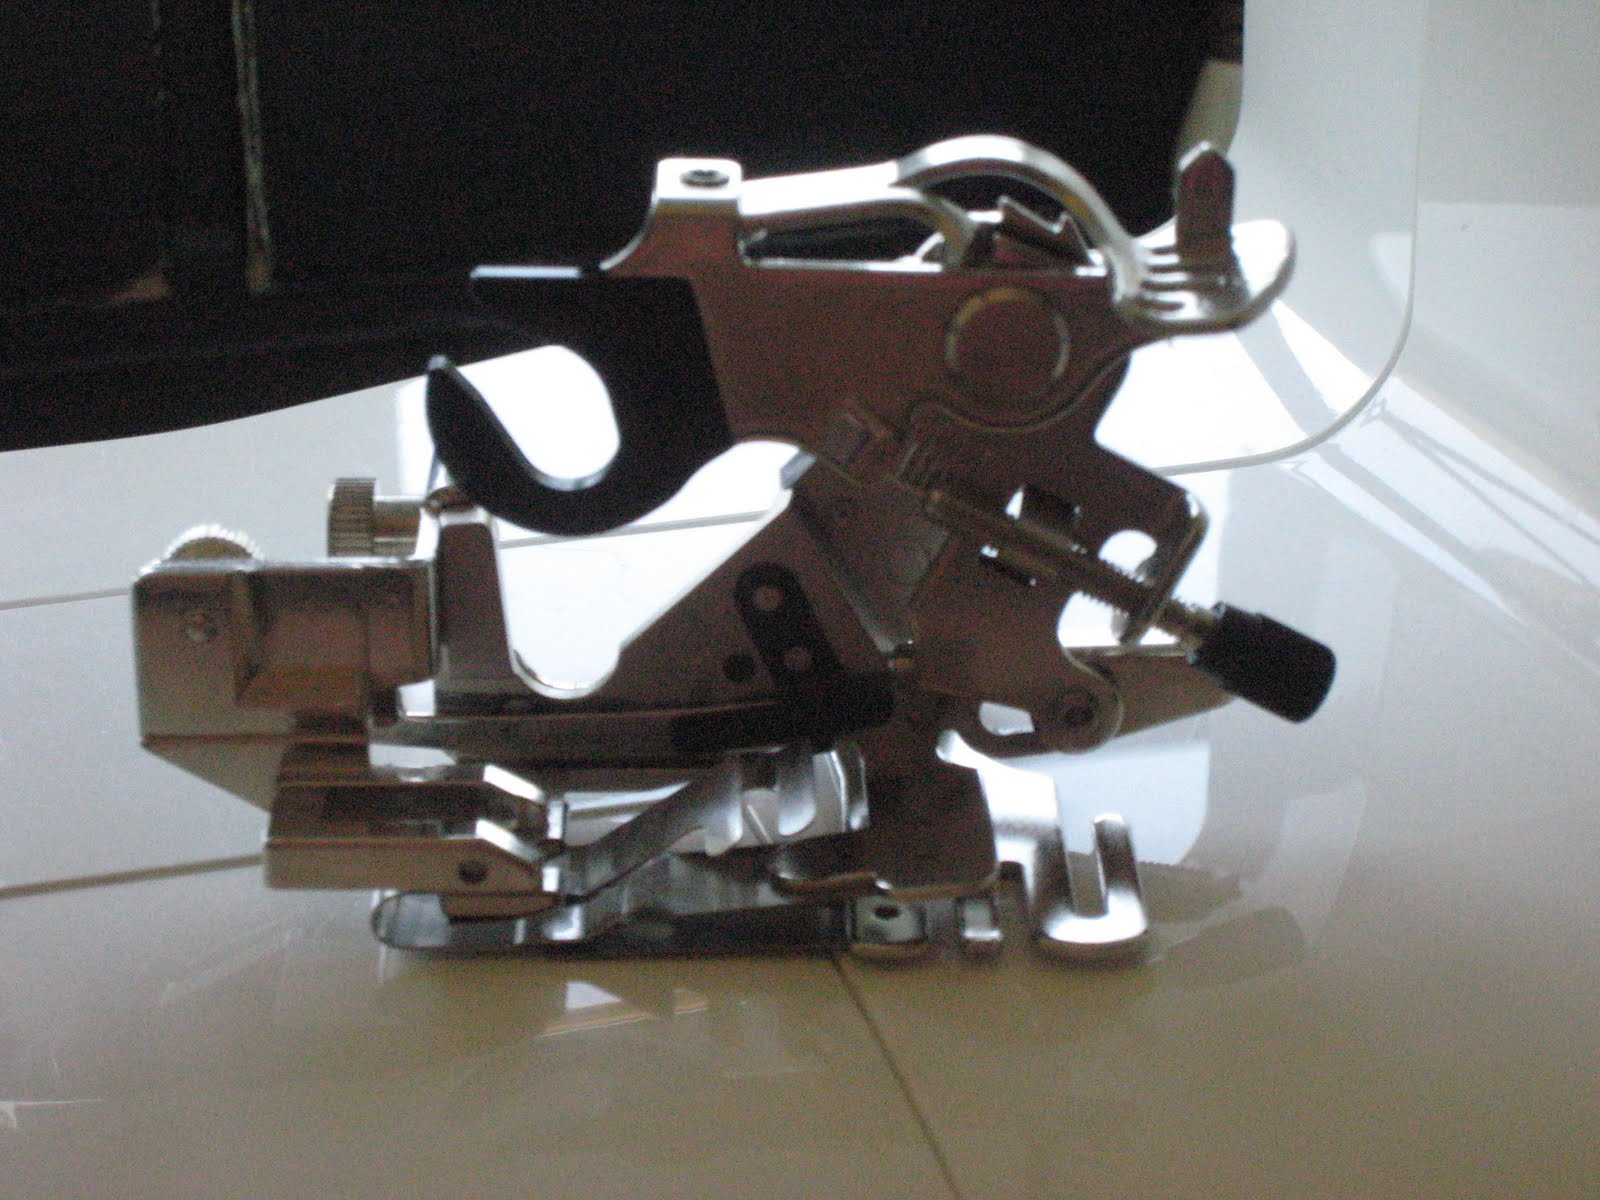
This is my ruffler foot. I love it! It saves so much time and effort! I ran the unhemmed edge of all my strips through the ruffler and this was my result…
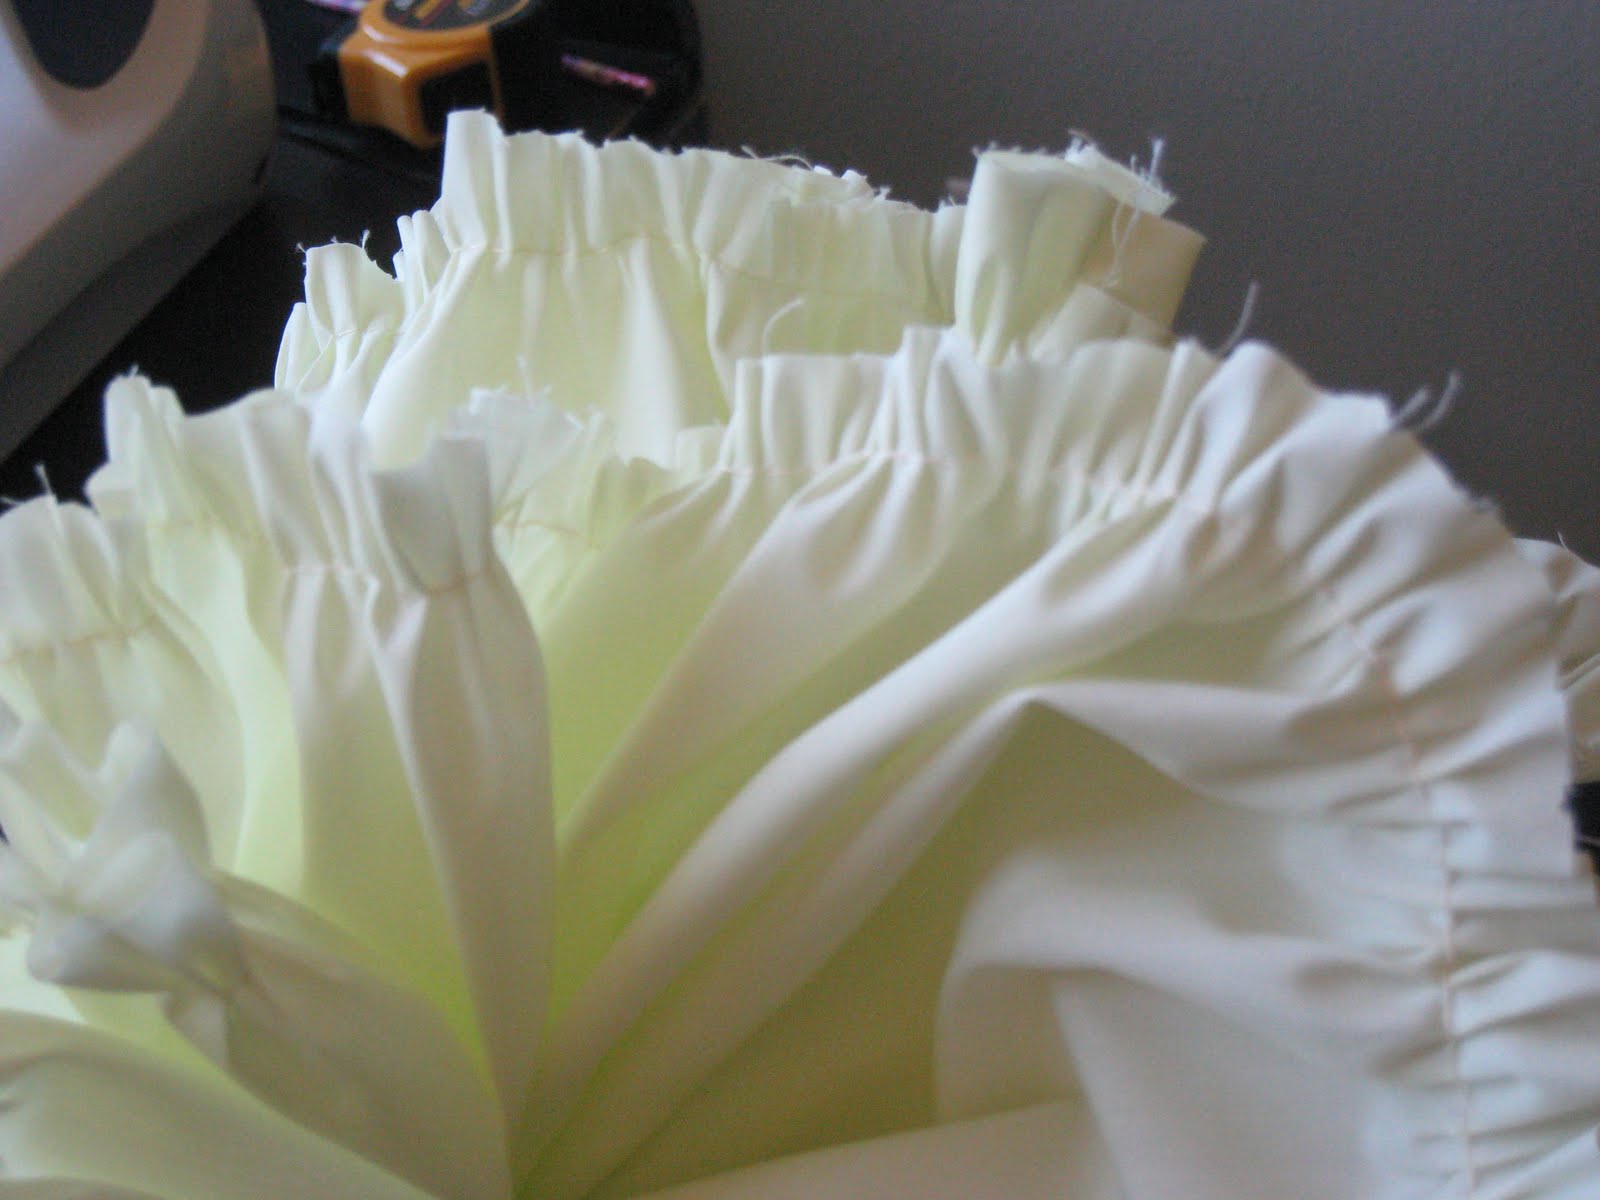
Lots and lots of ruffles in just a few minutes… Woohoo!
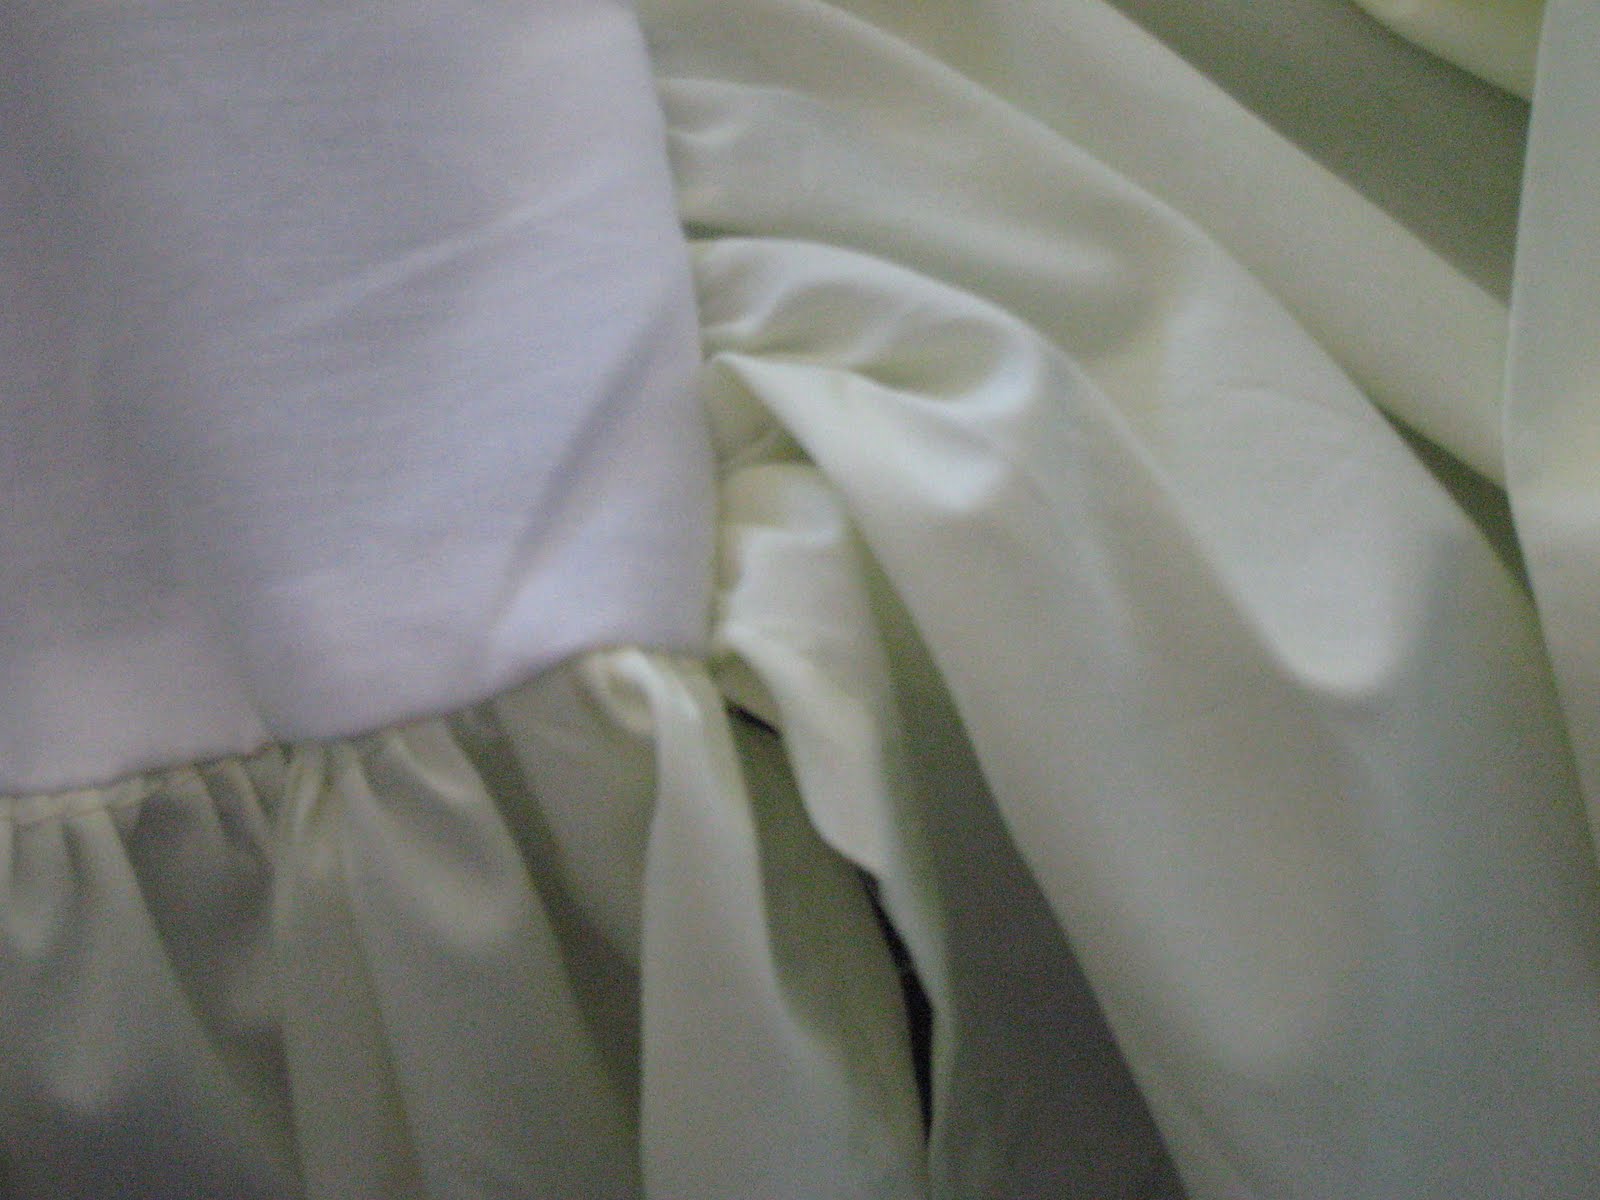
The next step is easy. You just lay the good side of your ruffles down flat on the white sheet you cut out and run a straight stitch along the edge to hold the two together. Remember you only need to do the sides of the white sheet that will be showing on the bed. I didn’t do the side that would be the head of the bed because that part will be hidden against the wall.
When you open it up the good side will now look like this…
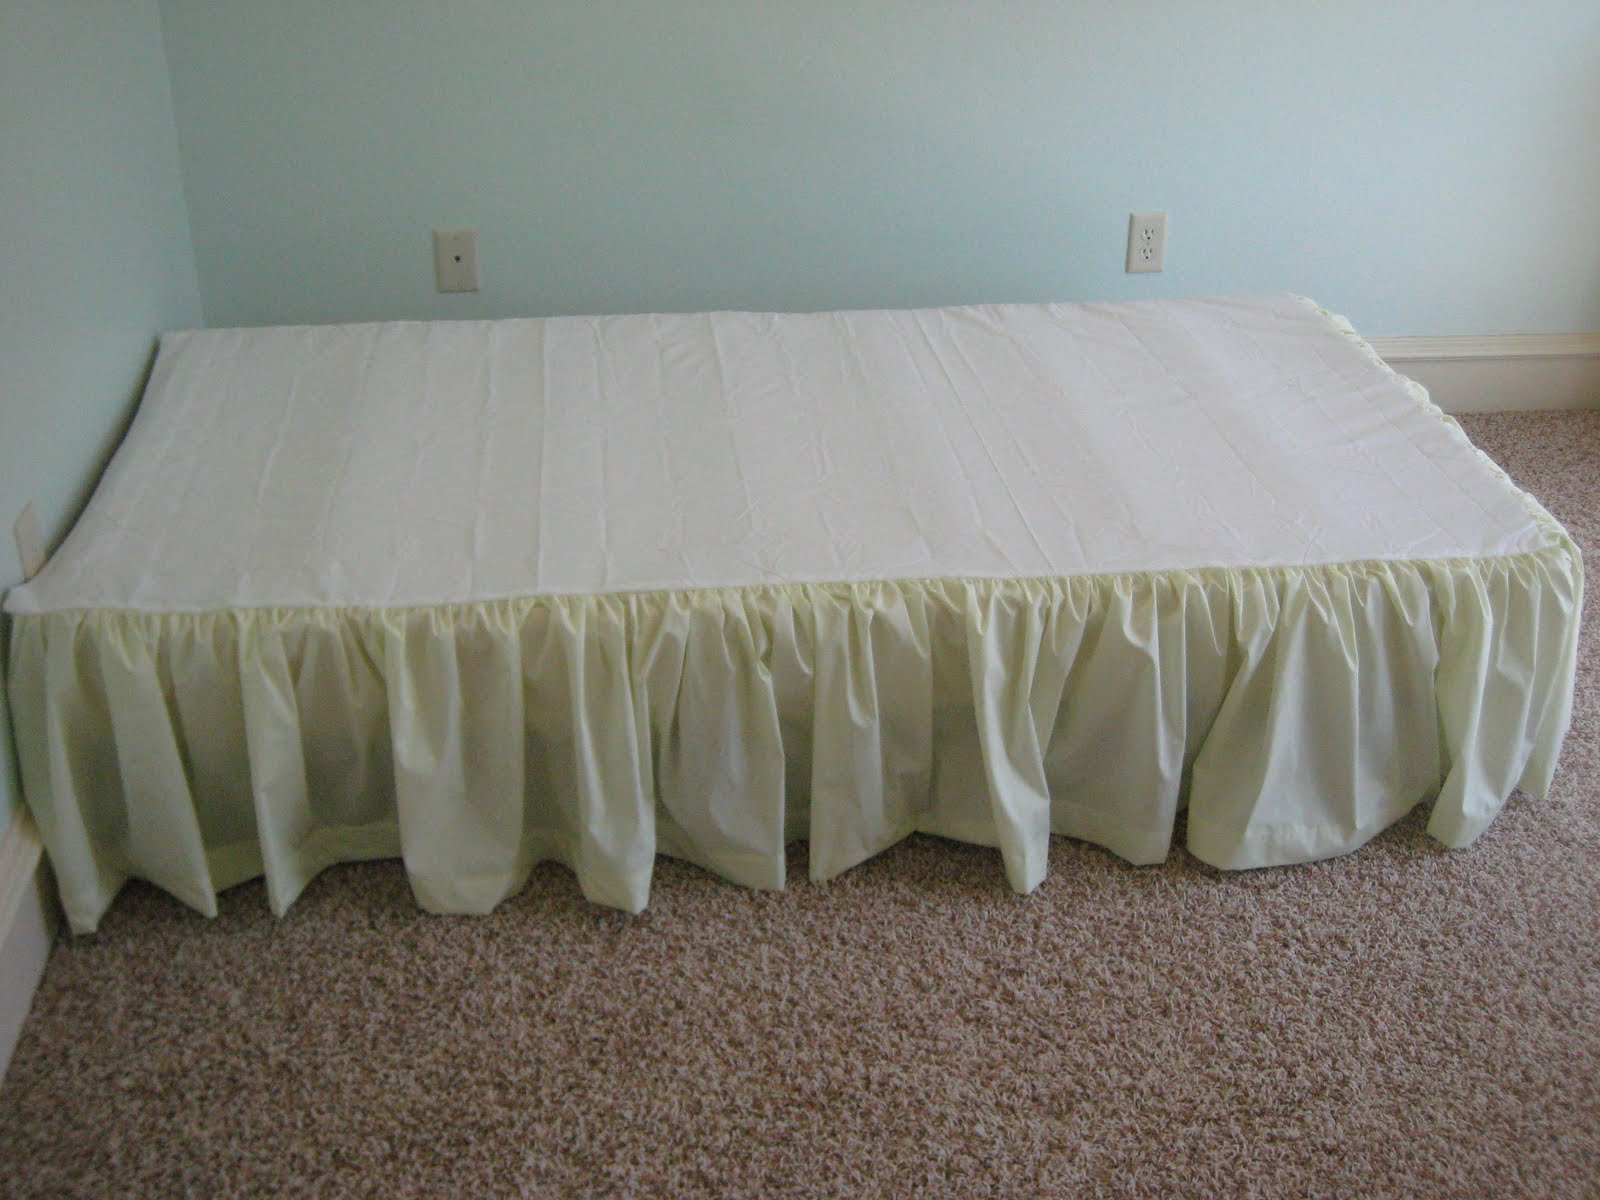
Once you have attached all your strips it’s time to put it on the bed. Here it is on Hayden’s bed…
A little close up…
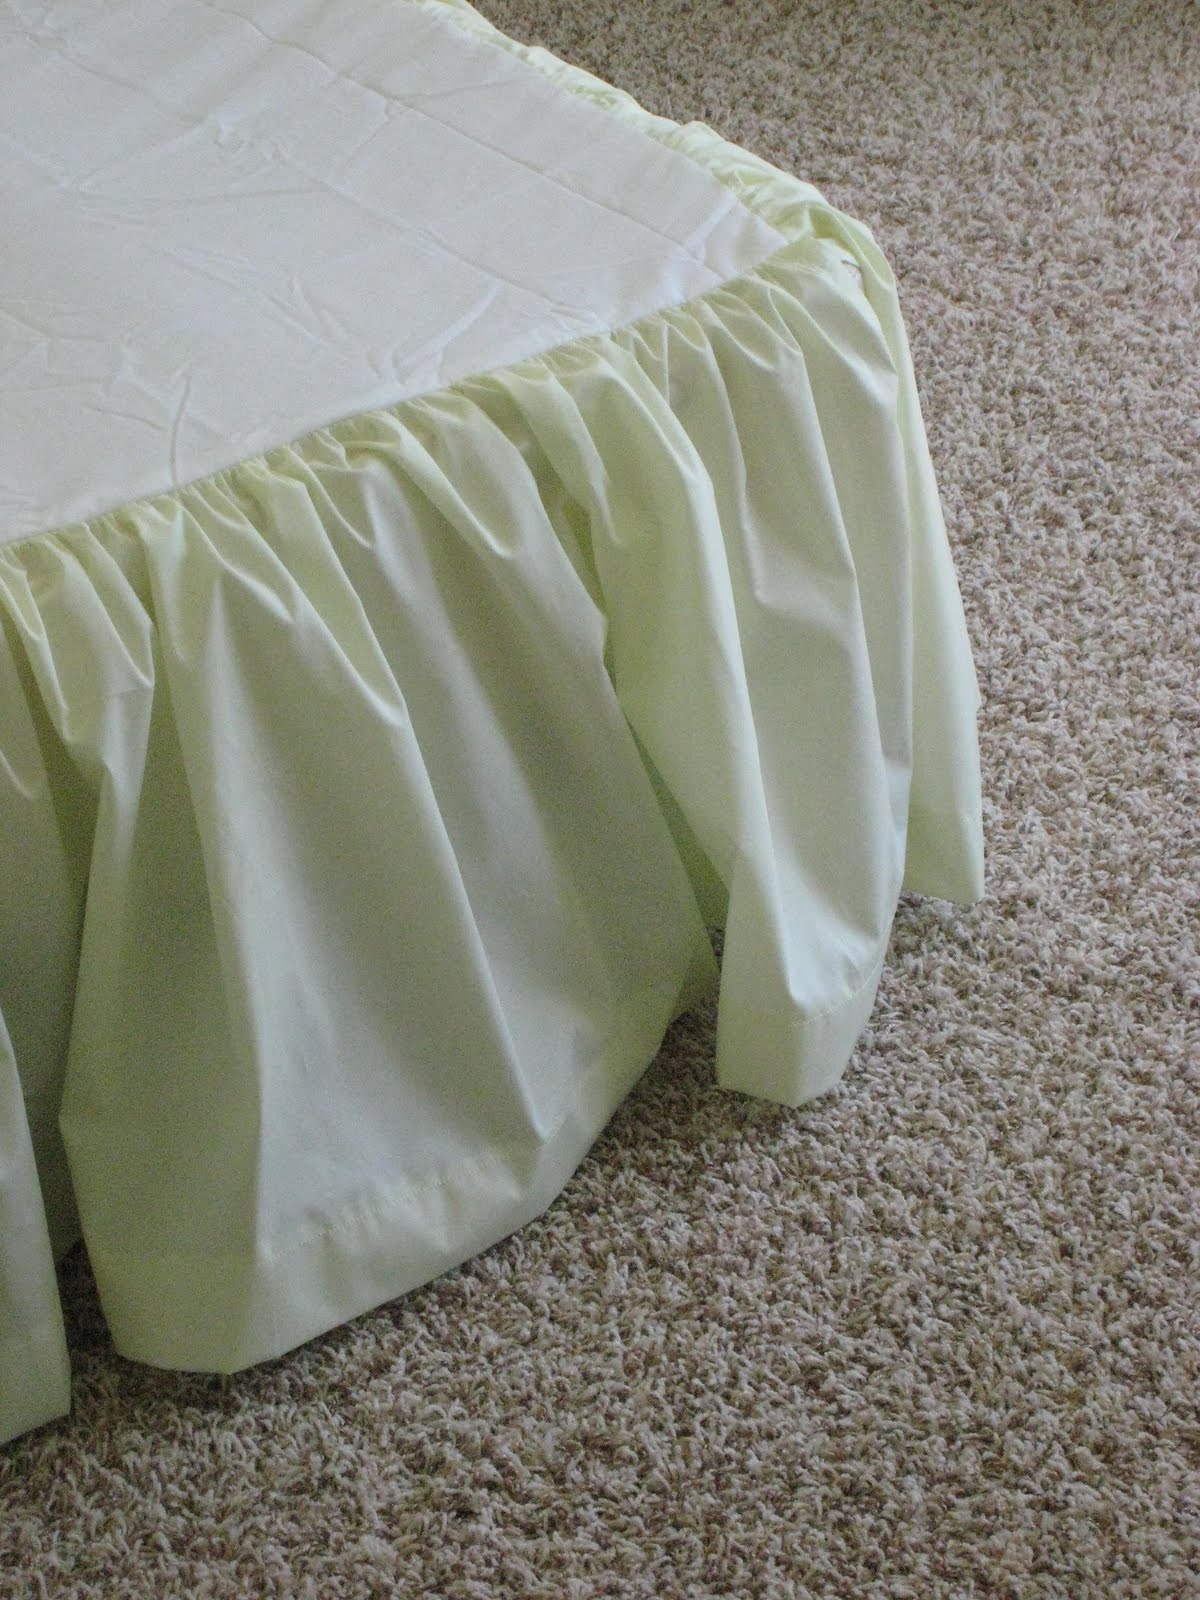
And now you can put your mattress on.
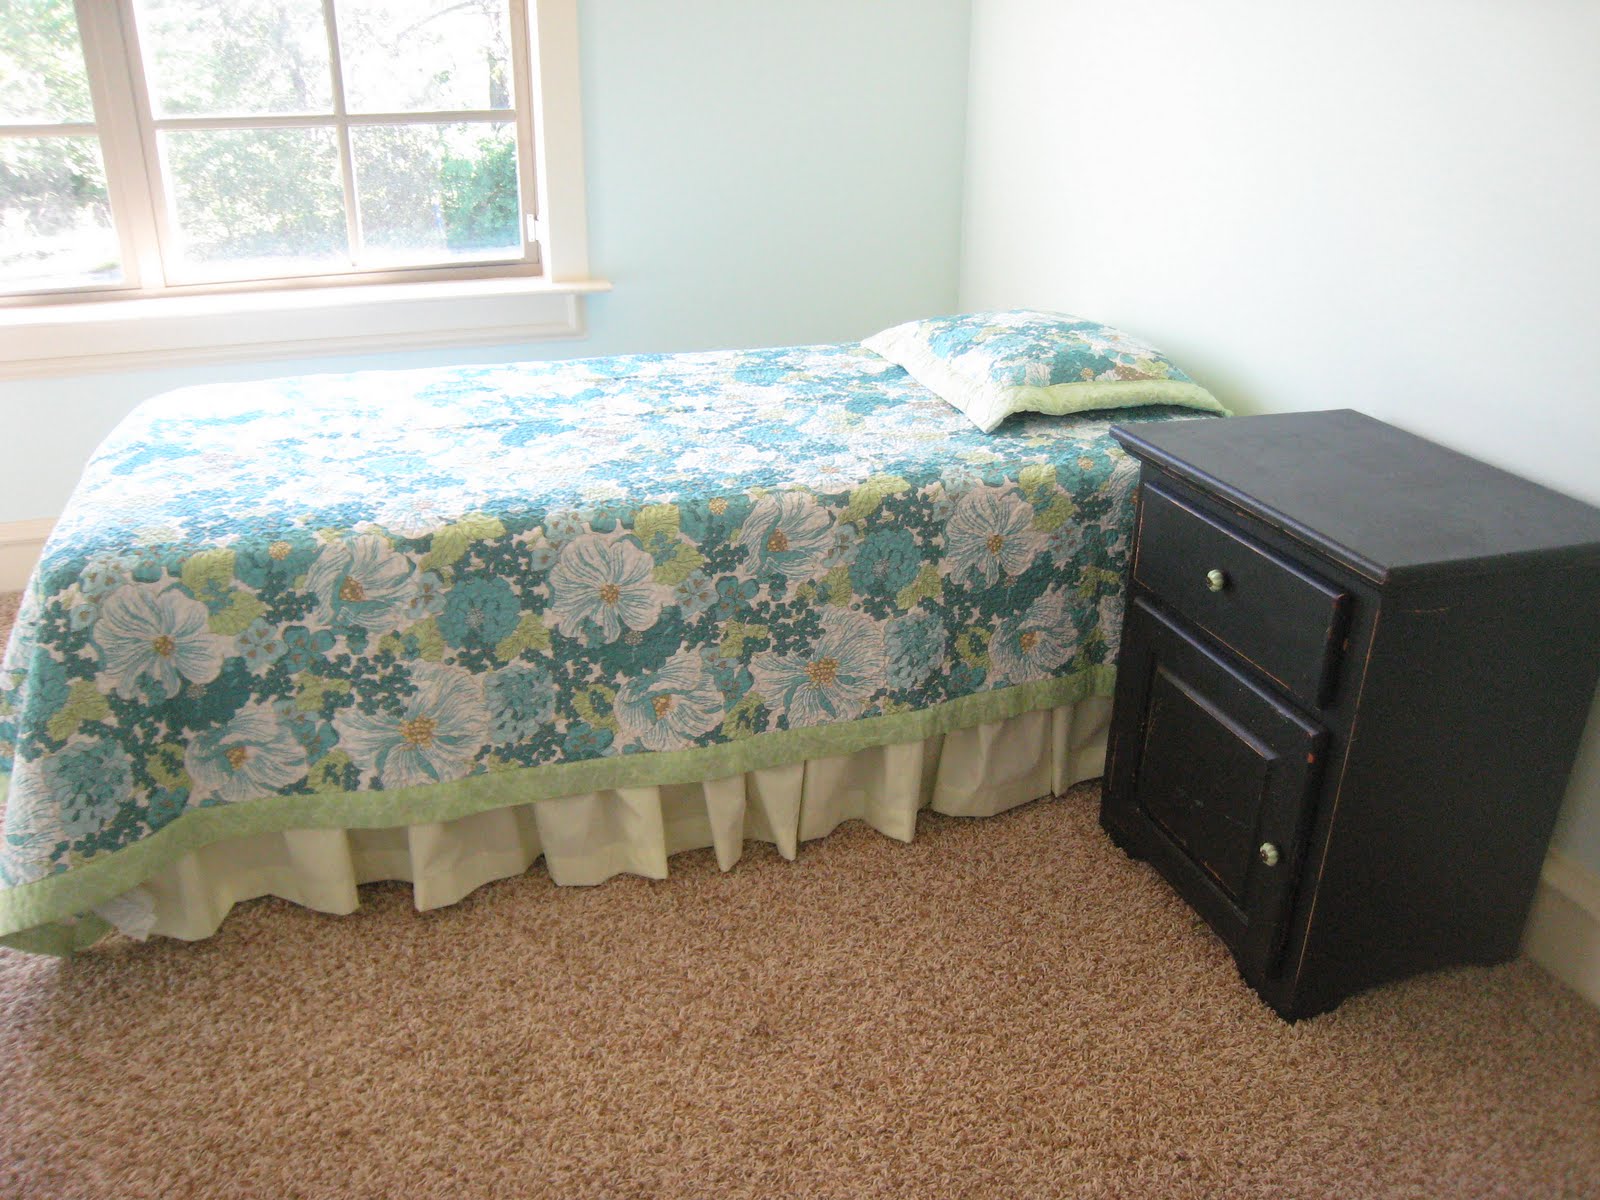
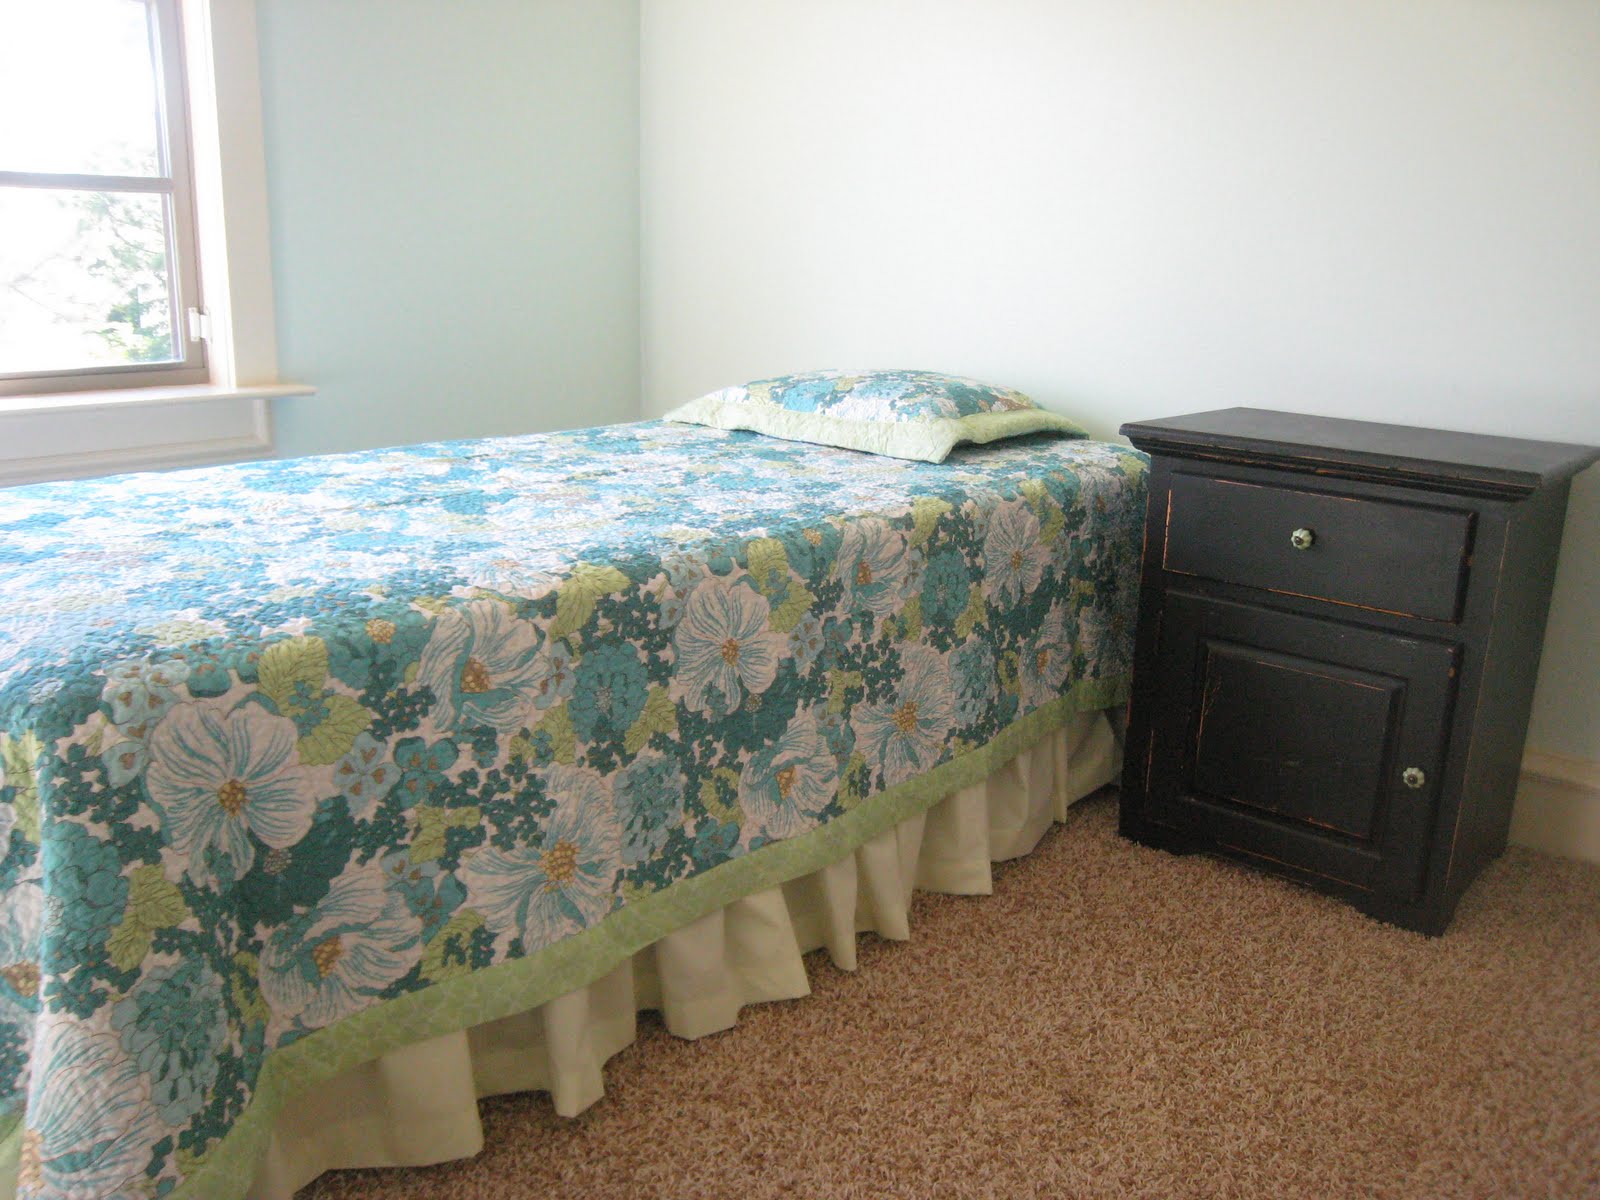
I love them with the quilt! This really is such a simple way to match your quilts and other bedding. It saves lots of time fabric shopping and even more money. Plus, your fabric is in much larger pieces which keeps you from doing lots of measuring and sewing.
I want to get the headboards done before I share the larger room picture. I am working on those this weekend and I’m so excited to share. They are really different and lots of fun to make.
Make sure you show up tonight at 9:00 central time for I Made it Without My Hubby! These are getting more fun every month and I can’t wait to see what you gals have in store for us this time!!

In the meantime, make sure you swing by Madison Reece Designs! She has LOTS of super cute and custom bling for you to check out. With Mother’s Day on Sunday it would be a perfect time for you to start begging from the fam 🙂 Check it out girls!!