What up??
Hope you guys are having a great weekend!! This is birthday weekend for one of my little ladies so things are a bit crazy around here. Not too crazy to sneak in this post though:-)
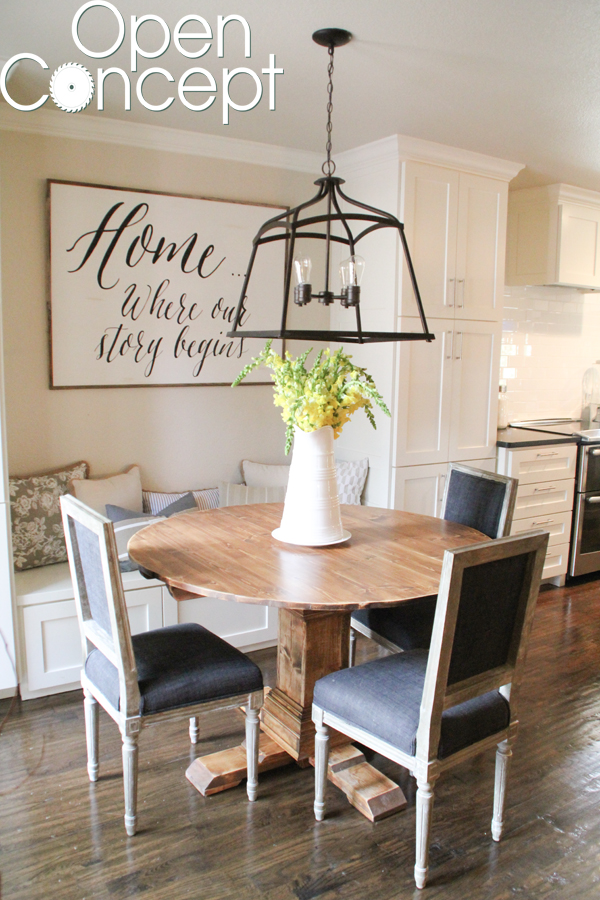
I showed you guys the beginning of my kitchen sign in my last post. Here is how I finished it up…
After distressing all my letters my sign looked a bit like this.

I then took an 80 grit sanding block to all my edges like this.

Once I finished that, I added a line of dark walnut stain around the raw edges and wiped off my excess with an old cloth. It’s a perfect touch to make it look just a bit older.
My final step was adding a sawtooth hanger to the back of the board and putting it on the wall.
What do you think??


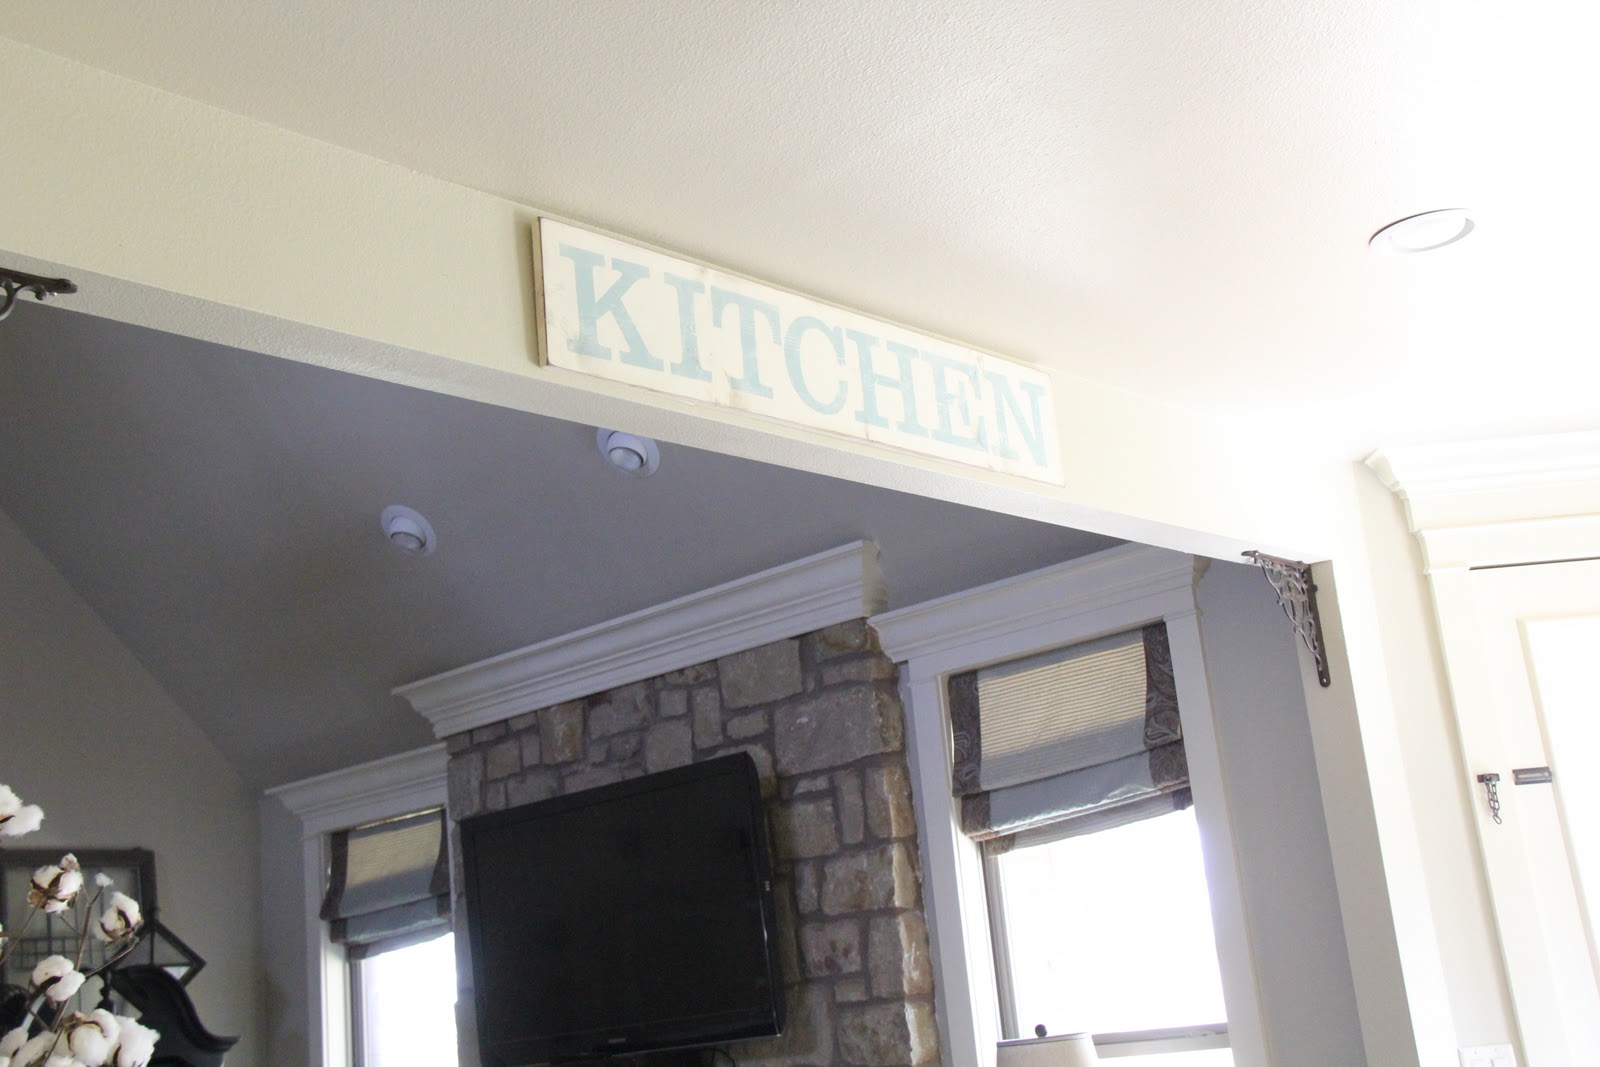
Hope you like it! It was a great piece to break up that big blank space I think. We will start this month’s Shanty Silhouette sale on the 21st. I will be back before then to show you a great new product. Thanks so much for stopping by!!
Have a great weekend!!
~Whitney


What is the blue paint you used? Also, late to the party- where can I find part one? Thanks!! Ali
Do you have full tutorial for this?
I am a novice novice. Like a prequel to a novice and would love to make a similar sign. A tutorial or how to would be most appreciated! I love your blog and the photography! So pretty!
Thanks
-r
Hey Robin..
https://www.shanty-2-chic.com/2011/03/shanty-stenciled-sign.html
Good luck!
absolutely love it, just did the kitchen and dining room floors with a rustic wide plank in honey oak and this would go fabulously in my re-done kitchen….
I love this sign!! Simple and shabby – perfect! Thanks for sharing 🙂
So awesome!! It looks so good!
Wow the sign turned out great.
Perfect! Love the distressing.
This is SUCH a great idea to fill an 'empty' space — eye-catching enough but it doesn't 'scream' at you — love the colors!
Love it!
the walnut stain adds the perfect pop. i'm hoping to get one similar done this wknd.