Hey everyone! To keep up with all of our Christmas posts make sure to FOLLOW us on Instagram!
I hope you all had a great Thanksgiving! We did for sure! I am always trying to think of thrifty, unique and thoughtful gifts to make my family and friends each year. I love making custom pieces that they wouldn’t receive from anyone else. This year I decided to make my niece and nephew name signs for their room. I decided that this would be our teacher gifts this year as well, only I will use their last names!
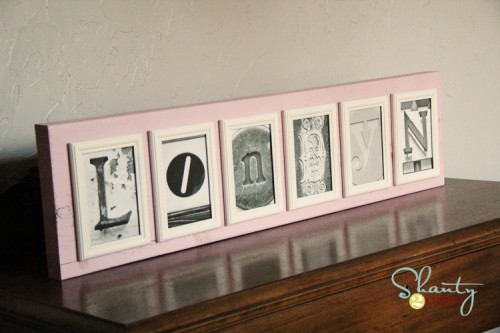
Today I am showing you the sign I made my for niece Londyn.
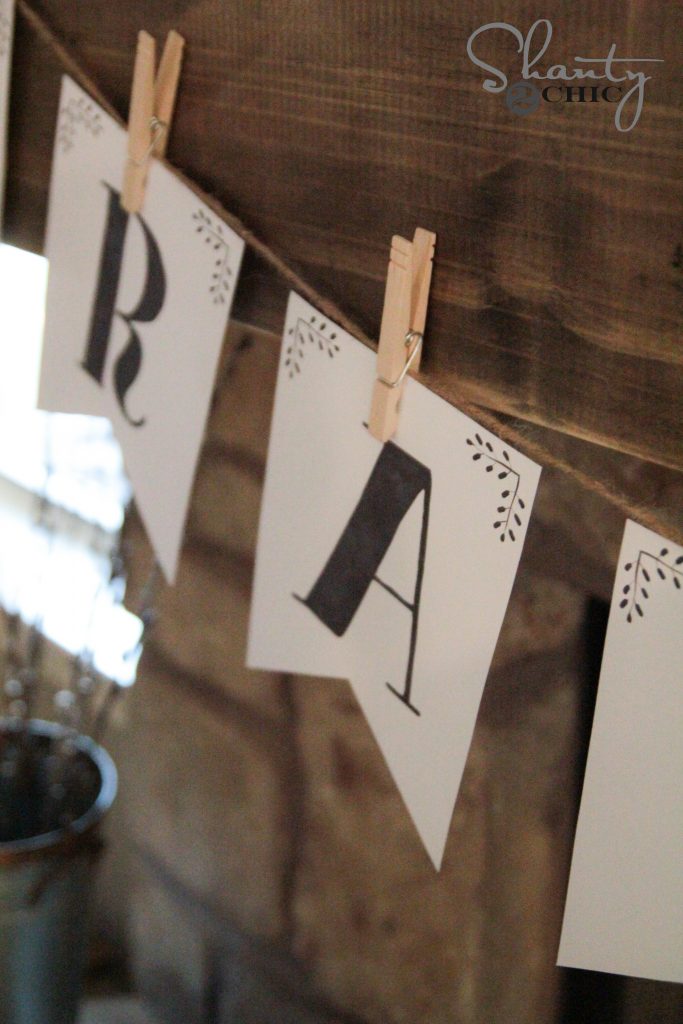
I found a GREAT flickr photo site on Pinterest. It is an amazing source for letter photos. There are literally hundreds of each letter. You can see that site HERE! You simply download for FREE and print from your own printer… Pretty darn cheap and easy! I found her letters and got started on the rest.
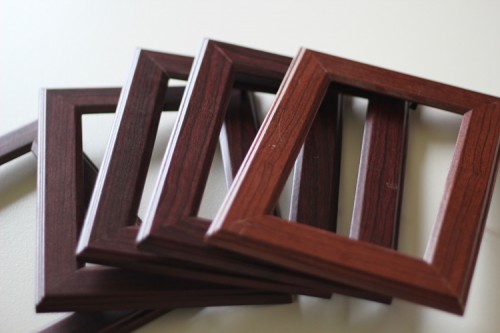
I bought 6 4×6 frames at the Dollar Tree for a buck a piece.
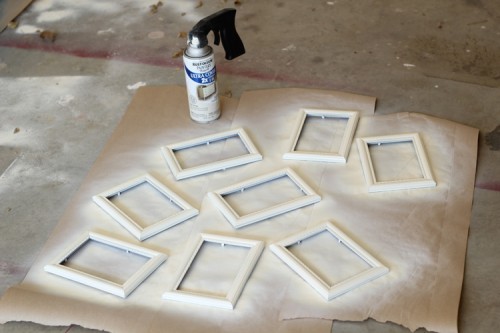
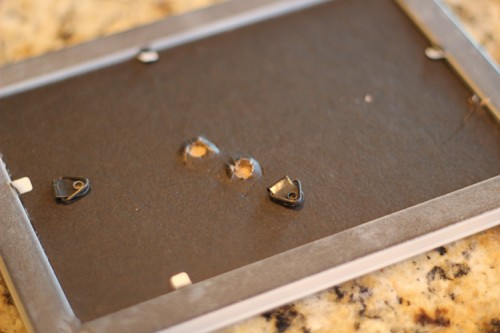
I removed all the plastic and glass from the frames like this…
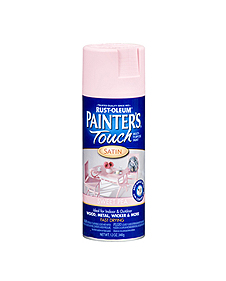
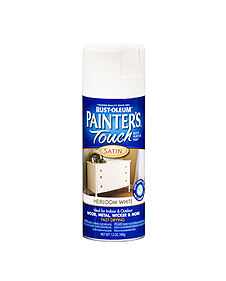
I gave them all a coat of my very favorite…
You can get it at Home Depot.
I used Heirloom White for the frames…
While those were drying, I started on my wood.
I used a 2×10 for my sign. This is heavy and will sit alone on a table without support. If you are wanting to hang yours on a wall, you could also use a 1×10.
I paid $4.50 for an 8ft board and made 2 signs from it.
I cut a 36″ piece and painted it Sweet Pea.
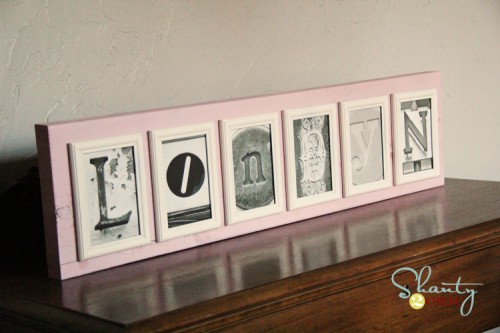
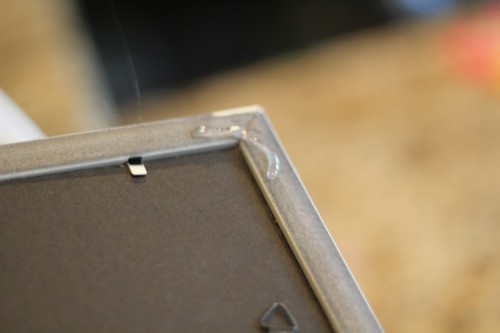
Then, I added a bit of hot glue to the corners of each frame and attached them to my new pink board.
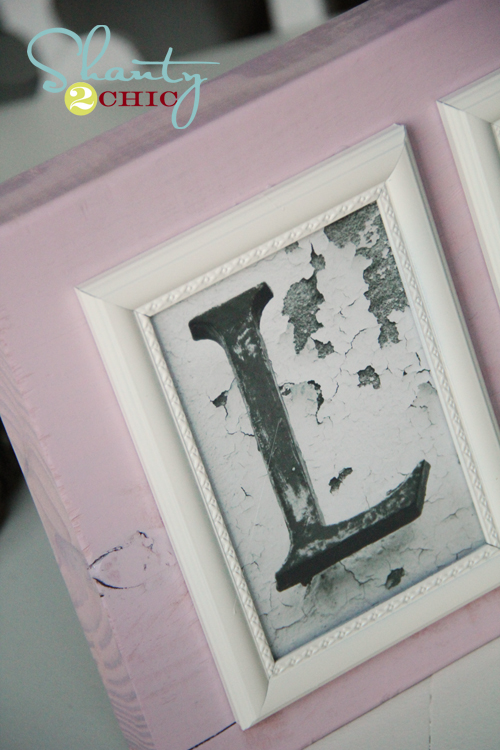
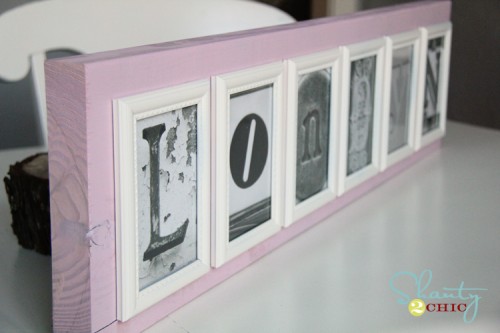
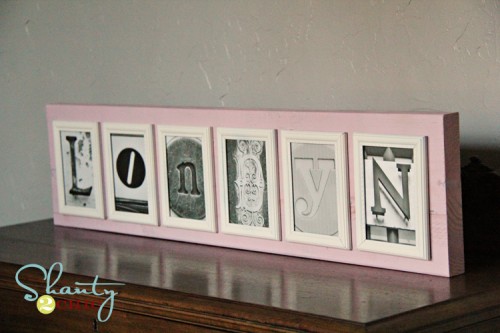
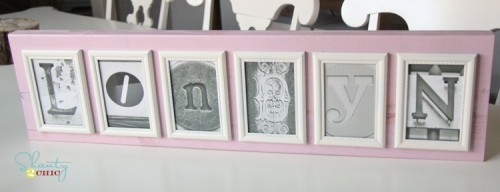
The result…
What do you think?
I am so excited to also make these for the kiddos teachers. I am planning on staining the boards and going with a neutral frame color so they can use them anywhere.
If you are making a longer name, I would suggest going with 3×5 frames and using a 2×6 or a 2×8 as your board.
And now let’s do the math… I paid $6 for the frames, $2.50 per sign for the wood, and the pictures were free. That’s about $10 a sign if you count the spray paint… My kind of gift!
Thanks so much for stopping by! Let me know if you have any questions!
~Whitney




Wow! Thankyou, Thankyou!! Just finished printing letters for my first sign.
Found on Pinterest, thanks again for sharing.
This is beautiful! What size letter did you use to fit the 4×6 frames?
what is the link that i can download the free images?
What kind of paper did you print the letters on? photo or regular paper?
I love this idea, can you please tell me the site that you use for the letters, i would love to try making 1 ???
please tell me at what website do i find the letters. thank you.
The website is at the top of this page
Hi what is the site you got the letters from and did you use picture paper? Thanks
This is an awesome idea!!!! since i want to use 6X4 frames what size did you print the letters out from flickr? theres so many sizes and i cant seem to get the size right.
thanks for sharing your ideas, hayley
i love this! where did you find your letters for free?
What a great idea! Thank you sooooo much for sharing – you have solved my ‘what to get people’ dilemma!!
I’ve seen these letter types used 1,000 times, this has to be my favorite.
I have been searching for photo fonts for a while now after seeing various retailers offer signs like this. I too am a dollar store junky. Thank you for the inspiration. I can’t wait to make these for our children’s classrooms. 🙂
Awesome idea! I love the thought of having them stand up on the dresser. As a teacher, I would totally love receiving one of these! And, can I just add, that it is so easy to comment on your posts! I wish more people made it this easy, without the special accounts or word verifications. Thanks!
How do I find letters like these? I just signed up for Flickr but not familiar wtih it at all.
Any help would be appreciated! LOVE YOURS!!!
Where did you get the wood? Do you just go to Home Depot and ask them to cut it to size for you?