Happy Monday guys! Have you all thawed out? I hope so! To keep up with all of our projects from start to finish, be sure to follow us on Instagram!
Many of you know I recently started redoing my baby son’s room. I have been debating his wall color for a few weeks. His room has been a very light blue color that I did when we first moved in our house for his big sister. I have no touchup paint, and couldn’t remember the name of the color, so repainting the whole thing was my solution. I went to Ashley’s new house last week and fell in LOVE with some of the wall colors. My favorite was called Seine by Valspar, and I immediately knew I wanted it for Brooks’ room.
So, I sent the kids off to school last Tuesday and got to work. I didn’t start taping off until around noon, and I had the whole thing painted and put back together by 8:00 that evening. That included picking the kids up and cooking dinner. For those of you that are intimidated by painting walls and the time it may take, hopefully I can help you out!
Here are some tips that help me get it done quickly!
First, here is a before shot of the room. Don’t be fooled. That is a pretty blue color, but what you don’t see are the multiple dings and doodles (thank you children) on the wall. It was time for a change!
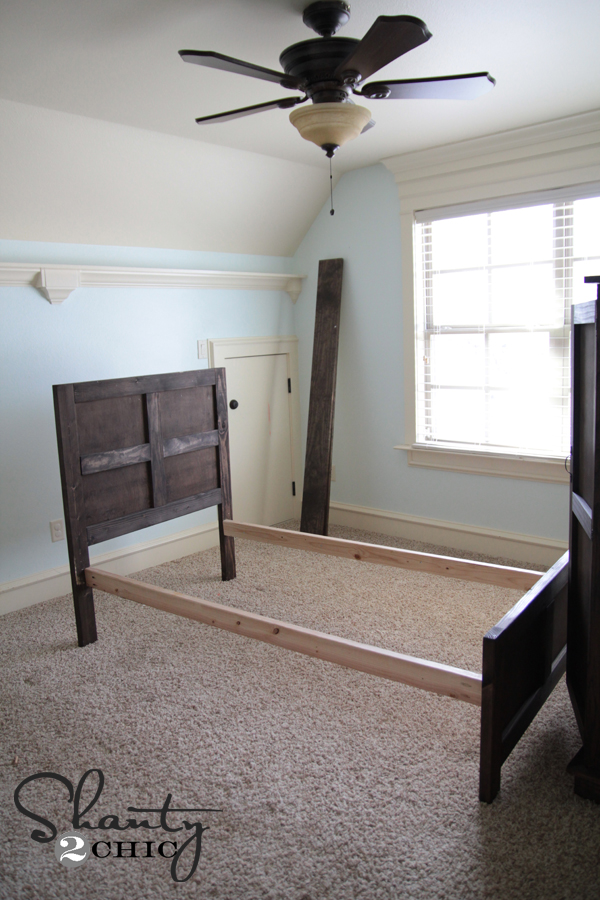
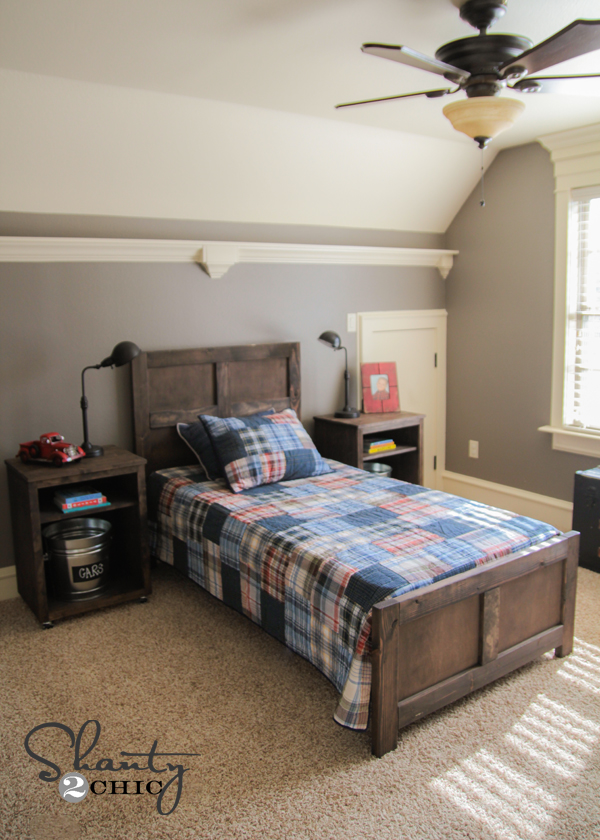
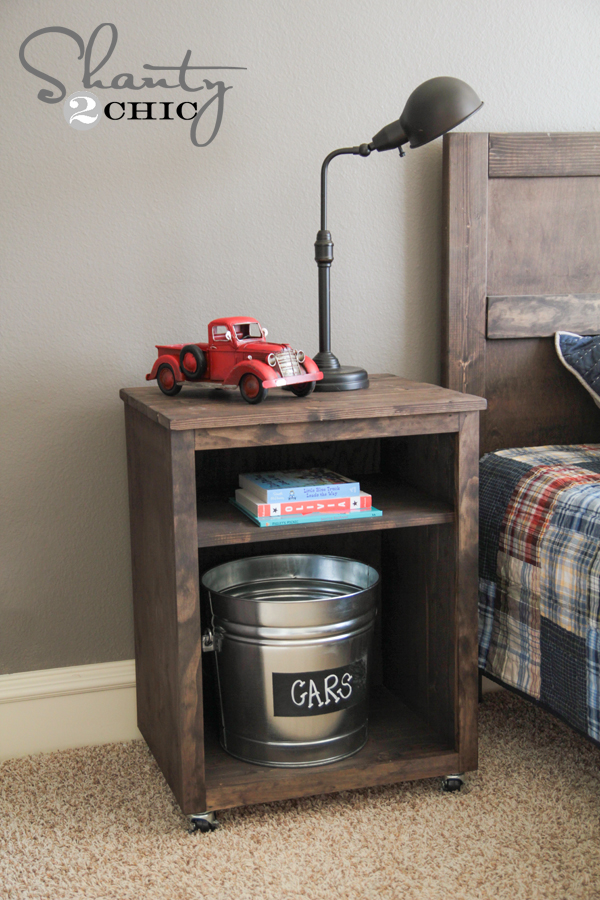
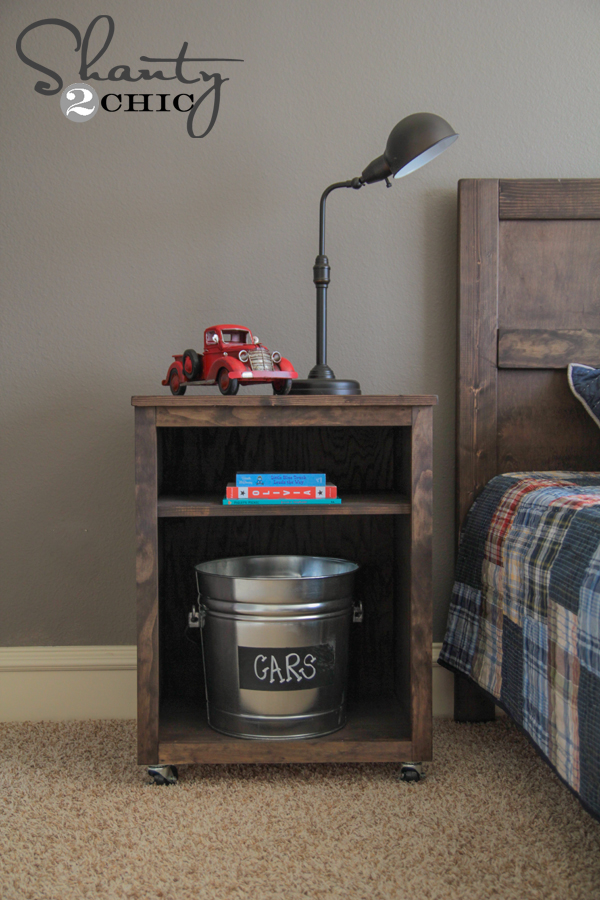
Cute bed, huh? I made it. 🙂 HERE is the tutorial and link to the free plans!
How I paint walls
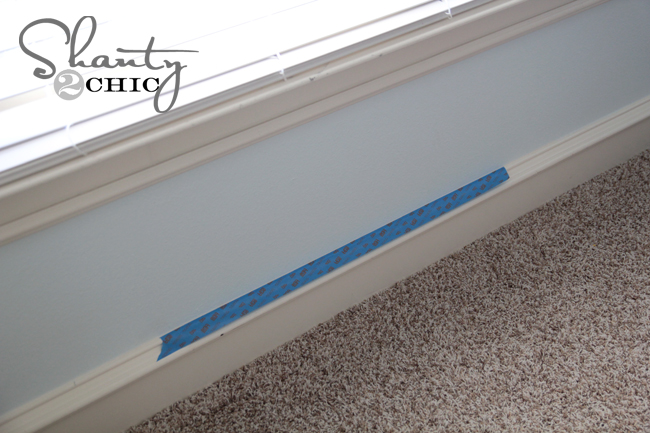
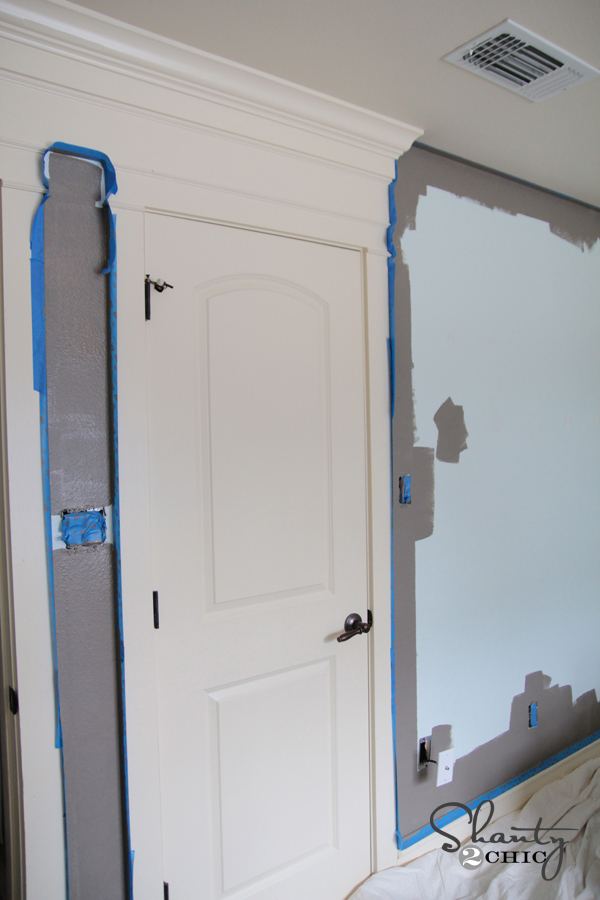
I start by moving everything away from the wall, and taping it all off. Now, if you have ever been down the painter’s tape aisle at the hardware store, you have probably seen the 4,579,223 tape options offered to help you achieve those straight lines. I haven’t tried them all, but I have put many to the test. I have had the best luck with this stuff.

It’s Scotch Blue with Edge-Lock. The Edge-Lock did cost a dollar or two more, but I feel like I really see the difference in the lines once I pull it off the wall. I start in small sections like this and work my way around the entire room.
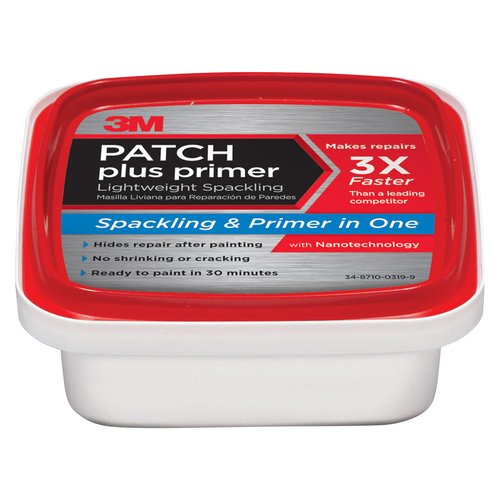
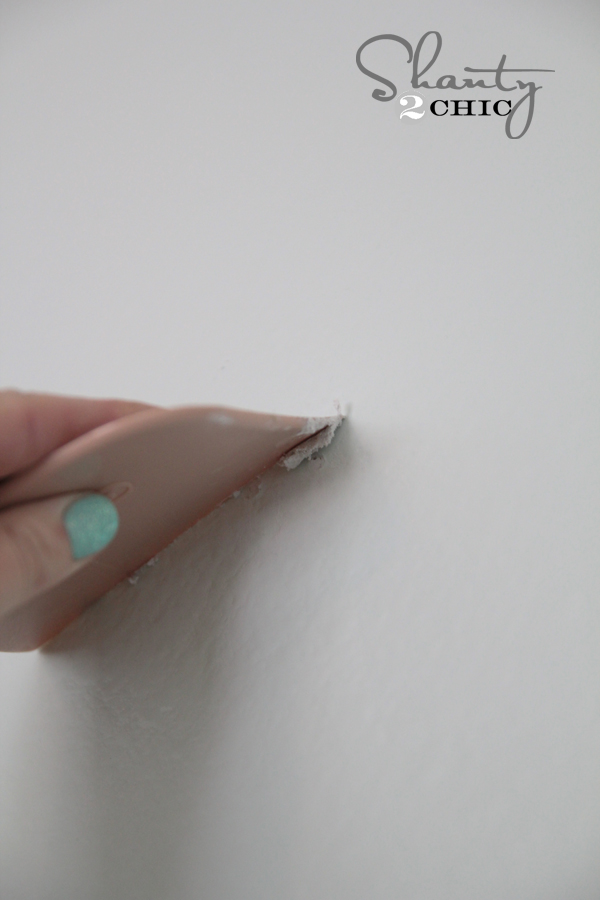
Next, I fill all of my nail holes on the wall. My favorite product to use for this is 3M’s Patch and Primer. I LOVE this stuff!
You just use a small putty knife or scraping tool like this one to go over your hole and that’s it. Let it dry for a bit and you are ready for paint. Works perfect for me every time.
I also remove all of my switch plates from the wall. If you are uncomfortable doing this you can just tape them off, but I find this much easier. It does expose the wiring, so be careful not to touch anything inside the holes. I cover each switch with tape like this…

I also use a piece of tape to hold the screws on the plate so I don’t lose them!

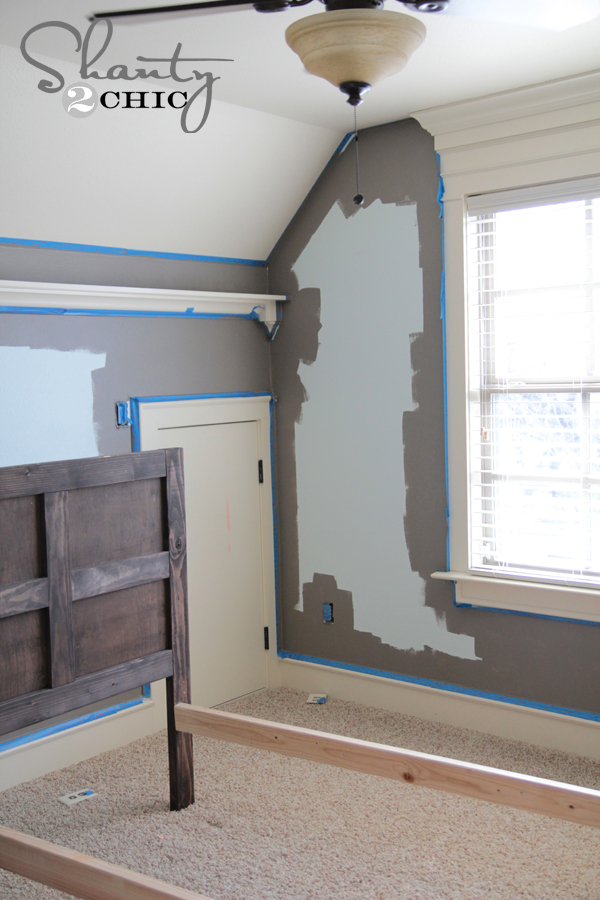
My first step is always cutting in… Or at least that’s what I call it! I use my very favorite roller for this part, and I had this part done in under 20 minutes! It’s the Wooster Jumbo Koter and it works with the pole I show you below.

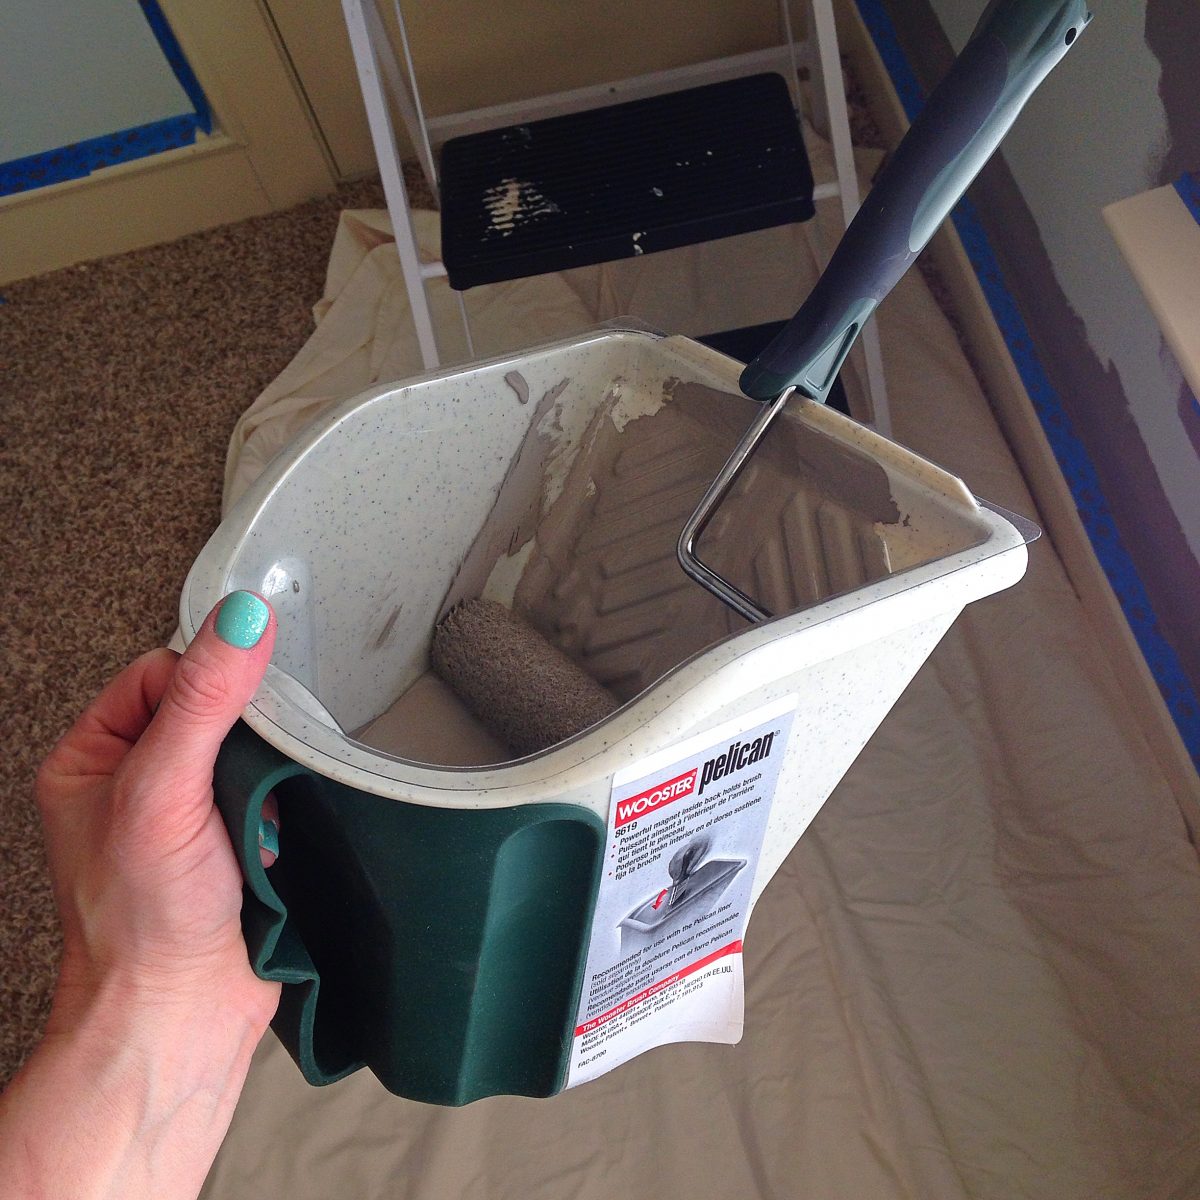
I also used my Wooster Pelican![]()
bucket to hold the paint on this part. I shared this tool on Instagram, and I think you guys love it as much as I do. I love that it has removable trays to keep me from cleaning anything up… Probably my favorite thing about it! It also holds your roller to keep it from going into the paint. So smart and so awesome. You can find it on Amazon HERE![]() !
!
Here are some progress shots of my cutting in!

Now, I will always have some really small spaces where my roller won’t get. They look a bit like this…
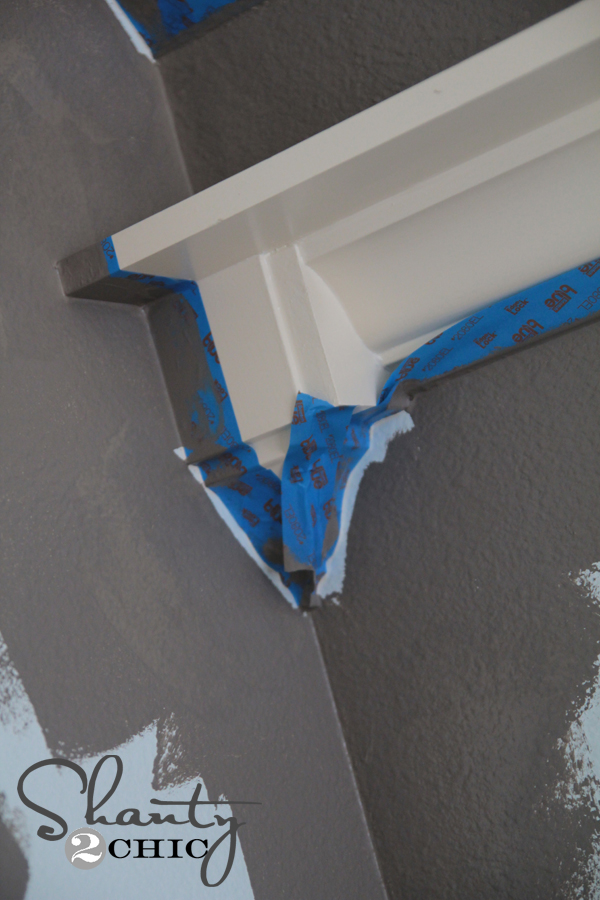
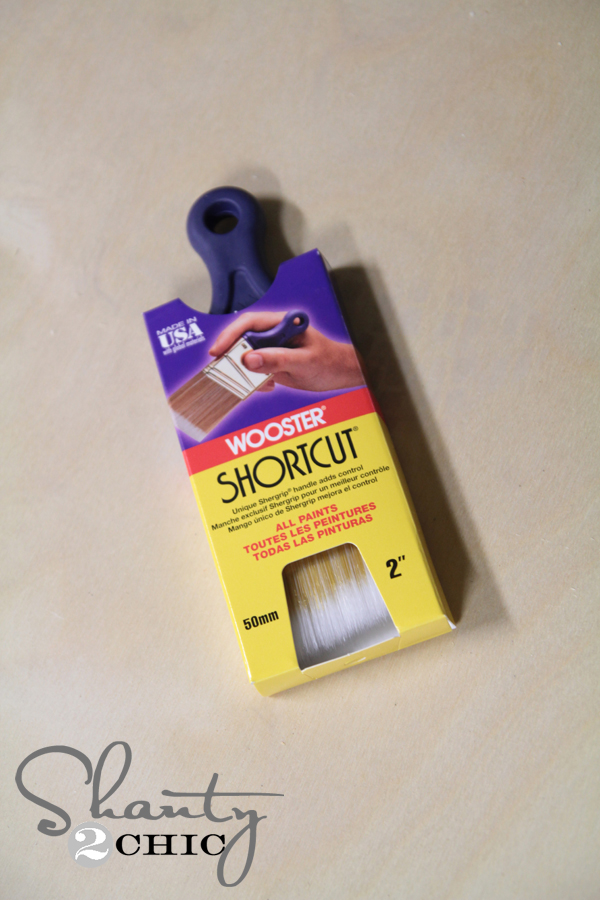
I just use a small brush like this one to get all of those small spaces before rolling the rest of the wall.
I like to put these in a small plastic baggie and put them in the freezer after I am done painting. They are great to go back and do small touch ups once you get the room put back together. The freezer keeps the paint from drying out. The fridge works too, but I can keep mine longer in the freezer!
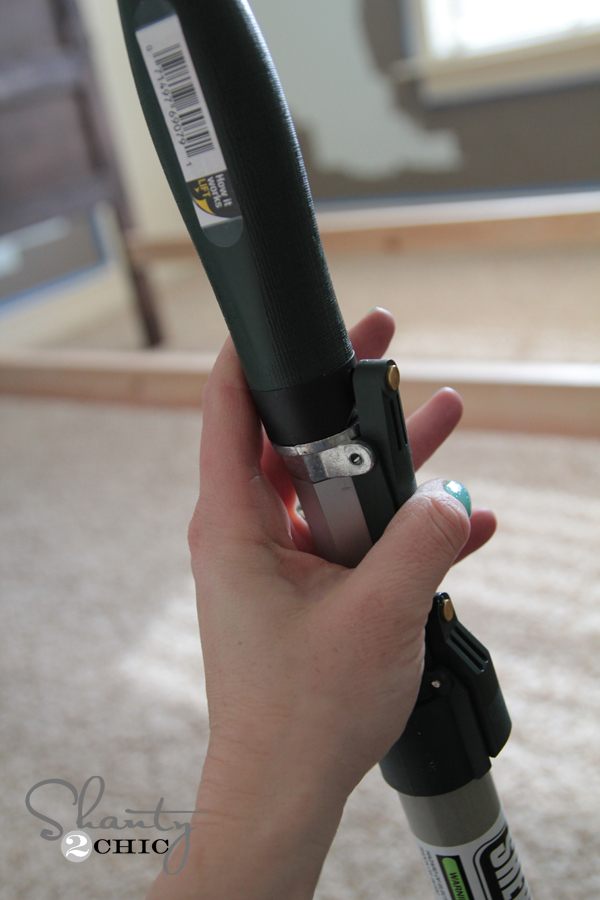
Now to roll the big part! This was my first time using this type of roller and OMG. It’s amazing to me that there can be such a difference in rollers. This one is called the Wooster Sherlock![]()
and I used the 2-4′ pole since I was only painting 8′ walls.

My favorite thing about the Sherlock![]()
system is how it attaches to the pole! Normally, with other brands, you have to spin the roller onto the pole. These always break for me over time, and they are a pain in the rear to get on. This one just clicks on with the press of a button. Genius! This was a huge plus when I was finished and needed to take the roller off.
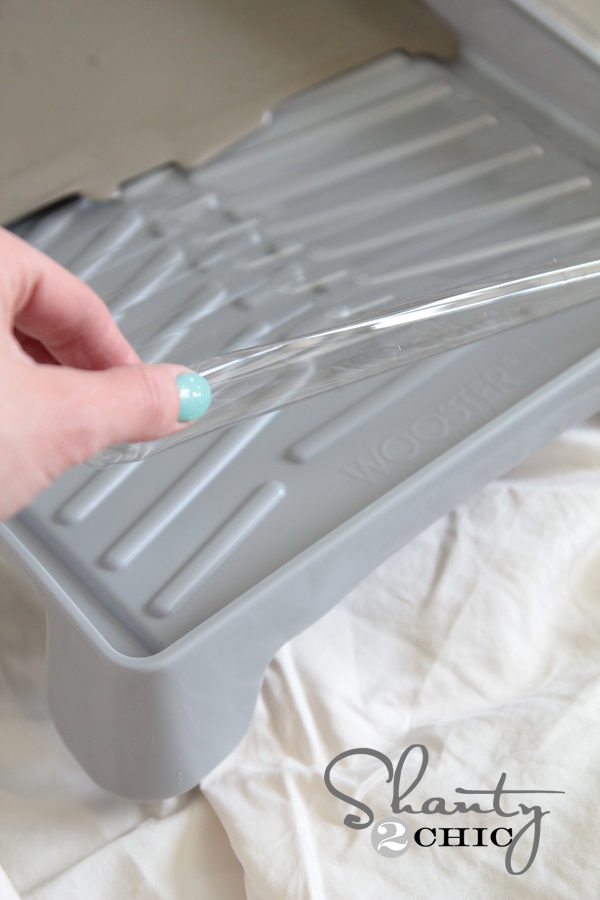
The tray I used was also a huge time saver. It has great plastic liners that stick in place and again… NO MESS after you are done!
My final step was rolling all of the unpainted walls. I used two coats of paint on the walls. I bought 2 gallons of paint, but only ended up using about 2/3 of one. Love that! Now I need to find something else to paint Seine…. 😉
Here are a few finished shots of the great color!
Isn’t it such a great color?? I love how it makes the trim pop! And again guys… With the right tools you can have a job done so much faster. It’s just like power tools….
I hope I have convinced you to overcome your painting fears! Be sure to ask me any questions here that you may have!
Thanks so much for stopping by… Can’t wait to show you guys some other fun projects I am doing in here!
~Whitney


Is that how you hold the pelican? or do you insert your hand into the strap!?
I’ve had several homes with rooms where the slanted part of the ceiling wasn’t painted and when I painted I went all the way up the the flat ceiling. It looks so much better and makes the ceiling look taller.
Thank you for the demos and product reviews. I didn’t notice any drop cloths in the pics. How do you avoid paint drops? Not sure if it the type of roller or my technique, but I end with paint drops all over the floor and me. Thanks for any tips.
Seems not so much like a “how to” but way more of a products(s) advertisement. Amazing that so many commenters found it helpful. I am not nearly enjoying Pinterest as much anymore since it sooooo often leads to glorified advertising like this.
Great job, and the color turned out fantastic as well.
Use the right edging brush and no need to waste all that time taping ceilings and the tops of trim… $5 at Lowe’s Wooster…
Sorry, but there are no tips on how to paint walls at all in here. This is just an advertisement for different products used in painting. As such, you should change the title of this article.