Happy Monday guys! Have you all thawed out? I hope so! To keep up with all of our projects from start to finish, be sure to follow us on Instagram!
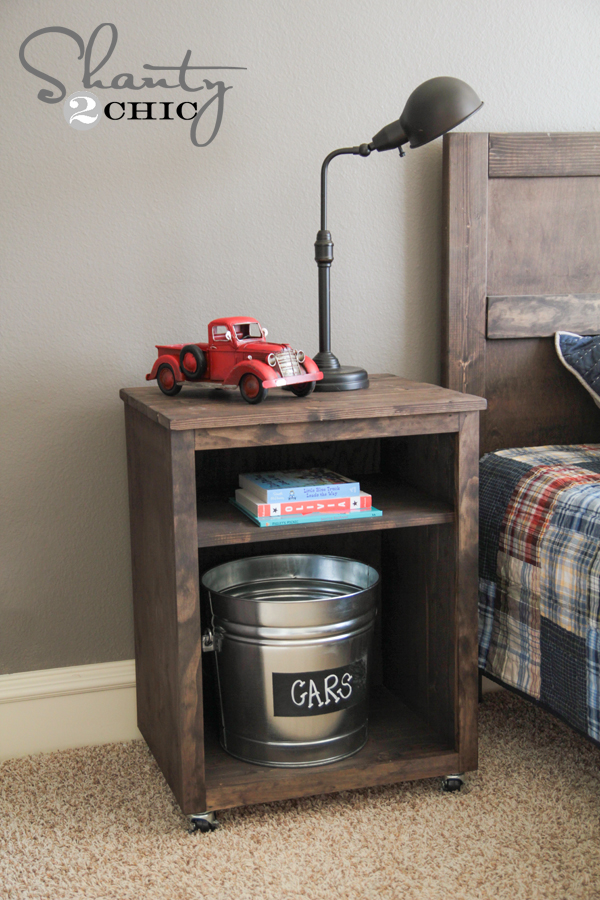
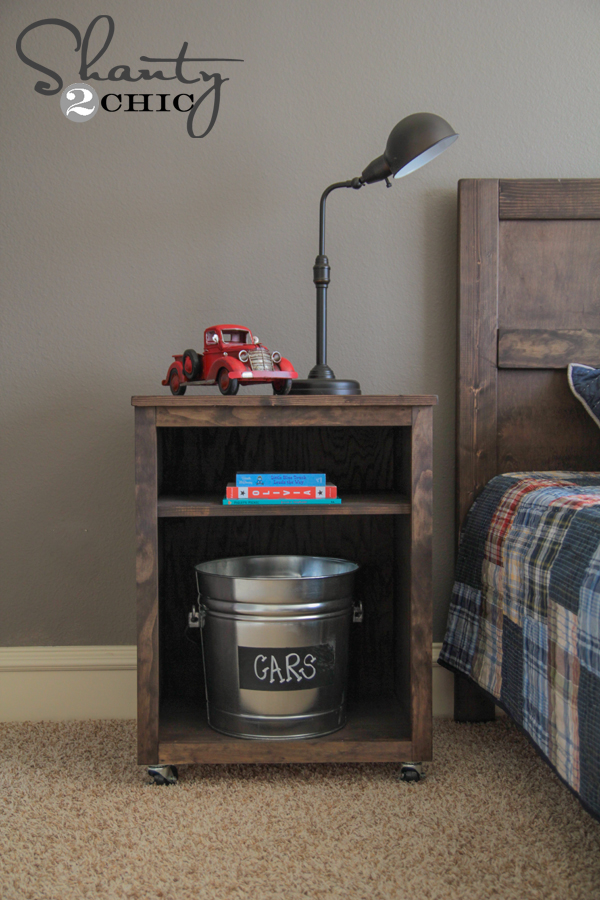
Many of you know I recently started redoing my baby son’s room. I have been debating his wall color for a few weeks. His room has been a very light blue color that I did when we first moved in our house for his big sister. I have no touchup paint, and couldn’t remember the name of the color, so repainting the whole thing was my solution. I went to Ashley’s new house last week and fell in LOVE with some of the wall colors. My favorite was called Seine by Valspar, and I immediately knew I wanted it for Brooks’ room.
So, I sent the kids off to school last Tuesday and got to work. I didn’t start taping off until around noon, and I had the whole thing painted and put back together by 8:00 that evening. That included picking the kids up and cooking dinner. For those of you that are intimidated by painting walls and the time it may take, hopefully I can help you out!
Here are some tips that help me get it done quickly!
First, here is a before shot of the room. Don’t be fooled. That is a pretty blue color, but what you don’t see are the multiple dings and doodles (thank you children) on the wall. It was time for a change!
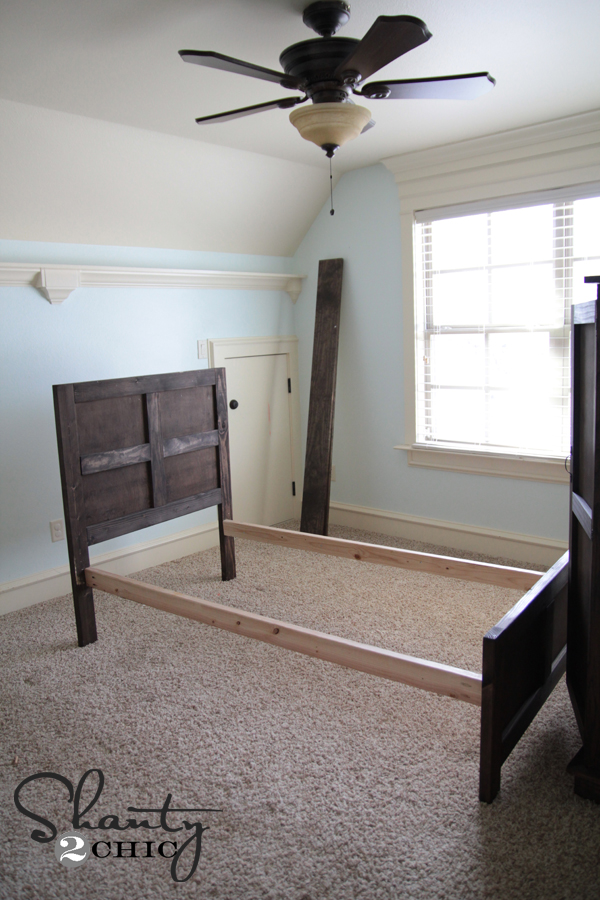
Cute bed, huh? I made it. 🙂 HERE is the tutorial and link to the free plans!
How I paint walls
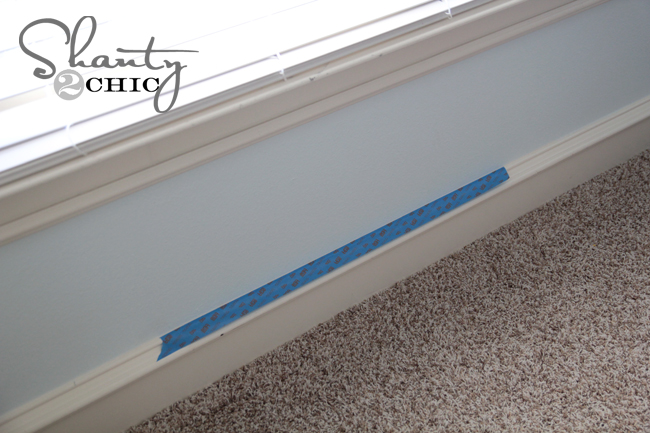
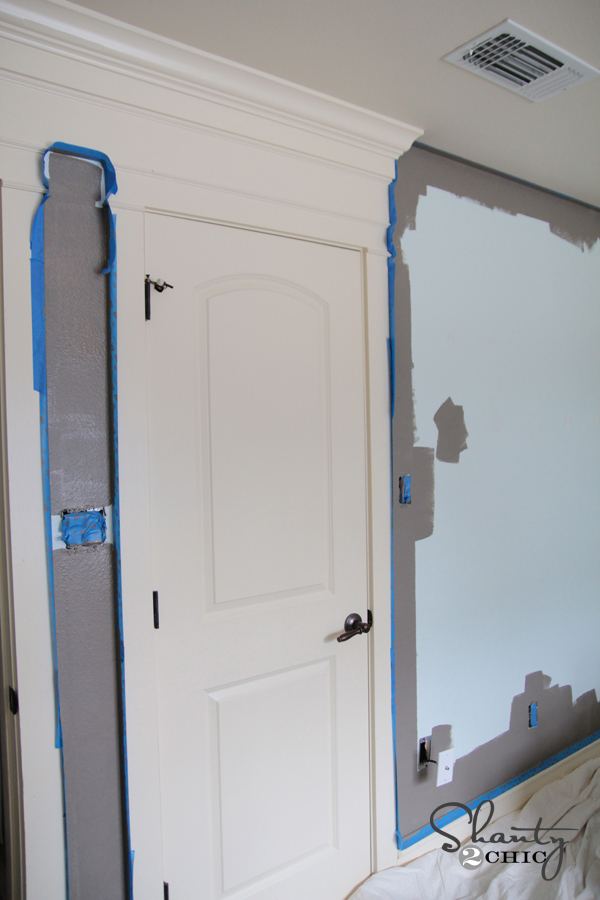
I start by moving everything away from the wall, and taping it all off. Now, if you have ever been down the painter’s tape aisle at the hardware store, you have probably seen the 4,579,223 tape options offered to help you achieve those straight lines. I haven’t tried them all, but I have put many to the test. I have had the best luck with this stuff.

It’s Scotch Blue with Edge-Lock. The Edge-Lock did cost a dollar or two more, but I feel like I really see the difference in the lines once I pull it off the wall. I start in small sections like this and work my way around the entire room.
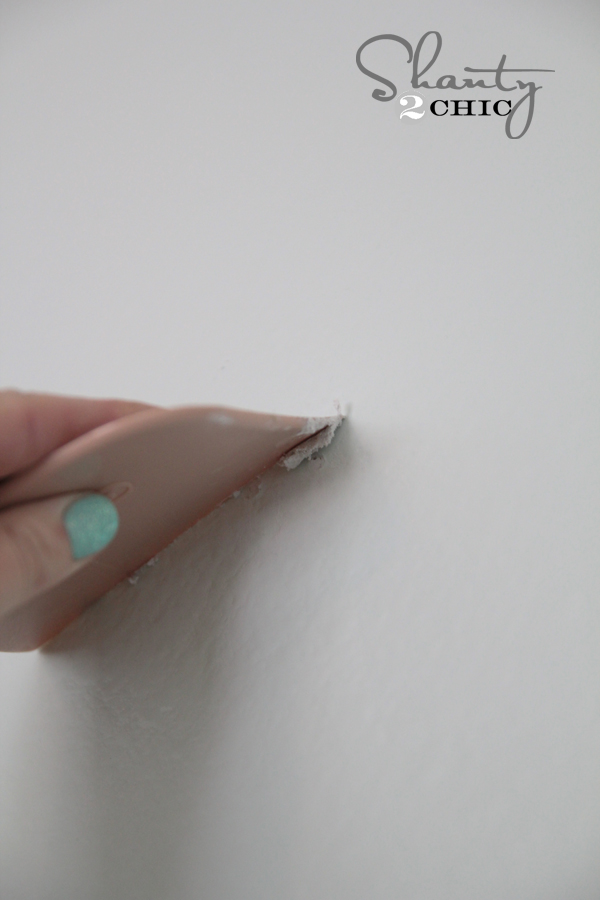
Next, I fill all of my nail holes on the wall. My favorite product to use for this is 3M’s Patch and Primer. I LOVE this stuff!
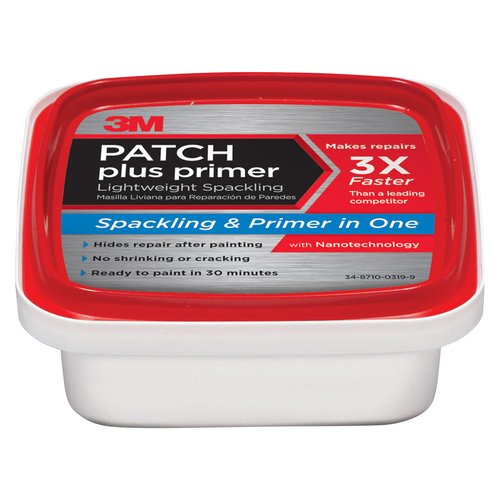
You just use a small putty knife or scraping tool like this one to go over your hole and that’s it. Let it dry for a bit and you are ready for paint. Works perfect for me every time.
I also remove all of my switch plates from the wall. If you are uncomfortable doing this you can just tape them off, but I find this much easier. It does expose the wiring, so be careful not to touch anything inside the holes. I cover each switch with tape like this…

I also use a piece of tape to hold the screws on the plate so I don’t lose them!

My first step is always cutting in… Or at least that’s what I call it! I use my very favorite roller for this part, and I had this part done in under 20 minutes! It’s the Wooster Jumbo Koter and it works with the pole I show you below.

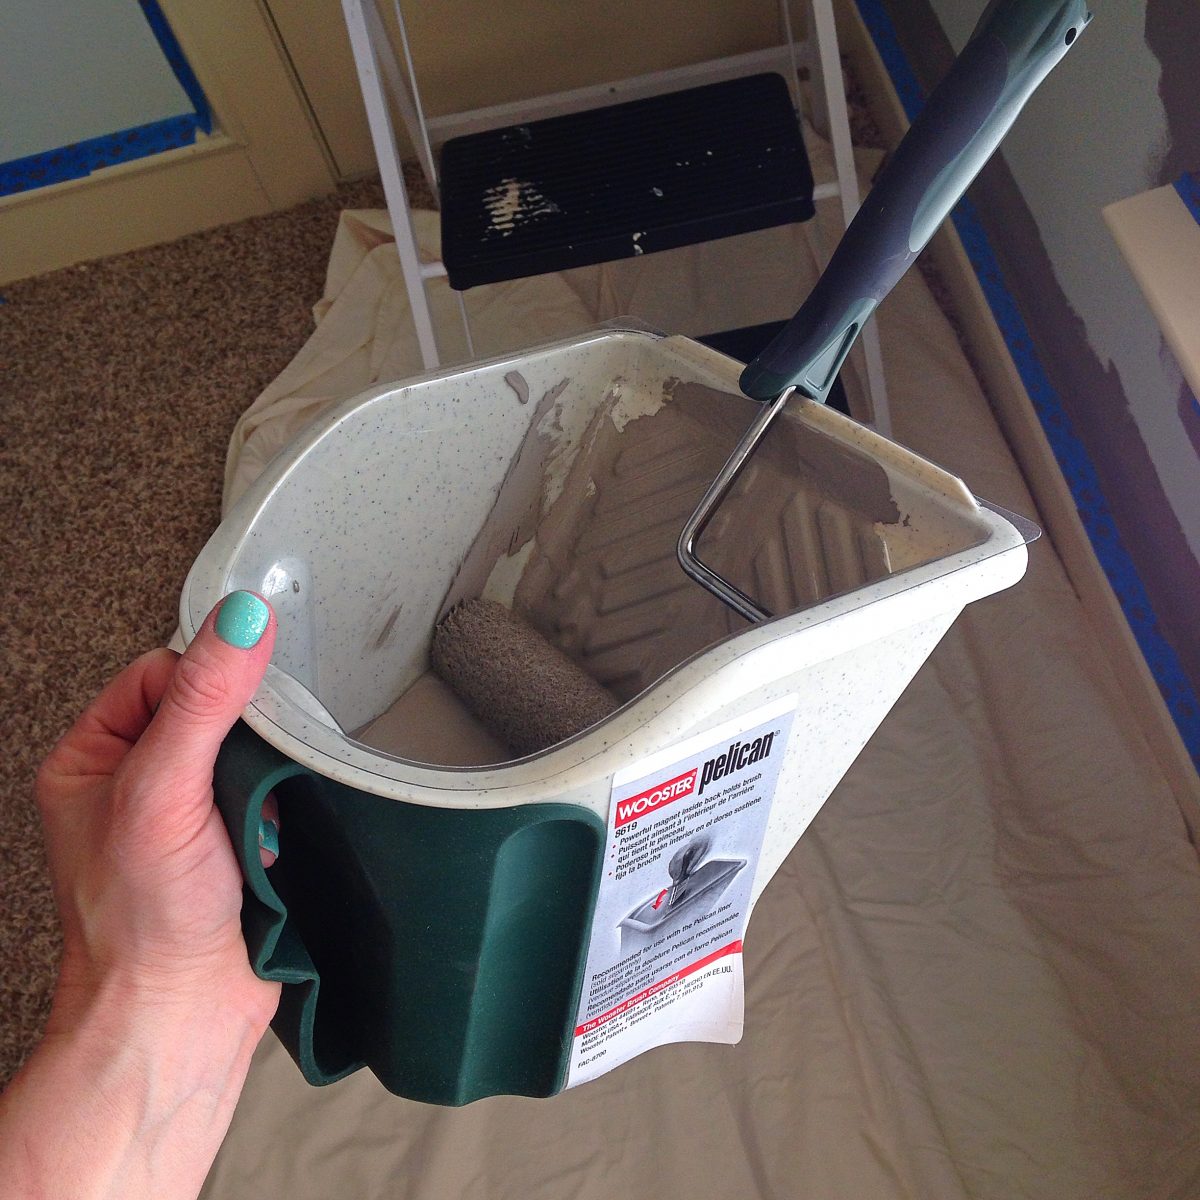
I also used my Wooster Pelican![]()
bucket to hold the paint on this part. I shared this tool on Instagram, and I think you guys love it as much as I do. I love that it has removable trays to keep me from cleaning anything up… Probably my favorite thing about it! It also holds your roller to keep it from going into the paint. So smart and so awesome. You can find it on Amazon HERE![]() !
!
Here are some progress shots of my cutting in!

Now, I will always have some really small spaces where my roller won’t get. They look a bit like this…
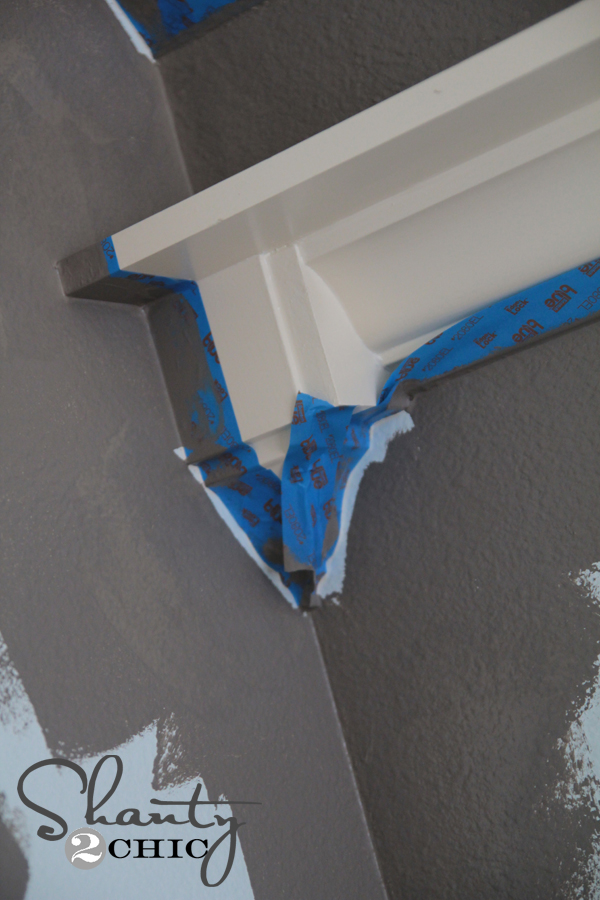
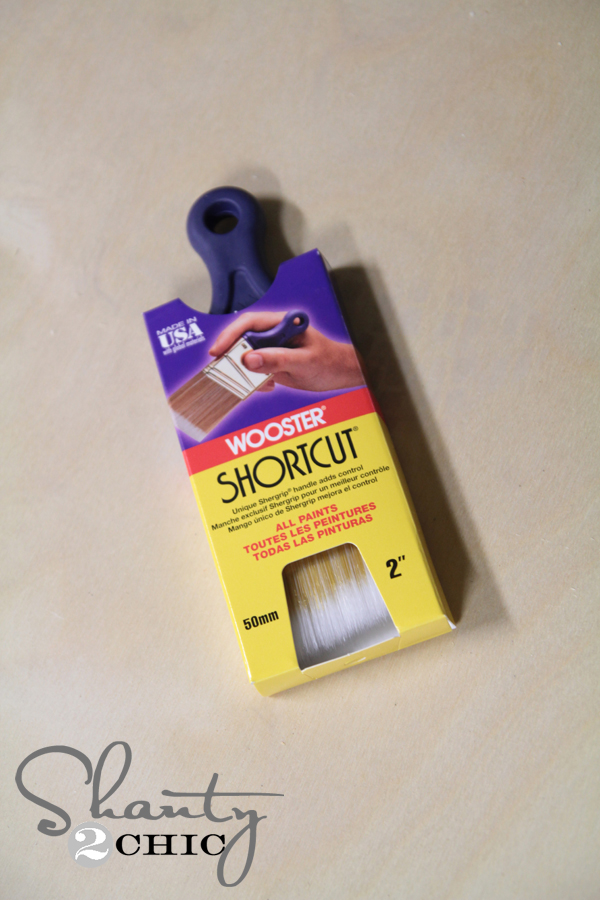
I just use a small brush like this one to get all of those small spaces before rolling the rest of the wall.
I like to put these in a small plastic baggie and put them in the freezer after I am done painting. They are great to go back and do small touch ups once you get the room put back together. The freezer keeps the paint from drying out. The fridge works too, but I can keep mine longer in the freezer!
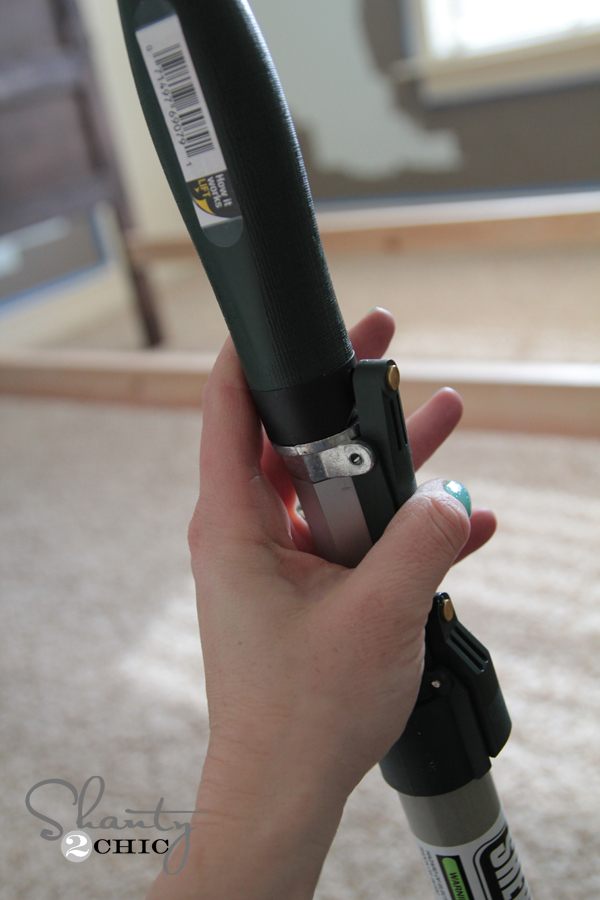
Now to roll the big part! This was my first time using this type of roller and OMG. It’s amazing to me that there can be such a difference in rollers. This one is called the Wooster Sherlock![]()
and I used the 2-4′ pole since I was only painting 8′ walls.

My favorite thing about the Sherlock![]()
system is how it attaches to the pole! Normally, with other brands, you have to spin the roller onto the pole. These always break for me over time, and they are a pain in the rear to get on. This one just clicks on with the press of a button. Genius! This was a huge plus when I was finished and needed to take the roller off.
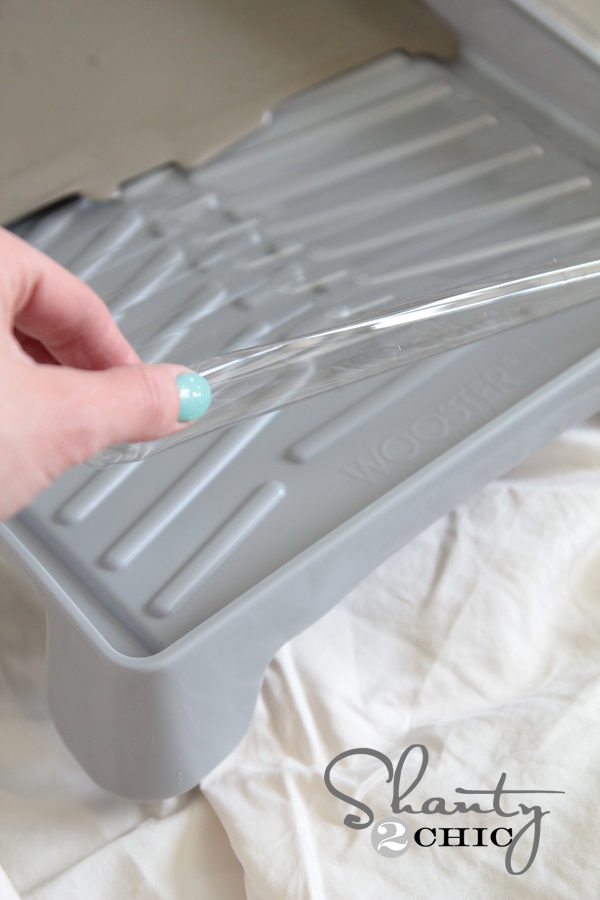
The tray I used was also a huge time saver. It has great plastic liners that stick in place and again… NO MESS after you are done!
My final step was rolling all of the unpainted walls. I used two coats of paint on the walls. I bought 2 gallons of paint, but only ended up using about 2/3 of one. Love that! Now I need to find something else to paint Seine…. 😉
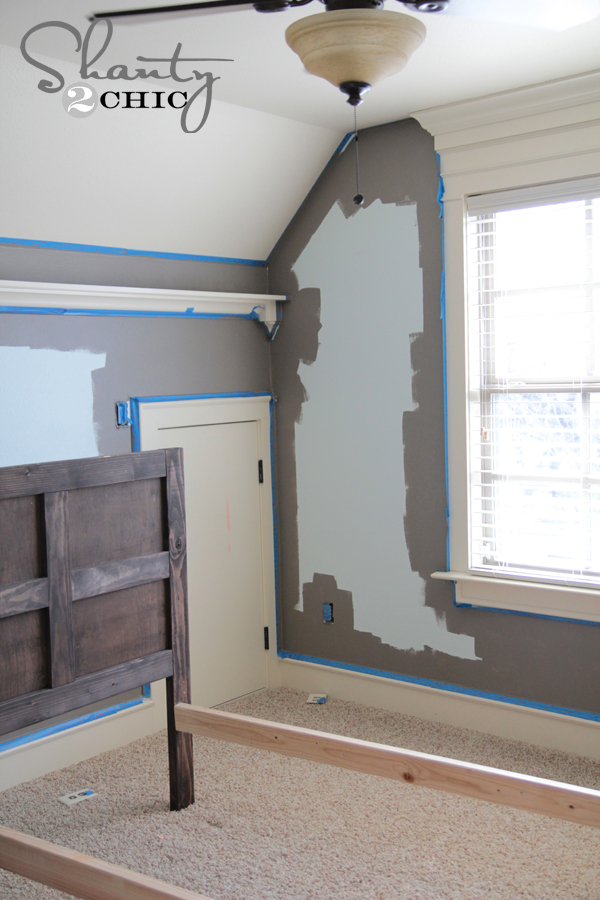
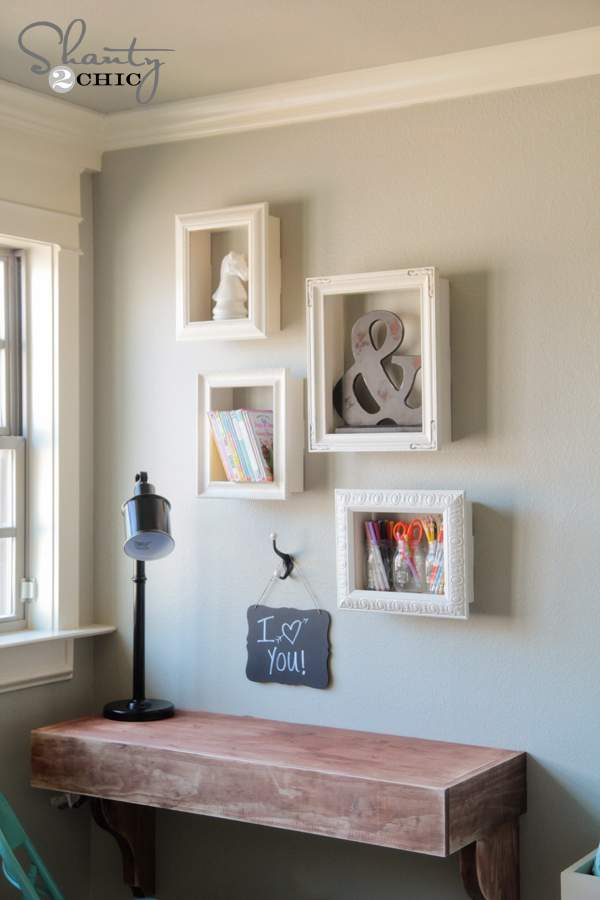
Here are a few finished shots of the great color!
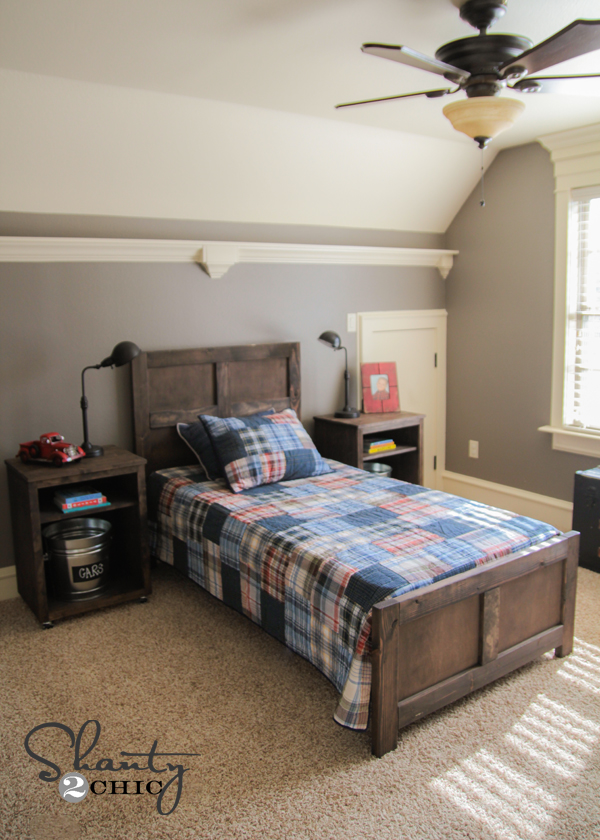
Isn’t it such a great color?? I love how it makes the trim pop! And again guys… With the right tools you can have a job done so much faster. It’s just like power tools….
I hope I have convinced you to overcome your painting fears! Be sure to ask me any questions here that you may have!
Thanks so much for stopping by… Can’t wait to show you guys some other fun projects I am doing in here!
~Whitney


We are redoing our dining, the paint is peeling off the wall in some places but not in other place. Question How can we patch the wall where the paint is removed?
There is primer specifically for peeling paint – it helps to seal the wall and prepare for new paint. What I would do is scrape the wall to get any loose paint off, and then sand the edges to help feather the lines. Any huge gauges can be filled with patching compound or drywall mud (joint compound). Then use the peeling paint primer and paint away!
I would discourage storing your brush in the freezer, as this will cause your paint to separate – this is why paint cans say NOT to let the paint freeze or to keep it stored between certain temps. Wrap the brush snugly with plastic/Saran wrap and it will keep for a day or two in the fridge, or even at room temp without the worry.
My husband and I are opposites when it comes to home projects – he is willing bc he loves me and he’s good at them but hates doing it and would rather pay someone. I’m eager to learn anything new when it comes to power tools and home reno, love the creative and hard labor process, and would rather save the $$ and do it myself. Haha. He JUST asked me this week when we buy a house (we rent right now) – would I rather us paint all the rooms or hire it out? You make it sound so easy! Maybe I can convince him … 🙂 Thanks for all the tips and the product tips!
Hi, I just saw this great little article on pin and will tell you a coupla things. My dad was a pro painter from Chicago and attended the notable Washburn trade school and later took color theory at the Art Institute. So, I have an edge on this even though I instead became a carpenter. Painting isn’t a walk in the park but to me, it’s ver satisfying when you get the knack of it. The author of the article is ver thorough and cites great products that appear to bring the paint job into the 21st century, lotttsa great tips. If you and your husband launch into doing this, go slow, try a simple project and don’t be offended but try a closet first. Make all your first mistakes there and then move onto bigger jobs. I went back to school at 28 years old to become an Architect and payed a lot of my school costs painting for some really nice families in the foothills in Tucson. I learned to really love painting. But but but…decades later, I hire a pro now, it’s just beyond me and my wife to do this work now. I encourage you to try. Be patient, learn from mistakes and don’t be afraid to do over if things don’t come clean for you. Good luck!! Brad
This is a great tutorial. I have done a lot of painting in my life. To me, as the other ladies said, it is packing up the room, even if it is neat that is time consuming. I was wondering. Do you always take the mattress off your bed before painting? I would just cover it all?? How much time do you calculate in for disassembling the room before painting. And how did you decide to use all Wooster products? Was it a recommendation?
Great info! What paint did you use and whats the color? Loved it!
Great tips! Do you just toss the tray liners?
what color is this? I love it.
I really love these warm neutral colors. I would love to use the door and trim color in my basement. Can you tell me what color it is? Great painting tips!
She said in the blog the paint is called Siene by Valspar
Thanks for the tips on which brushes you use — I have been using a brush to cut in for years and it takes FOREVER!!!!!
Approx how much is the bucket and roller as already got an old set but really inspired as my two bug bears are one the roller slipping into the paint and then cleaning the tray which no-one but me ever ever does.
Looks great! Question, do you take tape off while the paint is still wet or when the paint dries. I have painted quite a few rooms but have seemed to always mess this up and end up peeling off paint if I wait for it to dry. I might just be using the wrong tape. So true that having quality correct tools is so helpful!
I would love to know the answer to this too.
I have painted quite a few rooms, and I always remove the tape when the paint is “tacky”, not wet or completely dry. Works beautifully, even when using tape to paint stripes. I sometimes use something called Frog tape, which works great! Also, try not to paint too much onto the tape, it always removes easier and creates a clean line if you are careful.
✨??✨?✨✨✨✨✨?✨
✨✨✨??✨✨??✨?✨
✨✨✨✨✨??✨✨??✨
__________??__________
These plans are decent,but I found a better one at www. WoodworkPlans.info – highly recommended you check those out too. They are detailed and super easy to read and understand unlike several others I found online. The amount of plans there is mind-boggling… there’s like 16,000 plans or something like that for tons of different projects. Definitely enough to keep me busy with projects for many more years to come haha
www. WoodworkPlans.info ??
Hi! Has anyone mentioned that Wooster paint brushes and supplies are made in the USA? In Wooster, Ohio, to be exact, which I know now because my son plays hockey there. I love to see that you’ve found great made-in-America products! Thanks for the much-needed painting lesson!
I went to college in Wooster, and I was so happy to see the Wooster love in this post! They really make a bunch of great products. I love the 2 1/2″ angled short & stubby brush when I am cutting in.
I went to the ice arena *once*….. I’ll leave the ice to your son 😉
Looks awesome! What colors did you use for trim and ceiling and what finishes did you use
What color is your trim and Ceiling? I am loving the Seine!
Great article. I need to start to finish painting our bedroom.