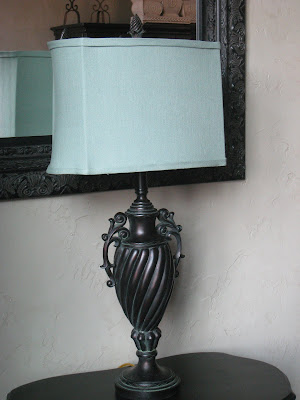
Hey Guys!! Hope everyone is having a great Monday. Two of my kiddos returned to school today so I finally had the time to start revamping again… woohoo! I am planning to fix up a little table to go next to one of our chairs and decided I need a lamp for the top. I recently received a pair of shades as a hand-me-down that I thought would be perfect. I love the shape of them… They just needed a new fabric. Here’s the finished product…
Now here is how I did it…
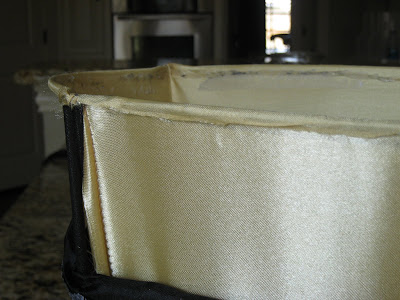
I started with this lamphade.
I removed the trim on the inside of the lamp by pulling on it. You would do the same if your trim was on the outside of your lamp.
Then I want to pull the outside fabric off the shade. This one was easy to do but if it won’t pull away you want to cut it really close to the metal without cutting your liner fabric.
I did the same thing on the opposite end and it looked like this.
Then, it will just pull of the lamp like a sleeve.
And you are left with just your liner fabric.
Every lamp is different but the idea is to remove your top fabric without hurting your lining.
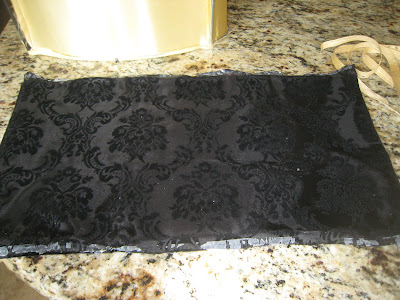
Now you can use your top fabric as a pattern for your new fabric. I found this great blue linen at Hobby Lobby that I love.
I just put the pattern on top of my linen and started cutting. I did add about 1/2″ just to give me a bit mor fabric to pull on.
After you cut your fabric out you will need to attach the ends of your fabric together. For those of you with a sewing machine this will require a simple straight stitch. For those non-sewers… you can attach these ends by using a fabric glue like Liquid Stitch or Mighty Mendit. I did sew mine, right sides together and it looked like this.
Now you should have a sleeve when you turn it right side out like this.
I then just pulled it over my shade like this.
For the next part I used clothespins and wooded sticks like tooth picks.
I also used E6000. It’s a great craft adhesive and you can find more info on it HERE. I purchased mine at Michael’s for around $4.
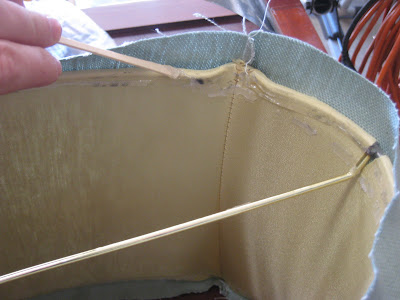
It squeezes very slowly out of the tubu so I just put a little bit on the end of a wood stick and then put it around the top of the shade. I did about 4″ at a time.
Then just fold your fabric over and secure it with a clothespin. Don’t be stingy on your pins… I used LOTS.
A bigger section drying…
And the whole top drying…
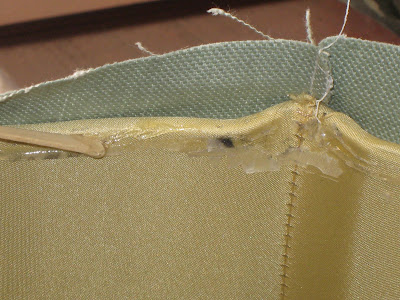
When that was dry enough(about 20 minutes) I removed the pins and did the same thing on the other end. The only difference is that you want to pull your fabric tightly as you secure it with the pins on the other end. Once that was dry my shade looked like this…
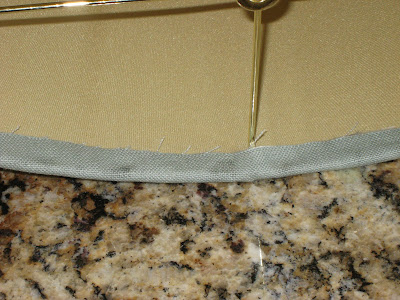
I used my inside trim I pulled off to cover up my raw edge. If your lamp didn’t have any inside trim you can use a ribbon. I used my hot glue gun for this part.
Much better…
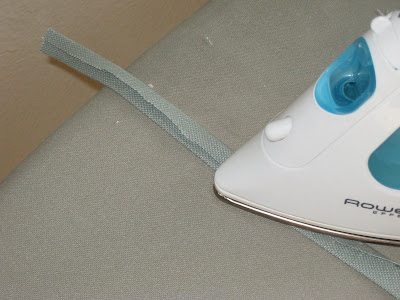
My last step was to make my decorative trim for the outside. I did this by cutting two long strips of fabric about 1.5″ wide each.
You just fold it in thirds and iron. Start with your first side…
Then, fold your other side on top of that and iron.
The top will look like this.
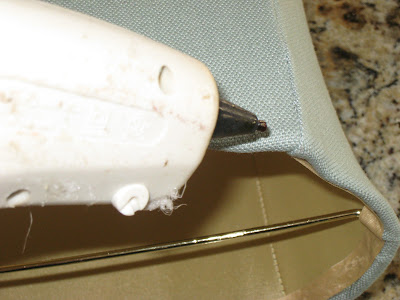
Now I used my hot glue gun again to attach the trim. Just run a line of hot glue on the edge and attach the trim.
When you get back to where you started just fold your other end over and attach it with glue.
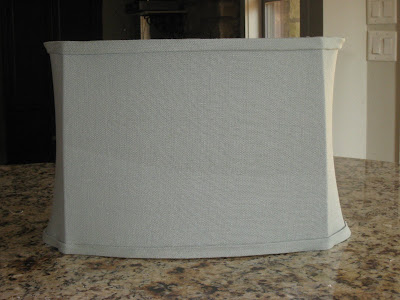
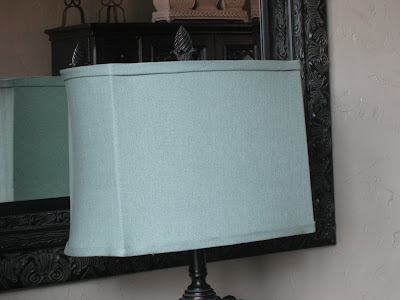
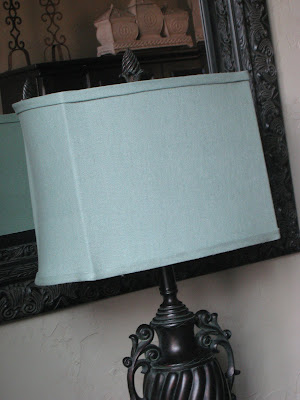
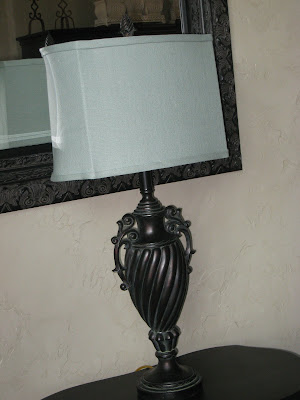
My finished shade…
And a few action shots…
Hope you guys like it!
Now… We are only a couple of days away from I Made it Without My Hubby!
We want to see everything you gals have done without the help of your hubs. No specifics… just any craft, project or revamp you have done with your own two hands. You can grab a button below or on our side bar. Thanks!!

~Whitney
Updated~ We will be linking up here…













I love the lamp redo. The color is beautiful. I tried to email you but it wouldn't deliver the message. I wanted to share the drop cloth tree skirt I made. thanks for the inspiration. Pictures are on my blog.
http://fortheloveofit2.blogspot.com/2010/01/last-christmas-project.html
Love your redo and I love the fabric! It looks similar to my master bedroom wall color.
What great new this is.. I've made a couple of fabric lamp shade and just play the guessing/cutting game the entire time.. Loved the tips.. THANKS bunches !!
Staci
Soooo glad you posted this I was looking for something to do with mine.
Yours looks great.
Fantastic! It looks like a million bucks!
Wow! Ya know, I REALLY don't think the lamps I need to recover have a liner. It looks like the same material through and through. Hmmm…
Looks great! Love the blue linen! I have a couple shades that need recovered. Thanks for the tutorial. Hope I can successfully get it done…
It looks great. I am on the look out for some new lamps. Time to go thrifting.
Ruth
That looks great! I just picked a lampshade with a similar shape to yours at Goodwill. I never thought to use the clothespins. That would make it so much easier.
Love it!!! Great job. . .I wonder if I could do this. . .?????
Great job…very elegant! Thanks so much for the tutorial…you gals always make everything look so easy! Hope you have a wonderful Tuesday 🙂
? I’m so so happy with how mine turned out! The plan I used is better than this one. I used the plans at www. WoodworkPlans.info to build mine – I highly recommend you visit that website and check their plans out too. They are detailed and super easy to read and understand unlike several others I found online. The amount of plans there is mind-boggling… there’s like 16,000 plans or something like that for tons of different projects. Definitely enough to keep me busy with projects for many more years to come haha
????? Check it out! Go to www. WoodworkPlans.info – click the pink link above for some more plans! Best of luck on your building adventures! ✨✨✨
This is great because I just pulled a lamp down this weekend to recover, and I was thinking, "I need to check Shanty's blog to see if they've done this before!"
So, that said–PERFECT TIMING girl!
Love it! 🙂
You make this project seem completely do-able. I love your fabric choice and how your lamp turned out. Good job!
That is fabulous! I love the fabric with the black. Thanks for the tutorial – you make it look easy!
I just bought a lamp from my favorite store Home Goods for $15.00 thinking that I could redo the horrid lampshade. Thanks for this tutorial…I am off to redo my shade! 🙂