Happy Monday guys!
I hope you all had an awesome weekend! The weather here was too pretty to stay inside, so we spent lots of time out in the garage getting stuff done. To keep up with all of our projects as we are creating them, be sure to FOLLOW US ON INSTAGRAM!
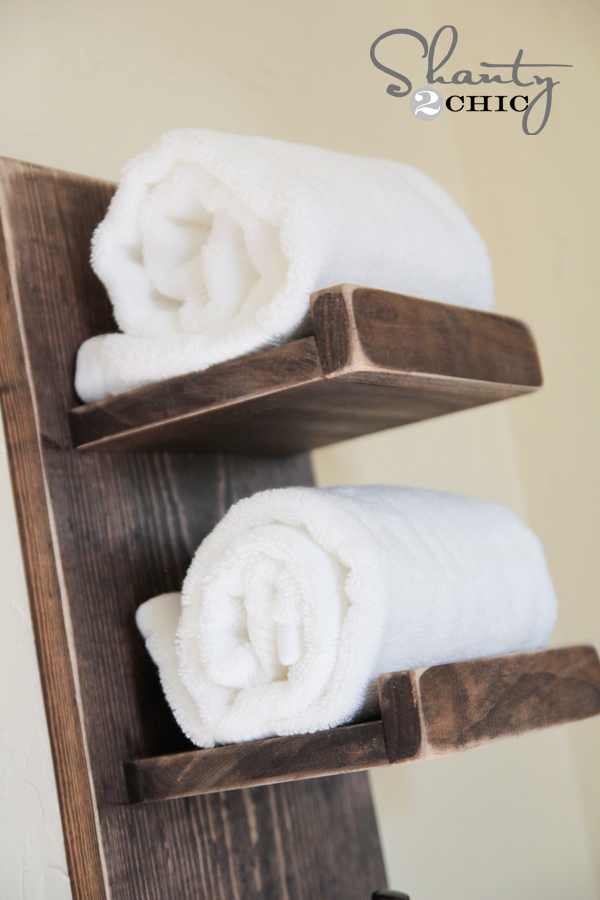
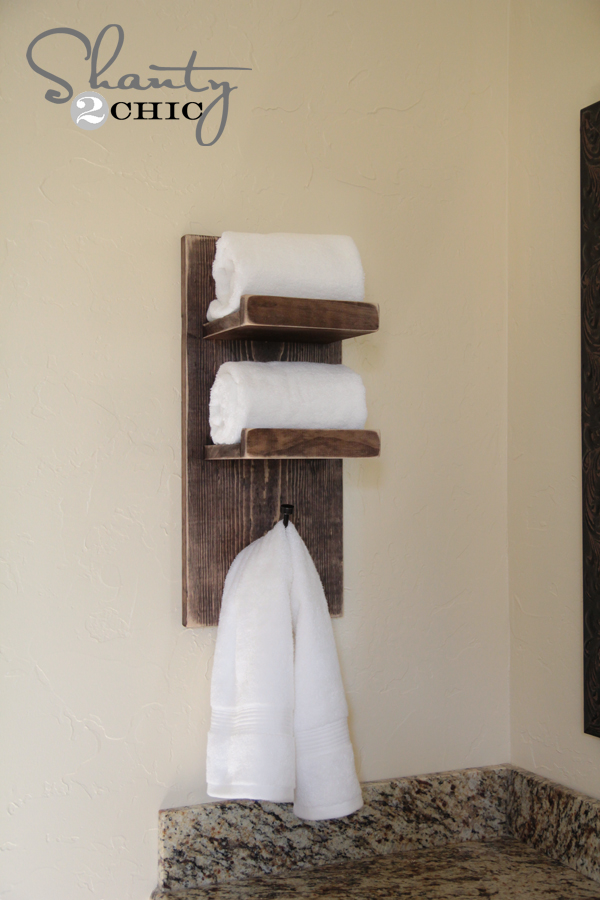
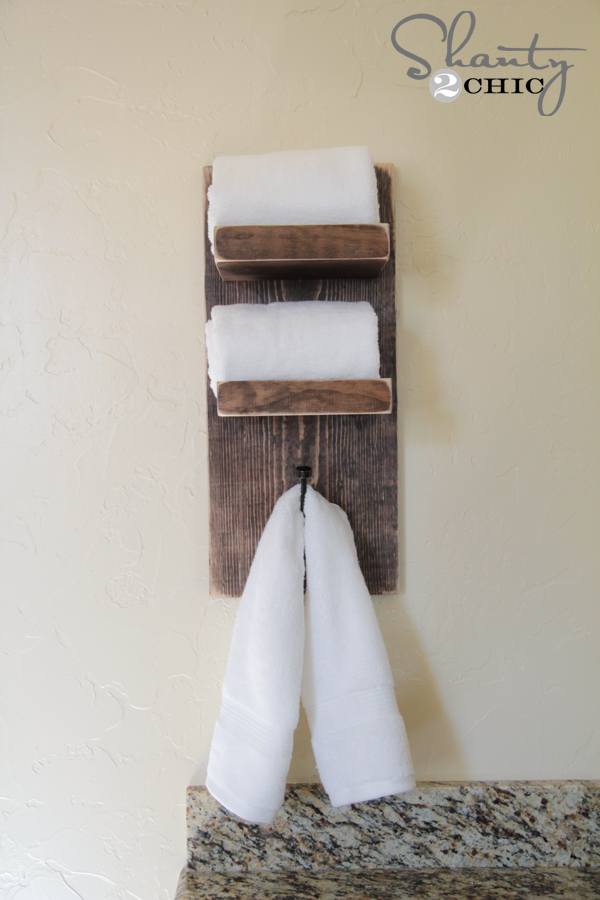
My next project solved a huge problem I have been dealing with for 5 years. My hubby is very specific about his hand towels. He wants one hanging at all times, and a backup ready to go that he doesn’t have to go search for. That led me to design these guys! Check out my DIY towel holders I created for under $10!
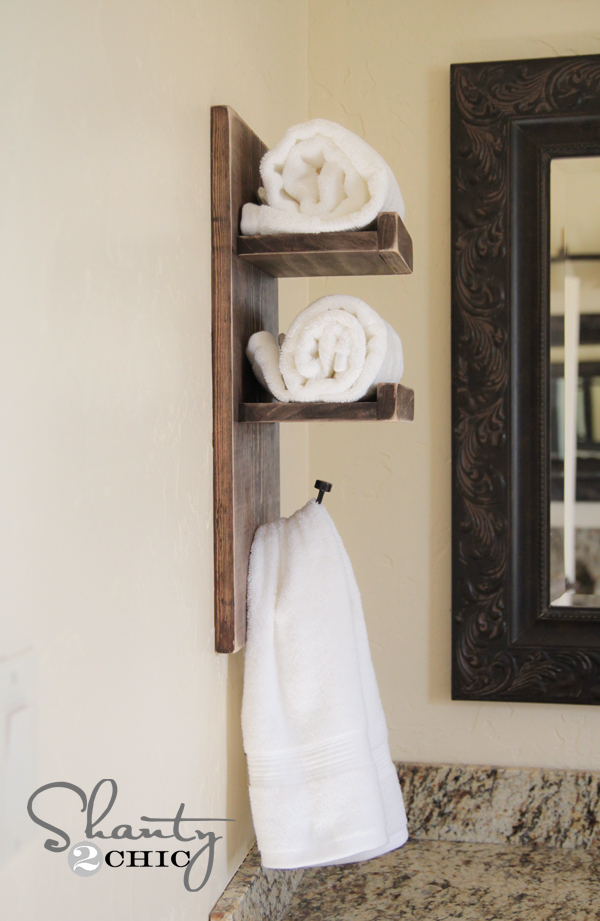

See… Now he has 2 towels ready to go! Woohoo!
This is a super easy build! It’s also a great starter Kreg Jig ![]()
project for those of you on the fence or those that have yours still sitting in the box…
Let’s get started!
Supply List for 2 Towel Holders
1 x 10 x 4 board
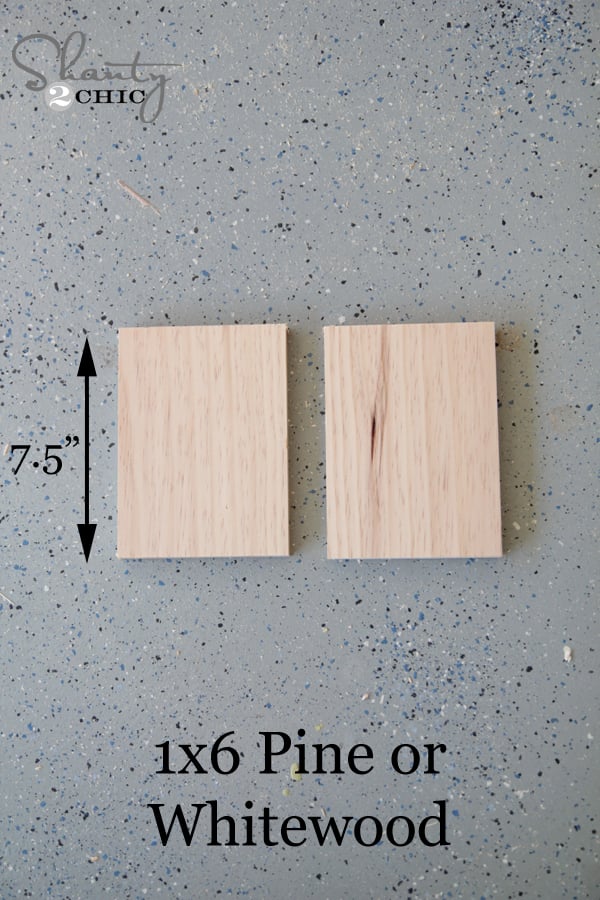
1 x 6 x 4 board
1 x 2 x 4 board
Stain
Metal Hooks
My first step was making my cuts. I used my Ridgid miter saw to make all my cuts. You can also use a cheap hand saw like this one! It requires a bit more elbow grease, but totally gets the job done.


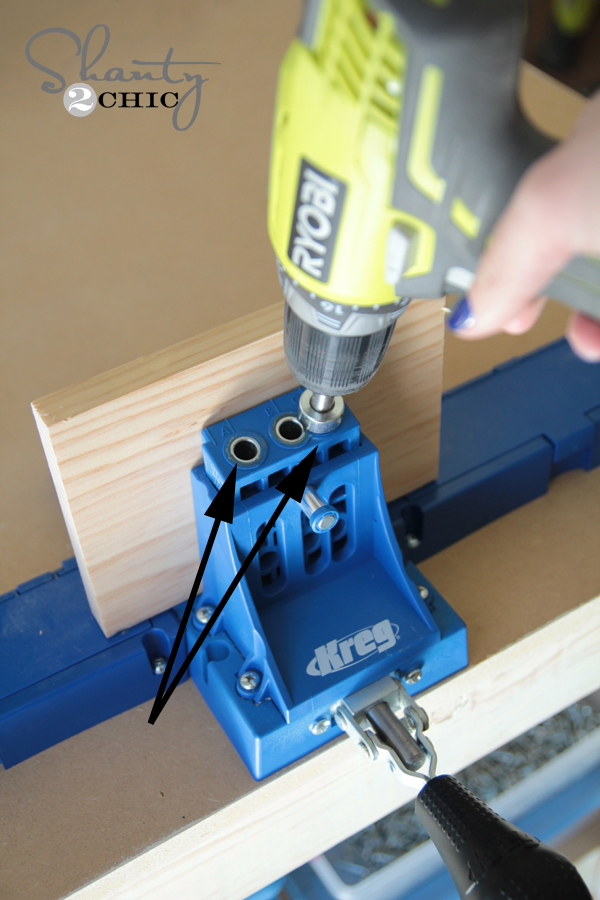
After making all my cuts, I used my Kreg Jig ![]()
to put two 3/4″ pocket holes in each of my 1×6 pieces. I put one at each of the arrows.
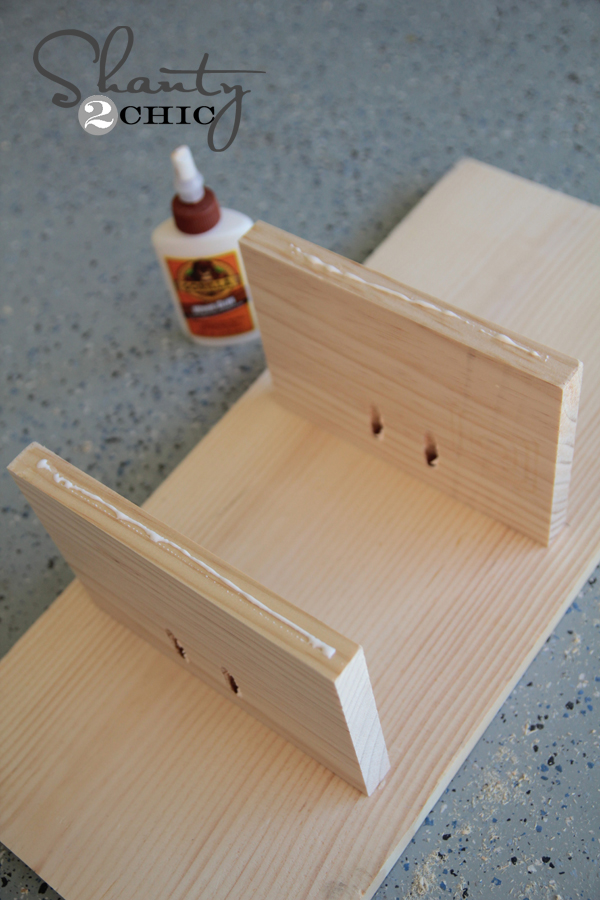
Here is what they looked like before I attached them…

Next, I used my Ryobi drill to attach the shelves with 1 1/4″ pocket hole screws.

This is where i placed both of the shelves…

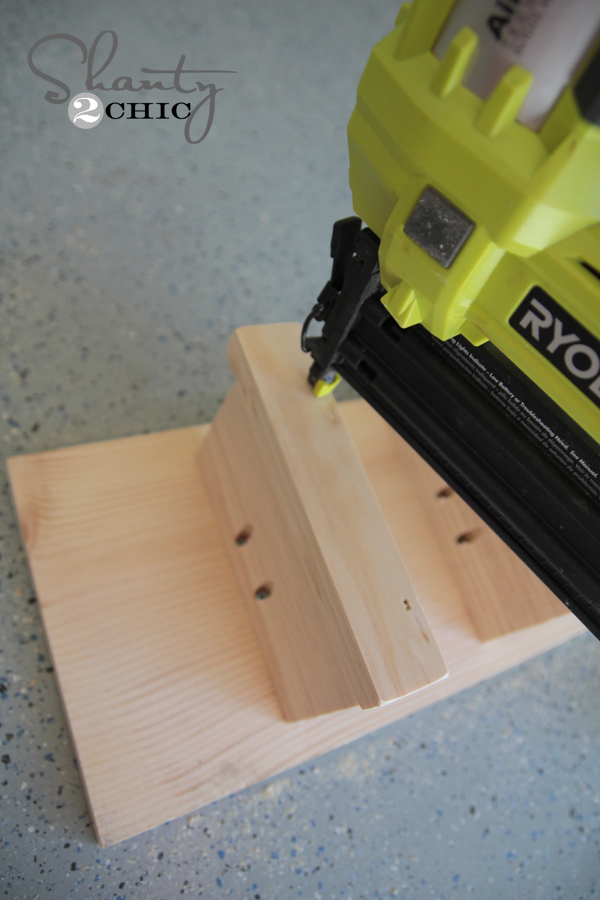
To add the front 1×2″ trim piece, I ran a line of Gorilla wood glue down the front of each shelf piece.
Next, I used my Ryobi Airstrike cordless nailer (love love love this tool) to put a few brad nails into each piece like this…
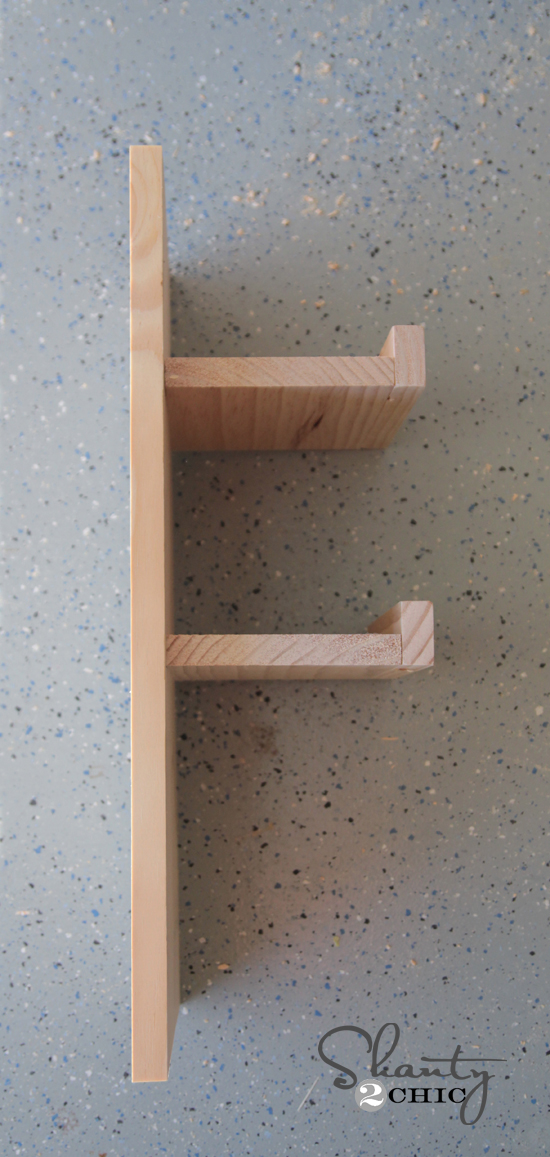
Here is a side shot of the shelf…
Now for stain! I used Varathane stain in dark walnut for this piece. You can find this at Home Depot. We love it because it dries super quick and it only requires 1 coat… Woohoo!
Here it is drying!

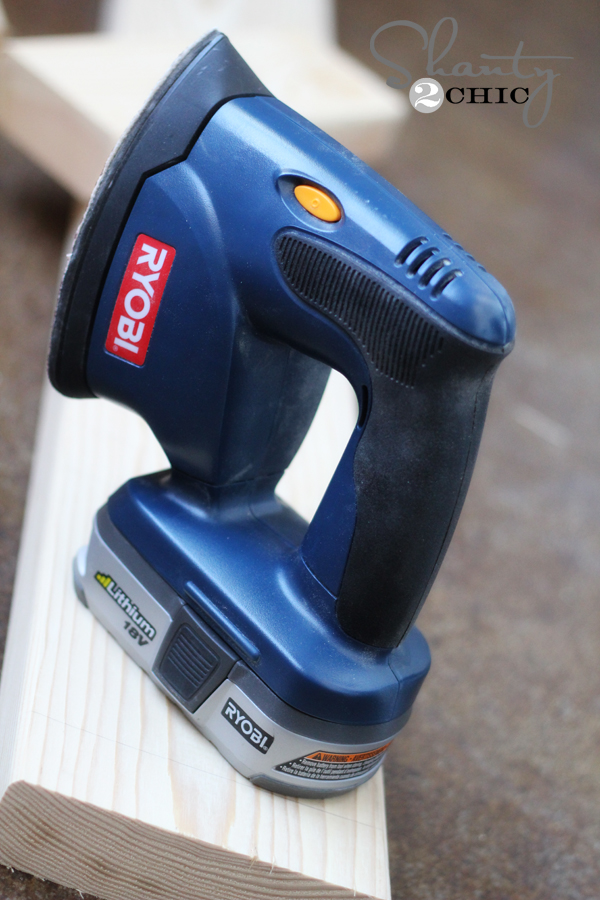
Before hanging it, I used my Ryobi Corner Cat sander to distress and rough up my edges. I love the finish it gives! Plus, it uses the same battery as my drill making it super convenient.
To hang it, I decided to mount it directly to the studs in the wall. An easy way to find your studs is by using a stud finder. This is the one I use.![]()
I used my drill to pre drill two small holes in the center of the top and bottom of my back board. The bottom one will be covered by my hook, and the top will be filled and covered with a rolled towel. Next, I used 3″ torx screws to go through the back of the board and into the studs of the wall. I used wood filler to cover my top hole. Finally, I attached my hook which covered that bottom screw. Easy peasy!
Here it is again all finished!


What do you think?
I love that I made these for under $10 and in no time at all!
I would LOVE for you to share my towel holders and PIN them below! You guys are always so awesome!
Thanks so much and let me know if you have any questions at all!
~Whitney


I absolutely love this DIY towel holder! It’s such a creative way to add some charm to my kitchen. Can’t wait to try it out! Thanks for sharing the detailed instructions!
I absolutely love this DIY towel holder! It’s such a creative way to add style to my bathroom while keeping everything organized. The step-by-step instructions are super easy to follow. Can’t wait to try this out and put my own twist on it! Thanks for sharing!
I love this DIY towel holder! It’s such a creative way to add a personal touch to the bathroom. I can’t wait to try it out and customize it to match my decor. Thank you for the detailed instructions!
I absolutely love this DIY towel holder idea! It’s such a creative and cute way to add some charm to my bathroom. The step-by-step instructions make it seem so doable. Can’t wait to try this out! Thank you for the inspiration!
I absolutely love this DIY towel holder idea! It’s both functional and adorable, and I can’t wait to try it in my own kitchen. Thank you for sharing such a cute project!