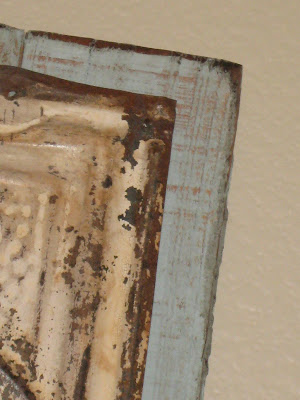
My next project came from one of my favorite people I met in Round Top at the Flea Market. They were a couple from Gatesville, TX who used salvaged wood and tin to create some AMAZING pieces. Lucky for me he was also selling his wood and tin. This is a piece of salvaged tin that he sold to me for $12. It’s beautiful… I love the shape, the paint, the lack of paint and the rust. What a combo!!
I knew I wanted to hang it just as it was but I did want to attach it to something… give it a little more beef. This is what I did…
I purchased two 8 ft cedar fence posts from Home Depot. These were about $2.00 a piece.
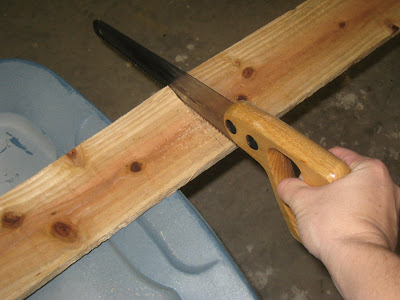
I started by marking off where I would cut. I made each piece 2″ longer than the tin and cut 4 of these pieces.
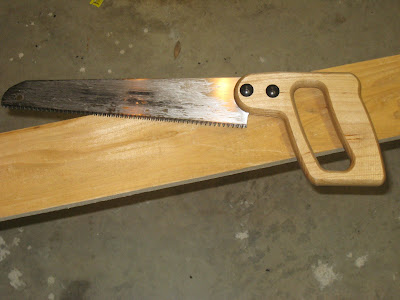
My tool of choice… my trusty $12 hand saw. I had every piece cut in less than 3 minutes.
This is what my 4 cut pieces looked like…
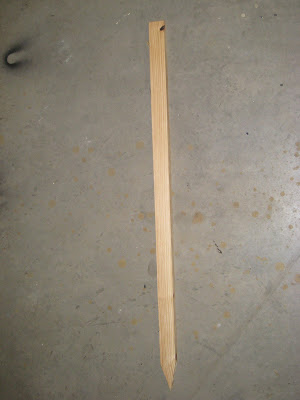
I also bought a 3ft yard stake for $.59… how’s that for shanty??
I cut two pieces 12″ long… the same width as my tin.
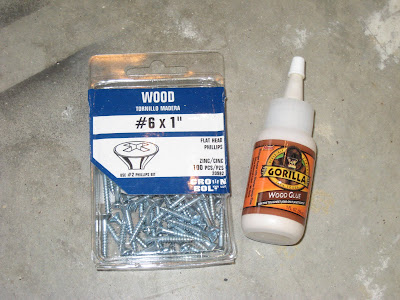
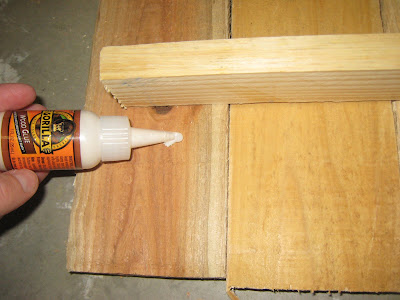
I then used my Gorilla Wood glue to attach the stakes to the posts.
I added glue to both pieces like this.
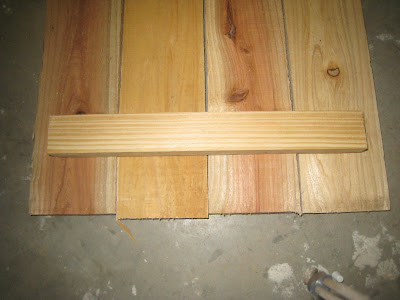
Before I attached them it looked like this…
Stuck together…
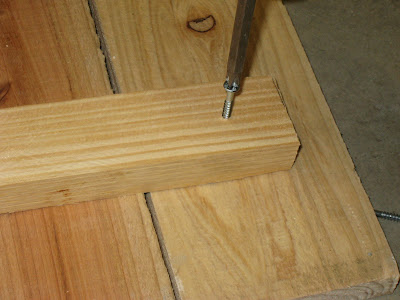
Then I used wood screws to make it even stronger…
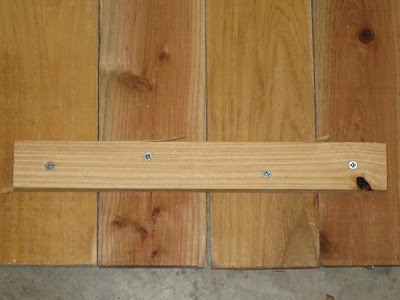
When I was finished adding those it looked like this…
I repeated these steps on the other end as well.
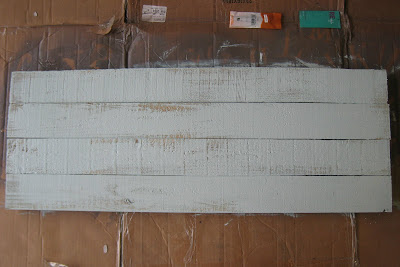
My next step was the paint. I used my favorite blue out there… Olympic Blue Willow satin latex paint from Lowe’s.
I wanted it to look a bit shanty so I painted it but left some of the wood exposed as well. It looked like this at that point.
After letting that dry I started distressing. I used my 3M block sander with 80 grit paper to get my edges good and my corners better…
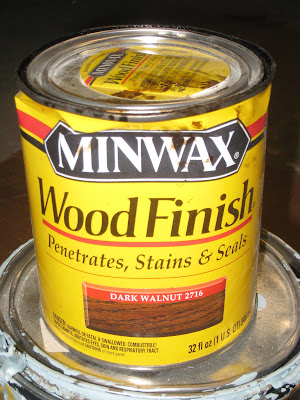
Then I added just a bit of Minwax Dark Walnut stain to the raw edges and corners.
Here’s one corner soaking it in…
Awwwww… so much better… I just rubbed off the extra stain with an old rag.
My next step was to attach my tin to the wood. I did this by using small finishing nails around the edges of the tin…
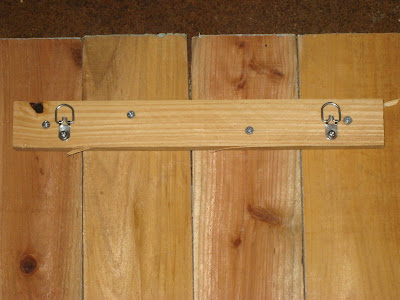
I added my d-rings to the back to hang my new art.
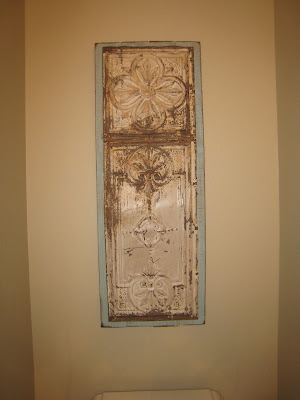
And it’s all finished!! I decided to put this in my powder bath that is BLANK at the moment. This will be my inspiration for more projects in this room.
And here’s a couple reasons why I LOVE me some old tin…
Thanks for stopping by! Keep in mind that this cedar piece makes a great backdrop for many things not just tin!













holy moly girls!! just found your blog! look at what I have been missing out on!! just added your button so I can get inspired daily! Thanks!!
LOVE IT!!! way to go!
does it get more perfect than that?! Great work!
That base just makes the tin pop! I love where you have it hanging too…people always forget behind their "seat"..hehe!
This is wonderful. Love the "blow-by-blow" descriptions and photos. I applaud your ingenuity!
That reminds me of the fence boards I stuck together for my wall plaque in my living room! I love that you brought just a liiittle bit of color in by painting the wood rather than the tin. Very nice finishing touch! 🙂
Wow, you took your $12 shanty and turned it into something special once again. I love that you take time for the step by step tutorial. I am a very visual learner and it is appreciated.
i love it!
Beautiful. I love the trace of blue peeking around the edges.
Love love love that! :o)
Oh my god – this is stunning. I want one. We don't have this kind of tin lying around in the UK unfortunately or I'd make one. The blue is just the perfect colour too!
I need a smaller version for my bathroom! I LOVE it! The wood makes it POP now.
I love it!!! You guys do the best projects.
I love it! I think I might be able to manage using one of those saws too! Thanks so much for the ideas and point by point instructions
Sharyl at
Reasonablyrandom.blogspot.com
Gorgeous!!! It was such a great idea to add the wood and make it blue, it totally shows it off. Looking forward to the Gorilla Glue projects!