Learn how to build this DIY Wood Planter for the Wall with free plans by Shanty2Chic! This is the perfect outdoor planter to add style to your outdoor space!
I am in FULL outdoor mode at the moment as I am sure many of you have noticed! My latest project?? This super cute Wall Planter! I made this bad boy in less than an hour and for under $20!
This is a super simple project! Here is what you will need…
1 – 2x4x8 piece of pine wood
1 – 2x6x8 piece of pine wood
1- 1x3x6 piece of pine wood
Drill
Wood Glue and finish nails
Spray Paint
2-3′ of rope
9 small clay pots
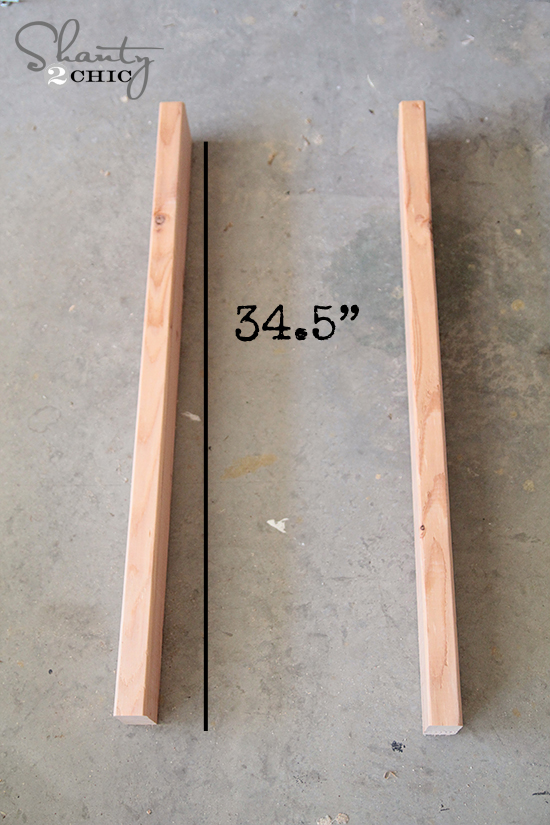
First start by making your cuts!
I made 2 cuts from the 2×4 piece at 34.5″ each.
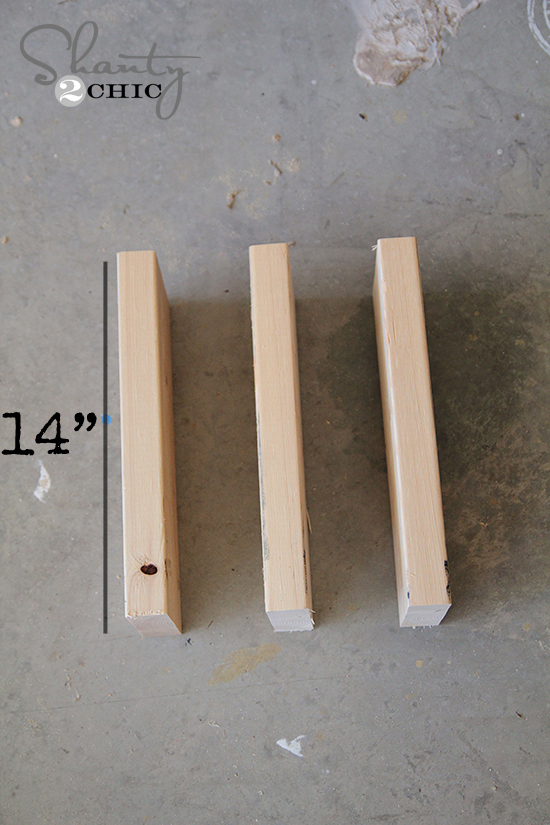
Next cut your 2×5 into 3 pieces that will each measure 14″ long.
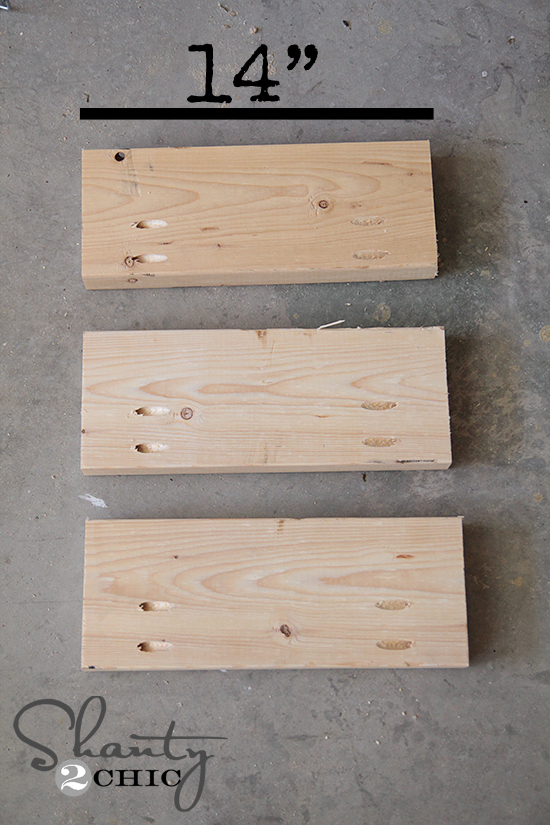
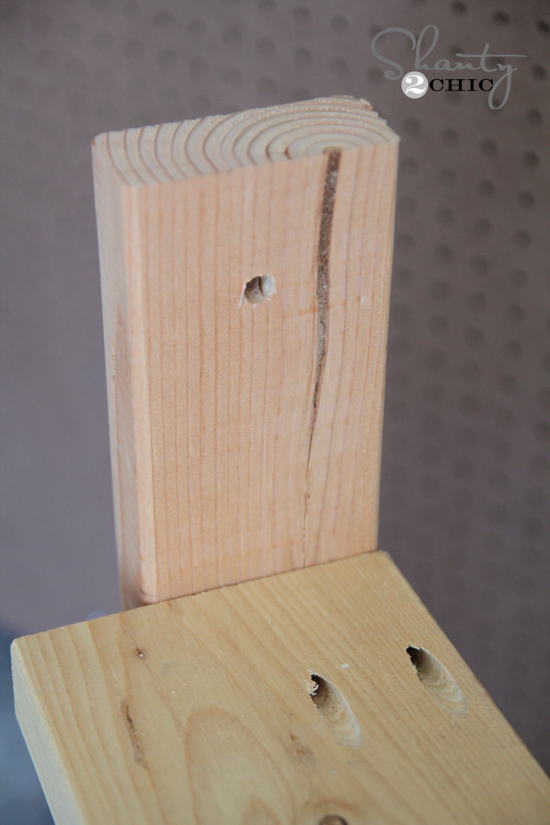
I attached mine using my Kreg Jig and pocket hole screws, but you can also use wood screws from the outside and fill with wood putty.
Here is where I placed my pocket holes…
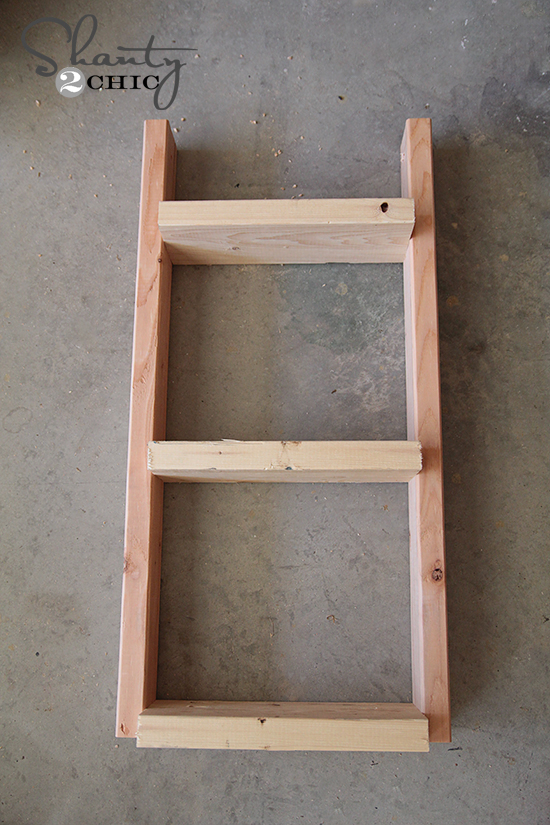
I attached them to my side boards. Each one is 13.5″ apart.
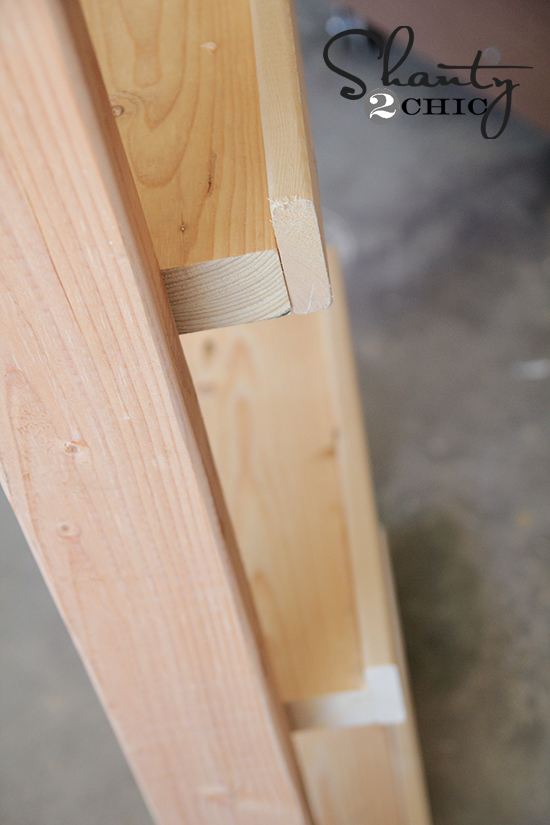
Now I added a small trim piece with my 1×3 using wood glue and finish nails. From the side it looks like this!
Next I used my drill to place a 3/8″ hole in the top of each side piece…

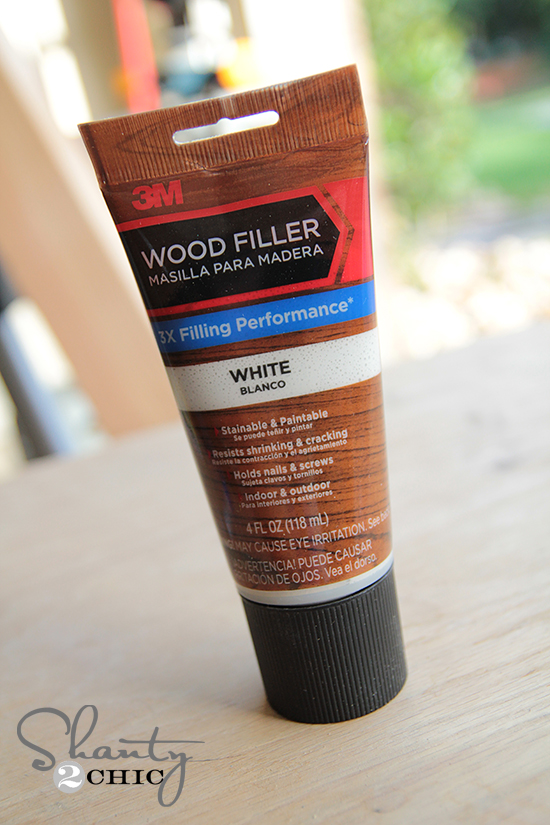
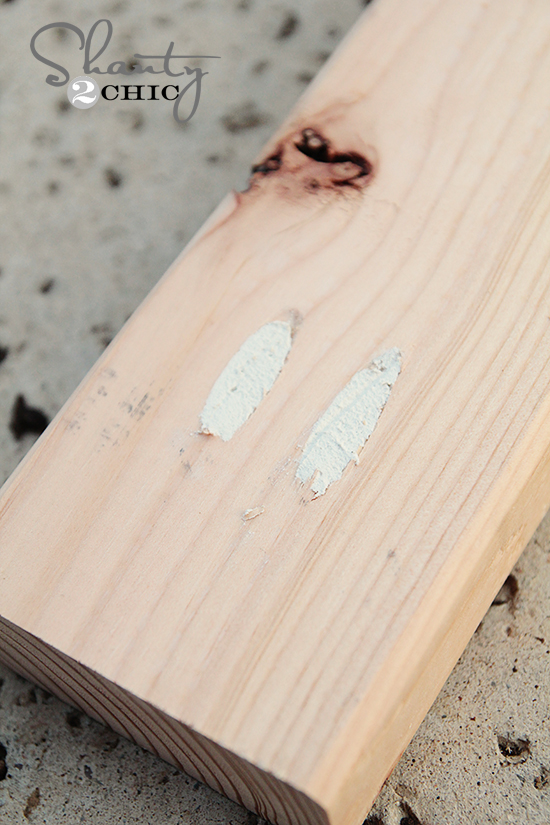
I have found a great way to fill pocket holes and other holes is using 3M Wood Filler !
Just squeeze some out into each hole…
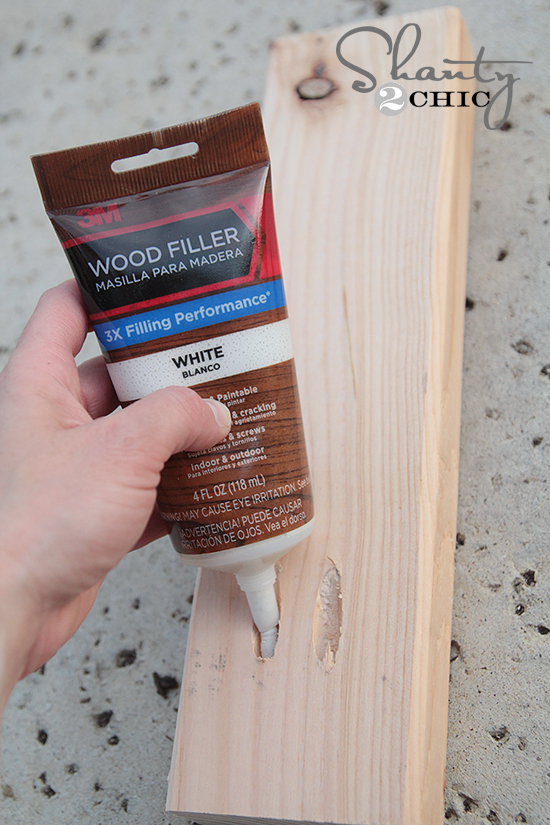
Use a scraper to even it out!
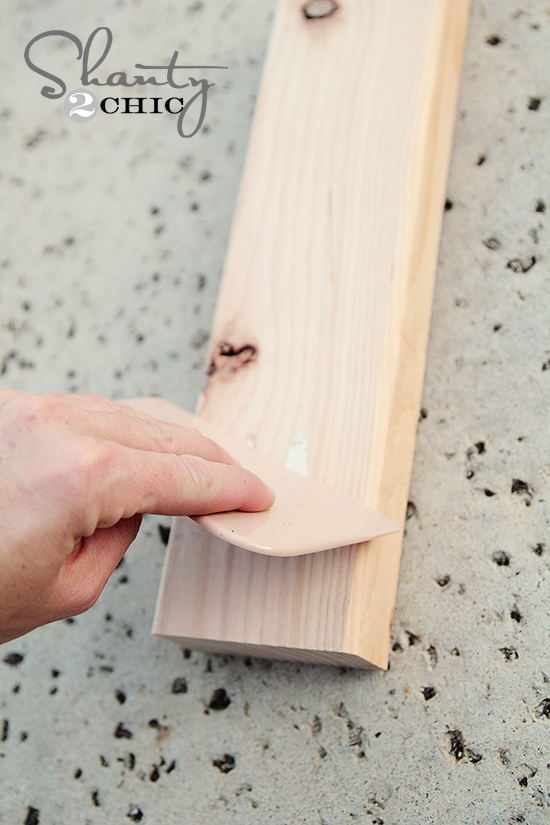
And there you go!
After the putty dried I gave the whole thing a coat of black spray paint!
Now for the fun part! After the paint dried I used a sander to distress the whole thing a bit.

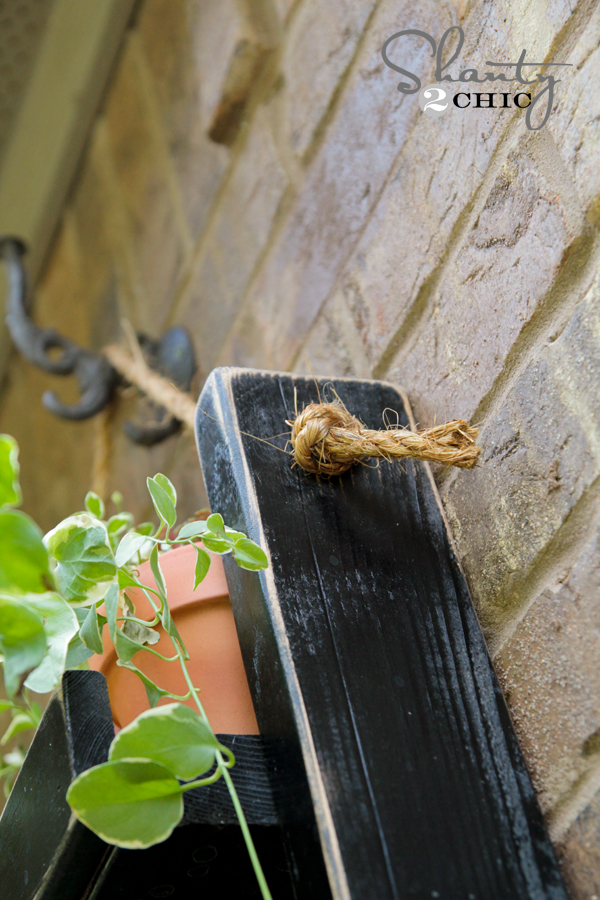
Your final step is adding your rope! The rope likes to ravel a bit, so I wrapped my edges with painter’s tape like this…

Then, just pull it off after you tie your knots!
That’s it! I hung mine using a cute metal garden hook. I used a masonry bit to drill a hole in the brick and used a masonry screw to hold the hook in place.
I filled each of my cute little pots with some Vinca vine and I was set!
Here are a few more shots!
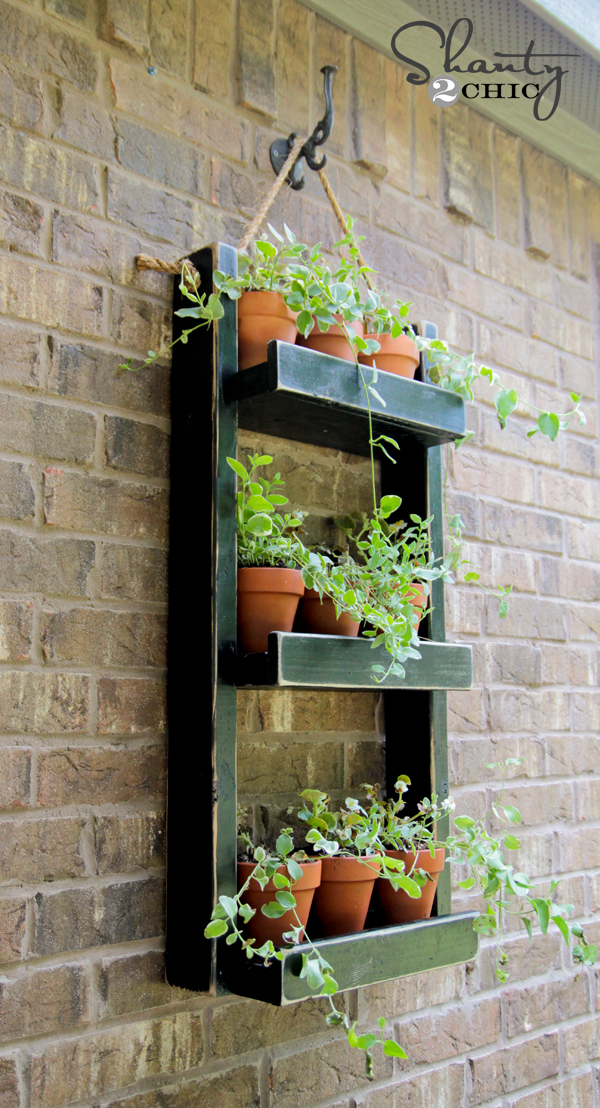
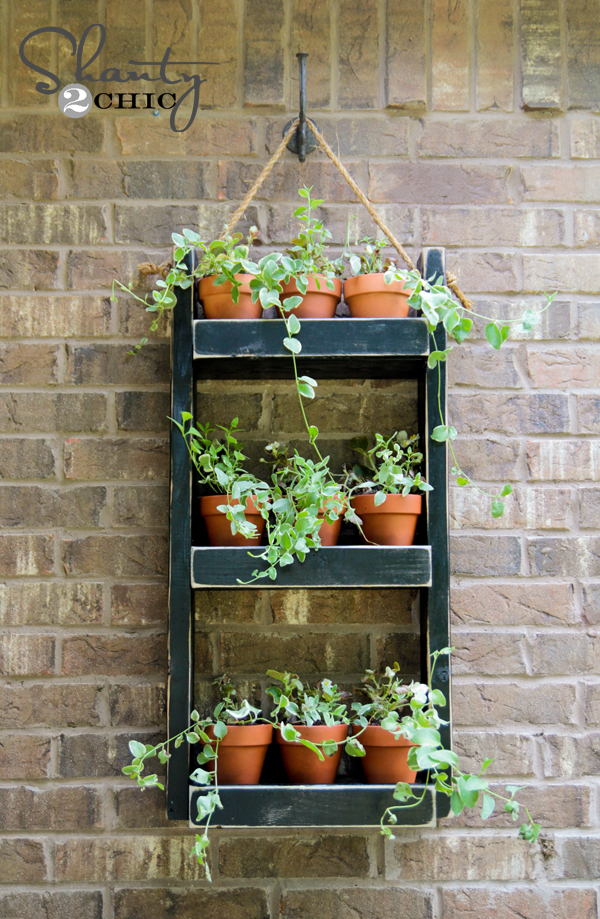
Isn’t that super fun!? It filled a blank space I had on the back of my house perfectly!
Thanks so much for stopping by! I would LOVE for you to pin and share my planter with your peeps! Happy building!
~Whitney


Well $60 and 3 hours in and I’m nowhere near done……I followed the instructions and I have to say I wish I hadn’t because the wood I bought was way too thick and bulky. It weights a ton and now I can’t find a hook rated to hold that much. I would have just purchased one of these if I knew how costly and time consuming this would be.
This should have cost you about $15 total, if you had the kreg jig. Not the fault of the designer ?
Hi great idea I am wondering what size clay pots you used and what are the final dimensions of rack? Thank you Renee