Hey guys!
Happy Wednesday! I love my latest furniture build I am sharing today. My first babysitter I used with my oldest three girls has grown up and is now having a baby of her own. I thought it would be so fun and very full circle to make her a changing table for the baby!
She wanted drawer space and something that would work as a dresser after she was out of diapers. I found great inspiration on Pottery Barn Kids and teamed up with my sweet friend Miss Ana White to build her this changing table…
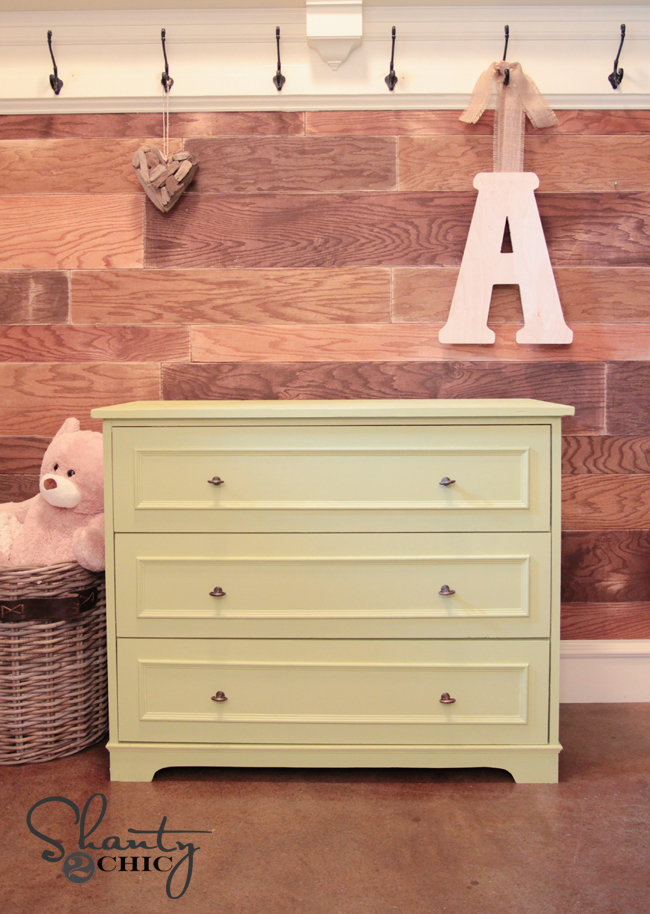
Isn’t it so cute? She picked a fun light green color to match her room and I love the way it compliments the style of the dresser.
This is a basic build… It also makes a great dresser for those of you not needing a changing table!
I will share some tips and tricks here, and you can download the free set of plans over on Ana’s site!
Here we go…
For the sides of the changing table, I used some leftover MDF board I had. The top is a project panel. I knew that the piece was going to be painted, so there wasn’t a problem mixing my wood up like that. I used my Kreg Jig to attach my tops and sides. Those of you that follow us on Instagram may have seen my newest Kreg Jig! This was my first build using my new K5 Kreg Jig![]()
and let me just say… I LOVE IT!
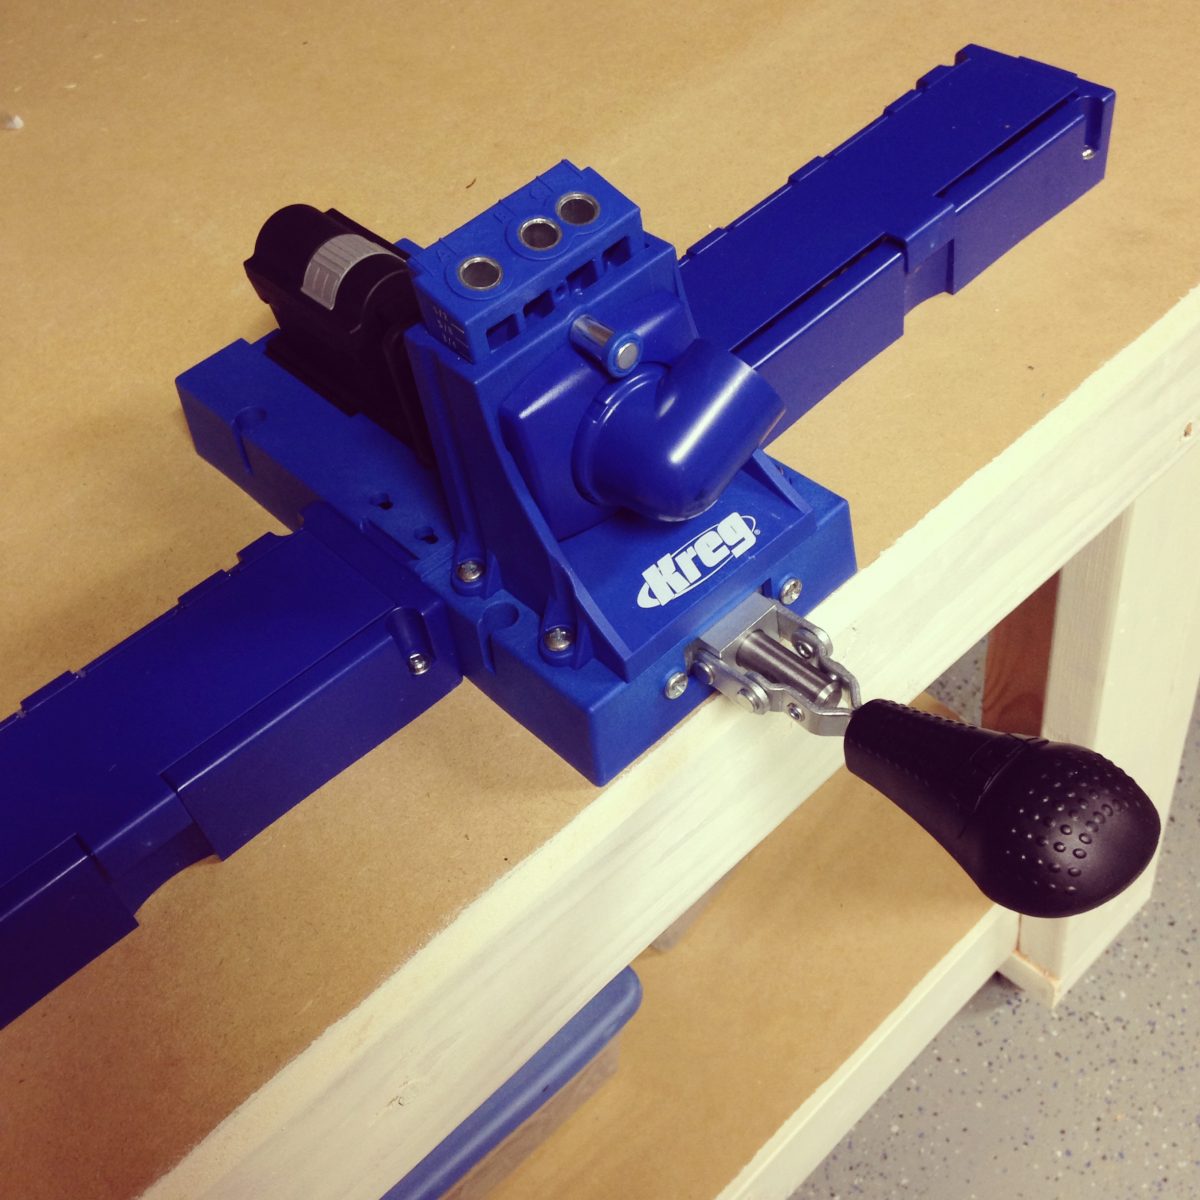
Seriously guys. Kreg has totally stepped up their game with this one. It’s self adjusting, there is storage to each side for your bits, and the boxes help level and hold your wood. It is my new VERY best friend!
The base of this piece has fun cutouts. I used my jig saw for this part. After drawing the cut you just follow the line with your saw. Easy peasy!
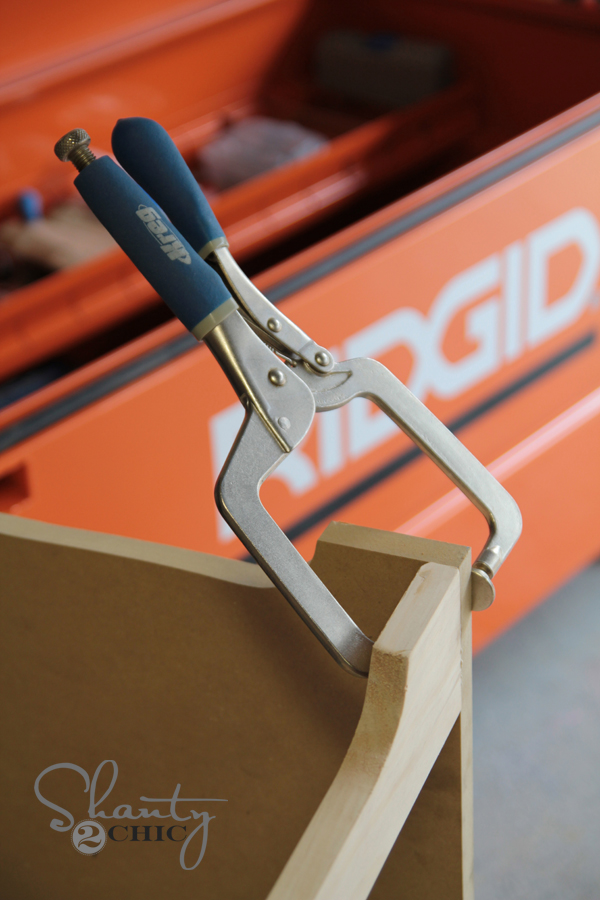
After making those cuts I added my pocket holes to the back of the pieces like this…
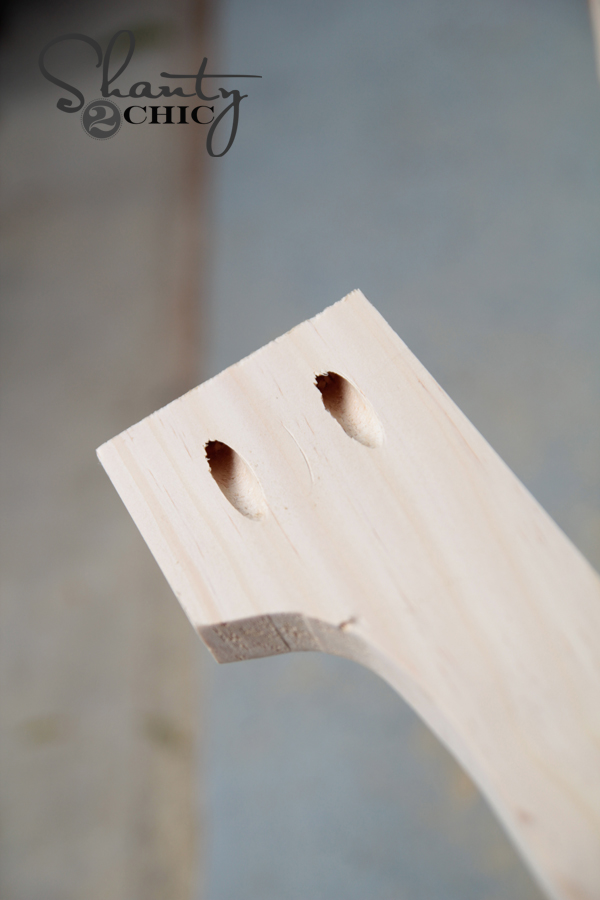
These are 1.5″ pocket holes. I used my super handy right angle clamp to hold the pieces together while attaching my first screw. This clamp is awesome! I don’t need it for every build, but it really acts as a third hand when you need it. I love mine.
For all of my drawer dividers, I made pocket holes under each one and attached them like this…
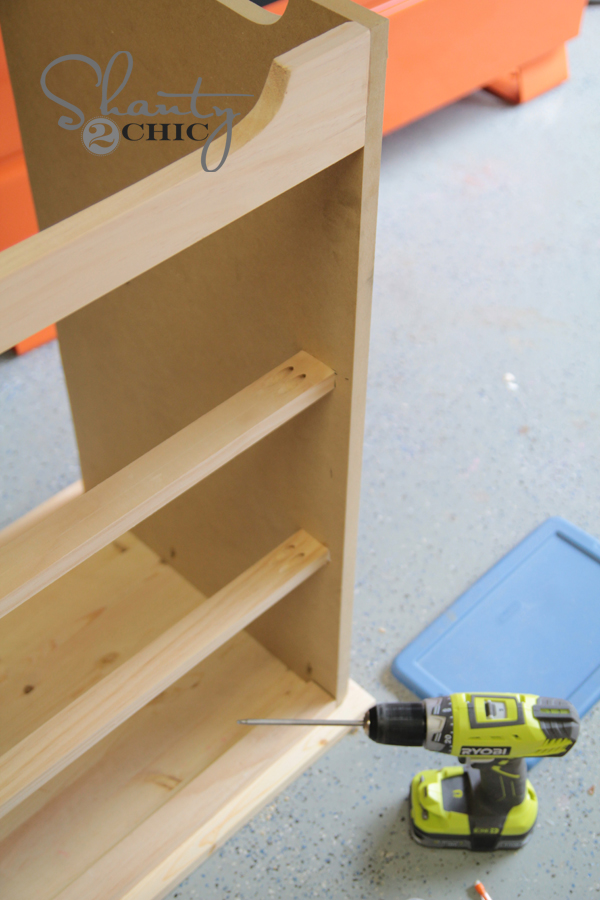
Almost finished! This is where I attach the drawer slides on the inside of the piece!
For those of you that avoid drawer slides as I ONCE did… I shared a post HERE on attaching them using my method. I am sure it is far from professional, but it works every time!
I was so happy to use this new tool to attach the slides on the inside. Typically I would be attempting to squeeze my arm (and sometimes my whole body) into a small space to get these things attached. Ryobi has come out with the most awesome little right angle driver for jobs just like this one! This is a great gift for your hubby or yourself this year! I love mine!

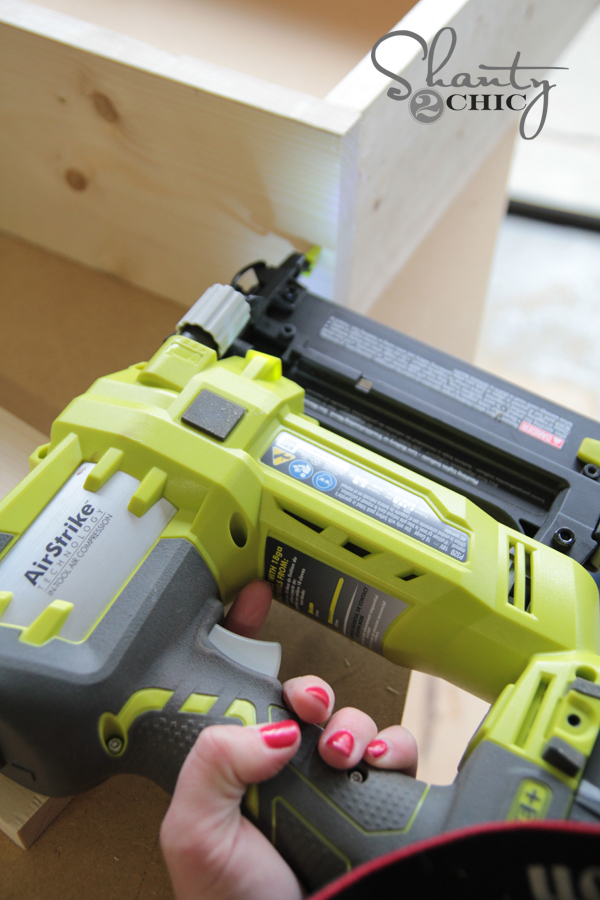
I built the drawers using my Airstrike Nailer. I just used Gorilla Wood glue on all of the joints and nailed them up! Quick and easy!
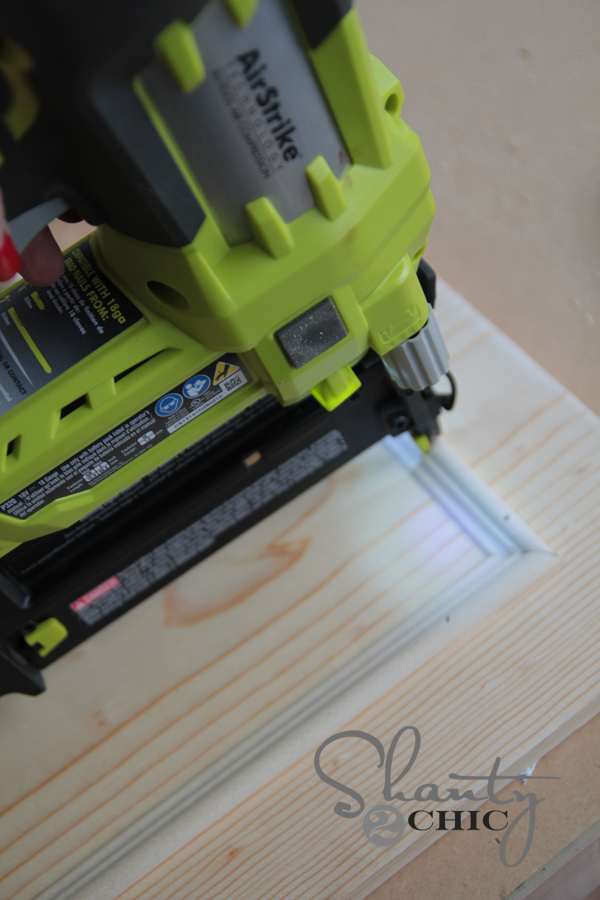
For the drawer faces, I also used my nailer. I found a small wood trim that was cheap and made 45 degree cuts at each end. Then, I added a small line of wood glue and nailed it in place.

I filled each hole with a bit of wood filler before priming and painting!
I did a coat of primer before painting the dresser with two coats of paint. She didn’t want it distressed, so I just added some cute little knobs I found at Hobby Lobby and called it a day!
I put the changing table in front of my new plank wall to get some pics of the changing table before she picked it up!
Hope you love it! And I hope she does too! 😉 I did spend $200 on this dresser which sounds high, but when you compare it to the $1000 they want for the original, I think I win!
I would love for you to share this dresser and PIN it below!
Make sure to check out the full set of free plans over on Ana’s site!
You guys are awesome! Let me know if you have any questions at all!
~Whitney


Whitney, this is great! We may be moving, and although I love the vintage dresser my girls have, (it was my mom’s), we may not have room for it and this one looks like it will be ‘just right’!
I’m soooo hooked on you and Ana! =D You two make a great team!