Happy Friday guys! I am SO excited to share my latest furniture build with you guys today! To keep up with all of our projects from start to finish, make sure to FOLLOW US ON INSTAGRAM!
I love the original bed I built my daughter, but it just didn’t seem girly enough for her. It’s actually going to be the baby’s first big boy bed (pray for me) in the next few weeks when I finally bite the bullet and make the switch.
I’ve had my eye out for a design that would fit her room better, and when I saw Ana’s original queen bed, I knew it would make the perfect twin bed for Miss El! So… I teamed up with my sweet friend Ana White to bring you this AMAZING twin bed! I am in LOVE…
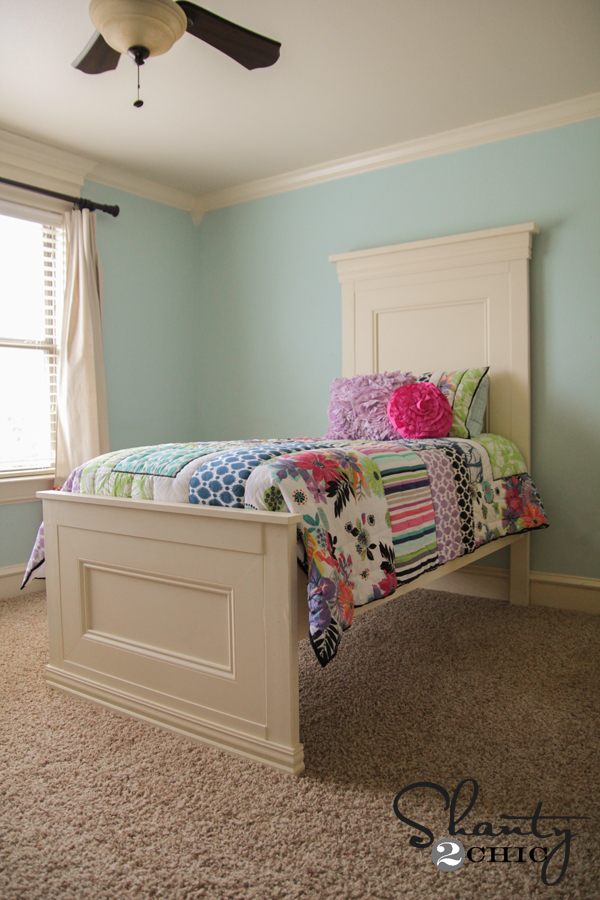
What do you think?? I may trade her beds 😉
This is actually a pretty easy build! I wouldn’t have attempted it without my Kreg Jig, so for those of you still on the fence about getting one, here is yet another great project to help you decide!
You know the drill…. I will share some tips and photos on building the bed here, and you can download the full set of free plans over on Ana’s site!
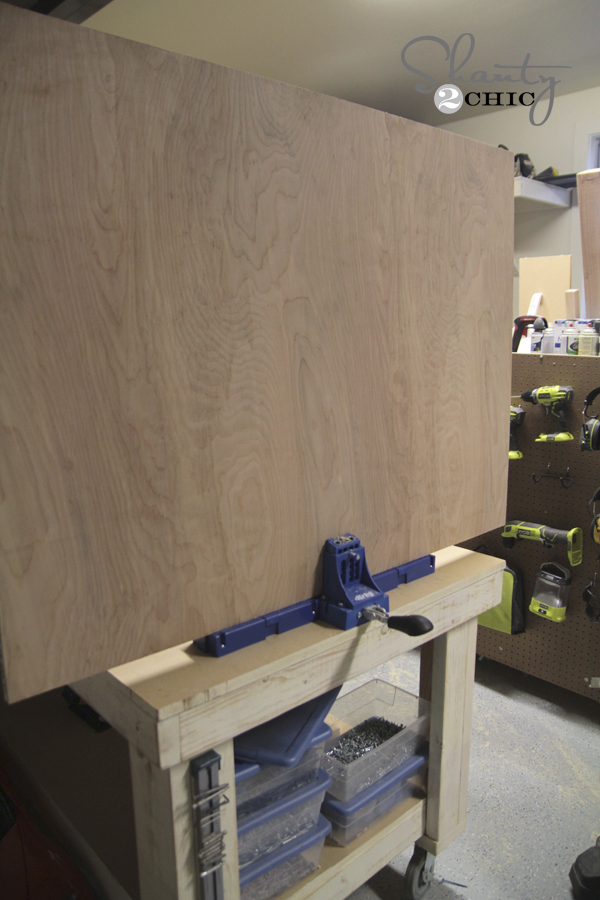
Let’s get started! I will say that I followed the cut list closely, but I did assemble it a little bit out of order. It made it much easier for me! I did have Home Depot cut down my hardwood plywood for me. I used Purebond Birch hardwood plywood. My first step was adding all the pocket holes to those two pieces. For this, I used my Kreg Jig. We have had lots of questions lately about the model of Kreg Jig ![]()
that we use. THIS is the Kreg Jig K5![]()
that I currently use. It is by far my favorite model. It’s very user friendly and it has lots of new features that help you save even more time. Before this model, I was using the K4 model. This one is super too… I built an entire house of furniture with it. But, if I had to buy one today, I would totally go for the K5. Hope that helps you guys! If you have no clue what a Kreg Jig is, you can check out our video HERE. We try to really break it down and explain it in ‘normal people like us’ terms….
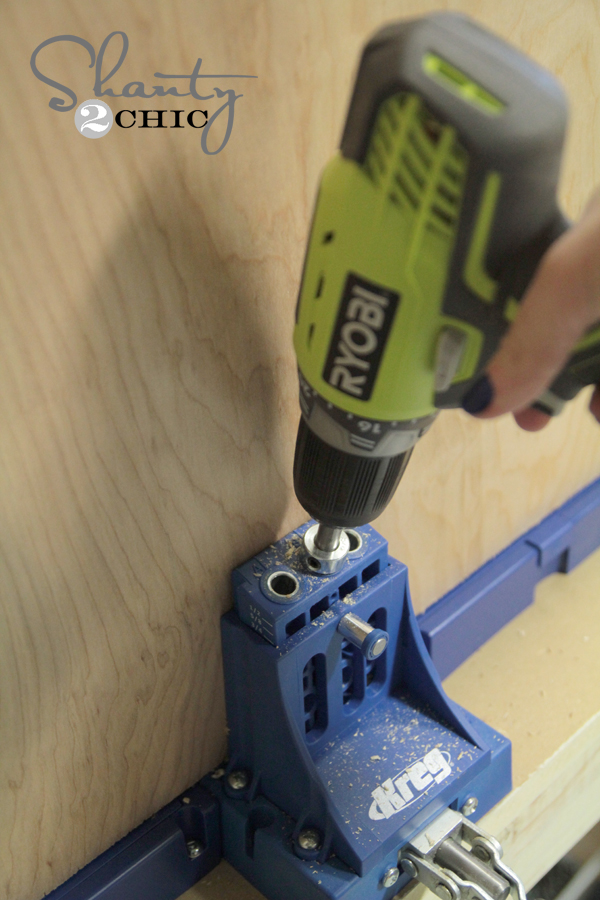
Here is the panel in the K5 as I am adding 3/4″ pocket holes.
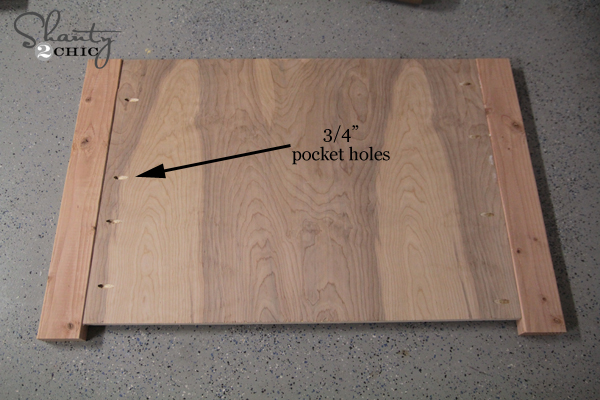
And this is where I used my Ryobi drill to add 3/4″ pocket holes all the way around both pieces of hardwood plywood…
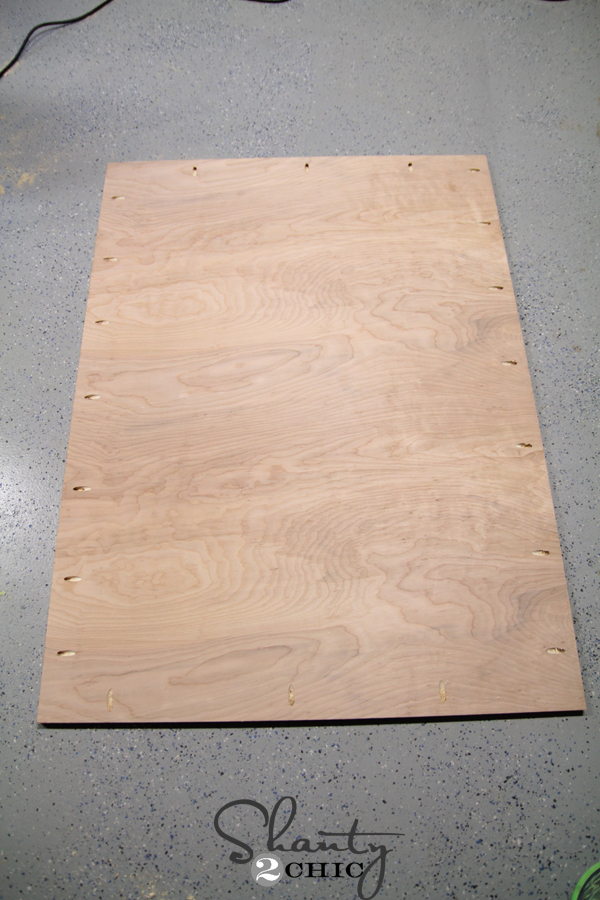
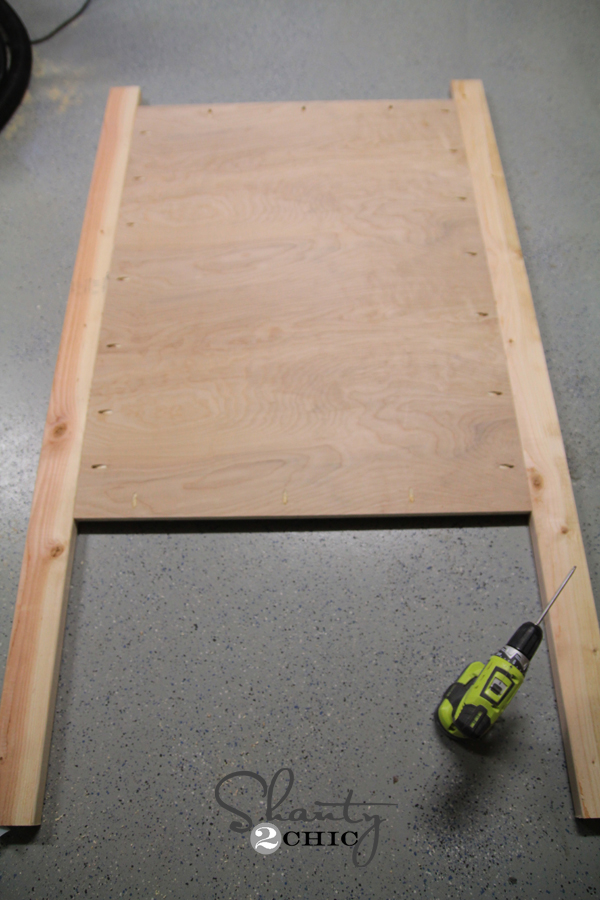
When I was finished, the headboard piece looked like this.
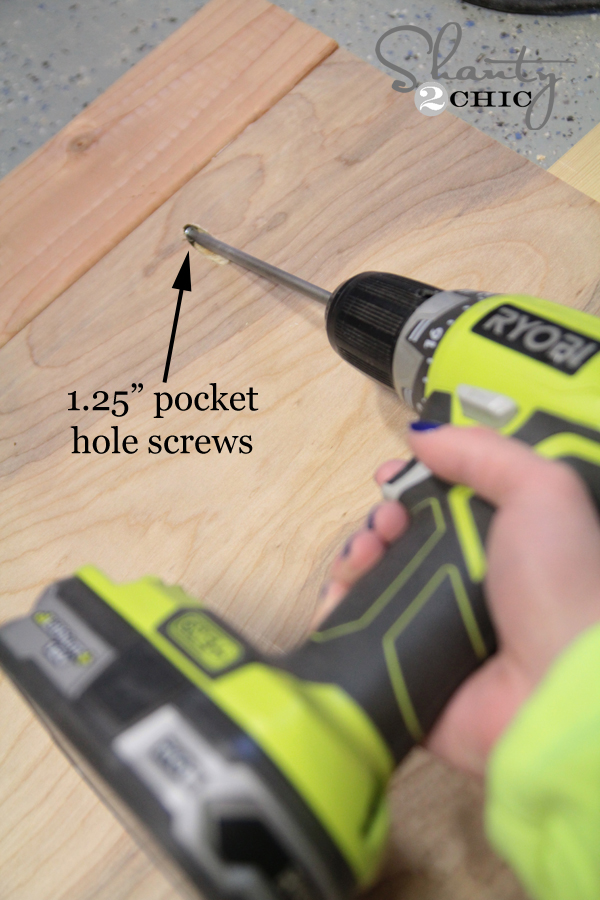
This is where I go out of order a bit. I added my side pieces first using 1.25″ pocket hole screws.
Next, I added my top piece, but I added 1.5″ pocket hole screws to the end of each piece before attaching it. When I had it attached it looked a bit like this…
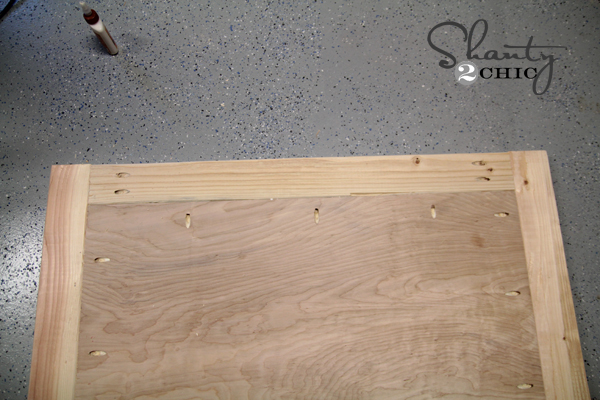
Here is a closer shot of my pocket holes for those corners…

I turned it over, and this is what the front now looked like.

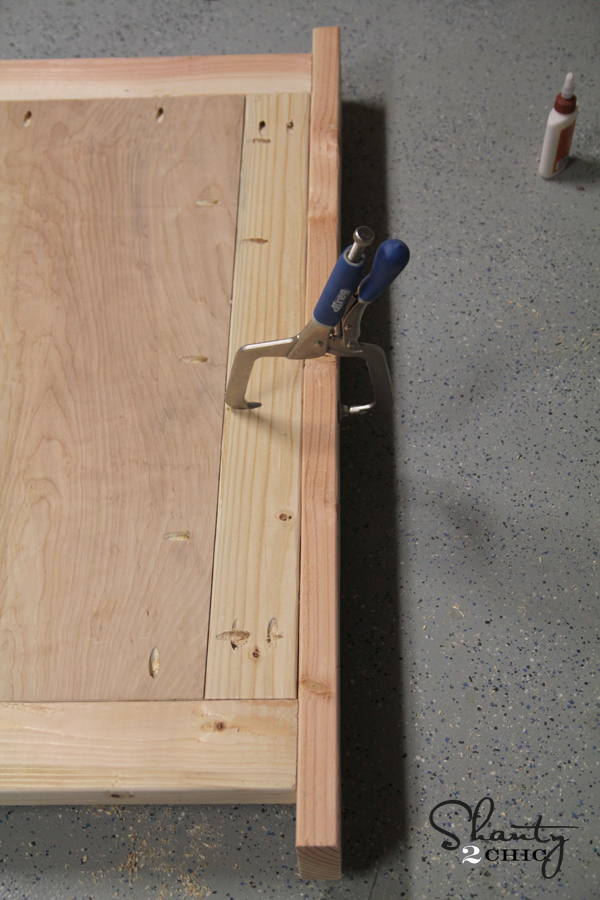
To add that top 2×4 piece I added 1.5″ pocket hole screws to the top 2×4 piece of the headboard. I actually forgot to do this before attaching it, so I had to take it off and add them and then reattach it. Learn from my mistake… That’s all. 🙂 I used my right angle clamp to hold it in place like this while I added 2.5″ pocket hole screws to all my holes.
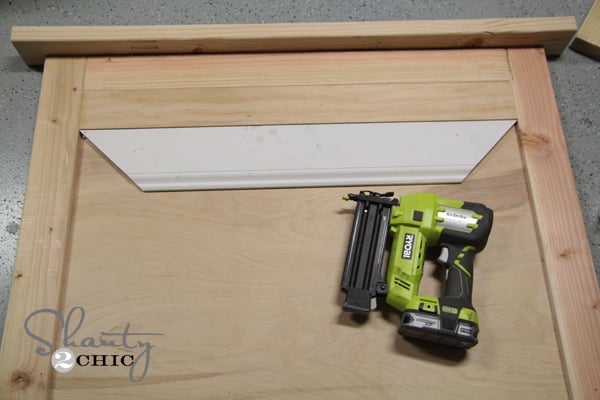
I used my Ryobi Airstrike nailer to finish the rest of the steps! SUPER EASY! I love that this baby is cordless… It makes this part such a breeze.
I used primed 5 1/4″ base moulding on this part. These are simple 45 degree cuts all around. And, it doesn’t have to be perfect… Caulk hides a whole lot friends!
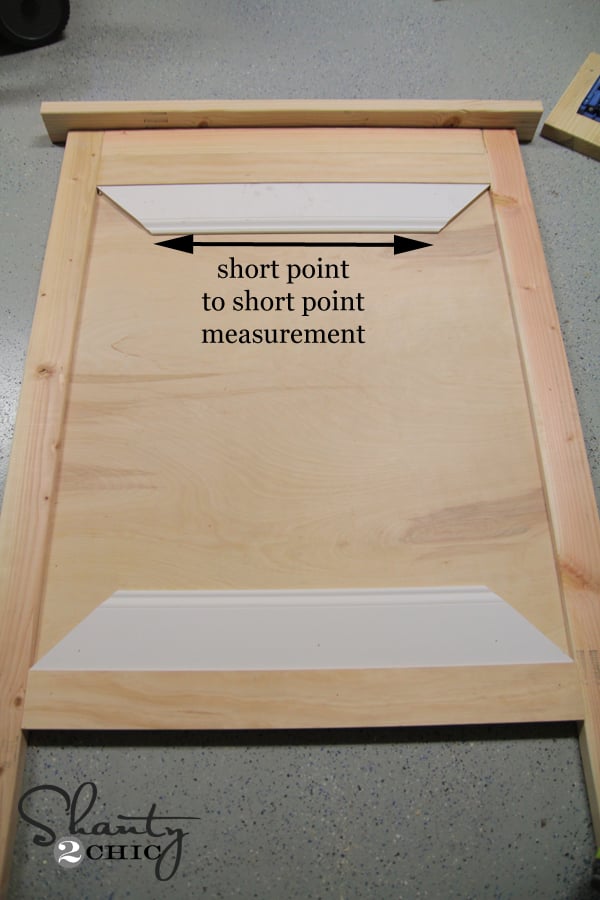

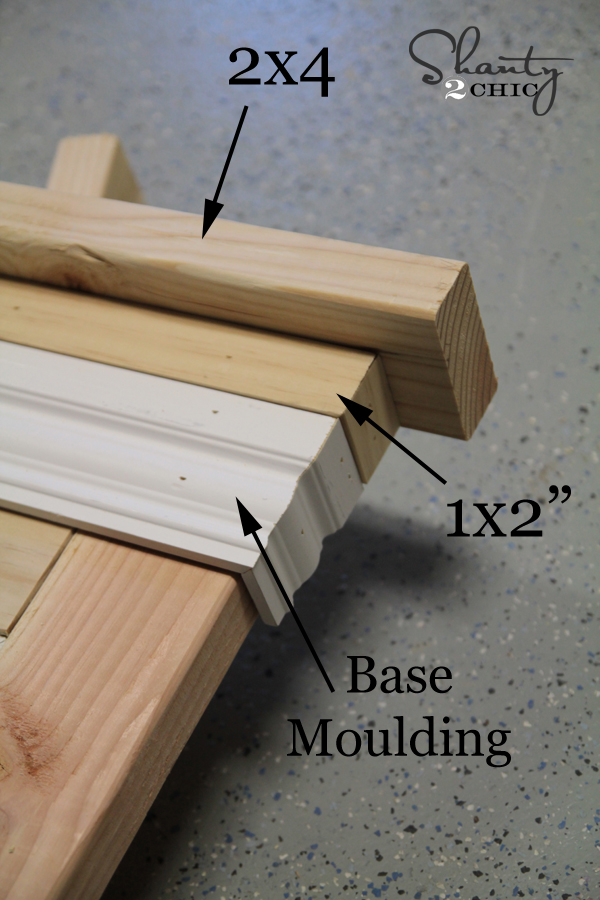
For the top, I decided against crown. I was loving the look of a base moulding turned upside down and it was lots cheaper… More bang for my buck. So, I used a 1×2 piece first and butted it up to the 2×4 top piece, and then I put the base moulding just under that. I used Gorilla Wood Glue and my nail gun to attach it all.
Again, those are simple 45 degree cuts on the corners.
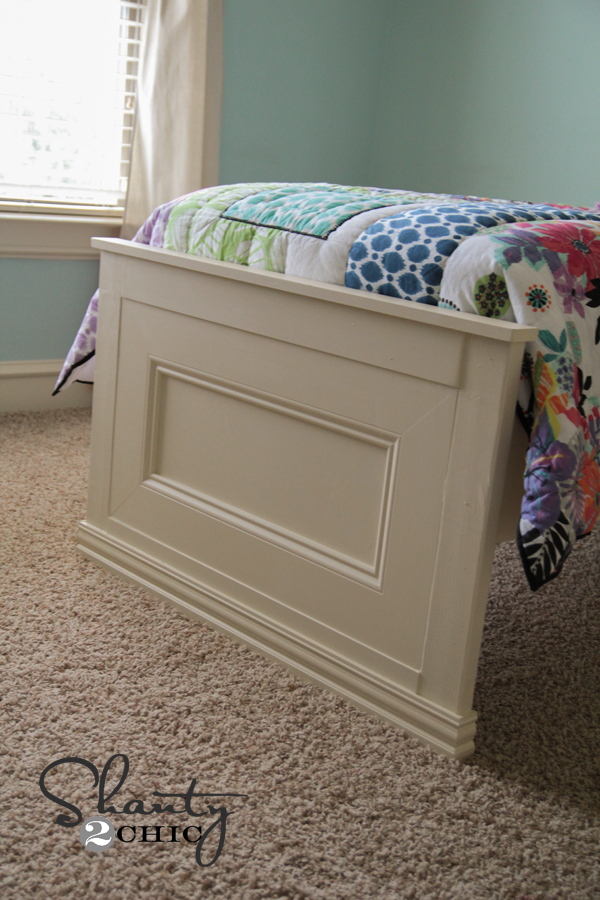
The footboard was pretty much the same thing!
The trim out was just the same. For the bottom of the footboard, I used the same base moulding I used to trim out the top of the headboard.
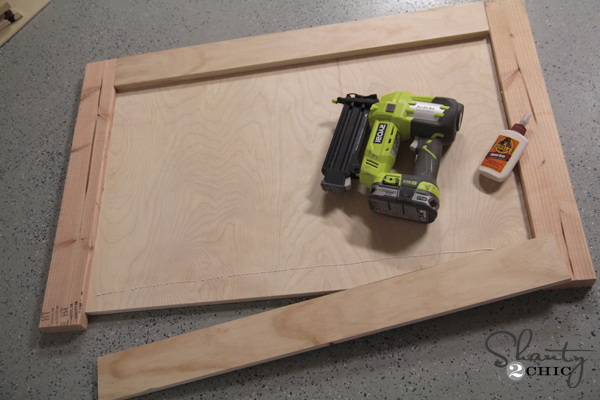
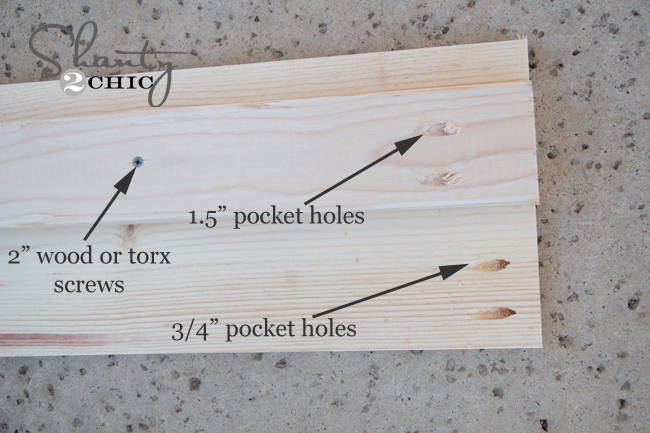
My final step was building the frames. I used 1×10 boards and 2×4 for the cleats. I added my pocket holes before attaching the pieces together. These will be where I put the screws when I assemble the bed. I ran a line of wood glue in between the boards, and attached them with 2″ wood screws through the 2×4 and into the 1×10. I placed my cleats about 1.5″ from the top of the 1×10 boards.
That’s it! My final step was painting it before taking it upstairs to assemble it!
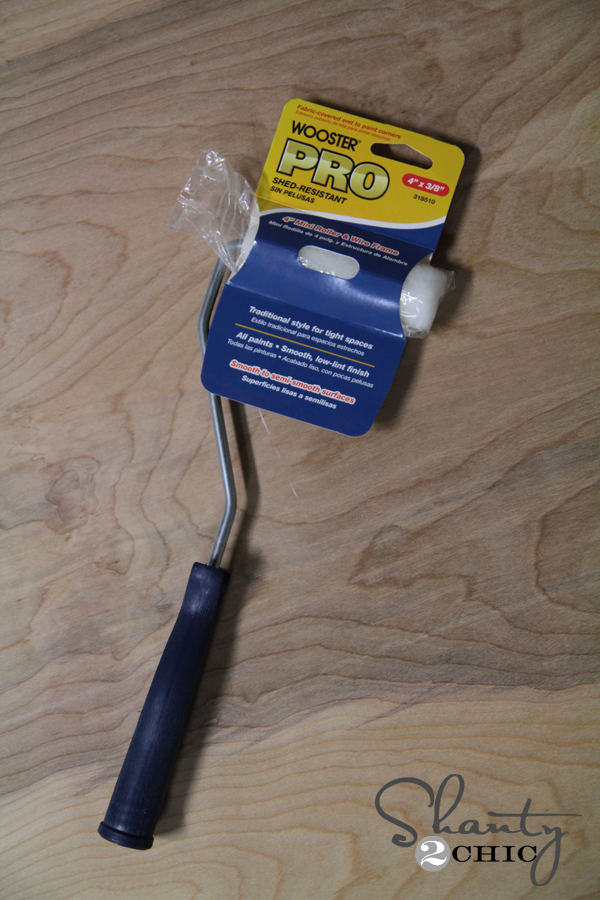
I used my new fav roller system I found at Home Depot to paint mine. This thing makes the painting so fast… I had both coats on in under 30 minutes. It’s called a Wooster Pro 4″ roller. It’s not foam… It’s a fiber roller. You can find it by the paint brushes and rollers.
For those of you that may ask… My paint colors are old and no longer used, but I have found nearly perfect matches in Valspar paint. Here are colors…
Wall color – Valspar Whisper Blue
Trim color and bed color – Valspar Fairmont Penthouse Stone
Bedding – I found my bedding at PB Teen… They always have a great clearance section on their site, and their quilts was SO GOOD! That’s kind of important for this mom of 5 😉
Here it is all finished up! And, just you wait on the nightstands! I bought the wood for them yesterday, and you guys are going to LOVE them! Check out all the storage under this bed…

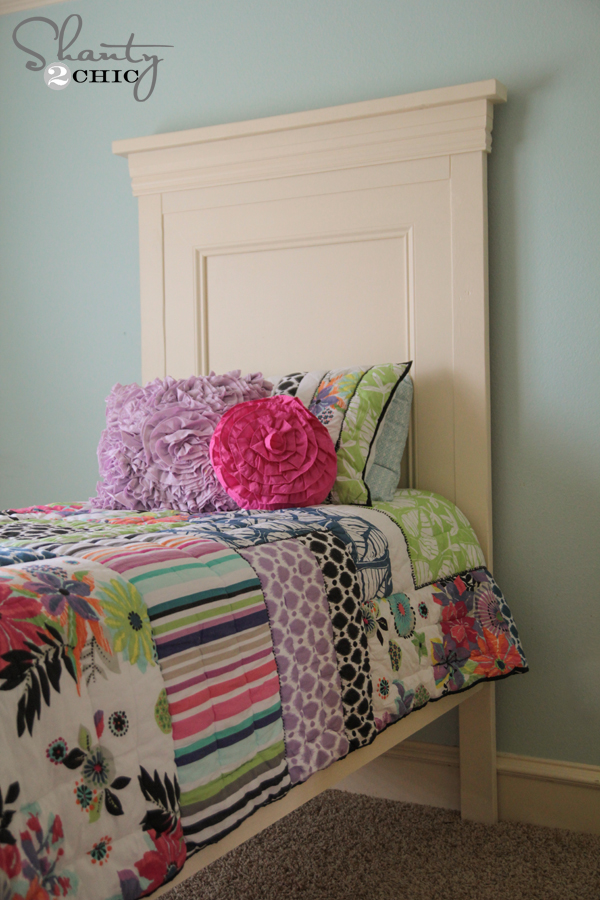
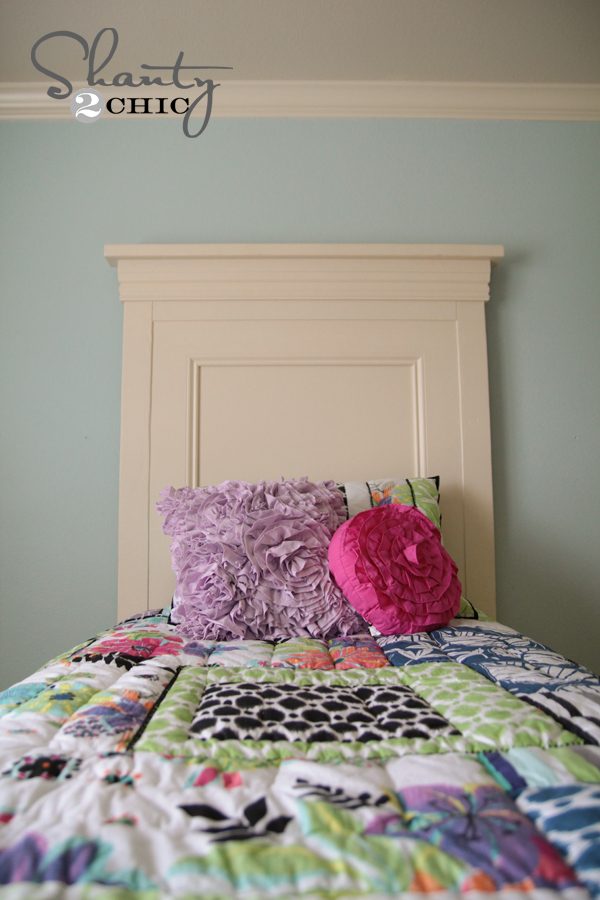
How cute is that?? The whole thing cost me around $160 to build, but I think it looks like a million bucks!! What do you think? Remember to check out the full set of plans over on Ana’s site!
I would LOVE for you to pin my bed and share it with all your friends!! You guys are awesome! Thanks so much!
~Whitney


Can you tell me the width of the base moulding you used? I love it, but am having difficulty finding this exact one or a size similar. Thank you!!
Good morning! My husband and I are building Ana White King size farmhouse style bed. I LOVE this finish you have chosen! Any tips on finishing technique to get this smooth finish without knots showing through? You did a fantastic job!
You’re totally kidding me here. This looks better than our Young America set in the same style. And $160?! Stunning!
Love this! Any plans for a trundle to go underneath it?
wow…that is really amazing. I love it. Great job.
Wow.. this is amazing! And even more so since you made it your self.
Thank you so much Kelly!! 🙂
Oh wow… this is sooooo adorable! Mom-of-the-year award goes to YOU! Love it. 🙂
Haha! Thanks Beth… That made me smile 🙂