Hey friends! Hope you all had an awesome weekend! To keep up with all of our projects and free woodworking plans, be sure to follow us on Instagram and Pinterest!
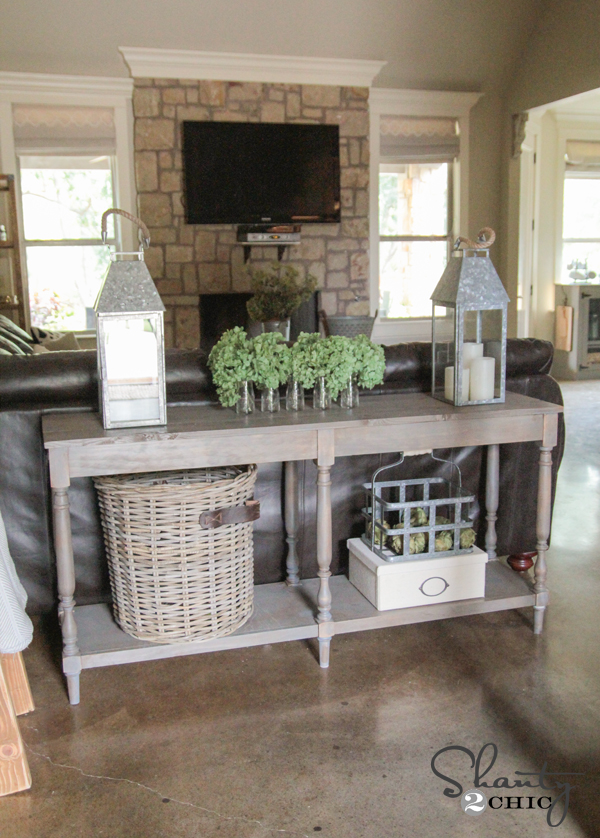
I recently shared my DIY barstools with you guys HERE. While making 7 of those, my mind got a bit sidetracked. I kept staring at the taller legs thinking they would make the perfect console. So, that’s just what I did! Check out my new turned leg console table!
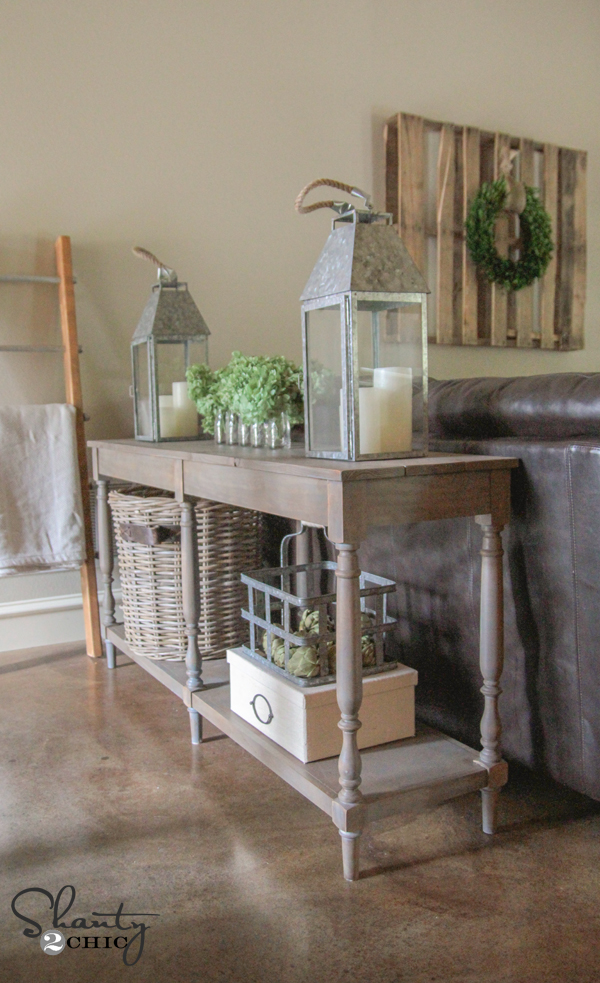

How fun is that guys?? I LOVE it. I think it fits the space perfectly!
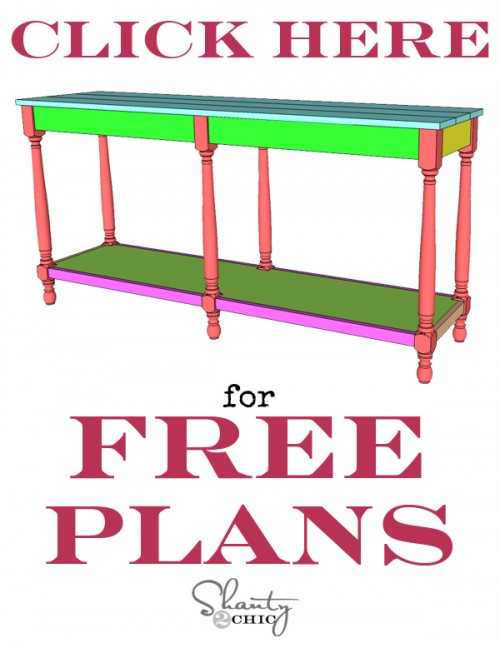
I will walk you through the entire build below, and you can also check out the FREE PLANS by clicking HERE or the button below! Thanks so much to our good friend Jay of Jay’s Custom Creations for putting all of our original ideas into free woodworking plans for our readers. You guys should check his site out as well! Lots of great free plans and how-to’s!
Ok! Here we go…
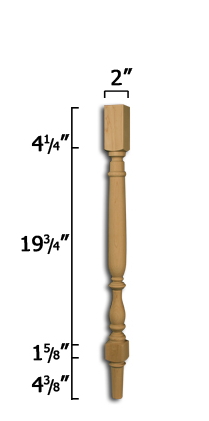
Let’s talk first about those legs. I worked with Osborne Wood Products to design and offer these legs to you guys. This is the same leg I used on the tall barstool as I mentioned before. You can see that leg by clicking HERE.
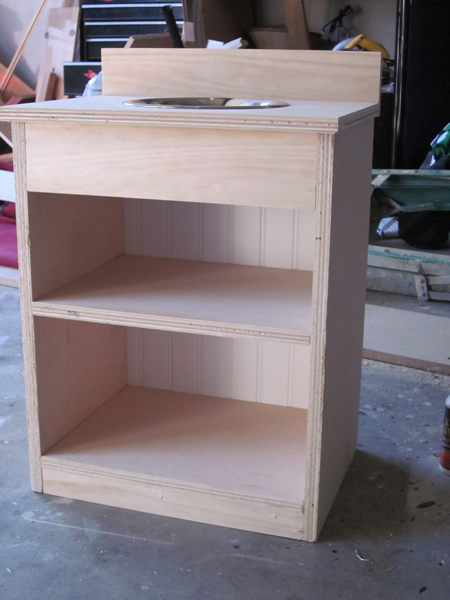
Your first step will be ripping down the plywood for the bottom shelf. I chose to use Purebond Plywood in birch for this part. I actually had some extra in the garage which made this part even easier. You can also have Home Depot make this cut for you. If you are buying a sheet of plywood for this table, you will have lots extra. No worries though! We have about 138 other projects here you can use it on 😉
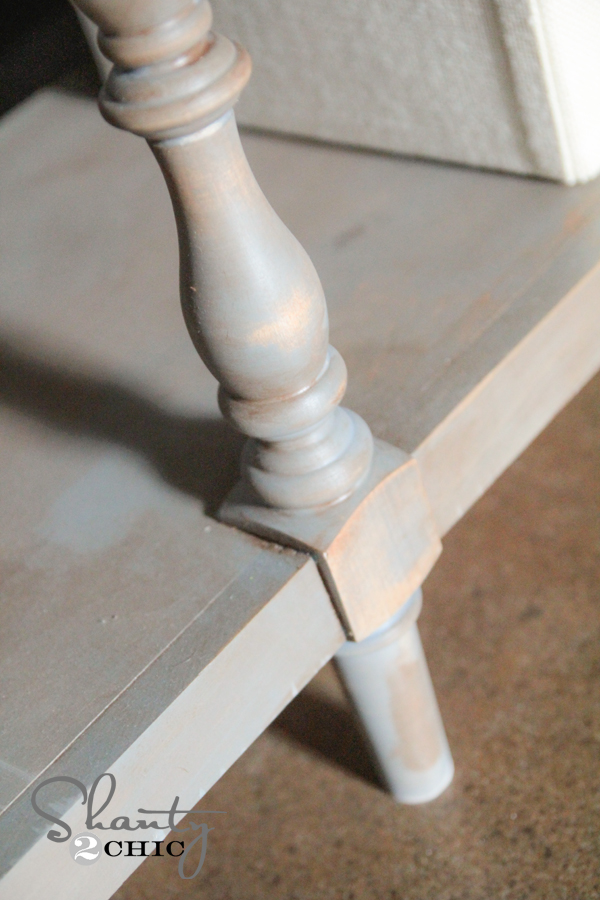
After you have the plywood ripped to 13.5″ x 60″, you will make the notches for the legs. I used my amazingly awesome Ryobi Cordless Jig Saw for this part. You guys. This tool is the bomb. It cuts like butter and it doesn’t shake in your hands a ton like other models do. Put it on your Christmas list and thank me later.
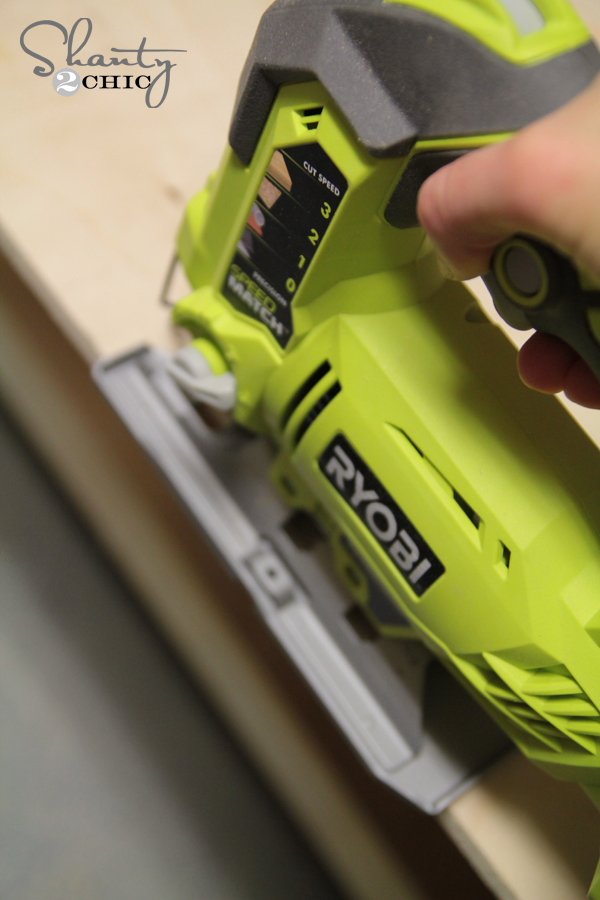
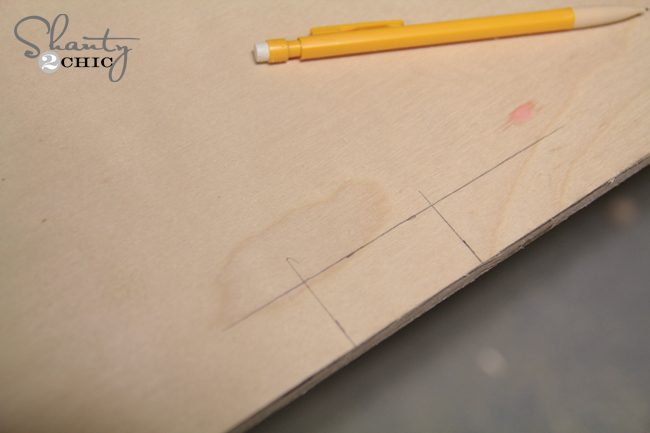
To make these notches, you first will need to trace them onto the plywood. Your corner notches will be 1′ by 1′ and your middle notches will be 1″ deep by 2″ wide.
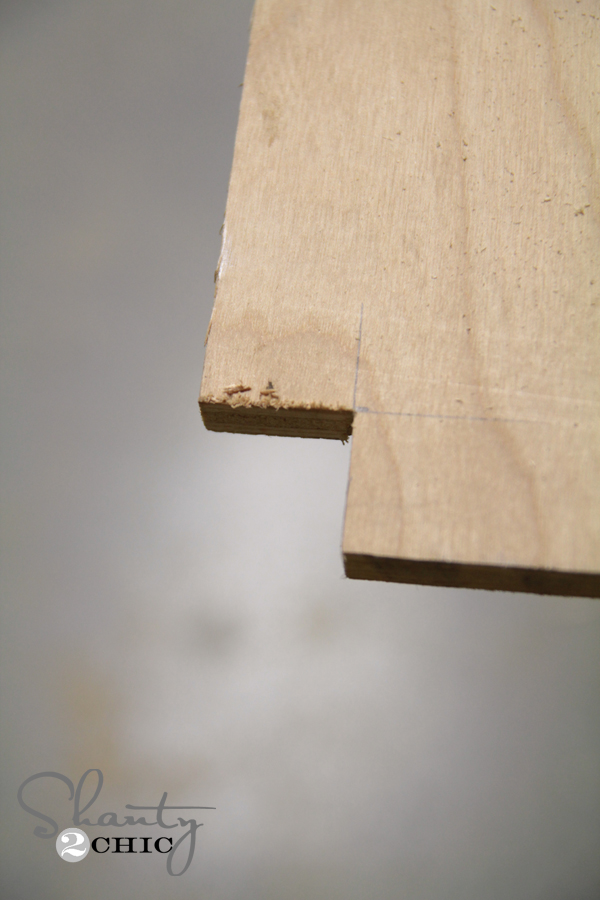
After tracing them out, just use the jig saw to cut along the edge of the lines. You notches should look like this after making the cuts.

Now you will need to add your pocket holes to the bottom of this shelf piece. Because I am using 3/4″ wood and attaching to 3/4″ wood, I am using 3/4″ pocket holes and I will attach everything using 1.25″ pocket hole screws. You can see how I set this piece into my Kreg Jig here. I used my Ryobi 18V drill to make all of the pocket holes.
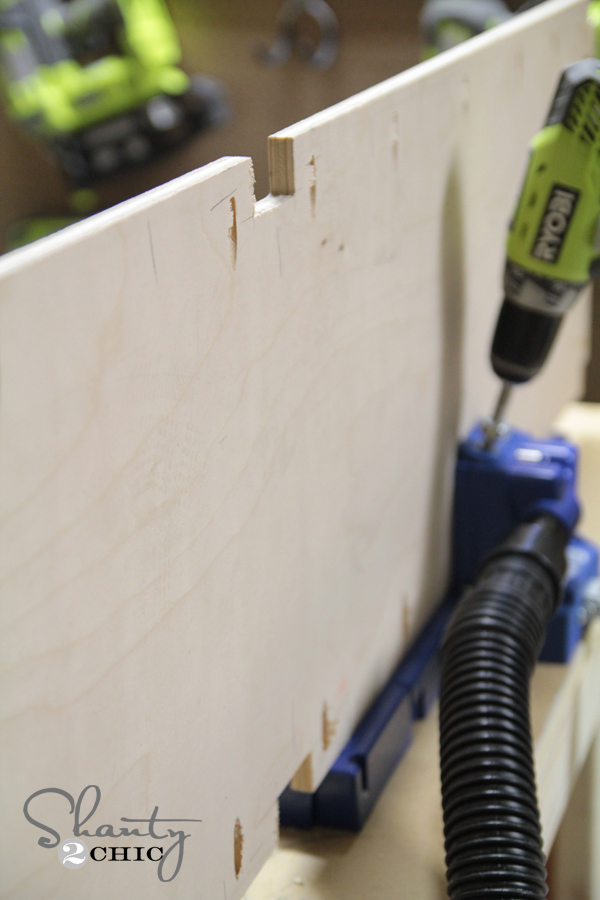
What the heck is a Kreg Jig? Ash and I shared quick explanation of it HERE. You can see the model of Kreg Jig we use HERE on Amazon!![]()
After making all of the pocket holes, you are ready to attach the apron pieces to the shelf. These are all 1×2 boards, and I cut them down to size using my Ridgid Miter Saw.
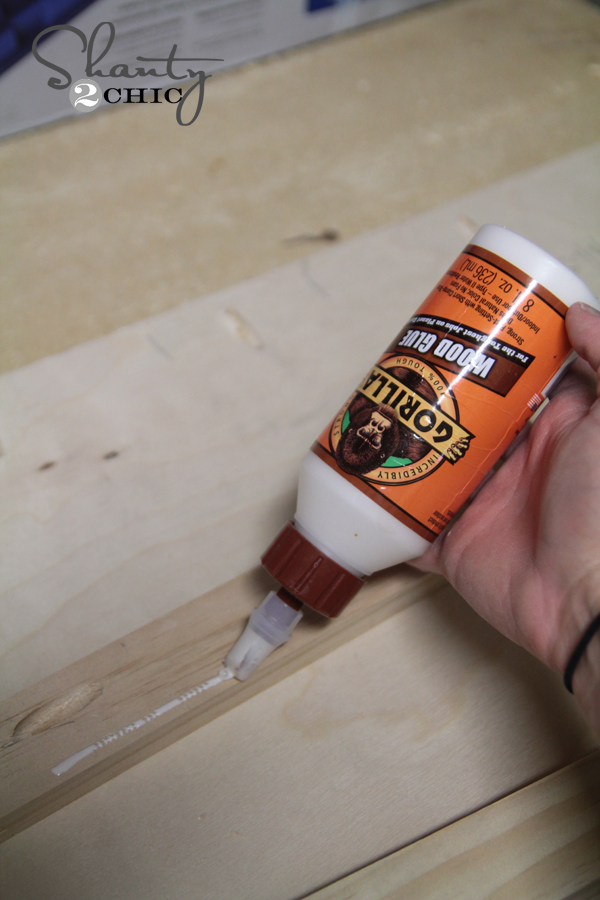
I added a line of Gorilla Wood Glue to each apron piece before attaching them with 1.25″ pocket hole screws.

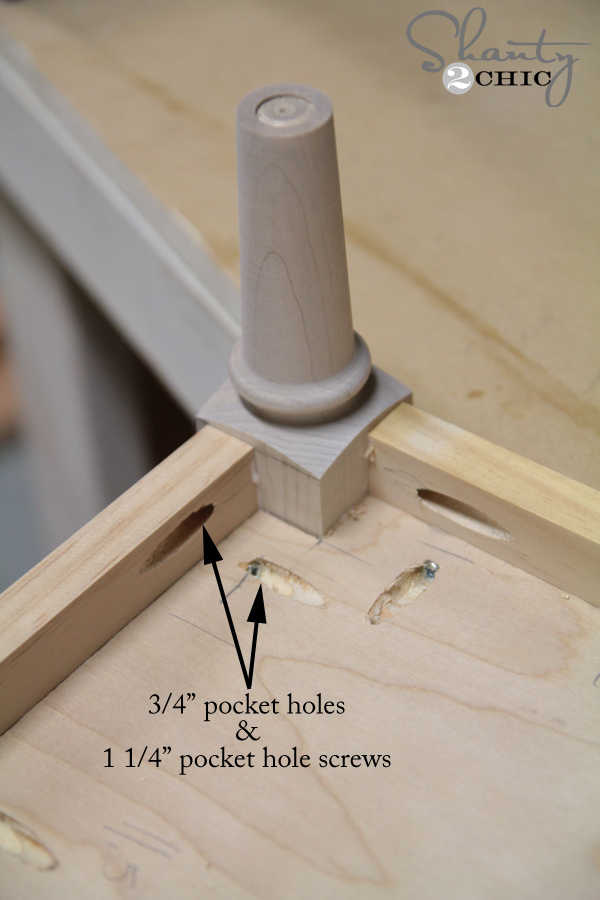
Your next step will be adding all of the top apron pieces. You will set the legs upside down to make this part really easy. The apron pieces are all 1×4 and I attached them using 1.25″ pocket hole screws into the legs.
NOW… Here is a part where I messed up just a tiny bit. If you read us often, you may know this sort of thing happens a lot. We blame the kids… 😉
I totally forgot to make the pocket holes on the apron pieces that will attach to the table top. Oops. No sweat though! I just pulled out my Kreg Jig R3 to help me mend my mistake. It attaches to a Kreg face clamp and allows you to make pocket holes like this…
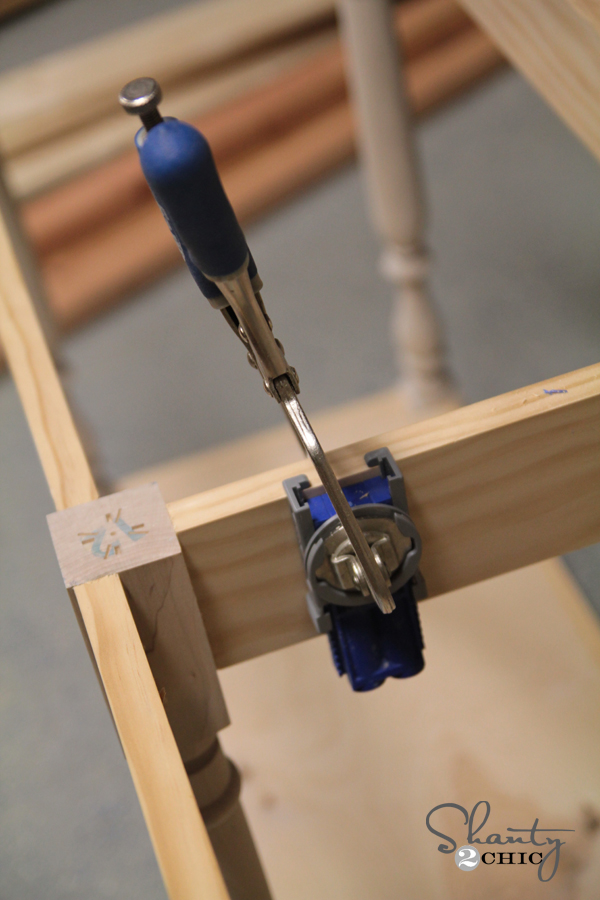
Problem solved. Crisis averted.
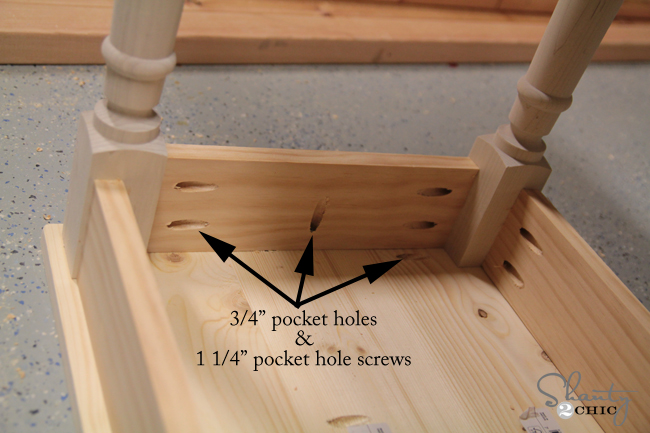
Once you have all of the legs attached to the top apron pieces, you can attach your bottom shelf to the base of the legs. This part was kind of awkward, so I used my right angle clamp to help me hold the legs in place while I attached the pocket hole screws.
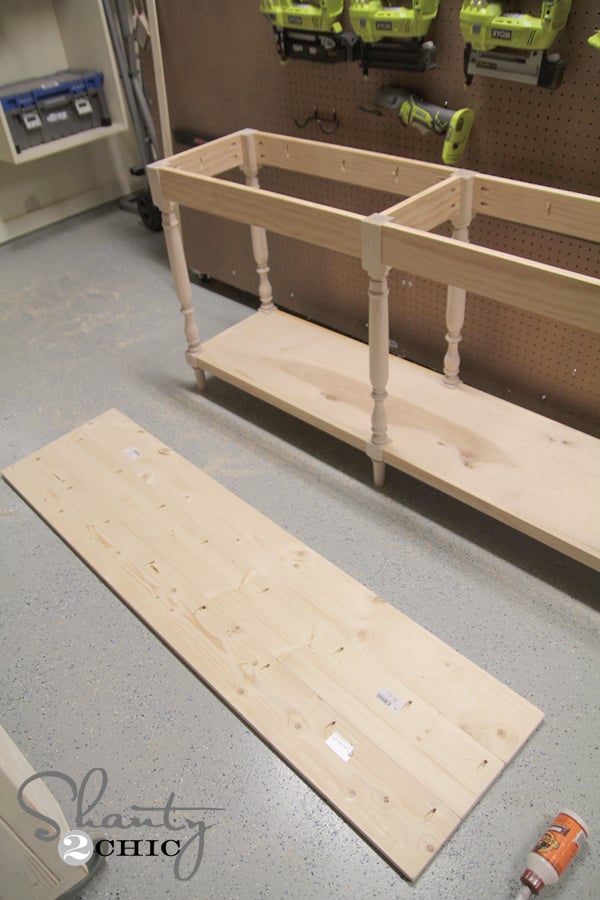
The only thing left now is the top! Woohoo this is so easy. I chose to plank the top using three 1×6 boards. I first added 3/4″ pocket holes to 2 of the three boards.
Then, I lined these boards up and attached them with 1.25″ pocket hole screws through those holes.
Finally, just set the table on top of your planked top, still upside down. Then, just use 1.25″ pocket hole screws through the apron pieces and into the table top. The underside of the table will look like this…

All done baby! Time for stain!
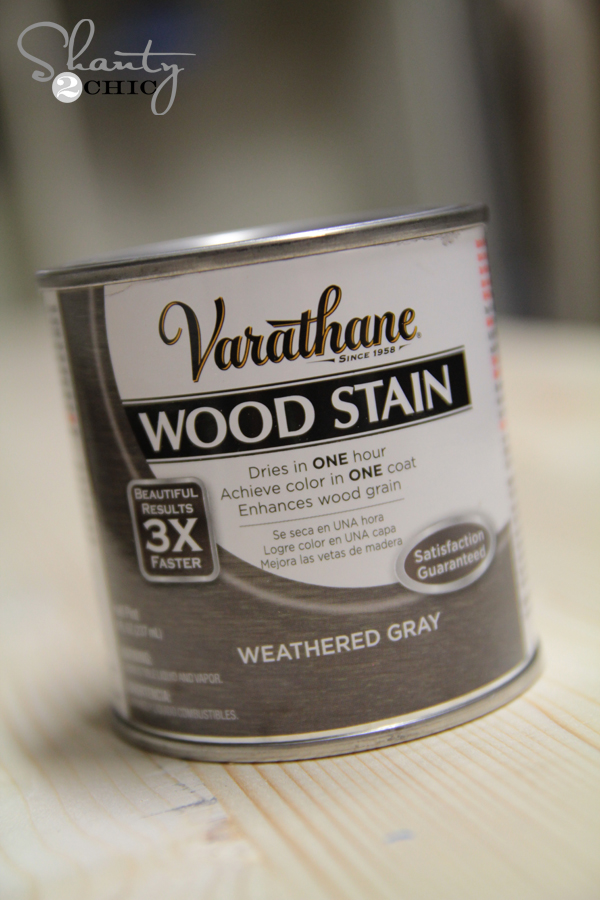
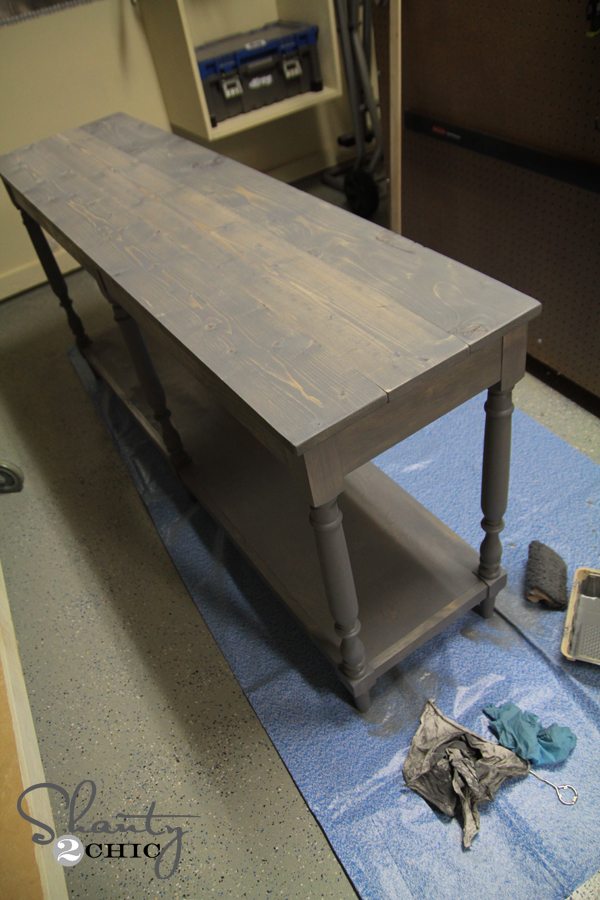
I mixed things up a bit this time… I wanted to go with a distressed gray finish, so I first gave the entire thing one coat of Varathane Wood Stain in Weathered Gray.
I do like this finish, but for me it’s a bit blue alone by itself.
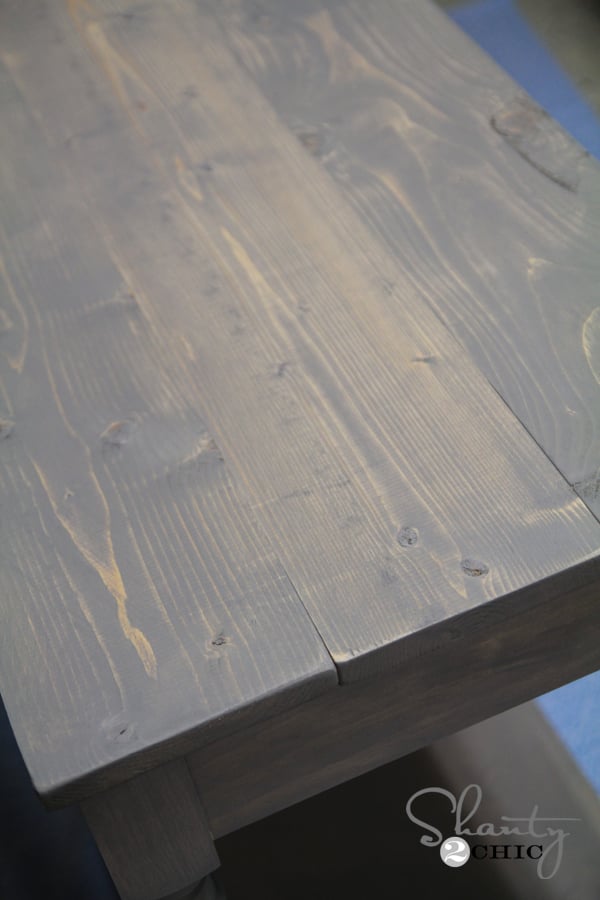
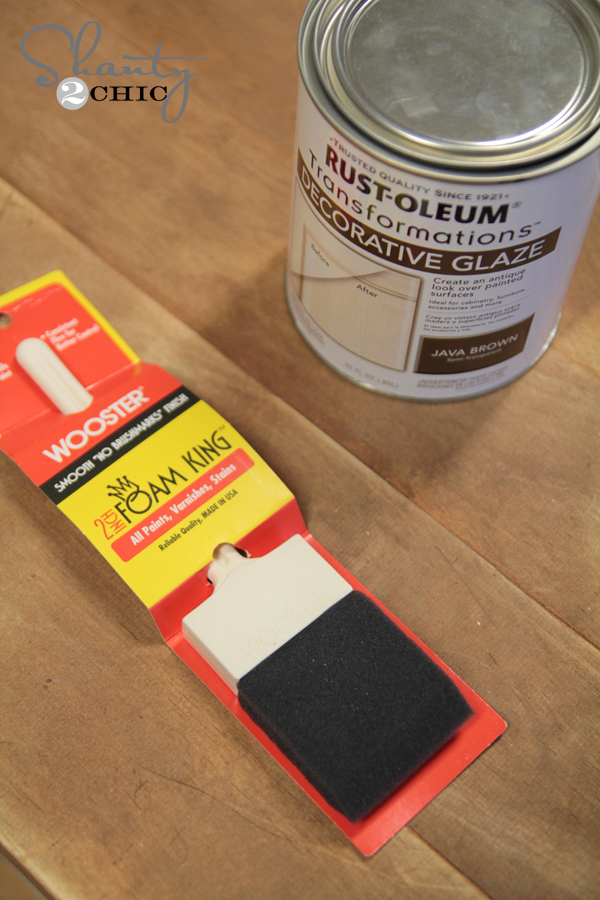
So, I used my Ryobi Corner Cat Sander ($29 awesome tool) to sand my corners and edges first. Next, I found this great product at Home Depot! It’s Rust-Oleum Decorative Glaze. It says to use it on paints, but I decided to give it a try on this table. All you do is use a foam brush to paint it on, and then wipe off all the excess with an old cloth or wiping towel. It’s VERY easy to use. I worked in smaller sections because it does dry pretty quick.
Look a the finish! LOVE.
And a few more shots of my new console table…
I used one of my favorite online stores to find some goodies to style the table with. It’s called www.save-on-crafts.com, and I am quickly becoming addicted to it. They have they very best selection of home decor stuff and its CHEAP guys. Like real cheap.
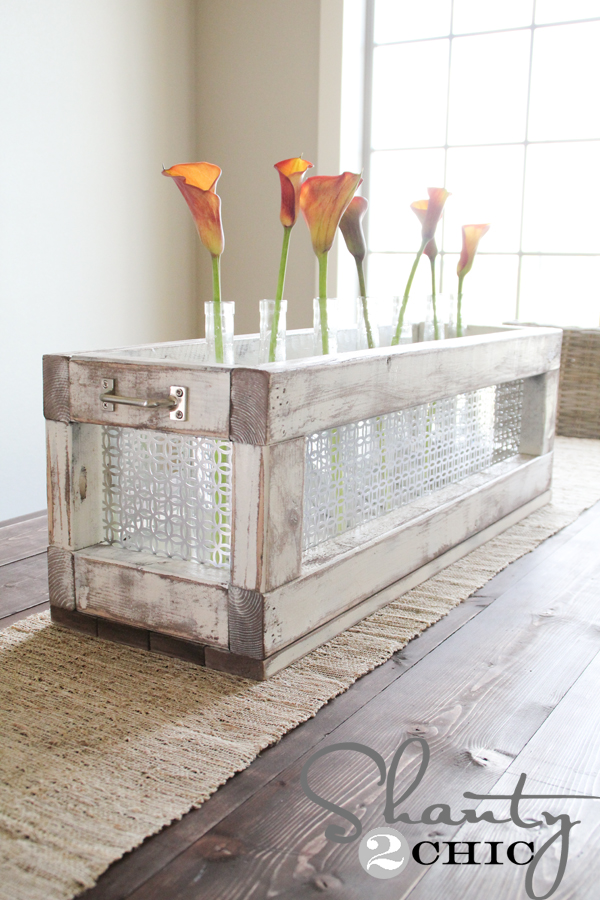
I found this awesome galvanized bottle carrier and dried artichokes.

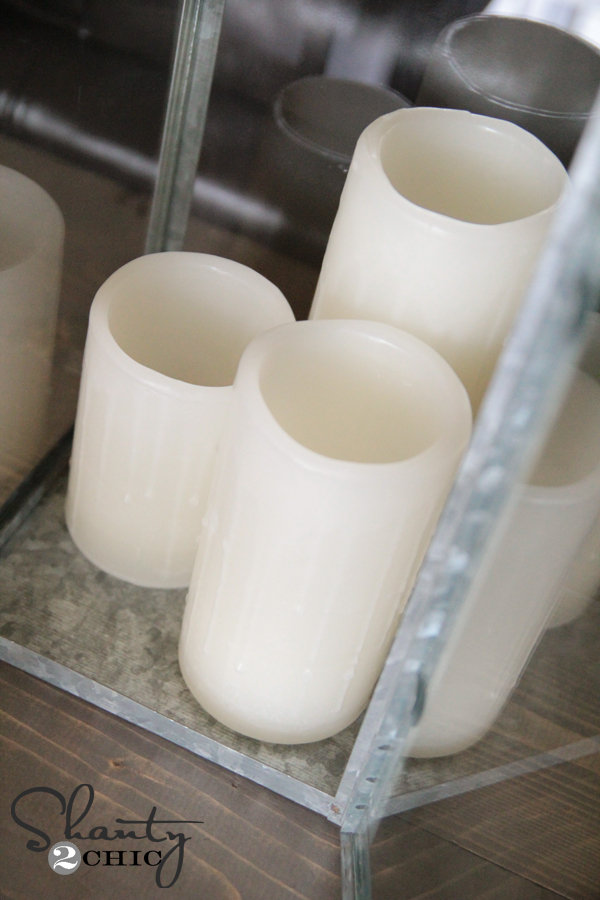
Their wax luminaries are the BOMB. I put little 24 hour led candles inside of them and these turn on at 8pm every night for 6 hours. I love these because they look and feel like real candles, but they totally aren’t!
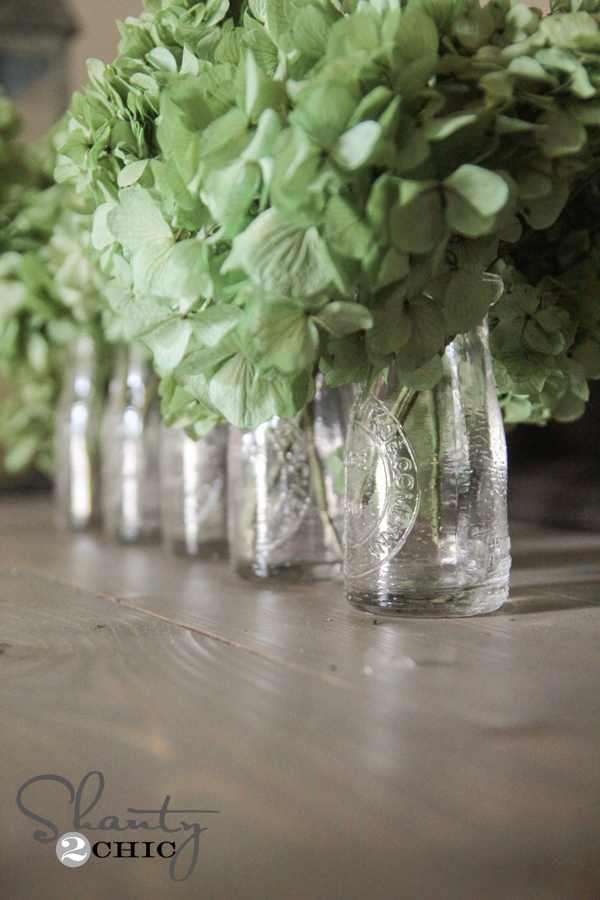
And look how cute these vintage milk bottles are! I filled mine with their dried hydrangeas… Makes me happy! Dried flowers really are the best kind… 😉
Thanks so much for stopping by guys! Hope y’all love this as much as I do! Let me know if you have any questions at all!
Happy Building!
~Whitney


Wow! Look at all those cool Ryobi tools!
How much money did it cost y’all to build? Wondering if it’s more cost effective to build of just go to Homegoods
If I needed to bring that bottom shelf up about half way – how would I do this?
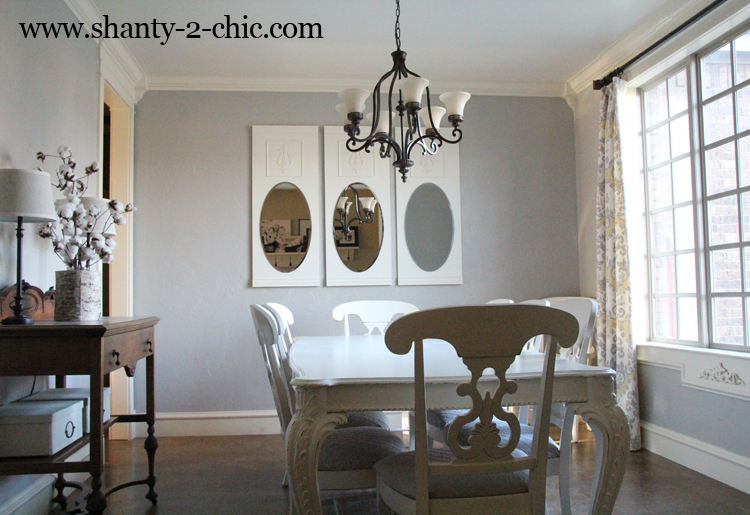
I could even do this! Thanks! And could you PLEASE tell me the name of the paint color in that living area. On the walls. It’s soo pretty!!
I am building this and am having trouble getting it level. I’ve figured out that my problem is when I am attaching the top apron to the legs. Any suggestions on what I’m doing wrong? Or tips on how to fix it?
Beautiful! I think this is just what I need for my entry way!
This table is gorgeous! It is almost identical to a table at World Market. Do you by any chance have an approximate cost for making this table?
This is perfect as is the timing as I’m attempting to build a console and coffee table. even the finish is just what I want. Question though: If my console is only 44″ long, do I need the centre legs?. Thank you.
Love it!
Gorgeous table!
How much did it cost to build this?
Brie, I’m wondering the same thing. Anyone know what the cost is?
Legs are like $30 ~ $180, Pine board and other wood, glue and screws should run about another $50, assuming you have a keg jig so we are looking at ~$250 with the stain. Might be like 5 man hours labor
Love the way you styled the table! Where did you get your lanterns at?
Lovely.
I’m wondering what type of wood the legs are that you used. Knotty pine?
Yes Stephanie! Sorry about that!!
I love Jay’s plans, and went to his website to look at more of his work, but his website needs HELP….please help him and I am sure he will be hugely popular!