Are you sick of your boring bathroom mirrors? Do you want a chic look at a shanty price? How about revamping them by yourself in minutes? If you answered yes to any of these questions then you are in a place I was several months ago. I found my quick fix with Mirredge!
One of the first projects I wanted to start on in my house was the boring builders stock mirrors. My plan was to take off the mirrors and replace them with framed mirrors ~ even on sale they would be very expensive and I have many other projects to spend money on. So, I opted to save my money and wait. That is until I came across Mirredge!

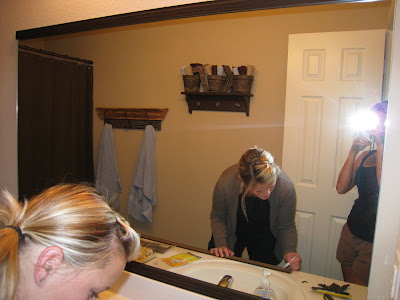
Whitney came over and we got to work!
I started with the boys bathroom. ANYONE can do this but I would like to show you exactly how I did it!
Mirredge comes packaged in sets of two so I bought 2 sets ~ one set for the horizontal trim and one for the vertical trim.
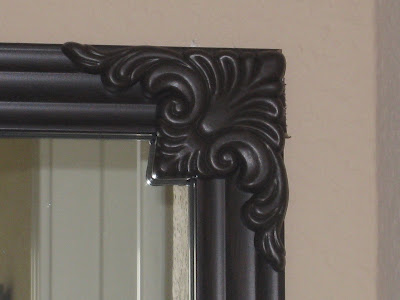
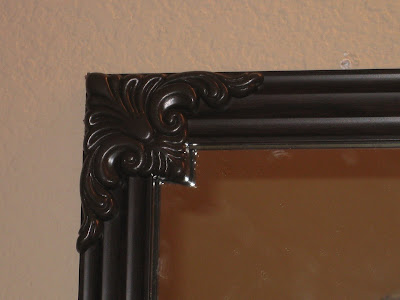
I then bought 1 set of 4 corner plates. They cover the seams and add a nice aesthetic touch.
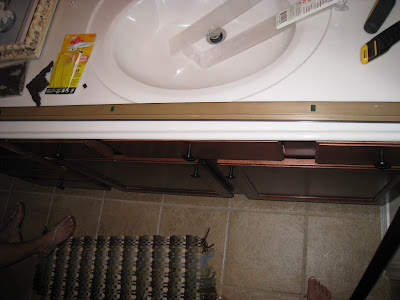
The trim is 59.5” long, so roughly 5’. The instructions say to measure each piece on the mirror, score and then crisply snap the trim to get the right fit. I used the circular saw because it was a tad faster. Measure the vertical strips first and then the horizontal. After you cut them down to size there are double-sided adhesive pads that come with the trim – just peel and stick (we put 4 to 5 on each strip). Then add small dabs of a liquid adhesive next to each adhesive pad (i.e. Liquid Nails is a low cost option that works well).
Then you just press the trim onto the mirror!
Once you have all of the trim up it’s time for the corner plates. No cutting here ~just peel and stick the double sided, adhesive, strips and fit to each corner!
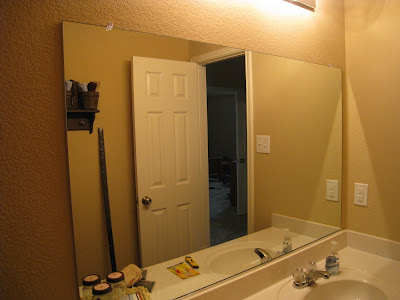
Remember the Before…
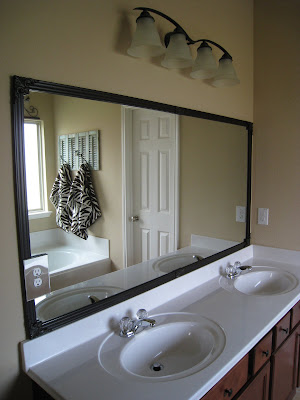
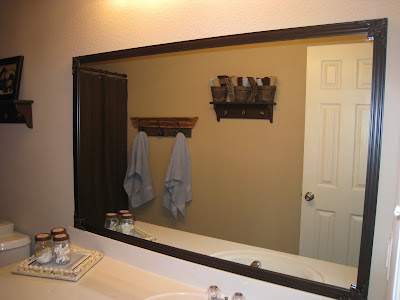
and here is the AFTER!
I just love how custom my boys mirror looks now and it completely transformed their whole bathroom! Total time invested – 30 minutes! I highly recommend this product to anyone that wants a chic look in minutes!
Okay, so I loved this product so much that I went back to the store that night to get more trim for my master bathroom.
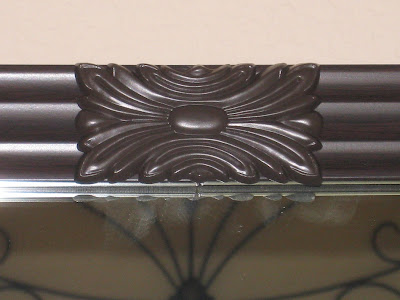
This line also carries seam plates that cover seams when you need more than 5’ of trim. My master mirror needed about 6 ft. on the horizontal pieces so I bought 1 set of 2 seam plates.
You want the seams in the center of the mirror for aesthetic purposes so I had to buy 1 set of trim for the top and 1 for the bottom and then 1 set for the vertical sides. I measured the horizontal pieces so that they met in the center and followed up with the same steps we used for the boys bathroom. When I was done I added the seam plates to cover the seams in the center with the double sided, adhesive, pads and that was it. I LOVE MY MASTER BATH SO MUCH MORE NOW! Total time invested – 30 minutes!
Before…
After!
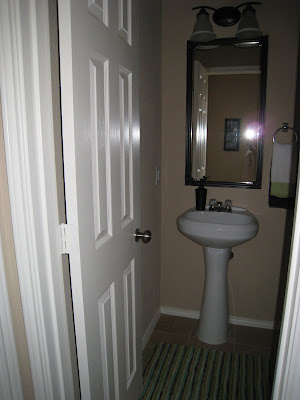
I had so much trim left over that I decided to do my half bath also! The only purchase I made for this mirror was the corner plates!
At the end of the day I had customized three bathroom mirrors / which in turn transformed all three bathrooms (in about 1.5 hours) ~ it just doesn’t get any better than that folks!
Mirredge is available in many styles and colors. I purchased the Cherry Walnut. You can go HERE to see a list of styles and colors!
You can purchase Mirredge at select Home Depot stores or on the Home Depot Website.
You can also visit HERE for an online order form!
This is the perfect time of year to begin new projects and I can promise you this one is so quick and easy!!! Happy New Year to you ALL!
~Ashley






LOVE IT
LOVE IT
LOVE IT
That is my favorite accent piece…I found 2 more at the thrift store – of all places a couple of weeks ago…never thought to use it on a mirror –
DID I SAY
LOVE IT
LOVE IT
LOVE IT
Happy New Year !
Kammy
I have never heard of this product. I have a mirror in my bathroom that I need to do that to. Thanks for sharing.
Thanks so much! I have looked for something like that . My mirrors need help!
I saw this on another blog and was so excited I ran straight to Home Depot and then Lowes and neither one in my area carry it!! I was sooo bummed!!
What a cool product! Nice job!
Great blog! Learned about you from a friend on Facebook. Will be back.
Happy New Year,
Ki
Love love love, I will be doing this project. I had been planning to do this with wood trim but this looks much easier and quicker. Thanks for another great project.
Penny
Pretty! My husband did all our bathroom mirrors for me a while back using trim from the hardware and store and staining it. He tried everything to get them to stick to the mirror and ended up with . . . double stick tape. They are fabulous. He caulked around the inside of the mirrors to finish it off. I agree that it is a great fixer to a stock mirror.
I love it!! Definitely checking it out! Thanks 🙂
This is something I have got to do! Can't believe how fancy this makes the mirror look– and it seems so easy!
Hmmmmm…nice and easy…just the way we like it!
Sincerely
the Redneck Junkers
✨??✨?✨✨✨✨✨?✨
✨✨✨??✨✨??✨?✨
✨✨✨✨✨??✨✨??✨
__________??__________
I used a plan much better than this one and mine turned out great. I used the plans at www. WoodworkPlans.info – highly recommended you check those out too. They are detailed and super easy to read and understand unlike several others I found online. The amount of plans there is mind-boggling… there’s like 16,000 plans or something like that for tons of different projects. Definitely enough to keep me busy with projects for many more years to come haha
www. WoodworkPlans.info
✌✌✌✌✌✌✌✌✌✌✌???
Wow, I didn't realize how easy this is… we will surely all be putting these up before long!
They look awesome! I think a trip to Home Depot is in the near future. Thanks for the info on these!
This is just what I was looking for! Thanks for posting.
I had to go to their website to find out the prices. Still a bit pricey, but the end results look worth the extra cost. It sure makes a blah mirror really look outstanding. Thanks for the info!