Hey guys!!
I hope you all had a great weekend! I spent mine in San Antonio with my two oldest girls for a cheer competition. I now lack hearing and sleep, but I did have a fun time with my girls!
I have had this next little project in my head for sometime. I remember how bad I want it just about every time I cook. I always find myself grabbing my phone for google right in the middle of a recipe. So… I fixed that little problem today!
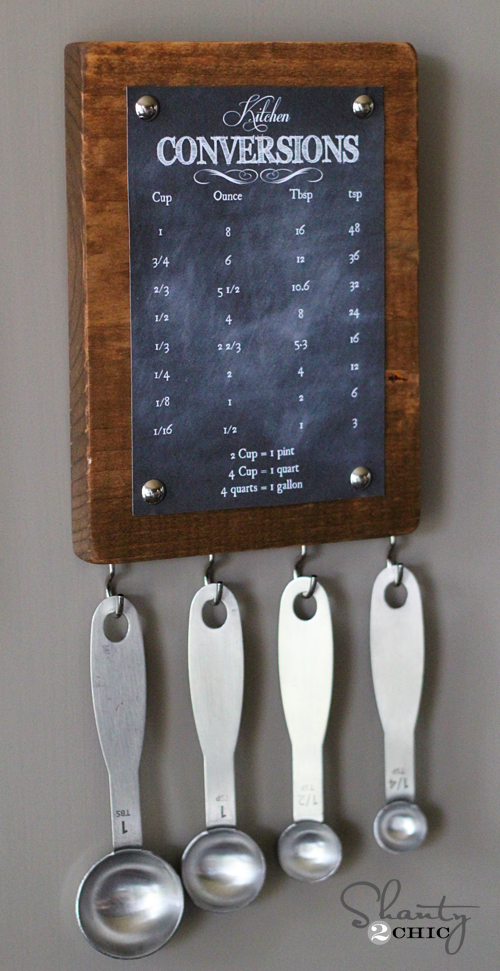
Here is how my Conversion Chart turned out…
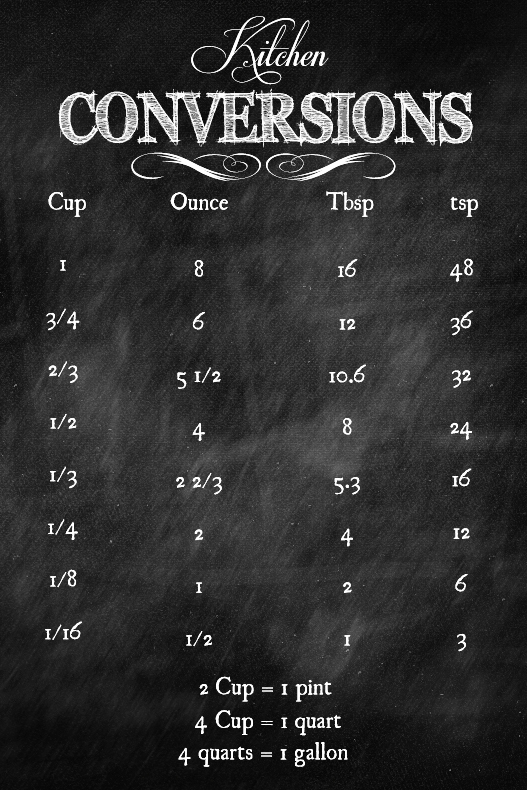
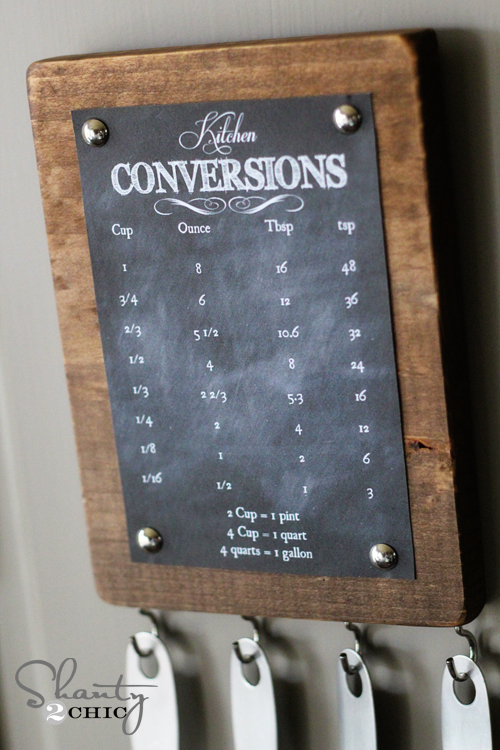
I made this super easy for you guys! First, you will need to print off the free conversion chart below! Love me a free printable! This is a 4×6″ printable so you can also just put it in a 4×6 frame if you don’t feel like doing the whole shabang. Just click the photo below and then click print from your top browser bar. Easy peasy.
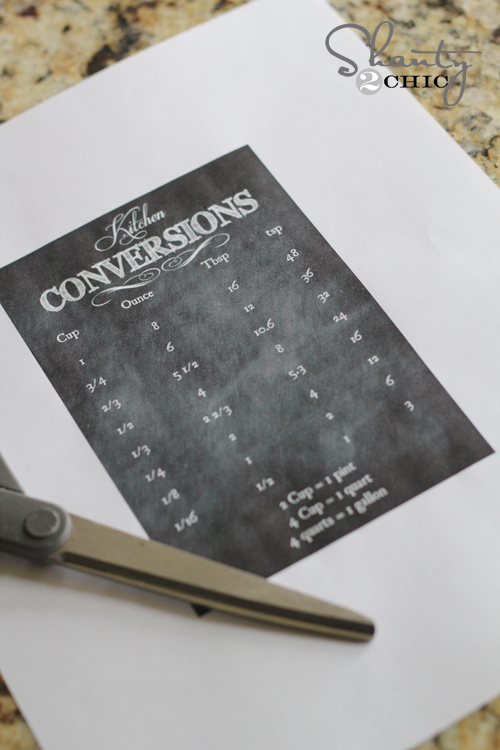
Just print it off and cut it out with scissors!
I used a 1×8″ whitewood scrap for this project. You can buy a 4′ piece of whitewood at the hardware store for around $5 and make 8 of these!
You will cut a 5″ piece from the board like this…

For those of you that don’t have a saw, this is the one that I started out with before moving up to my big girl saw. It can easily cut through projects like this one and so many more on our site!
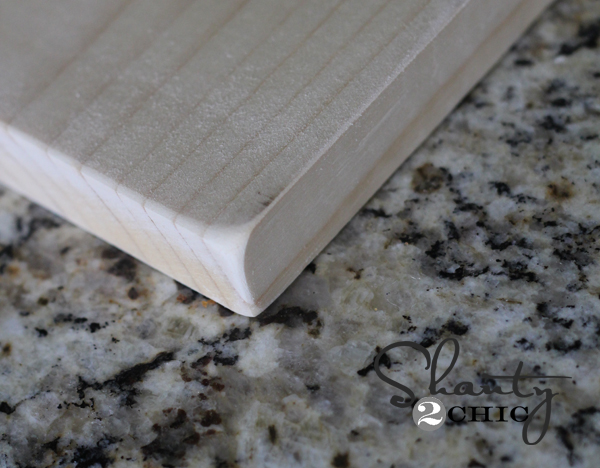
I also like to sand my corners and edges of my wood like this. This is also very easy to do! You can use a small hand block with 220 grit sandpaper and have it done in minutes!
I love the look of rustic, stained wood so I went with 1 coat of my OH SO Fav! You can find this stuff at Lowe’s!
Rust-Oleum Ultimate Wood Stain in Early American
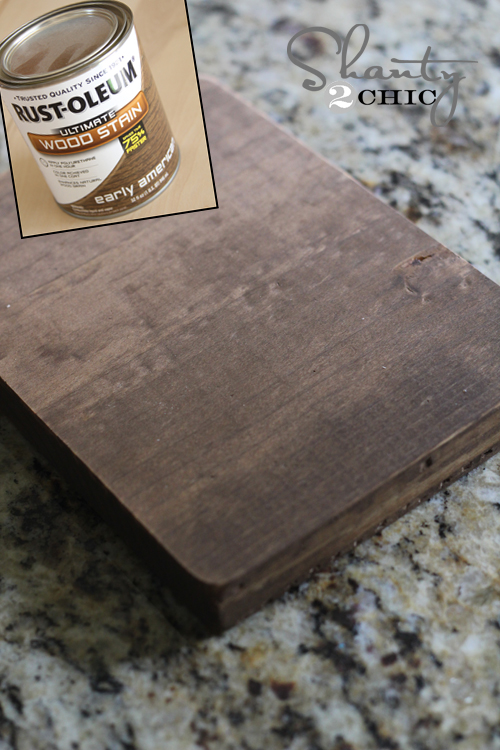
Rust-Oleum’s wood stain is the bomb! It takes only 1 coat to achieve your color, and it dries in under an hour. You really can’t beat it! And guess what?? They have some new colors hitting the shelves really soon… Ash and I got to test them out last week and we know you guys are going to LOVE them!! Here we are in North Carolina getting our hands dirty… So fun!

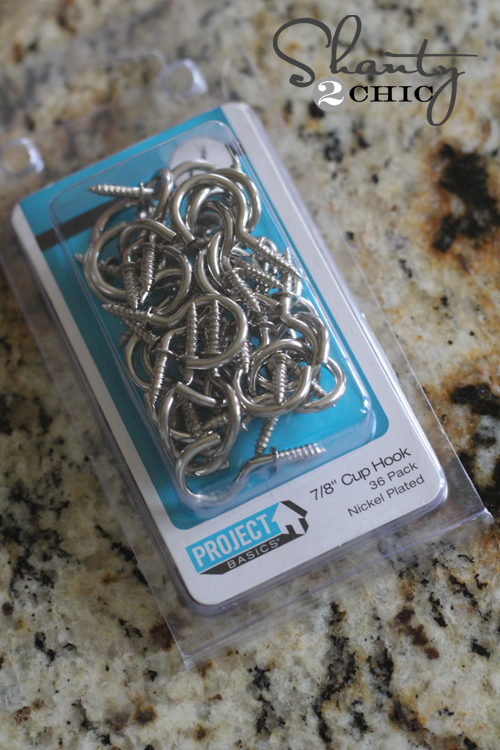
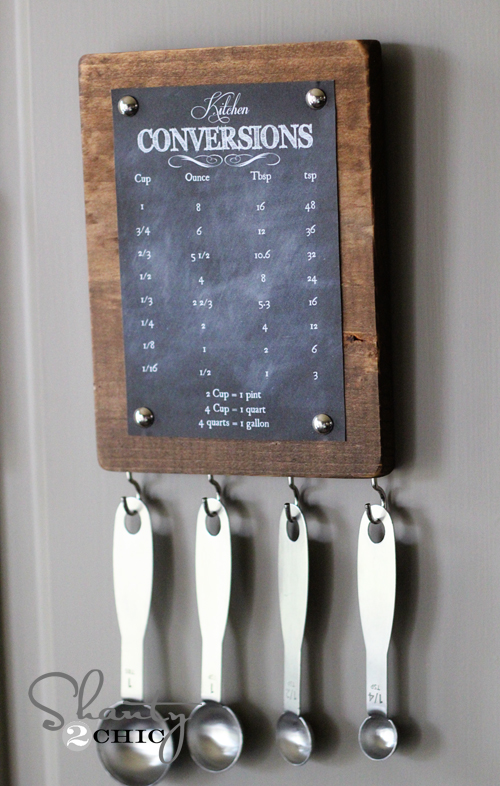
After that dries you can add your cup hooks! I was a little giddy to find silver ones at Target!
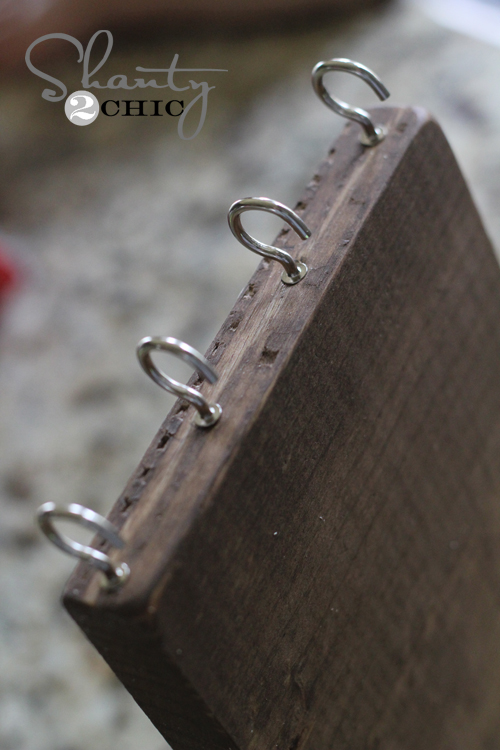
I put 4 in the bottom of my board like this…
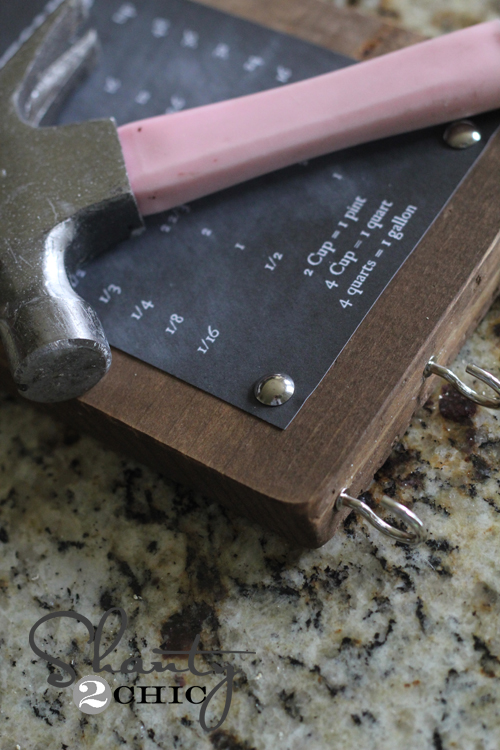
Now to add my printable! I used silver furniture tacks to hold mine in place. You can find these at the hardware stores and craft stores! Just use a hammer to nail them down on your corners like this…
I originally planned on adding magnets to mine, but I was worried about the weight of the spoons. I already have a slight obsession with command strips, so my second choice was obvious!
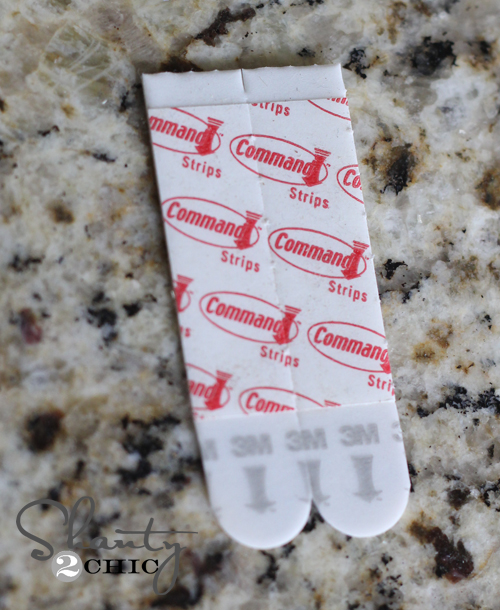
I used 2 on the back of my board, and attached mine to my fridge. When I do decide to take it down, these babies leave no mess behind. Love them.
That is it! Want to see some finished pics??

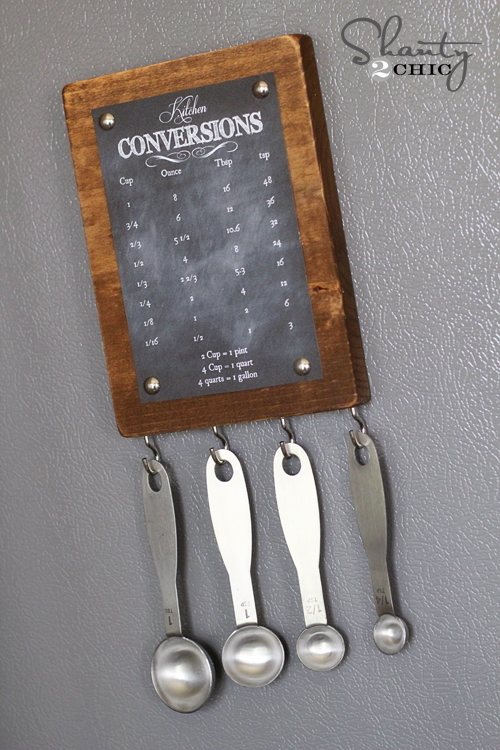
Hope you LOVE it as much as I do!! I would love for you to share this project and PIN it to your peeps below! You guys are great and I hope you enjoy it!
Thanks so much!
~Whitney


B R I L L I A N T!
Thanks sooo much for the free printable! Im lazy so I skipped all the steps and printed the chart onto a 5’7” piece of wood. Love it 🙂
Eileen Cicutti, how did you print the chart onto wood? I would like to print it onto a piece of tin.
yes, do tell, I would like to know as well 🙂
I just found this and I know exactly what I will be doing for the next hour. YAY!!!! I love it!!!
I made mine today using a 5×7 unfinished, beveled edge board from AC Moore that I paid $2 for. No cutting or sanding needed. Stained it and was done in less than 30 minutes with drying time included. Love it! Thanks for the free printable!
How wonderful, Thank you!!! I’m going to make one for each of my girls!
Love this!! Ideal for the fridge!
Wich is the name of the fotn? I adore it
SOOOOOOO cute!! I just made this and absolutely LOVE it! Thank you so much for all your posts!! You are my #1 favorite website!
I love this! Definitely printing and putting it up somewhere in my kitchen. I’m just like you – I always have to google the conversion!
P.S. How’d you hide the command strips when you hung it? Don’t you need to access the tabs to pull them off cleanly?
Thank you, thank you! I always need this info too and I am hoarder of command strips – love em!! 🙂 Look forward to following along! Have a great week.
I featured your printable on my blog today ~ beautiful work! =) You can see it here if you’d like: http://day2daysupermom.blogspot.com/2013/04/sisterhood-saturday-free-printables-to.html
What kind of saw did u use???? it didnt show up