
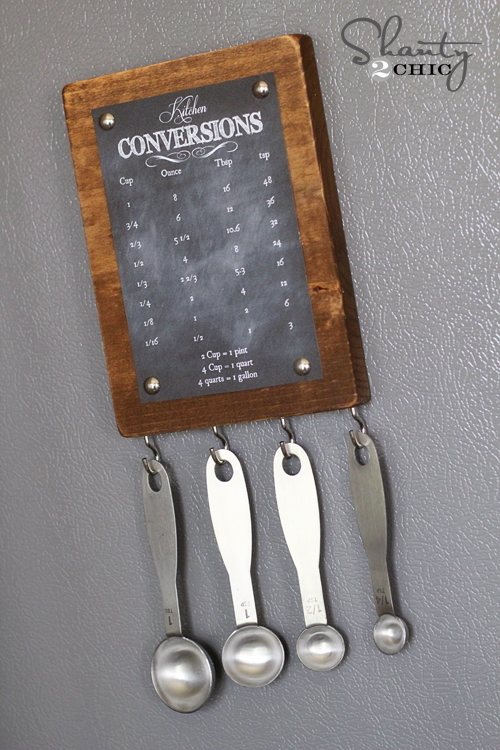
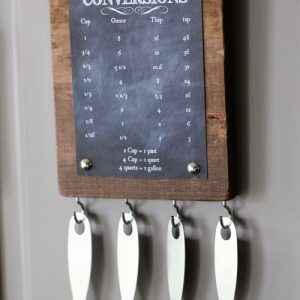
I can’t tell you how many times I’ve been right in the middle of cooking and had to grab my phone to look up a measurement conversion. I finally decided I needed those measurements somewhere I could see them without stopping what I was doing, so I made this little DIY kitchen conversion chart for my fridge.
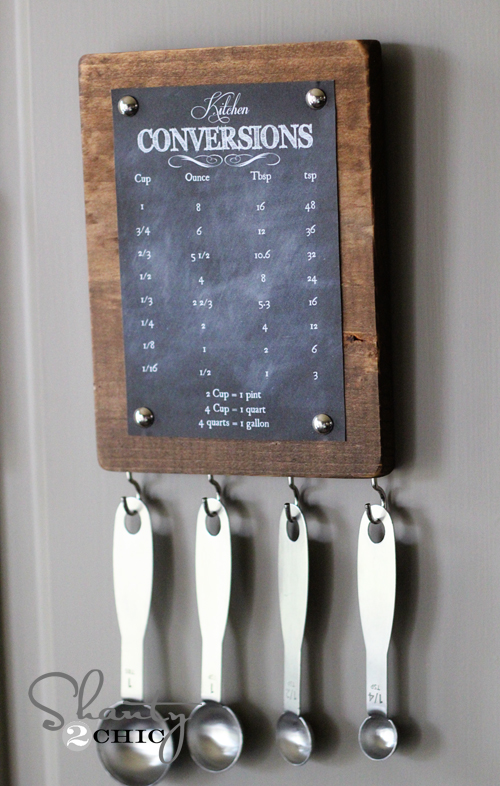
I created a free 4×6 conversion chart printable and added it to a small stained wood board with hooks for my measuring spoons. You can make the whole thing from a scrap piece of 1×8, or skip the wood altogether and pop the printable into a 4×6 frame.
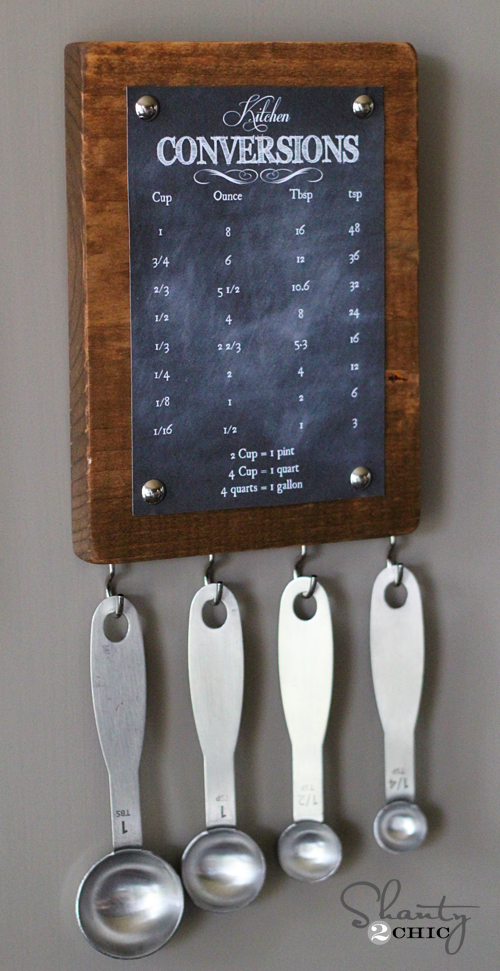
Table of Contents
Why I Love This conversion Chart
This is such a small project, but it’s one of those things that is really handy to have right in the kitchen.
- If you don’t want to build the wood version, simply frame the printable.
- The conversion chart is a free 4×6 printable.
- You only need a 5-inch piece of 1×8 lumber for the wood backing.
- It’s a great project for using up a scrap board.
- Four cup hooks give you a spot to hang measuring spoons.
- You can attach it to the refrigerator with Command Strips instead of drilling holes.
Free Kitchen Conversion Chart Printable
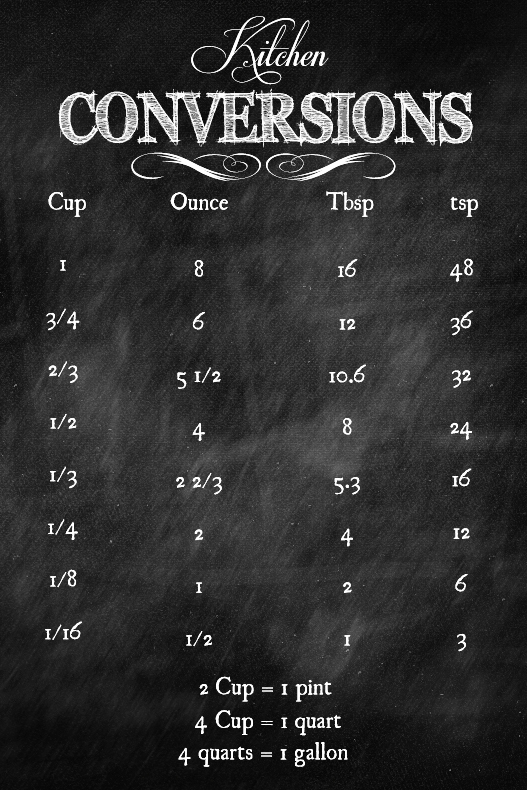
First, print the free conversion chart below.
The printable measures 4×6 inches, so you have a couple of options. You can follow my tutorial and mount it on a piece of stained wood, or put it straight into a 4×6 frame and call it done.
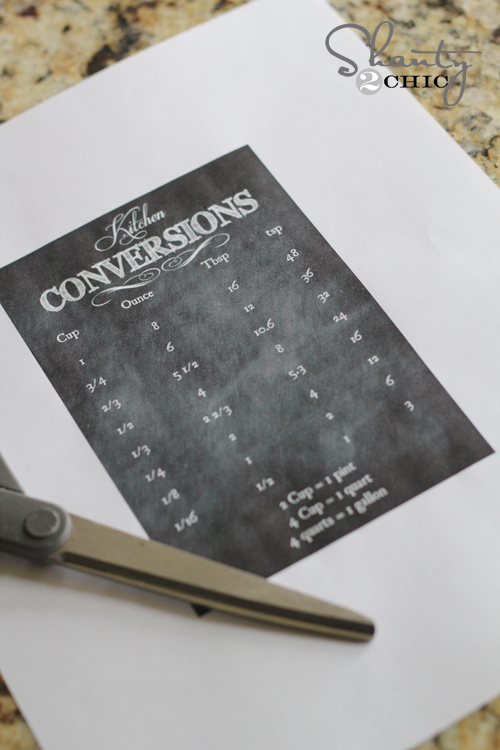
Once it’s printed, cut around the outside with scissors.
Supplies Used
Here are a few of the main supplies I used and why they worked well for this little project.
1×8 whitewood board: I used a scrap from my shop. You only need a 5-inch-long piece, so this is a great scrap wood project. The original 4-foot boards were around $5 when I made mine, and one board could make several of these.
220-grit sandpaper: I used a small sanding block to soften the corners and edges before staining.
Rust-Oleum Ultimate Wood Stain in Early American: I wanted the rustic stained-wood look for mine, so I used one coat of Early American.
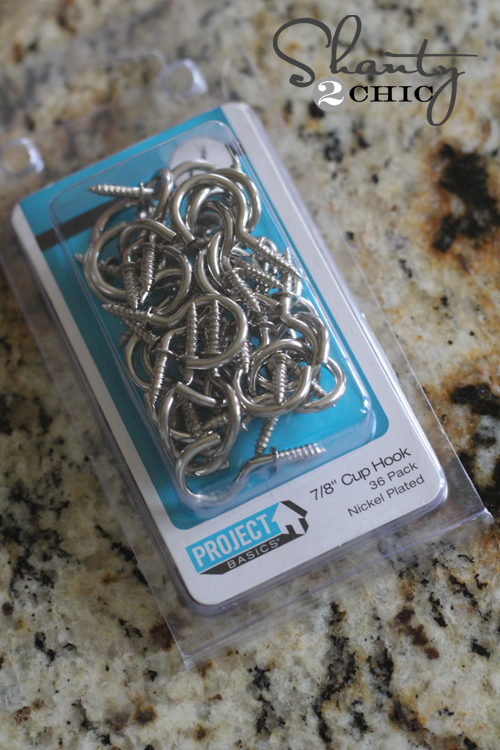
Cup hooks: I added four hooks along the bottom to hold my measuring spoons.
Furniture tacks: Instead of gluing the printable down, I used silver furniture tacks in the corners. They hold the paper in place and add a little detail to the finished piece.
Command Strips: I originally considered magnets, but I was concerned about the added weight from the measuring spoons. I used two Command Strips on the back instead.

How to Make The Kitchen Conversion Chart
This one comes together with just a few steps. Here’s exactly how I made mine.
Cut the Wood
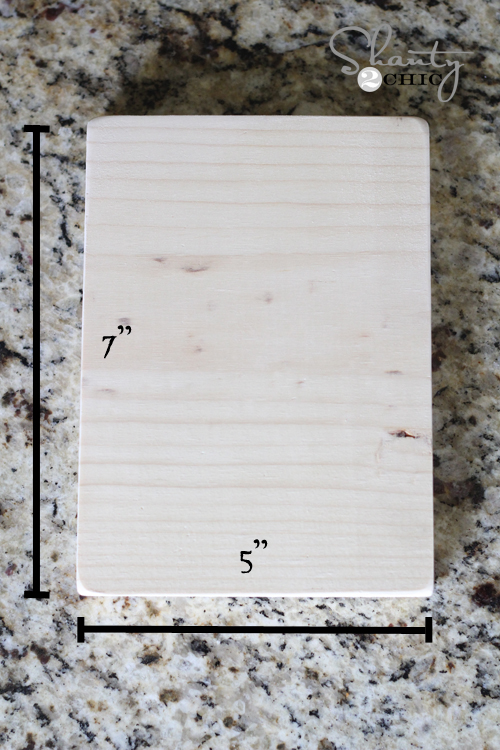
I used a scrap piece of 1×8 whitewood and cut it to 5 inches long.
If you don’t have a large saw, you don’t need one for a small cut like this. A compact saw that is designed to cut dimensional lumber can handle a project this size.
As always, follow the manufacturer’s instructions for your saw and secure the board before making the cut.
Sand the Edges
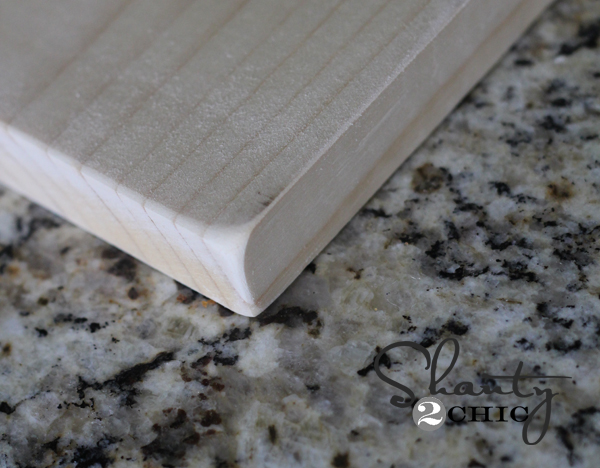
I like the slightly softened, rustic look on projects like this, so I sanded the corners and edges of the board.
I used a small hand sanding block with 220-grit sandpaper. It only takes a few minutes, but it helps smooth the cut edges and gives the finished board a softer look.
Wipe away all of the sanding dust before moving on to the stain.
Stain the Board
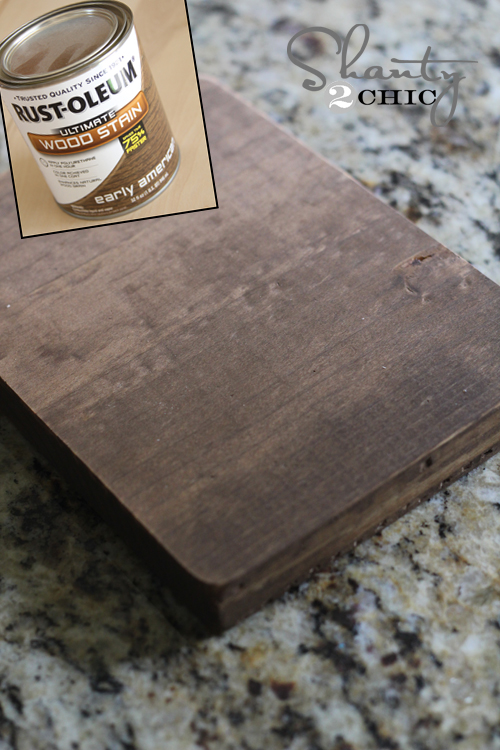
For mine, I applied one coat of Rust-Oleum Ultimate Wood Stain in Early American.
I loved the warm, rustic color against the white printable and silver hardware.
Let the stain dry completely according to the directions on the product you’re using before attaching the hooks and printable.
Add the Cup Hooks
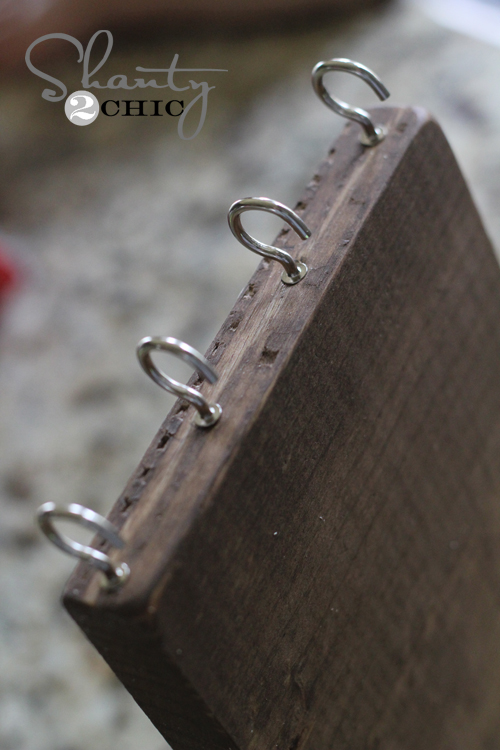
Once the stain was dry, I added four cup hooks along the bottom edge of the board.
Space them evenly across the bottom so the measuring spoons have enough room to hang without piling on top of each other.
If your hooks are difficult to start by hand, making a tiny pilot hole first can help prevent the wood from splitting.
Attach the Printable
Position the trimmed 4×6 conversion chart on the front of the wood.
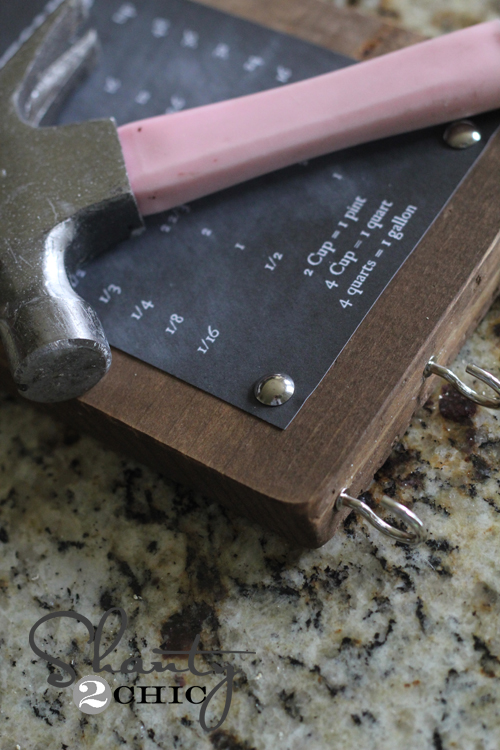
I used silver furniture tacks to hold mine in place, adding one at each corner. Carefully tap each tack into the wood with a hammer until the printable is secure.
I love that the tacks make the printable feel like part of the finished piece instead of simply gluing a sheet of paper onto the board.
Hang It on the Refrigerator
I originally planned to add magnets to the back, but once I added the measuring spoons, I was worried about the extra weight.
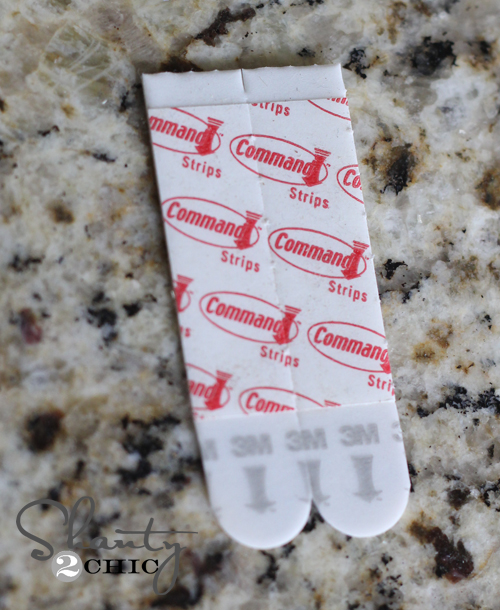
Instead, I attached two Command Strips to the back of the board and mounted it directly to my refrigerator.
Make sure the strips you choose are rated to support the combined weight of the wood board, hooks, and anything you plan to hang from them. Follow the package directions for surface prep and installation.

And that was it!
Expert Tips
- Use a scrap piece of 1×8 if you have one. You only need a 5-inch section for this project.
- Sand the cut edges and corners before staining so the board feels smooth and the finish goes on more evenly.
- Let the stain dry completely before adding the hooks, printable, and Command Strips.
- If the cup hooks are hard to start, make a small pilot hole first to help prevent the wood from splitting.
- Space the four hooks evenly so the measuring spoons hang without crowding each other.
- Make sure the Command Strips you use can support the weight of the finished board plus the measuring spoons.
- Don’t want to build the wood holder? Print the 4×6 chart and place it in a frame instead.
A Few Ways to Make It Your Own
You can easily change the look of this little conversion chart to work with your kitchen.
- Paint the wood instead of staining it.
- Use different hardware to match your cabinet pulls or kitchen finishes.
- Leave off the hooks if you only want the conversion chart.
- Skip the wood completely and put the printable inside a 4×6 frame.
The printable stays the same either way, so you can make this as simple or as finished as you want.
Frequently Asked Questions
You need a way to cut the 1×8 board to 5 inches if you’re making the wood version. Because it’s only one straight cut, this is also a good project to make from a scrap piece that is already close to the size you need. If you don’t want to cut wood at all, use the printable in a 4×6 frame instead.
Yes. The furniture tacks are what I used because I liked the look and they hold the printable securely. If you use another method, make sure it won’t wrinkle or damage the paper.
That was actually my original plan, but I chose Command Strips because I was concerned about the weight once the measuring spoons were hanging from the board. If you use magnets, they need to be strong enough to safely support the complete finished piece.
More Easy DIY Projects to Try
If you liked this quick little project, we have lots of other beginner-friendly DIYs you can make for your home. Try our DIY Door Hanger, make a set of Custom Wall Art Frames, or check out our DIY Map Art for another fun way to combine wood and simple decor. You can also browse all of our beginner DIY projects and free plans when you’re ready for your next build.
I love how this little project turned out. It keeps the conversions I use while cooking right where I can see them, and the hooks give my measuring spoons a home too.
And remember, you don’t have to build the entire wood version to use the printable. Print the 4×6 chart, put it in a frame, and you’re done!
If you make one, we would love to see it. Share your finished project with us on Instagram and tag @shanty2chic or use #shanty2chic so we can check it out.
Happy Building!
🛠️ Printable Tutorial
DIY Kitchen Conversion Chart
Tools
- Saw
- Sanding block
- 220-grit sandpaper
- Hammer
- Scissors
Supplies
- Free 4×6 kitchen conversion chart printable
- 1 ×8 whitewood board cut to 5 inches long
- Wood stain such as Rust-Oleum Ultimate Wood Stain in Early American
- 4 cup hooks
- 4 furniture tacks
- 2 Command Strips
Instructions
- Print the free 4×6 conversion chart and trim it with scissors.
- Cut a 5-inch-long piece from a 1×8 board.
- Smooth the edges and corners with 220-grit sandpaper and remove the sanding dust.
- Apply one coat of wood stain and let it dry completely.
- Install four cup hooks evenly along the bottom edge of the board.
- Center the conversion chart on the wood and secure each corner with a furniture tack.
- Attach two Command Strips to the back and mount the finished chart to the refrigerator.
Notes
- The printable can also be placed directly into a 4×6 frame if you want to skip the wood version.
- Make sure the Command Strips are rated to support the weight of the finished board and measuring spoons.
- Drying time can vary depending on the stain used and room conditions.

LOVE this project. My sister got me some adorable owl measuring spoons and this would be the prefect way to display them! Thanks for sharing.
Love it! I’m always doing a search on my phone for conversions. I’m going to laminate this and stick it on my fridge. 🙂
Hi there! What kind of saw did you use before you got your big girl saw? It doesn’t show up on the screen? Thanks!
Really awesome! Thanks for the printable.
You’re welcome!!! Glad you like it!
So fun! So useful! This easy peasy project has “gifts” written all over it! Did you print your conversion chart on regular cardstock or did you use photo paper? Thanks for always making me look good on the holidays – ha!
Haha! No problem! I used card stock! 🙂
Sent from my iPad
This is fantastic! VERY useful and VERY pretty! Great combination 🙂
Thank you for the printable!
Thanks so much Audrey!!!
I absolutely LOVE this!!!
So glad! Enjoy!! 😉
This is so cute! I love everything about it! Thank you for the fun printable!
Thank you Mindi!! 😉
does any one know to grams into cups or teaspoon
This is awesome ! Thank you for the image!! I can never remember these little things.
So happy you like it 🙂
Totally wanna do this now. I’ve lived in the US for 3 years, but I am still not used to the american measurements, me being from Europe and such. The printable is just adorable!
Thank you!! 😉
Even if you’re still in Europe you could use this. At least when you’re (like me) reading a lot of american blogs where they’re writing down all their funny measurements… 😉
Love this!!! Thanks for sharing! Now I can replace the ugly (but handy) magnet on the side of my fridge.
Great!! Happy to help… Enjoy 😉
Where did you get your measuring spoons?
Target!
Great idea and it looks very sweet. One question though – im guessing your tablespoon measures are 15ml?? Im in Australia and use 20ml for a lot of recipes so all the conversions would be out 🙁
I Love this…thank you so much…this looks like a craft I could do! Plus I’m the same with having to look up the conversions on my phone too. Thank you so much for this <3
Thanks so much!! So glad you like it! 🙂