Happy Monday!!!
I hope you guys had a great Super Bowl weekend! I spent mine watching Cars and Toy Story 2 so it was great :-)!
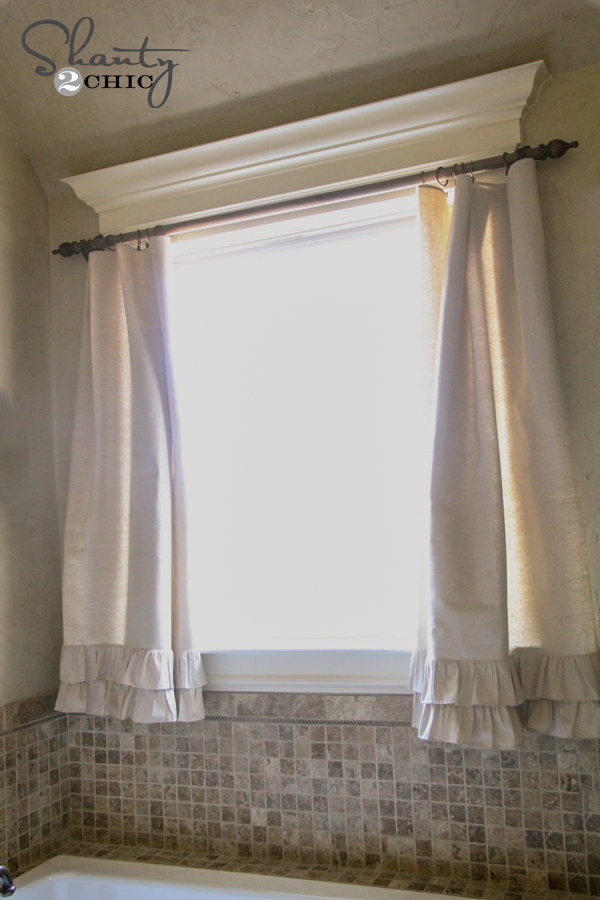
I have also had lots of questions about these…

If you can sew a straight stitch… You can make these babies!
I love the ease and look of panels. I have them throughout my whole house! I was going for cheap and chic for this window so I settled on a mix of drop cloth fabric and ticking.
THIS is the drop cloth that I typically buy at Lowe’s to make panels and curtains. I love the 4′ width of it which means that both sides are already hemmed for me and all I have to do is finish off the top and bottom. Ash has even finished her tops and bottoms using hot glue which works great on this canvas… You can’t even tell!!!

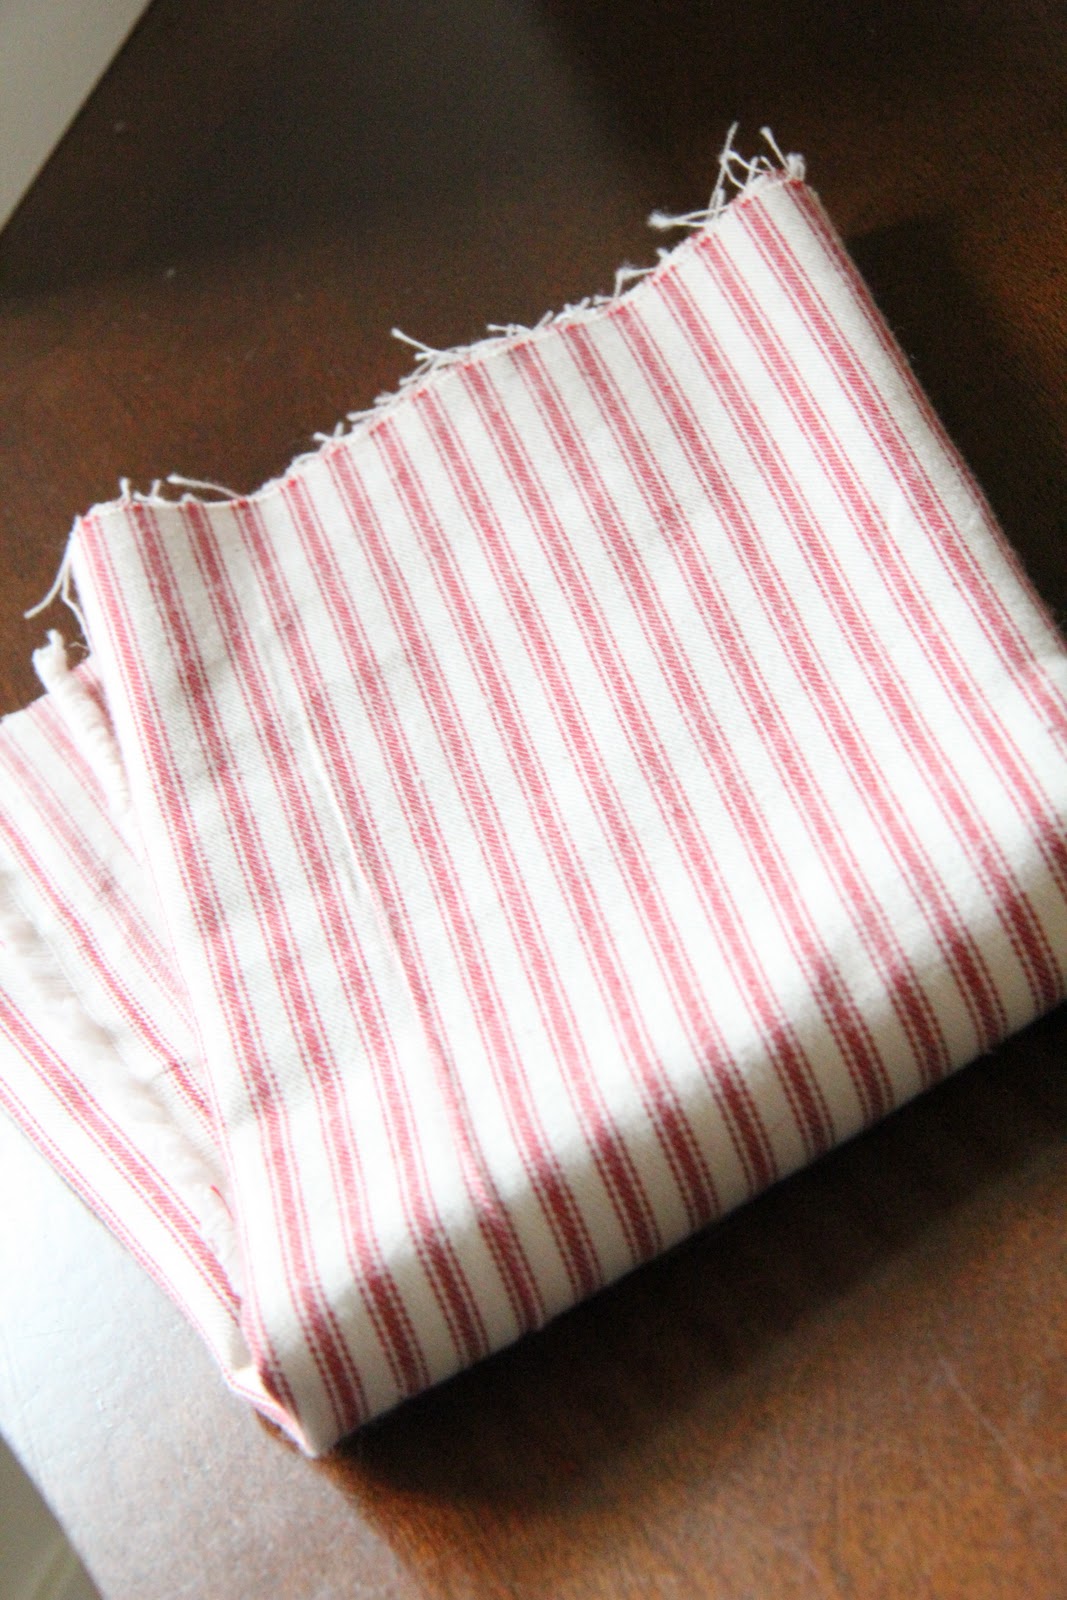
I also bought 1/3 yard of red ticking at JoAnn’s for $5.99 a yard.
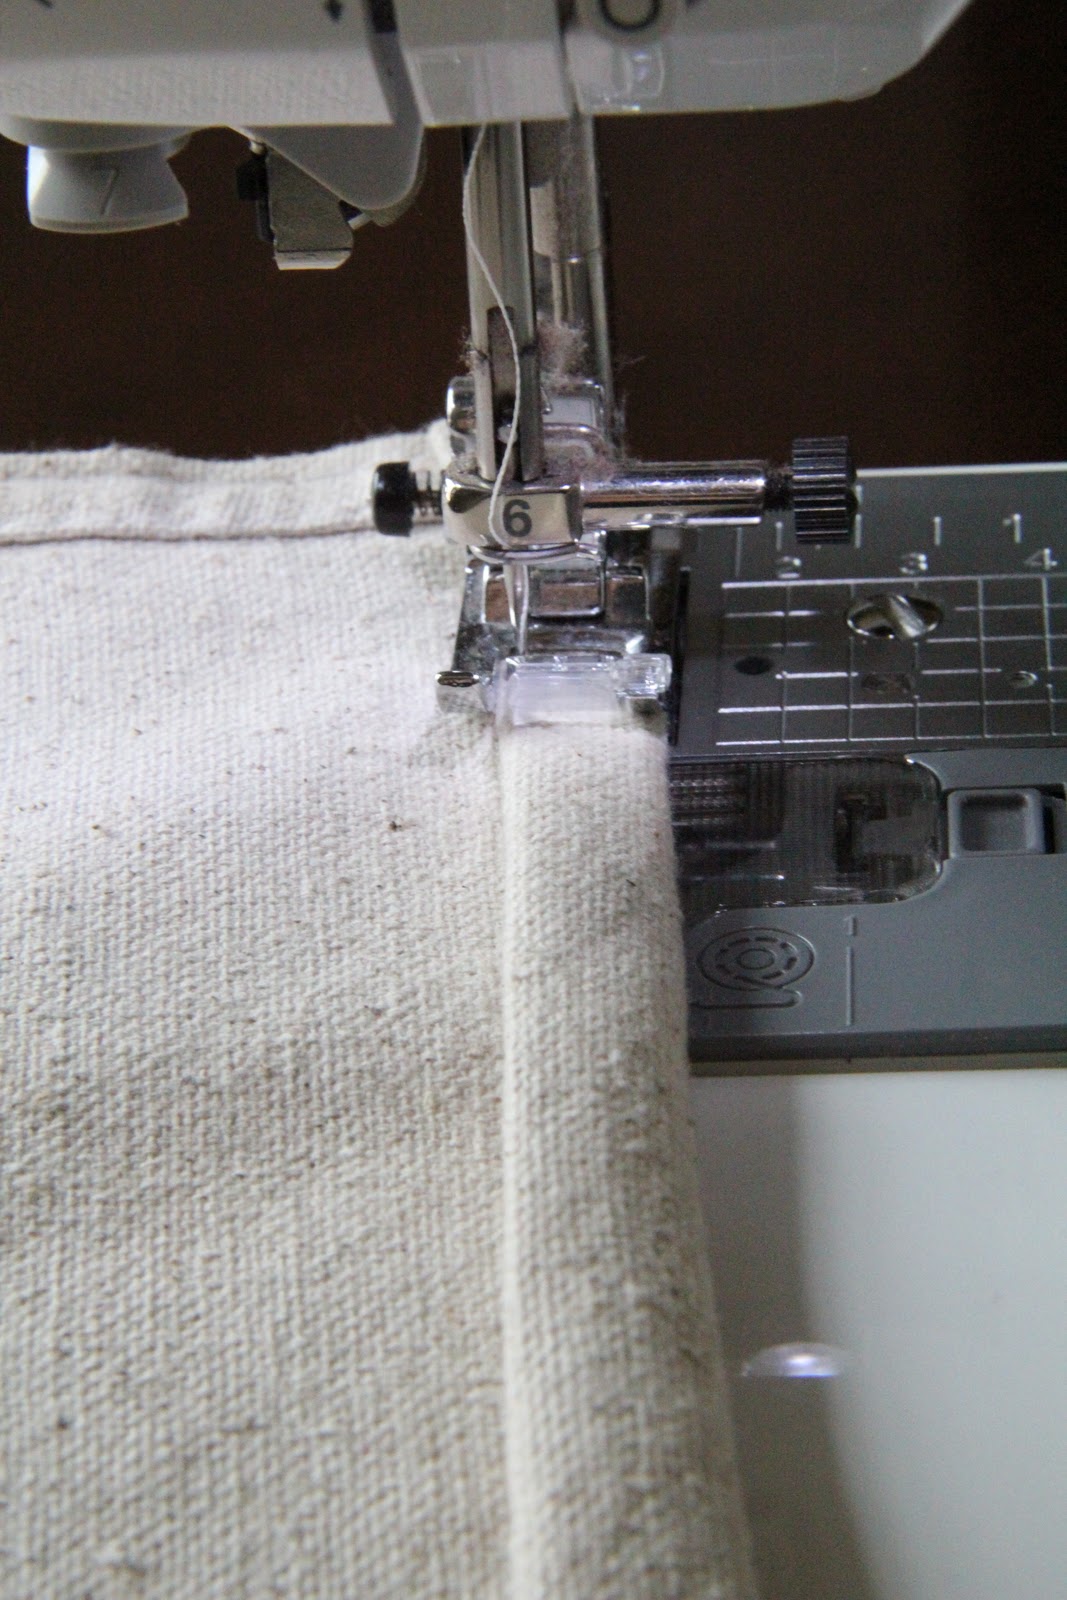
I started by cutting my drop cloth to the length I needed it. My window is 51″ so I cut 2- 54″ panels. Then, folded the tops and bottoms two times to form a hem and ironed them down. After ironing them I used my machine to make a straight stitch. If you don’t sew, this is where you would hot glue!
Now I cut 4 – 2.5″ strips of ticking and hemmed one end of each strip the exact same way… Folding, ironing and then straight stitching.
I fed the other end of my ticking strips through my ruffler.
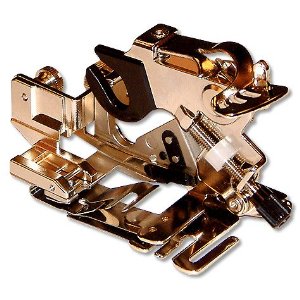
Many of you have heard me talk about my ruffler. It is a foot that attaches to your machine and with a straight stitch it very quickly and easily ruffles your fabric… Can’t beat that! Just make sure you purchase one that is compatible with your brand of machine!
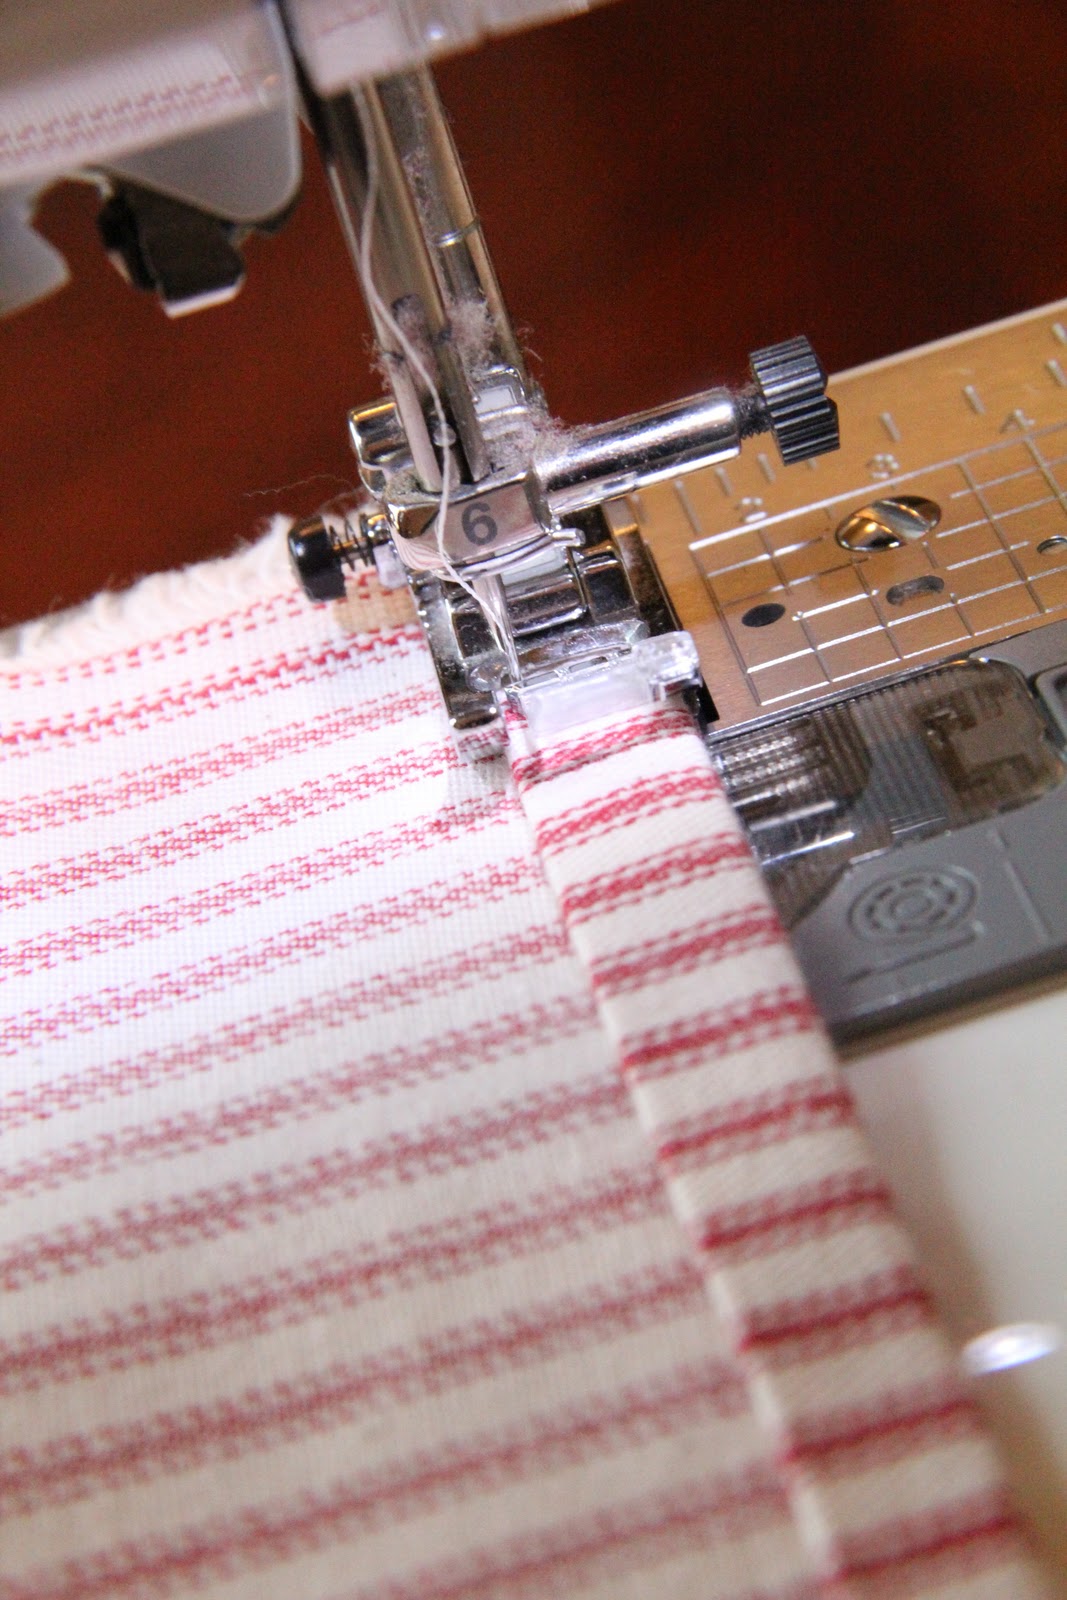
I ruffled each of my strips and attached them to the bottom of the panels like this.
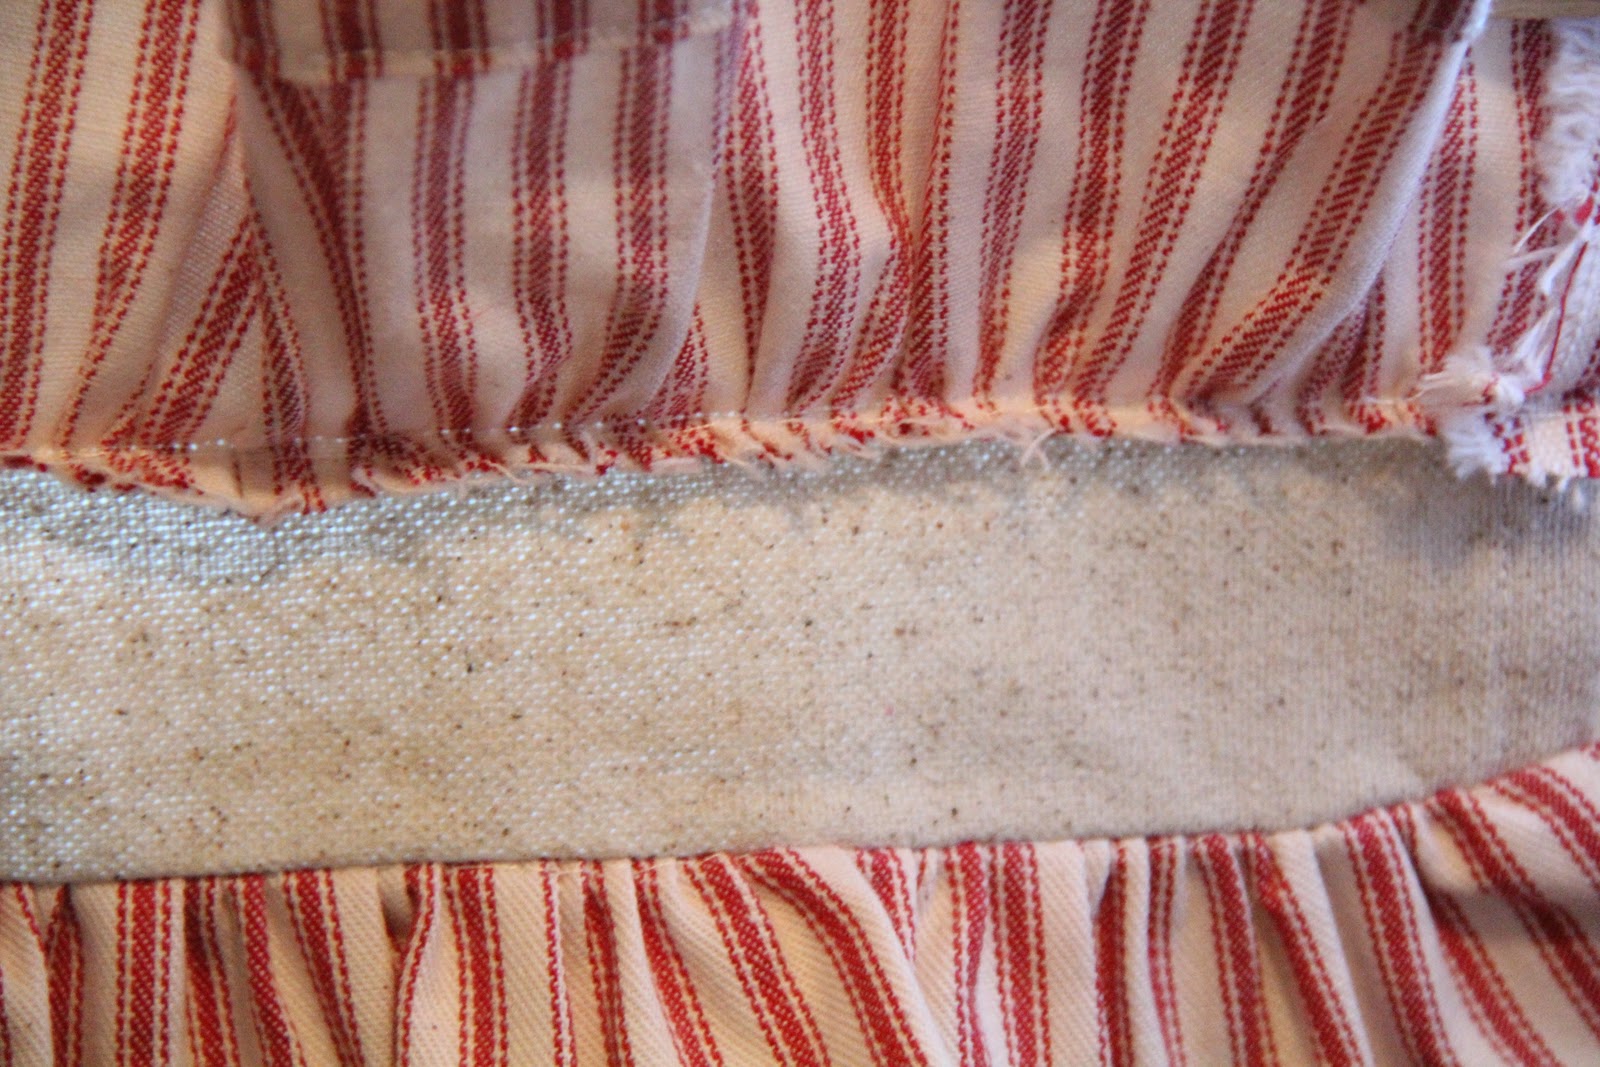
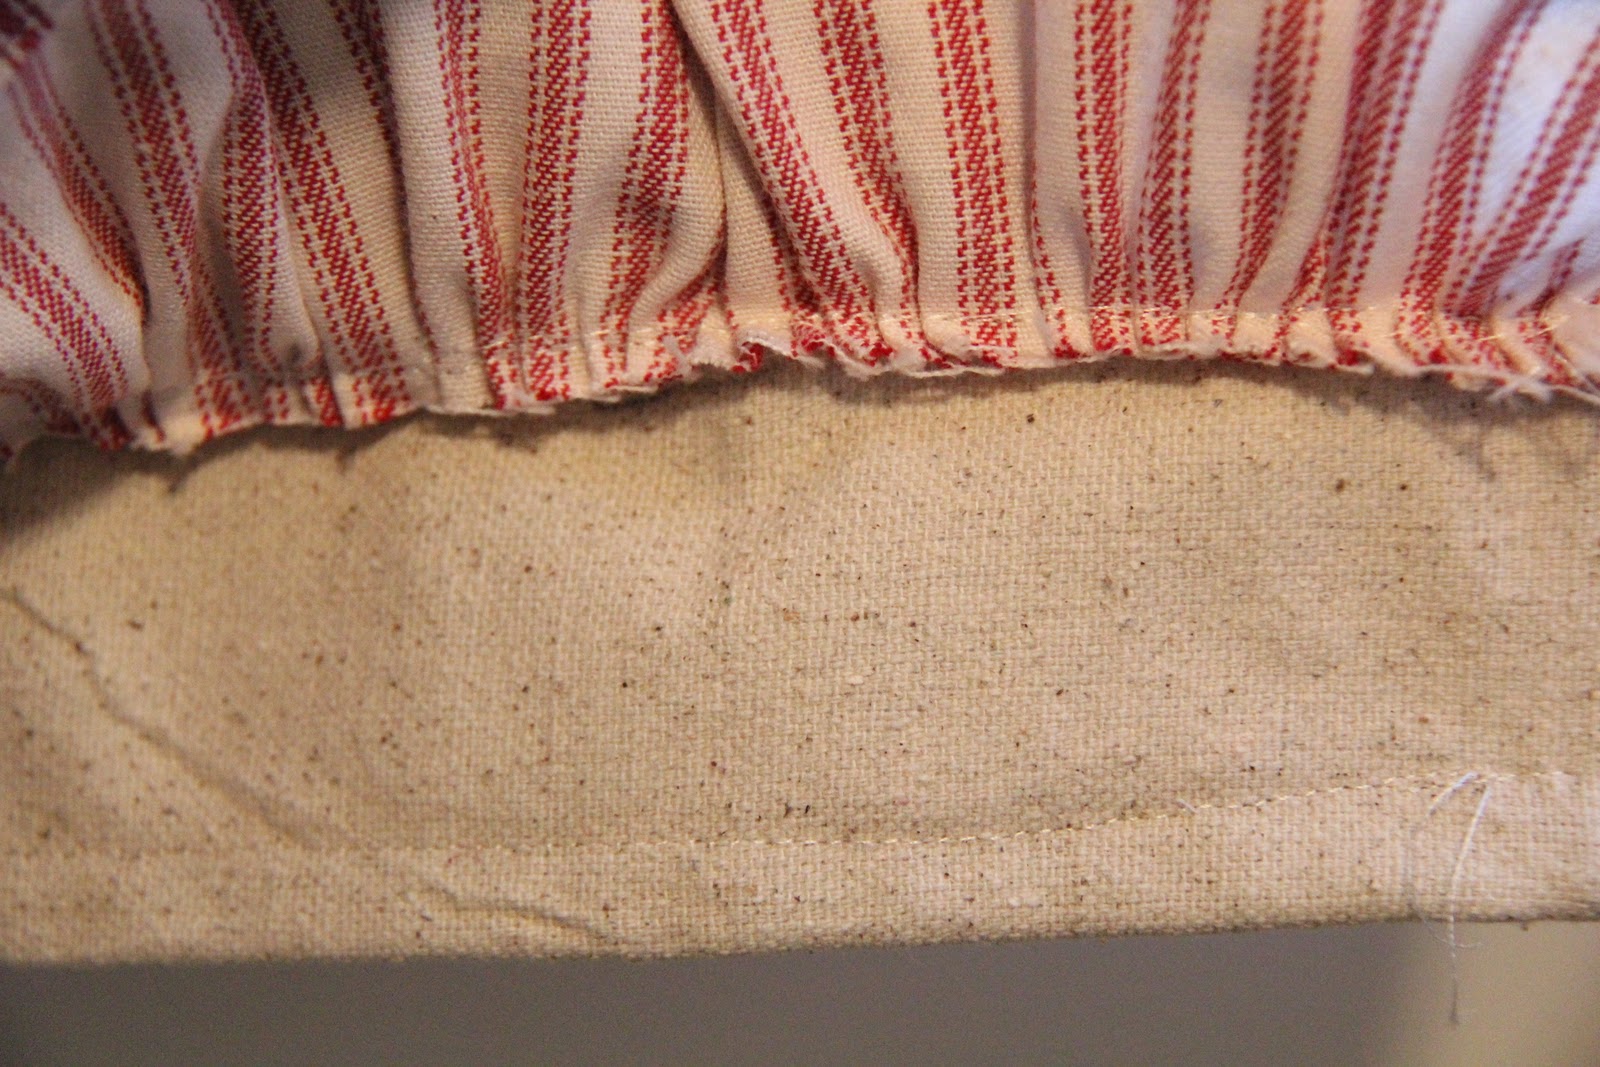
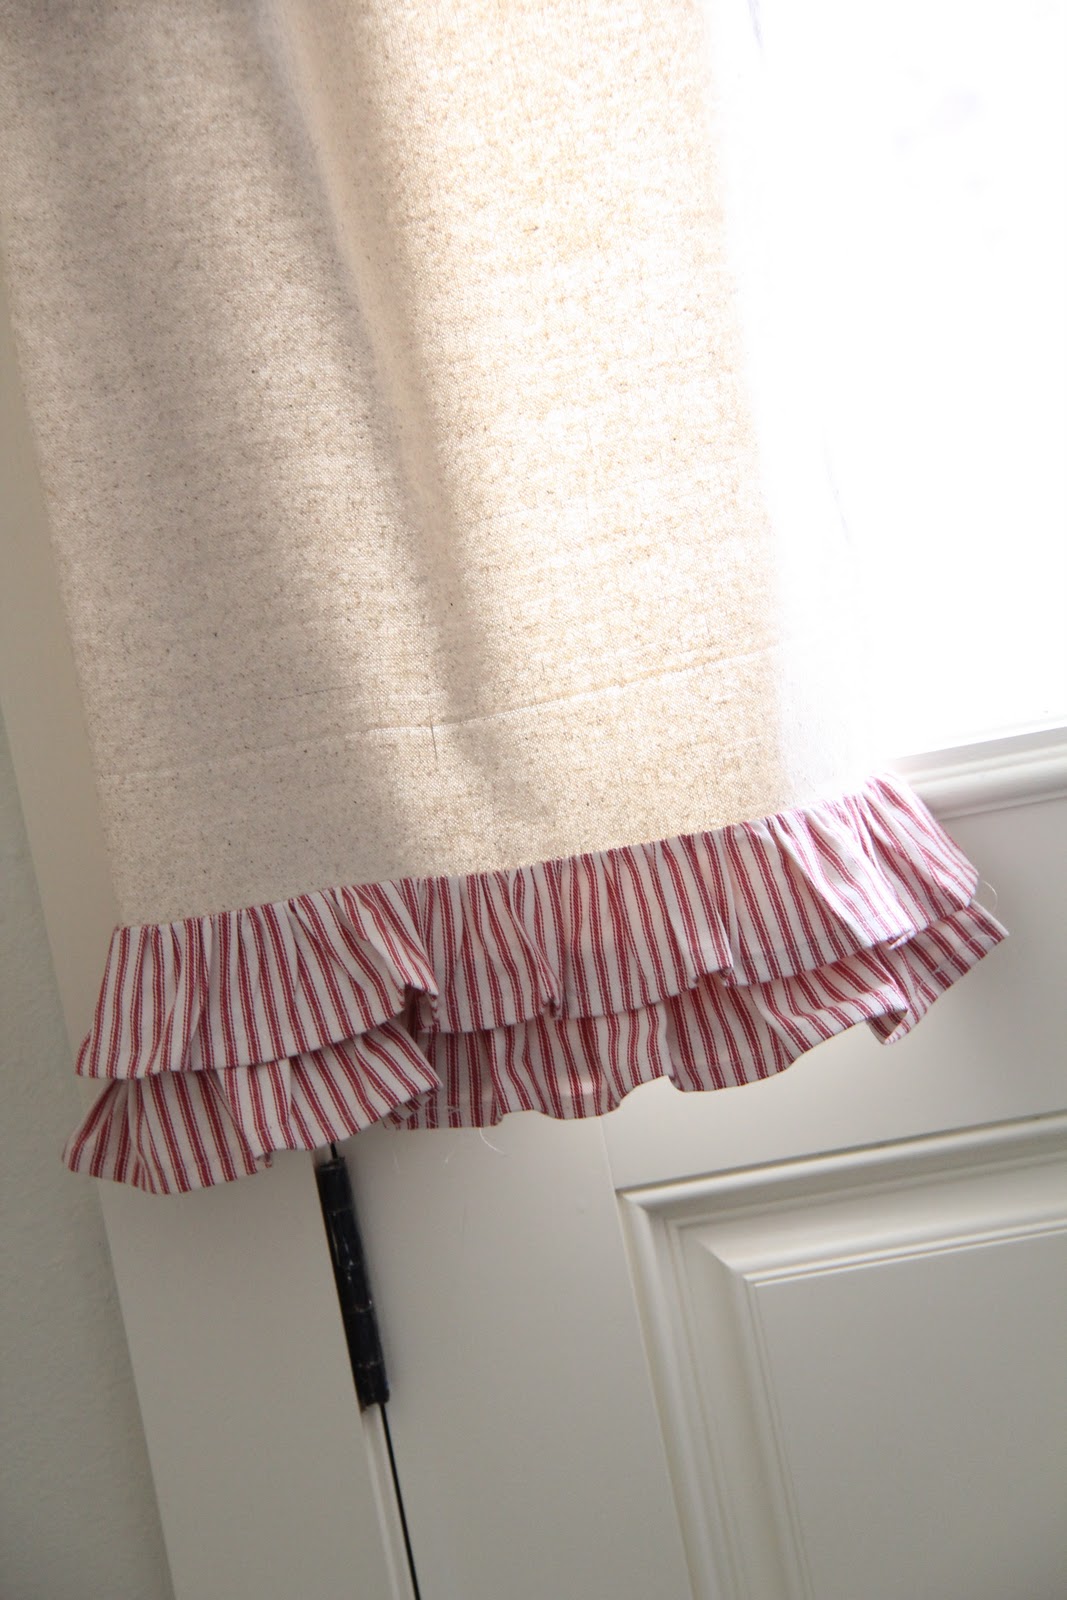
I attached the bottom strip first. This is the top of my panel and I attached the ruffle with the bad side facing forward and up. Then, after I had both sewn on I ironed them down. That gives me this look and hides all my stitching…
I purchased THIS cafe rod in bronze from Lowe’s to hang my ruffled panels.
I also purchased THESE cafe rings from Lowe’s.
That was it… I clipped it up and I was ready to go. The best part about using drop cloth is that the color is the same as I would use to back normal curtains. So… You get to skip that step. Whoop!!
Hope you like them! Let me know if you have any questions!!
DON’T FORGET ABOUT TONIGHT’S PARTY!!!

It starts around 9:00 pm central time! We want to see any and ALL crafts, projects and revamps you gals have been up to without the help of your man!
We have a fun giveaway planned for all that enter so we will see you tonight!
Thanks for stopping by!!
~Whitney


Recently I was extremely low on cash and debts were eating me from all sides! That was UNTIL I decided to make money on the internet! I went to surveymoneymaker dot net, and started filling in surveys for cash, and surely I’ve been far more able to pay my bills!! I’m so glad, I did this!! With all the financial stress these years, I really hope all of you will give it a chance. – nlik
Hi Whitney! My Mom and I are contemplating buying a ruffler attachment for her Bernina. We were a little sticker shocked at $110. Would you mind sharing what brand of sewing machine you have and where you purchased your ruffler? I know it’s an awesome attachment but it just doesn’t fit in the budget right now. I have a brother (brand new from Costco) that I have YET to get behind the wheel of myself since I’ve never sewn. Unfortunately, they don’t make a ruffler attachment for it, only a gatherer. Oh, one more thing…can you use your ruffler on the drop cloth fabric?
I appreciate your time. And I love all of the projects you and your sister share! You guys are awesome!
Blessings,
Missy
instead of paying the high price for a ruffler, you can take some very heavy thread, and along the top of your fabric run a zigzag stitch with regular machine thread over the top of the heavy thread being sure not to stitch into this thread. One the whole length has been stitched down. tie one end of the heavy thread to something like a pencil so it will not pull through the zigzag stitch. Then start pulling the other end of the heavy thread until your piece is gathered to the length you need. Mark the center and 1/4 and 3/4 with a pin, do the same with your curtain panel. Lay your ruffle on the panel and match the pins up and pin it down in those places. Then pin across the rest of it to hold it in place well and top stitch it down.
Hi-I just found your blog on theletteredcottage. Thanks so much for posting how to make these curtains! I love them!
Just found your blog today. I adore these curtains! they are so cute, I have got to make some of these, not sure where for though …
Bee happy x
WOW, I love these curtains! I featured this project on my blog today:
http://oopsey-daisy.blogspot.com/2011/02/wednesdays-wowzers-already.html
Thanks for inspiring!
~Alison
must.get.ruffler.
Thanks so much for sharing your ideas and directions. I bought a ruffle foot, and I have to say that I can't figure out where the fabric goes and just how it works. Do you have any pictures of where to place the fabric, etc.? I'd really appreciate it.
Thanks.
I love that you made this out of a drop cloth, very inventive. Beautiful job!
katieshowto.blogspot.com
Super Cute! Love these.
~Heidi
Those are adorable.
Adorable~
While I own a vintage sewing machine (or two *blush*) I don't have one that works.
Since I don't sew anyway, it's not a problem…
How, hot gluing sounds like an option. I have heard of some kind of sewing tape that you iron. That might be an option. And, lastly, someone recently told me there was fabric glue that you can even wash!
Hmm. New curtains might be in my future!