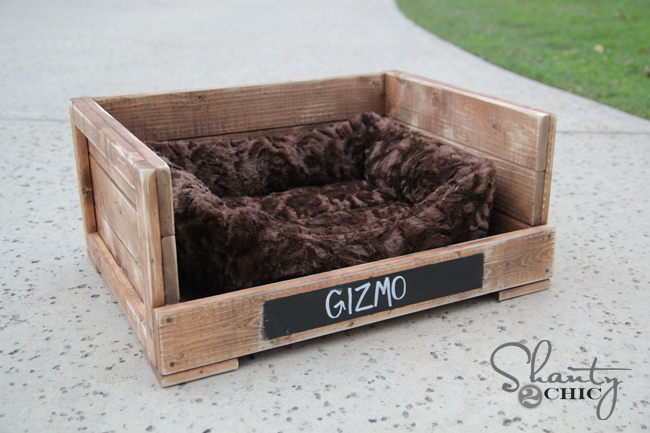
Learn how to build this easy DIY Pet Bed for only $12 in materials with free plans by Shanty2Chic! This is a great beginner project!
I love the way it turned out, and the best part?? This thing cost under $12 in wood to build. Yup… That makes me love it even more!
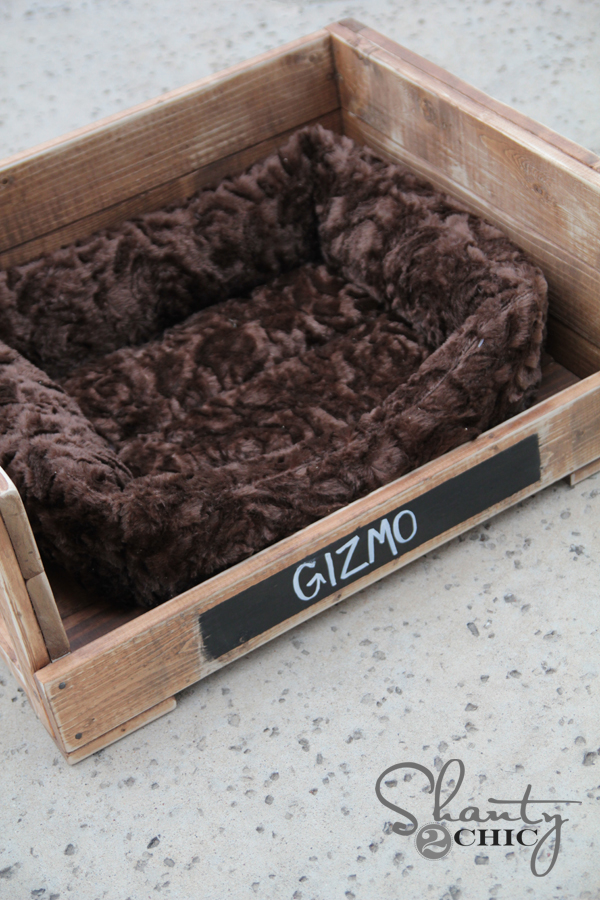
I had the whole thing done in a couple hours. I made this bed to fit a standard smaller dog bed. I actually found the cushion for the inside at HomeGoods, but you could also use something like this bed on Amazon. I will be sharing a plan for a large dog bed soon!
So… Let’s get started!
DIY Pet Bed
Supplies
- 3 – 1x4x8 furring strips
- 2 – 1x2x8 furring strips
- 1 – 2x4x10 furring strips
Step 1 – Build the Base
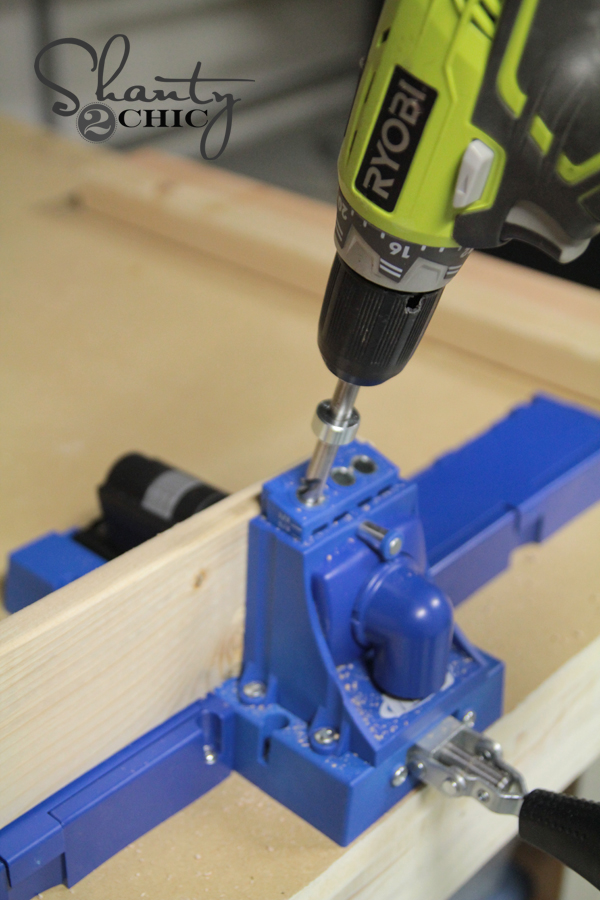
Start by making your cuts. The base of this bed is made with 5 2×4 pieces each cut at 22″ long. I used my ” target=”_blank” rel=”noopener noreferrer”>Kreg Jig to attach each of them. I used 1 1/2″ pocket holes and 2 1/2″ pocket hole screws.
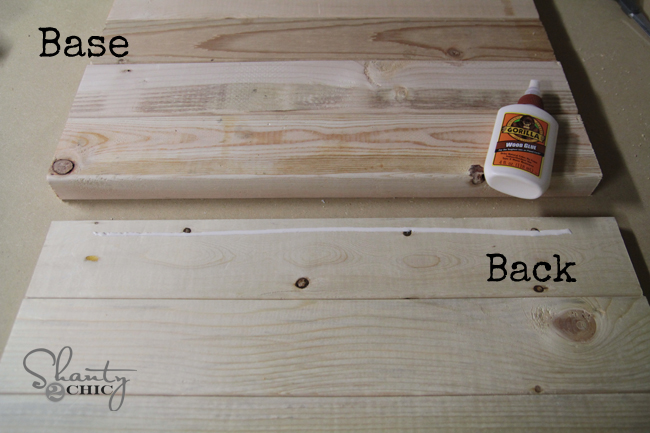
The base looked like this when I was done.

Step 2 – Build the Back
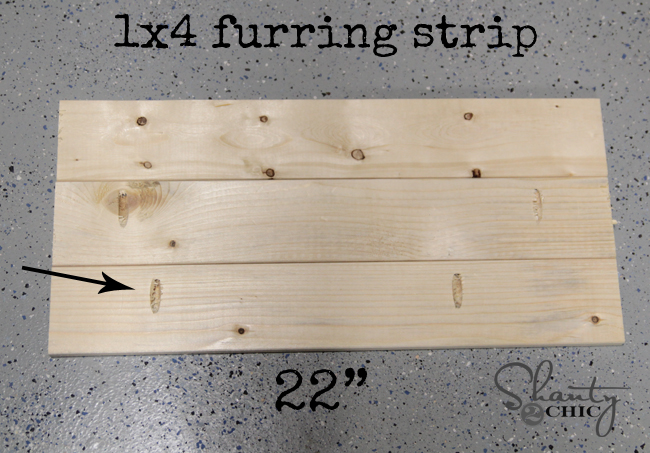
The back of the bed is made with 1×4 furring strip. I made 3 cuts, each at 22″ long. I used 3/4″ pocket holes and 1 1/4″ pocket hole screws to attach the boards. You can see where I put my pocket holes below.
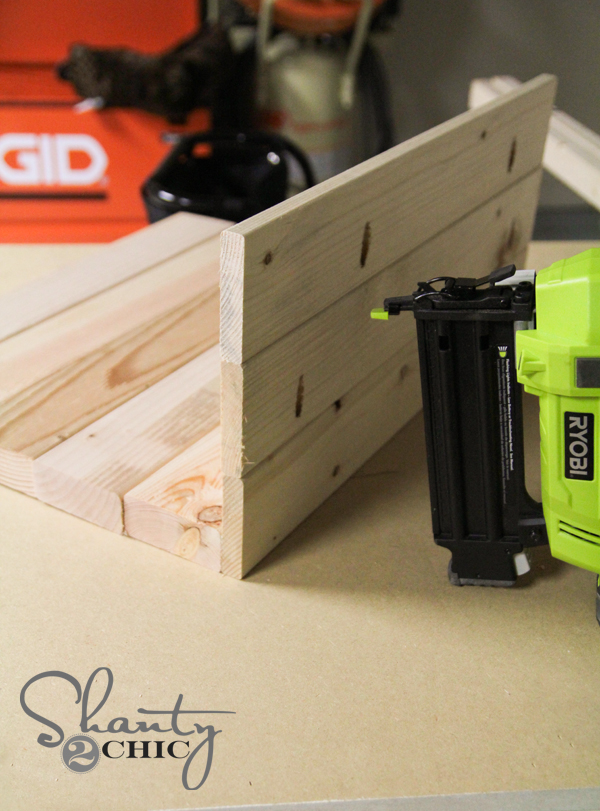
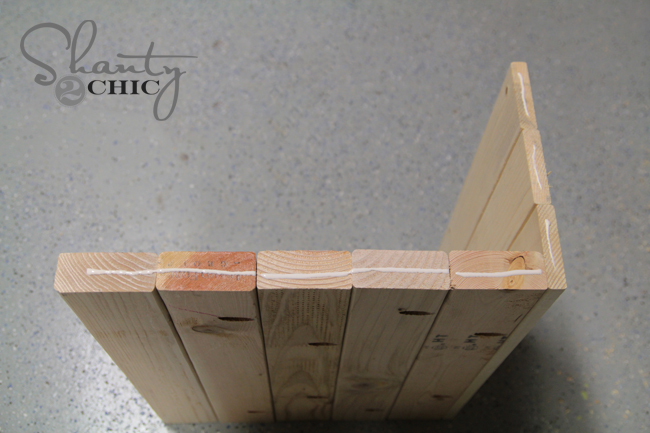
Step 3 – Attach the Back
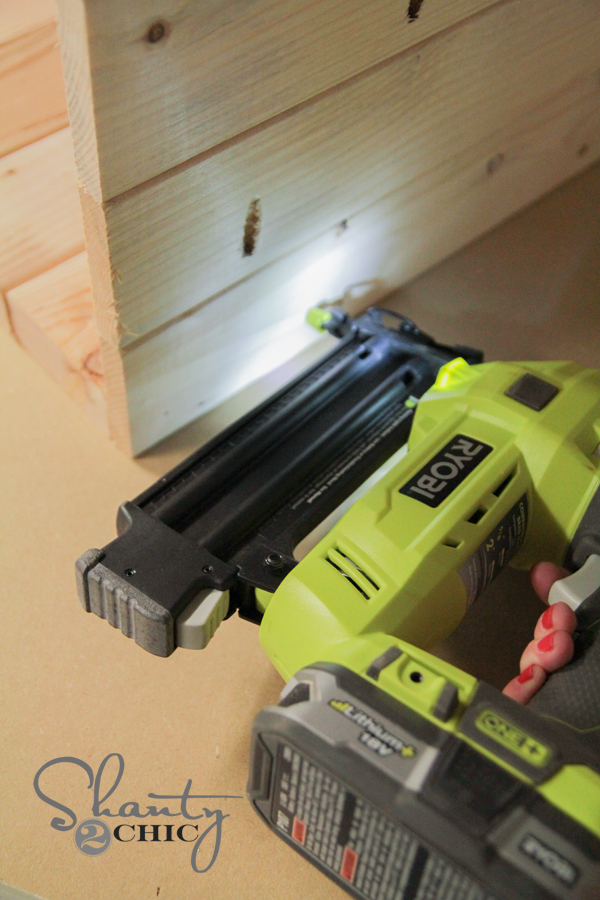
To attach the back to the base I used my cordless Ryobi AirStrike Nailer. I ran a line of Gorilla Wood Glue on the back like this…
Then, I used 1 1/2″ nails to attach it like this…
Step 4 – Build the Sides
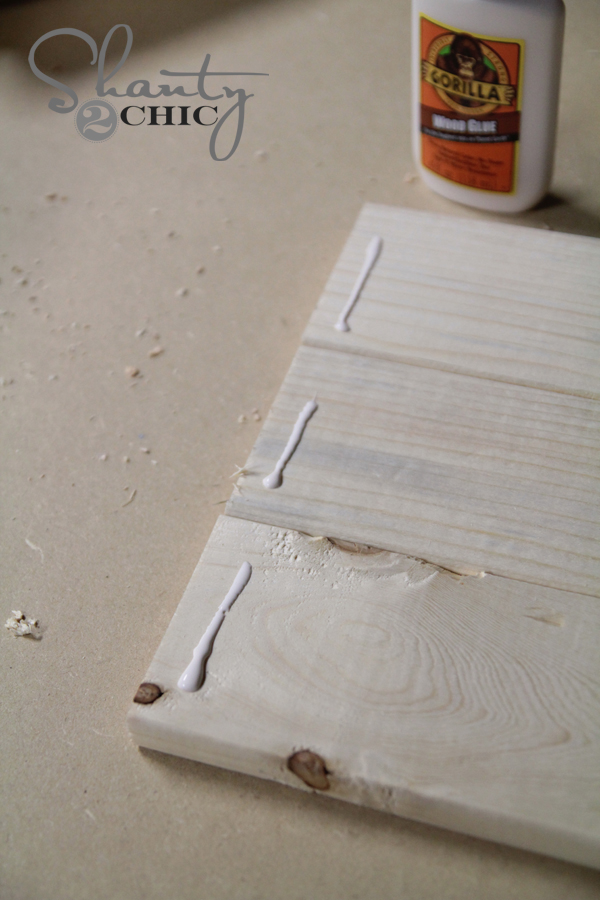
Now to make our sides! Each side use three 1×4″ furring strip cut to 18.25″ and two 1×2″ furring strips cut at 10.25″.

I lined my boards up like below, and ran a line of wood glue down each side.
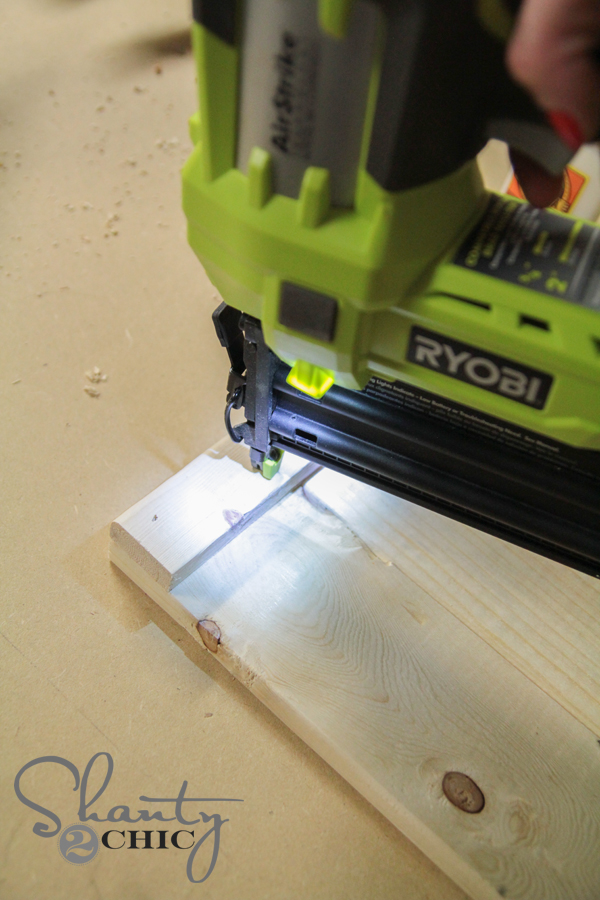
Next, I used my cordless nailer to attach the 1×2 on each end.
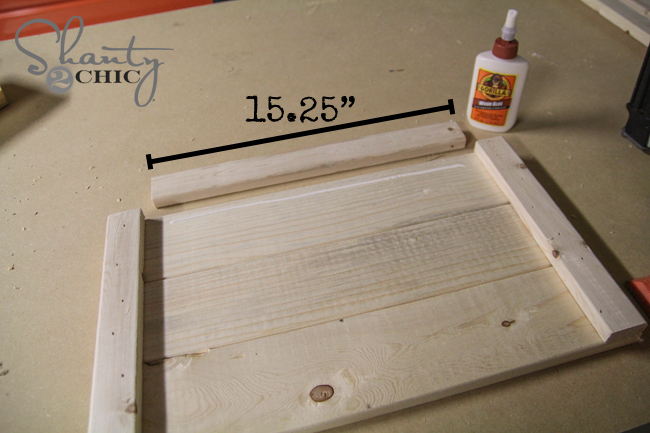
Both sides will also use two 1×2″ cut at 15.25″. I like to measure before making these cuts. Wood always varies just a tiny bit and I find that if I measure as I go I get the most accurate cuts, rather than going off of a cut list. I used wood glue and my nailer to attach these pieces to the top and bottom.
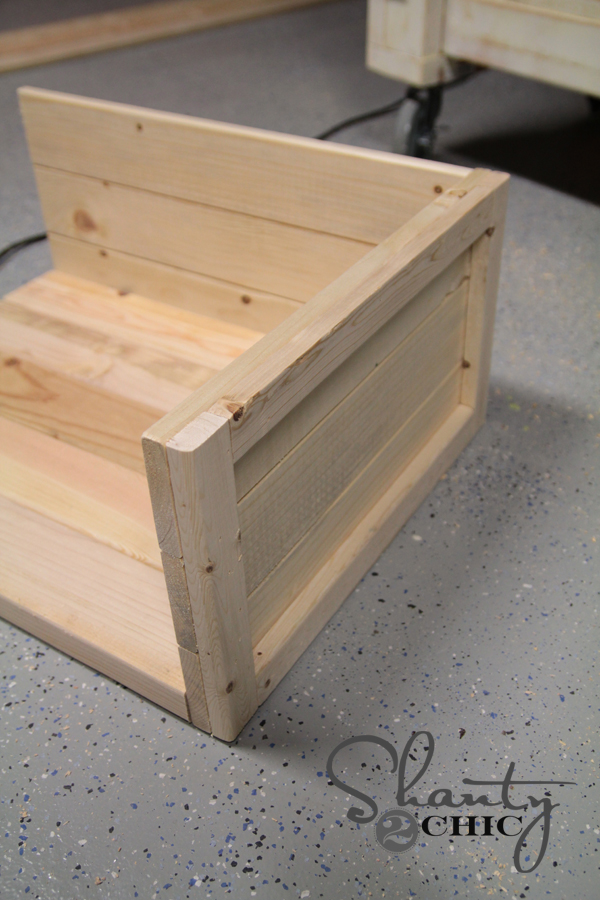
Step 5 – Attach the Sides
Once I had both sides built, I attached them to the base and back. I put the base on it’s side like this and ran a line of wood glue on the end.
Next, I used my nailer with 2″ nails to attach the sides. Don’t scrimp on your wood glue. The nails are basically holding it all in place until the glue dries.
This is what my end looked like attached.
I repeated the same thing with the other side piece and my bed was almost done!
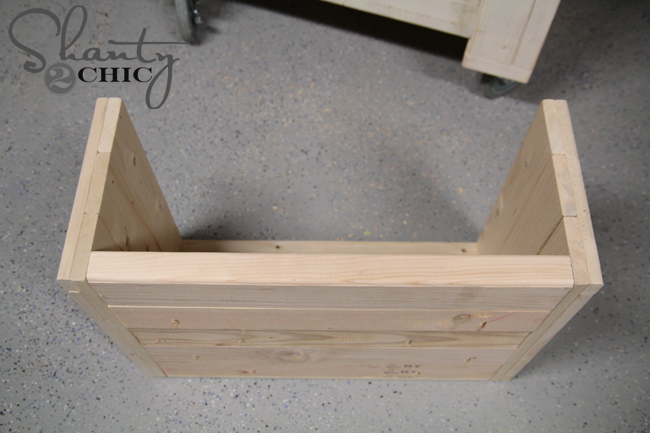
Step 6 – Build the Front
For the front board where his name would be, I used a 1×4 cut at 24″. I used wood glue and my nailer to attach it all the way around.
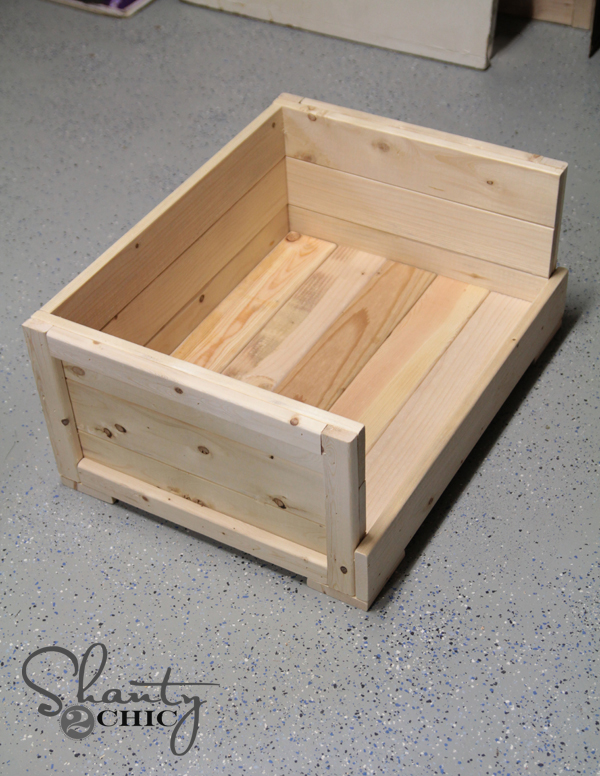
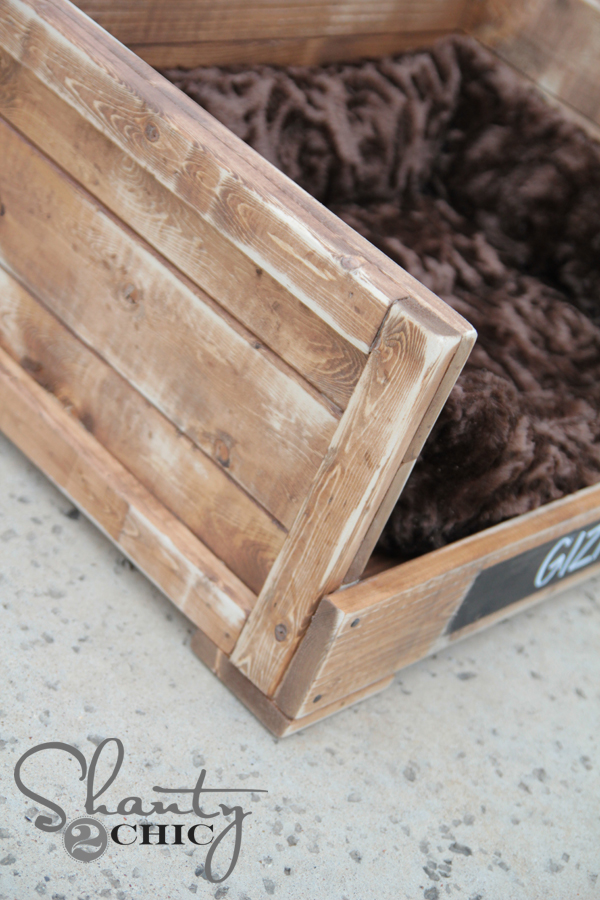
Step 7 – Build the Feet
Time for feet! The feet are also made with 1×4. I cut 4 pieces at 4″ long each.

I used wood glue and my nailer with 1 1/4″ nails to attach each one at the corners.


And that’s it!
Step 8 – Apply a Finish
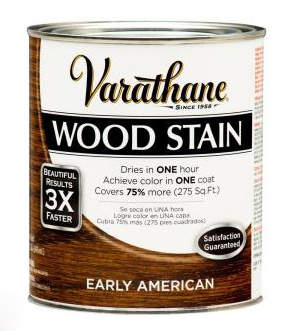
I chose to stain mine using Varathane Ultimate Wood Stain in Early American. This stuff is awesome. Just like Rust-Oleum, it only requires one coat and dries in under an hour. You can find it at the Home Depot.
Once that dried I used my Ryobi Corner Cat sander to distress the edges. I love the look this gives the wood.
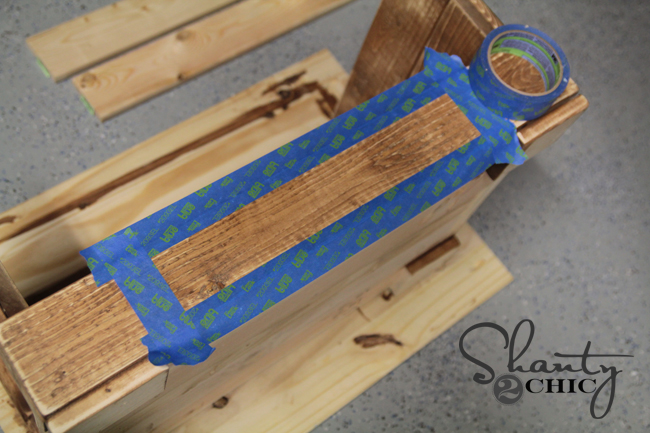
For the chalkboard label I taped off a rectangle on the front of the 1×4 using painter’s tape.
I used Rust-Oleum Chalkboard Spray paint to make the label.
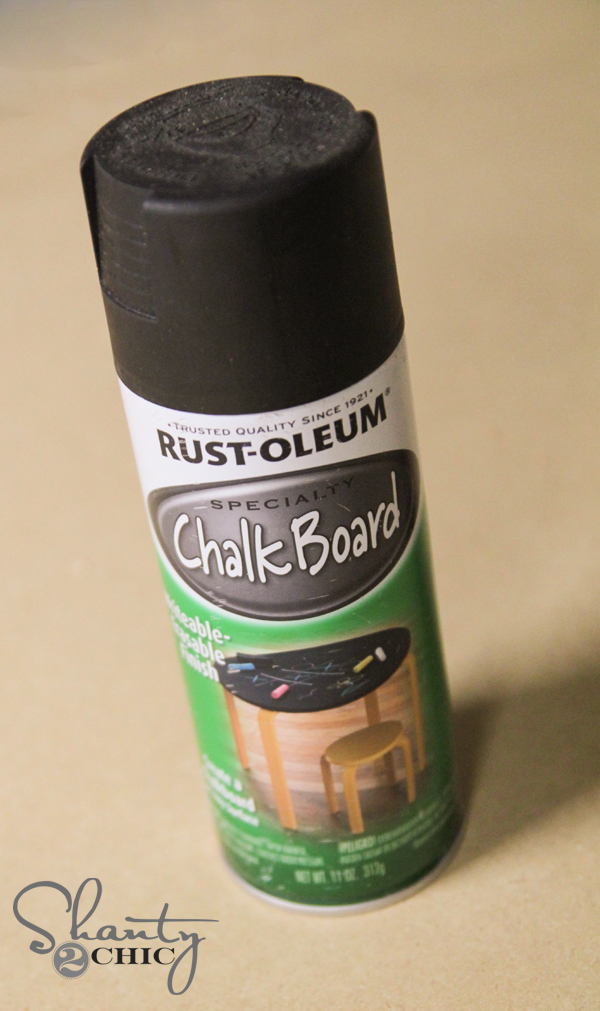
Here it was drying.

Once it dried, I used my sander to lightly rub the edges just to soften it up a bit. I used this ” target=”_blank” rel=”noopener noreferrer”>wet erase chalk pen to write his name on it. These are my favorite chalk pens ever. I use them on all of my chalkboards.
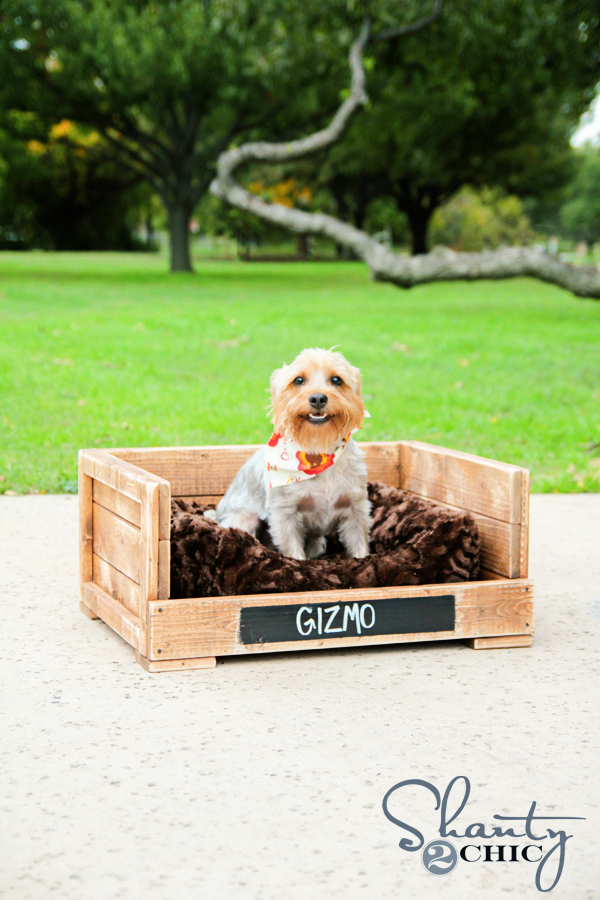
That’s it! I made this one for my sister’s dog, Gizmo. I had him come over and try it out so I could photograph it. What do you think? He looks like a satisfied customer, right? 😉


Thanks so much for stopping by! Let me know if you have any questions at all!
I would LOVE for you to share this bed and PIN it with your peeps below!
Have a great day!
~Whitney


I absolutely love this DIY pet bed idea! It’s so budget-friendly and looks super cozy for my furry friend. Can’t wait to give it a try this weekend! Thanks for sharing such a great project!
This DIY pet bed is such a fantastic idea! I love how affordable it is, and it looks super cute too. Can’t wait to try this for my furry friend! Thanks for sharing the instructions!
I built this today and it was one of the most difficult builds I’ve ever tried. I could never get the pocket screws on the back to work without splitting. I just made it like the sides. The dog likes it, though.
Hey,
Thank You so much for sharing your Creative Article..
You Described wonderfully This Article with image.. I am so glad to read your Article..
I think i need a Pet Bed for my cute Ronson(Dog).. Already i have Miter Saw, Jig Saw & Drill…I think i can Create by Following your Article.
Did you ever do plans for this bed for a larger dog?? I have a lab that I’d love to make this for 🙂
????⭐?
⭐?⭐?⭐?⭐?⭐?⭐?
I LOVE THE PET BED!!! I built my own using the plans at www. WoodworkPlans.info – it’s a much better design there. I highly recommended you check those out too. They are detailed and super easy to read and understand unlike several others I found online. The amount of plans there is mind-boggling… there’s like 16,000 plans or something like that for tons of different projects. Definitely enough to keep me busy with projects for many more years to come haha
?Head on over to www. WoodworkPlans.info if you want to learn more – click the pink link above for some more plans! Best of luck on your building adventures!
⭐?⭐?⭐?⭐?
Thank you for the inspiration! I finally took the plunge and built my first diy wood project…thanks to you! I have no power tools, so I had to make cuts with a miter box and hand saw. ???? Here is Halo’s new dog bed. It’s a bit larger than yours since she will eventually be around 60-70 lbs. ????????
I love you girls!!!!! You’re so awesome, inspiring and talented!! I wish I could make cuts as straight as you guys do! measurements are my enemy.
Do you have plans for a large dog bed? Maybe for a 60lb dog?
Would love to have info for lmedium to large dog bed as well.
This was a really fun project to work on and your instructions were great; easy to understand and follow. I’m loving this blog, keep up the great work!
Definitely pinned this one, and can’t wait to make one for my Molly. Thank you! (Gizmo is too cute!)
Your projects have been keeping me busy. I love your site, thanks for sharing all of these awesome ideas!
That’s so great Gregory! Thanks so much for your kind words!
any idea on what a medium dogs dimensions would be??
Very nice! What stain did you use?
Gregory young do you have the measurements for this big dog bed?? I have big and small dogs and would love to make a big one too! Thanks Annette
Hi! What are the measurements for this bed Gregory? It looks great. New to the DIY world and would love to make a bead for my 85 lb pit bull. She sleeps on a squished old dog bed that’s about 36in… any help with details would be appreciated !
Cant seem to find link for the plans
Do you need to own a jig to make this?
Is it suposse it be heavy? what kind of 2×4 did you use?
Sometimes you use the Kreg Jig and other times you use the Kreg Jig HD. What is the difference? How do you decide which one to use?
The Kreg Jig HD is used for heavier wood stock like 4x4s whereas the regular Kreg Jig is used primarily for smaller stock like 1x and 2x wood.
the chalk pen link didn’t work… thanks!
What a cutie! It looks great. Great build!