Hi friends! Hope everyone is having a great week!
With Mother’s Day just around the corner, I am finishing up my gifts for all the moms on my list! I started thinking about this next project, and thought what a great gift it would make for so many moms out there!
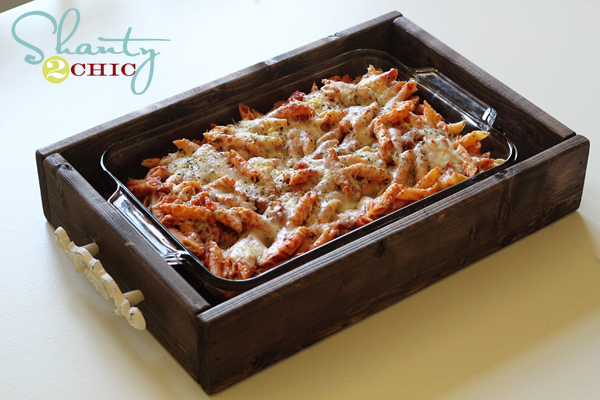
Here is what I made…
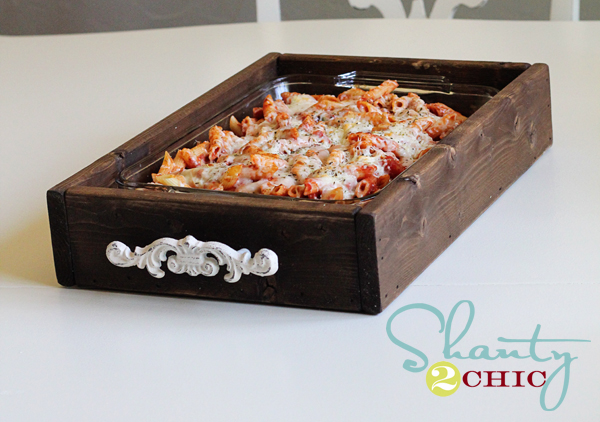
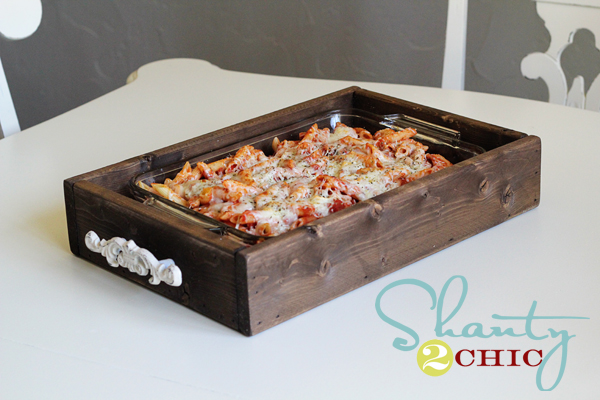
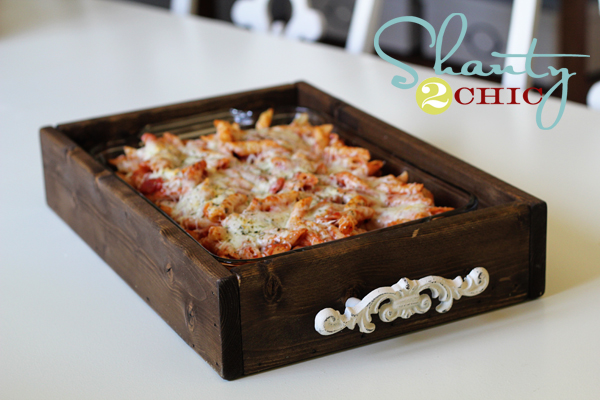
It is a tray that carries and serves a standard 9×13″ baking dish! Perfect for you casserole cookin’ Mamas like myself ;-)! And the best part?? I made it for $8!
This is super easy to make! Start with your wood. I used 2 1×4″ furring strips from Lowe’s. These are under $2 a piece.
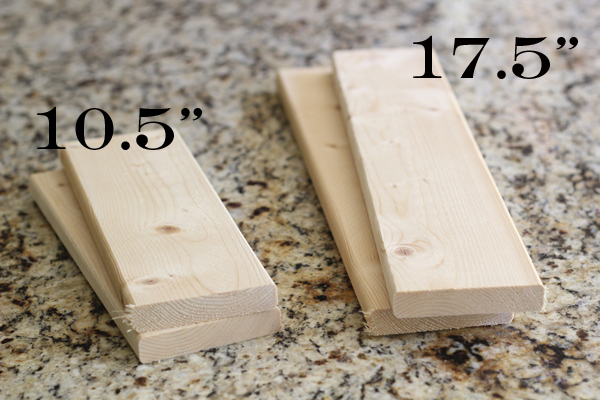
Here are my cuts…
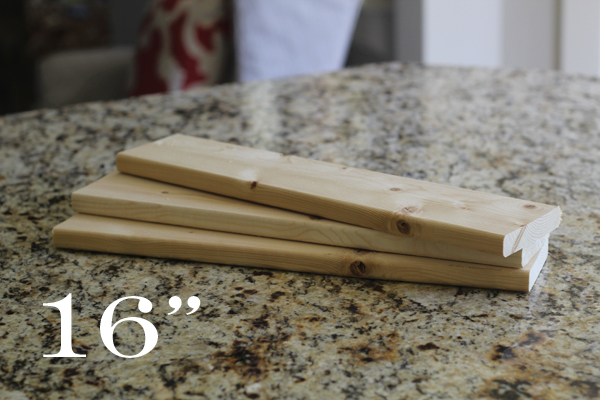
And for my bottom slats…
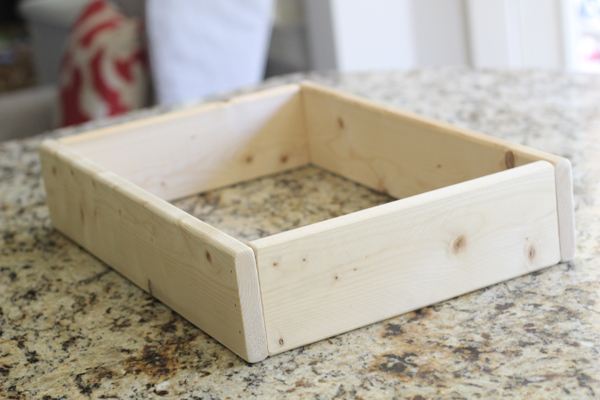
Build your box first…
I attached mine using Gorilla Wood Glue and finish nails.
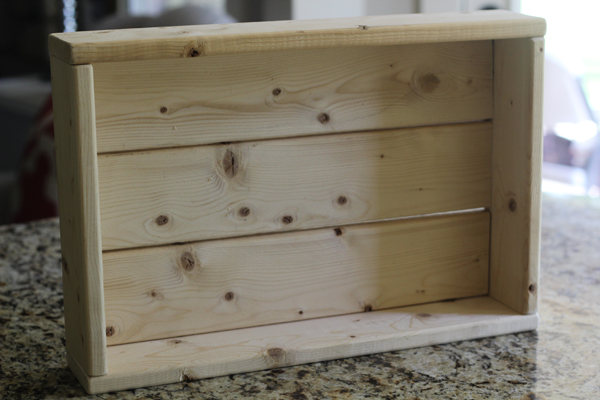
Now add your bottom slats like this…
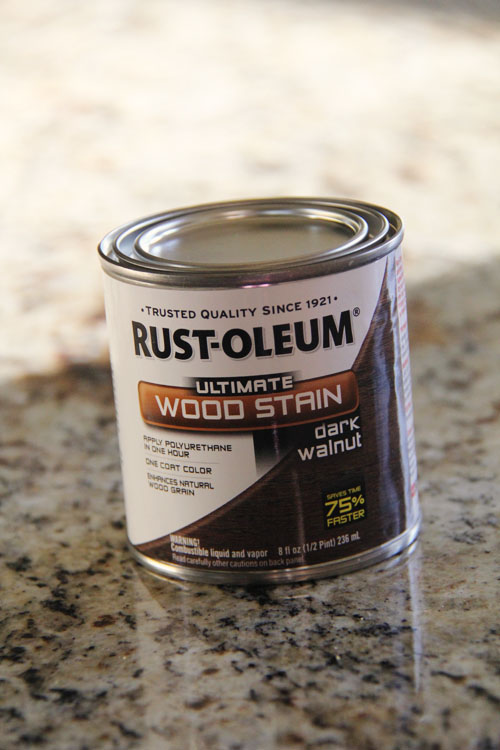
I gave the whole tray a coat of my very favorite…
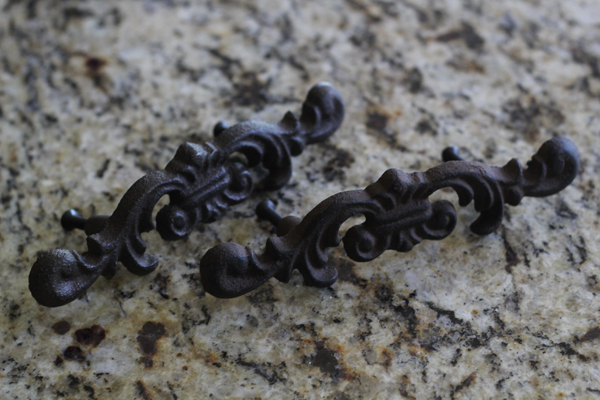
While that was drying, I worked on my handles! I found these great pulls at Hobby Lobby for $1.50 a pop! You can buy them online HERE if you don’t have a Hobby Lobby close! Woohoo! Wait for a sale though!
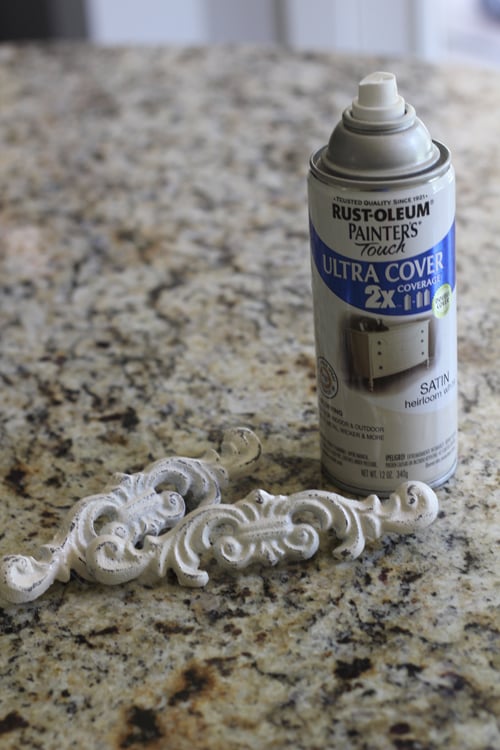
I gave them a coat of my other fav…
So cute! I sanded them just a bit to make them a bit more “shanty” ;-)!
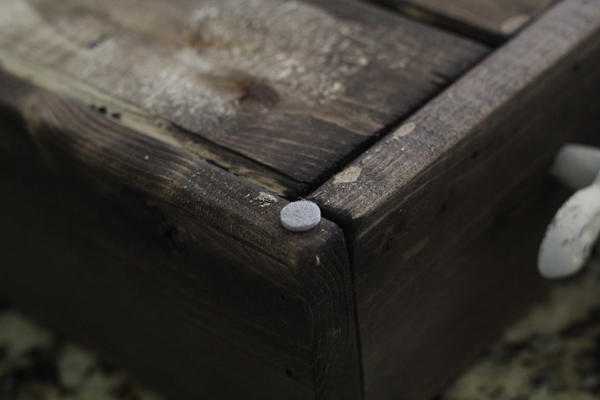
My final step was attaching them! I drilled some small holes and attached them with the screws. I also added a few felt circles to the bottom to protect my table.
That’s it! Pretty easy, right?? What do you think? I love that it doubles as a carrying tray and a trivet!
And did I mention?? $8!
If I don’t decide to keep this for myself it will be going to one of my special ladies!
I would love for you to share it and Pin it below guys!! Thanks so much! Let me know if you have any questions!!
~Whitney






Apparently, I LOVE this sight and have commenced to posting several of your great ideas on Pinterest! Now, all I need is a little bit of time to get to work on some of these. Thank you for sharing easy-to-follow directions, dimensions and all around great ideas. Next stop… LOWES! 🙂
We made some of these, and stained them with colored stain, and distressed them. They looked wonderfully “beachy”. Our friends loved them, and so we ended up giving several away as Christmas gifts! Awesome! Thanks for sharing!
That’s awesome!! So happy to hear it! 🙂
So pretty! I’m making a few of these for gifts and for dinners delivered through church. Sure to put smiles on faces of those who receive them. You ladies are really keeping me busy, and it’s not costing a fortune!
Ditching my other casserole plans and going with yours. THANKS!
I LOVE LOVE LOVE this! I’m making it for my mom and sister for Christmas! And myself of course!
I completely adore this and would like to make some as Christmas gifts this year – could you give me a teeny bit more info on exactly how you put things toghether? Did you just use a hammar and a nail? Wood glue? Both?
Thank you!!
I am definitely going to have to make a few of these for myself, mom, and sister-in-laws. These are awesome!!!!
I just constructed this and followed the measurements to a T, and it didn’t fit any of my Pyrex 9×13 dishes. I had no gaps between the bottom slats, and I notice your picture does. Next time I make this I think I’ll use 11″ or 11.5″ pieces rather than 10.5″. Thanks for the great project. I love my tray, just wish it fit my Pyrex dishes!
Sorry Becca! Mine fit great? You may try measuring yours and modifying it a bit… If you want to make another one 😉 I apologize!
I wonder…did you by any chance put it together backwards? That is to say, did you put the long boards inside the short ones instead of the other way around? Because that would make a big difference!
Nope, it’s put together correctly, my dishes almost fit. it’s really only off by about 1/4 inch. Oh well, I still love it. I mainly use it in the center of my table to hold art supplies…that way the kids can tote their supplies around the house.
So useful, beautiful and also that pasta looks even more delicious in this tray 😉 !
So true!:)
I LOVED this idea for my mother who goes to a LOT of pot lucks. I made this last week, but didn’t follow your tutorial, which I totally should have. Yours is MUCH nicer than mine, but I think my mom will still love it. I painted mine white and it’s so plain looking I’m heading to the craft store today to get some sort of stencil to embellish it a little.
I love this carrier, much more stable than the cloth carriers. I was thinking of using a thin sheet of plywood as a cover to help insulate it a little more (with a knob or hole cut out for lifting). Any ideas to make that work? Thanks for sharing your great design!
Could you possibly add hinges to one side? Then add a knob on top on the side it opens from? You might have to measure and play around a bit, but in theory it sounds like it could work…
Just a quick question – did you use 1 x 4 furring strips or 1 x 3 furring strips? Neither my Lowes or my other big box hardware store carry 1 x 4’s only 1 x 3’s…. My lowes carries 10 ft. top grade appearance 1×4’s for 99c. But I’m wanting to make sure that I’m buying the correct thing! Thanks!
Mine are 1×4’s… Hope this helps!
This is just beautiful! I love that it’s something we all NEED from time to time but it doesn’t look like “your mother’s casserole carrier”!
Hey there! Just wanted to let you know we featured you in our Favorite Find Fridays post over at Whimsically Homemade. We used one of your pictures. If that’s a problem let us know and we’ll remove it immediately. Thanks for your great inspiration!
Love, Love, LOVE this! Guess what I’m going to have my son make me for Mother’s day! So glad I found you at Serenity Now.