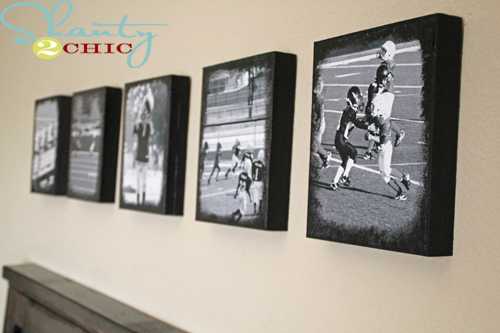
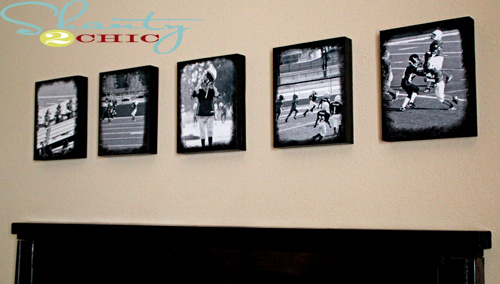
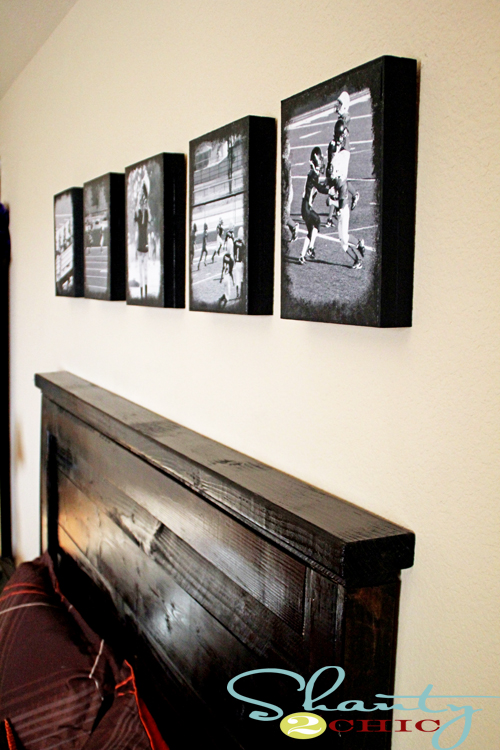
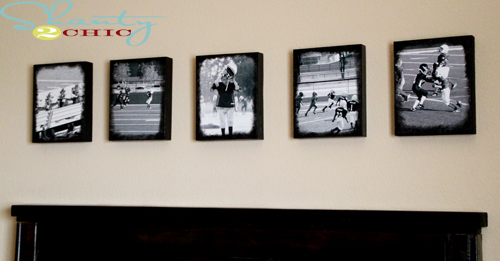
Hey there! So, I have seen so many cool DIY photo canvas projects on Pinterest and I had to do one of my own! My son is playing his first season of tackle football and I have taken a ton of pictures! I thought he would love to show them off in his room so I came up with this!
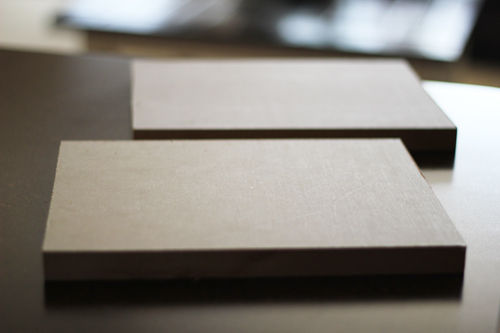
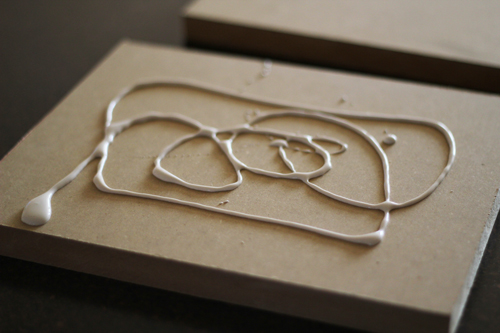
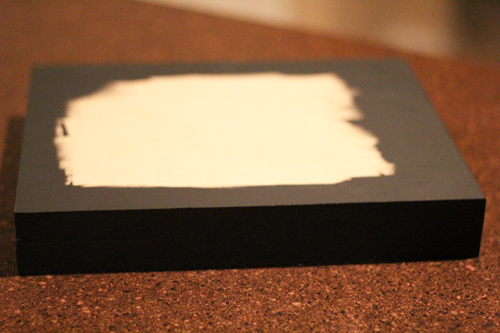

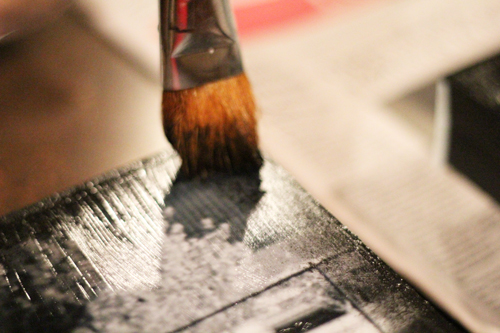
That was it!
I had to make several for him and he thinks they are pretty cool:) I want to do more around the house! I made 5 for about $10, after buying the saw tooth hangers and pictures. I did use anchors when hanging these but they are not super heavy! Thanks so much for stopping by!
There are only a few more days left to enter our Lisa Leonard Giveaway! You can click HERE to enter!
Thanks for stopping by!
~Ashley




Hi I love this idea 🙂 Have you printed the photos onto plain printer/copy paper, cardboard paper, poster paper or actual photo paper?
Cant wait to try it out =) Thanks
This is a wonderful idea for a boy’s room. I sure wish I’d known about it when my son was in high school and playing football. Love it!
I featured you on Momcaster: http://momcaster.com/2012/06/01/transfer-photos-to-canvas/# 🙂
print out paper or photo paper? 🙂 brilliant idea!! 🙂
Photo Paper although print out would work fine also! Thanks so much:)
thank you, Ashley! cant wait to try one!
I really love this! So much cheaper than canvas! How did you finish the edges to make them smooth?
I love this. . . and am a TOTAL rookie!
What exactly is a stencil bruch and how do you dry brush? Also, why did you glue 2 pieces of wood together?
Thanks so much for the fun idea!! I’m going to follow your blog!
These are gorgeous! I’m so excited to try this project! We are having family photos done in a week, so I’ll have some to work with!!
I do a lot of projects with photos…this is AWESOME! Can’t wait to complete a set for myself. =)
What a great idea! Just found your site and love it! Thanks for sharing your wonderful ideas!
I am a brand new follower (I just discovered your site and I LOVE it!). I loved this project and wanted to let you know that I blogged about you both and your great website today on my blog www.craftingharmony.com. I hope you’ll come check it out! ~Lori
?
?
✌?✌
?
??
??????I built my own using the plans at www. WoodworkPlans.info – highly recommended you check those out too. They are detailed and super easy to read and understand unlike several others I found online. The amount of plans there is mind-boggling… there’s like 16,000 plans or something like that for tons of different projects. Definitely enough to keep me busy with projects for many more years to come haha
www. WoodworkPlans.info ????????
Such great decor for a boys room! Love how masculine it is yet how meaningful! Awesome job, gals!
XO
I love this idea…you are a genius! I was wondering what you would think they would look like as a sepia tone instead of black. I want to do something like this for my mom but she doesn’t use black in really anything. If I did sepia pictures what color do you think I should use for the wood and border? You are the expert so I would LOVE your thoughts! Thanks so much!
these are absolutely awesome! I’m dying to do this over our bed in our master bedroom! 🙂
AWESOME! I’m so happy you posted this today! my son just finished soccer and I was trying to think of a nice, elegant & fun way to display some of his photos. Love the look & will be doing this project for him!! THANK YOU!!!!