Hey guys!
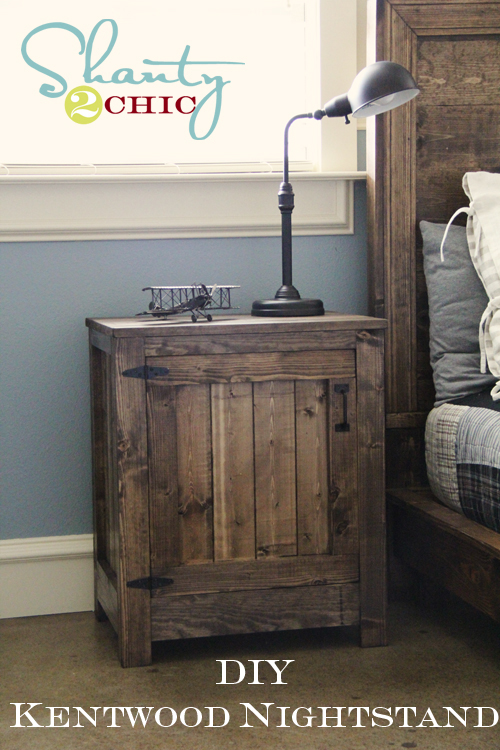
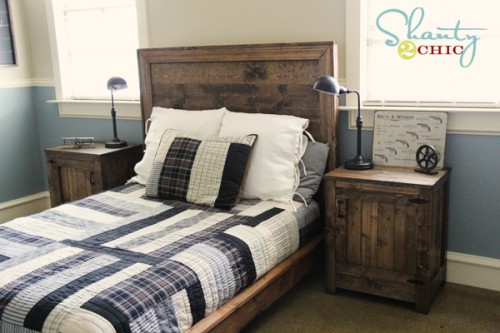
I’m so excited to share my latest building project with you! I was stalking Restoration Hardware’s Baby and Kid site when I came across their Kenwood Nightstand. I fell in LOVE and immediately enlisted the help of my good friend Ana to make me some plans! These were super easy to hack, I mean build!
You can get the plans for these great nightstands HERE on Ana’s site.
Here are a few progress pictures and tips from my build…
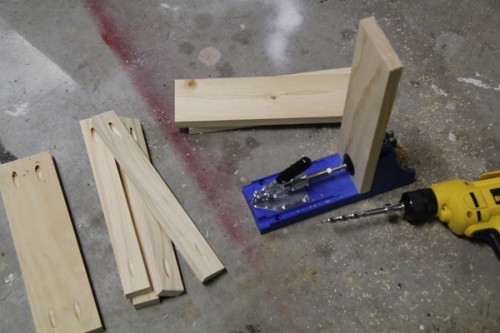
I used my Kreg Jig® to help me build these tables. This tool makes your furniture so professional and sturdy. It also makes it so much easier to build.
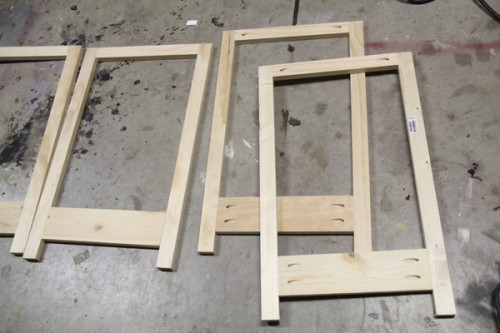
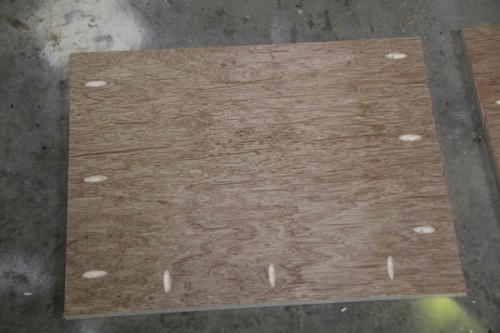
Here are my table sides…
You can see the ones on the right are the backside of the frame. This is where your pocket holes are and they won’t be seen. The ones on your left show you the front of the sides.
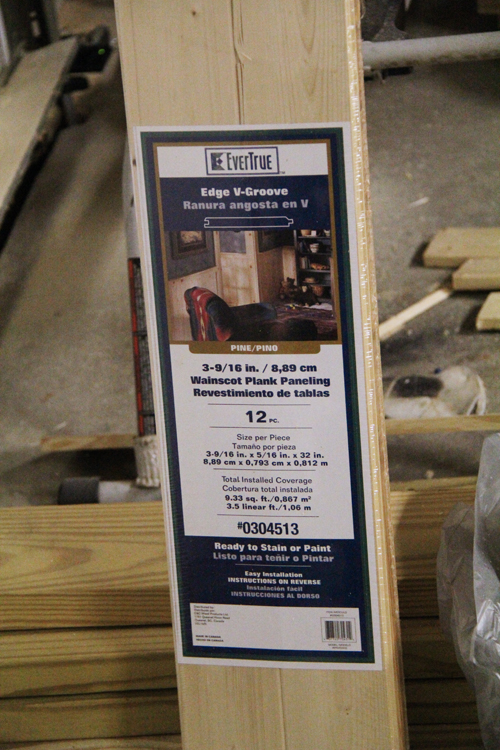
For the “planks” I had originally intended on using plank paneling in a 4×8′ sheet. My Lowe’s only carried this in MDF and I knew I wanted to stain. I did find these though.
They are planks that easily click together and made my job SO EASY. I would highly recommend using them if you are trying to get the same look I have. They were $10 a package and I needed one package per table.
This is what the backside of the sides looked like with my planks nailed in.
And on the other side they look like this…
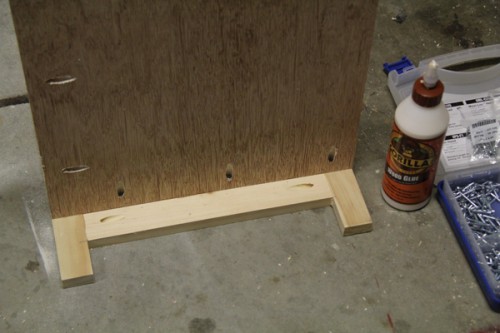
I used one 2×4′ sheet of 3/4″ plywood for the bases of the tables. I only needed one to do both tables.
You add your pocket holes to the bottom of the base to attach your sides easily and clean.
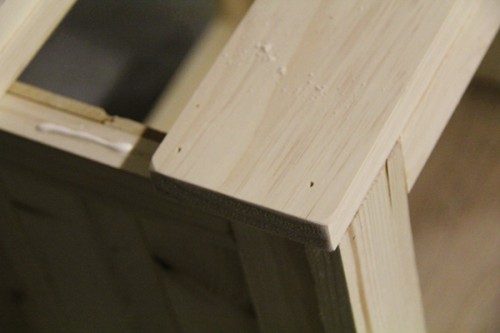
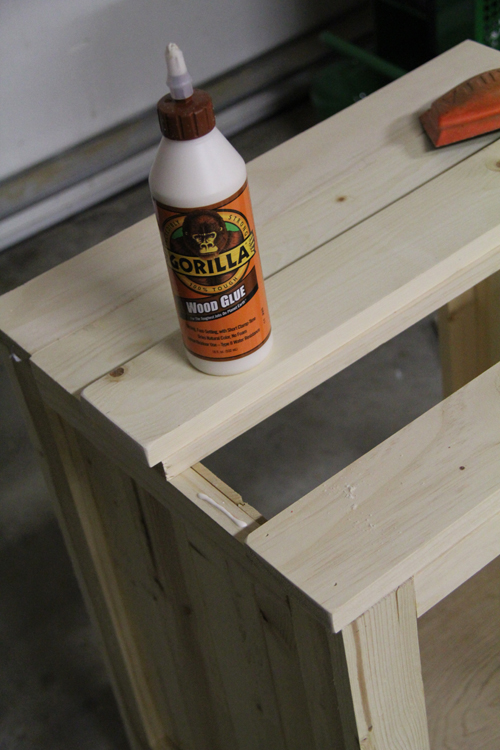
I used my nailer to attach my top planks. So easy. I also like to take an 80 grit sanding block to all my edges and round them a bit. I think it gives it a real custom “I didn’t make this in my garage” look 😉
I always use Gorilla Wood Glue for all of my building projects. It is super easy to work with and holds like a champ.
This is the frame of my door.
BIG TIP!
Make sure to measure your opening once you have your tables built. If you are a bit off on your measurements, your door will end up not fitting clean and pretty. Just measure your opening and make your door frame 1/4″ smaller than your door. It will save you lots of deconstructing time… Trust me 😉
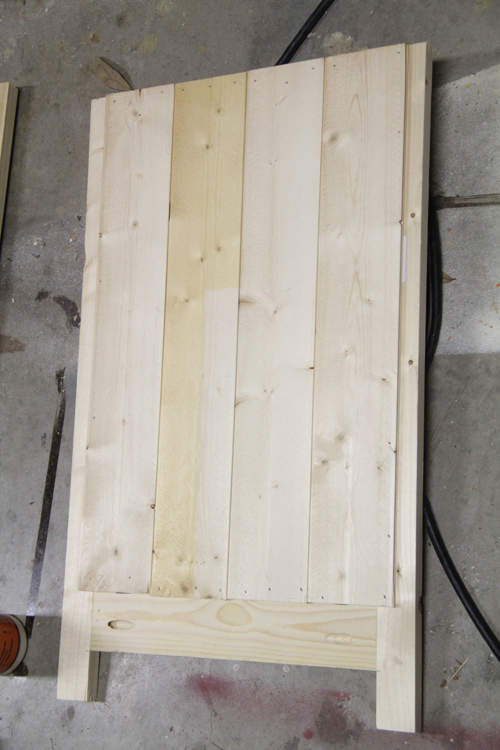
I attached my planks to the door the same way I did my sides.
Here it is ready for stain!
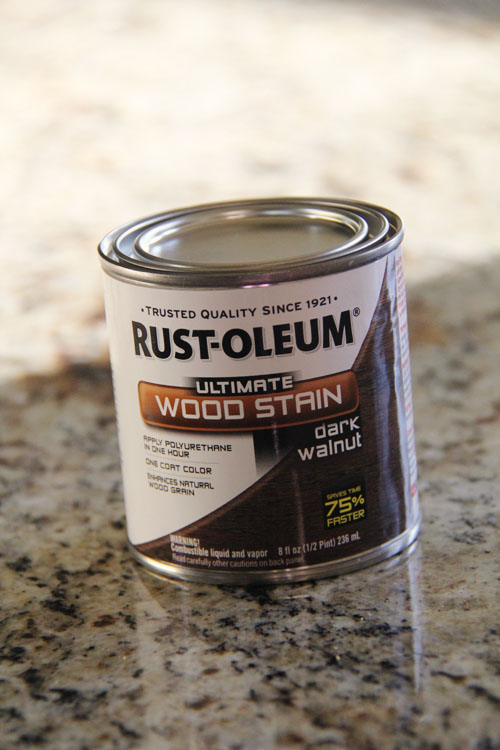
I used the same stain on the tables that I did for his bed. You can get it at Lowe’s in LOTS of colors.
Rust-Oleum Ultimate Wood Stain in Dark Walnut
You guys will LOVE this stuff. It literally dries in an hour! My kind of stain!
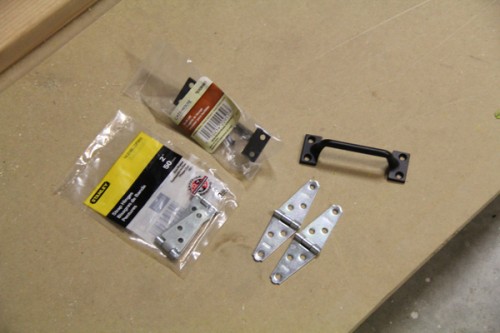
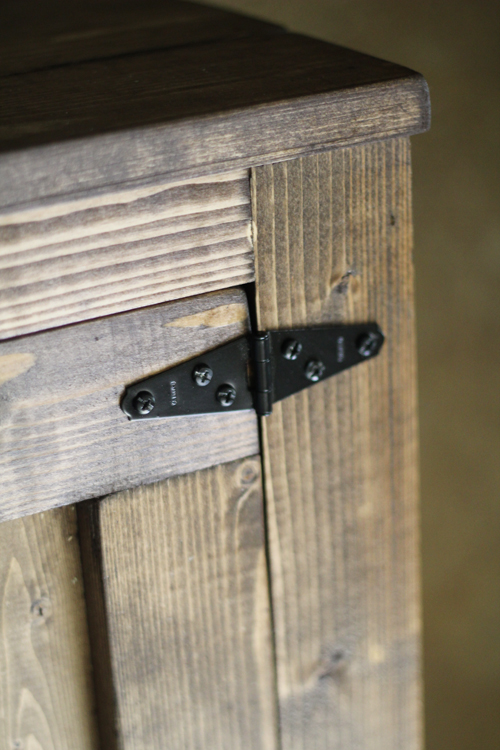
This is the hardware I used. I found all of this at Lowe’s. I couldn’t find 2″ strap hinges in black but a little Rust-Oleum Painter’s Touch spray paint in black took care of that!
Want to see them all finished???
Now let’s talk numbers!
You can buy these bad boys on RHBaby and Kids for $398 A PIECE. Ouch.
Or…..
You can build them yourself! I paid under $120 for BOTH of them! Yah… I think I like them even more now 😉
Hope you like them too! If you did, I would love for you to Pin and Share the heck out of them below 🙂 I would appreciate it! OH… And just wait until you see Ashley’s project tomorrow. It might just be one of my favs!
Remember you can see the easy to follow and amazing plans on Ana’s site HERE!
Here are some other projects I have done for his room…
Pottery Barn Inspired Memo Board
~Whitney





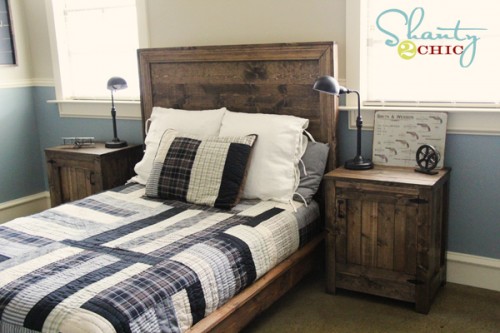
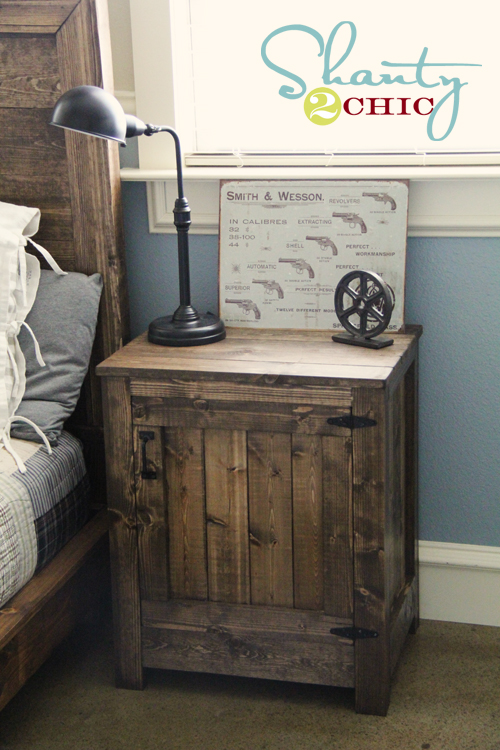
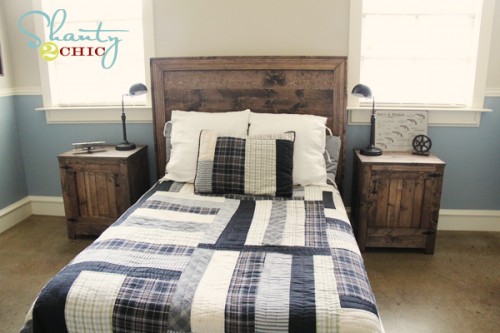
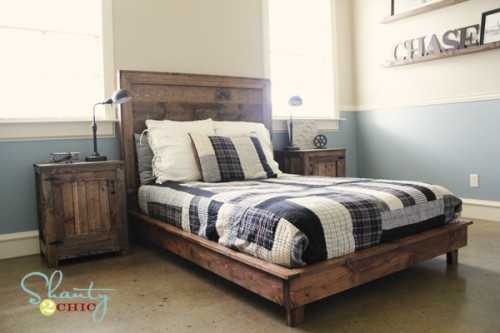


I altered these plans a little bit to make two nightstands. I read that some people had trouble with their stain coming out too dark, so I used wood conditioner first. I stained it with a mixture of 1 part Jacobean stain, 1 part charcoal stain, and 1 part mineral spirits.
http://imgur.com/a/w8FVo
Hello! We are attempting to build 2 of your end tables today. I know that you posted these a few years back, but the links to “Ana’s plans” don’t work anywhere. We went and bought some material but cannot get to the page with those plans from anywhere. It just brings us to w home page. Can you help? Thank you!!
For all those that plan to build this. Here is what was wrong with the directions.
1. Front & Back are too wide when you go to attach.
2. Bottom 3/4″ plywood was too small (front to back)
3. Need 2 packages of wainscotting, not 1. (used 1/4″ plywood for back)
4. Need 4 1/2 boards to cover top, not 4.
5. Door was too tall to fit.
These are the things you need to watch for when building this. It will come out the size they said after you fix these things. It is a beautiful piece once it done!! Love it so much! =)
I love these and plan on making some real soon. I do have a quick question….Is it possible to add a shelf inside without messing up the overall look? Thank you ladies so much for the inspiration.
Yes. I added a shelf with no problems. =)
Do you have the plans for the “rustic” looking night stand? I see the plans for the one that looks a little more modern with the wainscoting but I’d really like to try the one that’s pictured above 🙂
Is the material list for 1 or 2 nightstands?
It is for 1 nightstand. Be sure to watch for the things I posted about when building though. 😉
I just finished this project and couldn’t be happier! Thank you for the idea and plans. Im going to be using this as a kitty outhouse so I modified one of the sides to have an opening for the cats to get in and out. It’s so much nicer than just having a litter box in the open. Thank you!
That is such a fun idea!! Good thinking… I bet the cat loves it! Thanks so much for the comment!
I am making this right now, and was wondering how you attached the fronts and backs, was it just with finishing nails and glue, or did you use the Kreg? Ana’s site says 2″ nails in the illustration, but in the shopping list it only has 1 1/4″ and 3/4″.
I was wondering if you diluted the stain? I tired the stain but it came out much, much darker. Thanks!
I didn’t. Did you leave it on very long? Also I used whitewood pine. Select pine tends to stain much darker. Hope this helps!
Thanks! I do think I figured it out. I was putting the stain on very thick and when i tried lightly “dry brushing” it it came out much lighter.
Awesome Kathleen! We would love to see pics on FB when you get them all finished! 🙂
can I also ask if you prefer a brush or a sponge when doing stain? 🙂
I love all of your diy projects especially the furniture, we wanted a new side table for the couch to match the new tv stand we made with another one of your designs so we modified this and it is perfect!
I am in love with all of the furniture! I would love any information you can give when trying to build these! I am hoping to have nightstands, shelves, beds, and dressers all made within the next few months! Thank so much for your blog!!
Hi ladies!
Great job on these nightstands! They look great! I’m a little late to the party, but I just stumbled across this project while pouring over your fabulous blog. I’m so inspired and am about to dive in, but had a couple questions first…
1) when you attached the side pieces to the front and back, you used finish nails and glue. Do you find it to be sturdy enough? Could you have drilled pocket holes in this step? Why or why not?
2) in your photos, it shows you’re adding the top 1×4 boards separately, but in Ana’s plans, she says to secure the top boards together first and then attach it (as one piece) to the table. Which would you recommend? Also, in the photo where you’re gluing and nailing the top boards to the table, it looks as though there’s another piece of wood running underside one of the boards… what is that?
Thanks in advance, I can’t wait to get started! I’ll be back to share my adventures (or misadventures)… wish me luck!
Hey!
1. Yes the nails worked perfect for these parts. You can use the Kreg, but mine are nailed and they really are very sturdy. Not sure why I didn’t use the Kreg??
2. Ana’s way is probably the correct way, but mine was faster and for me works perfect. I have a crazy 6 year old boy using these and have had no problems with stability at all. I would stand on them 😉
SEND PICS FOR SURE!!
I would love to see them!
Thanks!
~Whitney
Absolutely, will do! I plan on blogging about it (as well as the wide cabin dresser build), including a link and blurb about Shanty 2 Chic. May I use a photo of your finished builds to include in each post?
For sure! 🙂
Okay, so I finished them but I’m not happy with the finish… help! I think I’ll refinish them sometime in the future, but for now, here they are:
http://jenwoodhouse.com/blog/2012/07/06/building-pair-knock-off-restoration-hardware-nightstands/
Would appreciate any suggestions on what to do with the finish… I used the same stuff you did, but mucked it up on the technique. 🙁
Hey Jen… The link isn’t working. Can you resend it to me??
Sorry about that! Here it is:
http://jenwoodhouse.com/blog/2012/07/05/building-pair-knock-off-restoration-hardware-nightstands/
Loooove your blog and this nightstand! Can I bother you for the paint colours in this room? I love the blue!
I love this, I saw the bookcase first and then this…it is the perfect look for our house. Do you think it would be hard to modify the dimensions to make a entertainment table, for under a big screen TV to hold the electronics?
Hey Audra!
Ana is planning a media cabinet to go with this set! 🙂
We finished one after doing a few modifications and love the turnout for our first piece of furniture!
I would LOVE to see pictures! You can link them to our FB if you want!! 🙂
These are so awesome!!! I really want to try to make these 🙂