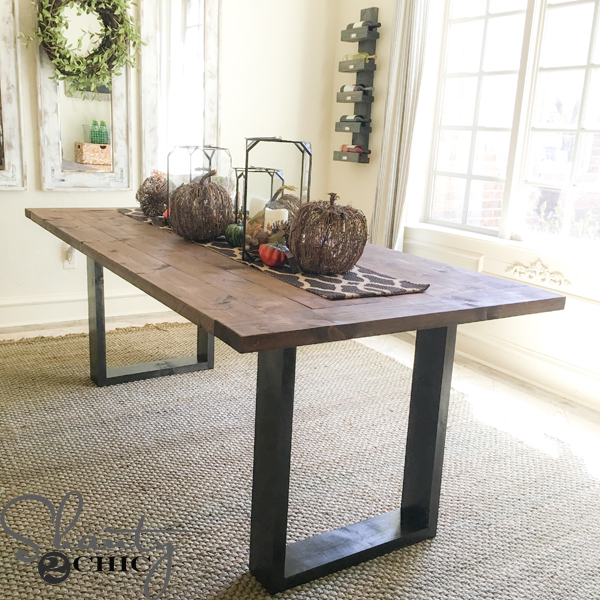
With Thanksgiving just around the corner, our first thought is not what we are going to cook but what we are going to eat the food on! We designed this simple Rustic Modern Dining table that you can build with only 12 2x6x8 boards – that’s about $50 in lumber! Check out our How-To Youtube video, below, to see just how simple this bad boy is to build!
As always we have the free printable plans for ya! Just click HERE to download and print them. Then, you can follow along with the step-by-step below!

This right here is all the lumber you need! 12 – 2x6x8 boards!

We used our Ridgid Table Saw to rip the round edges off and made each board 5″ in width. This is not a necessary step but it will create a very smooth table top with no ridges. If you don’t rip them, make the base about 4″ wider.
Then, we made our cuts!
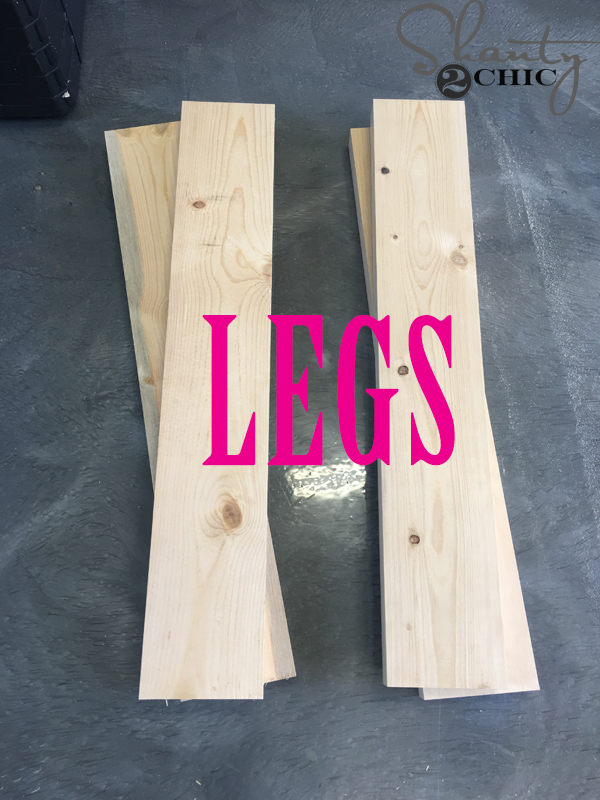
Here are the legs.
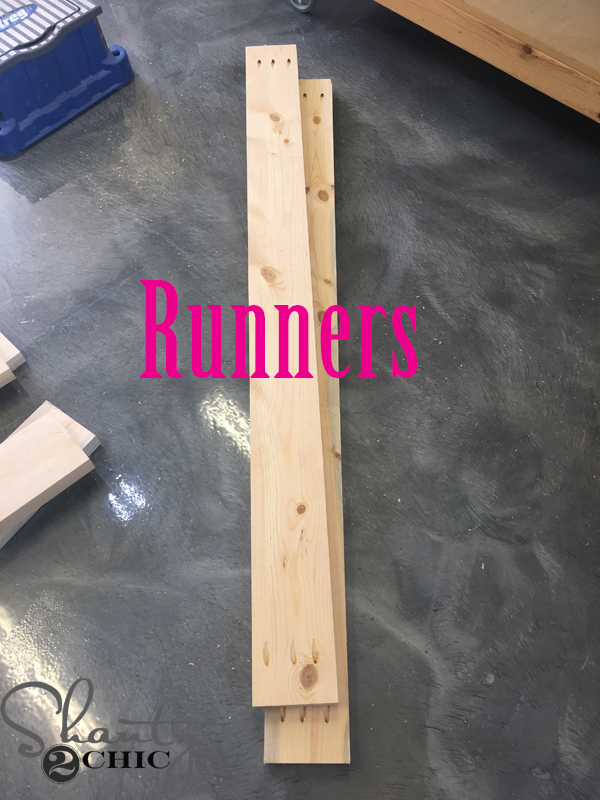
The table runners

and the supports and the leg runners.
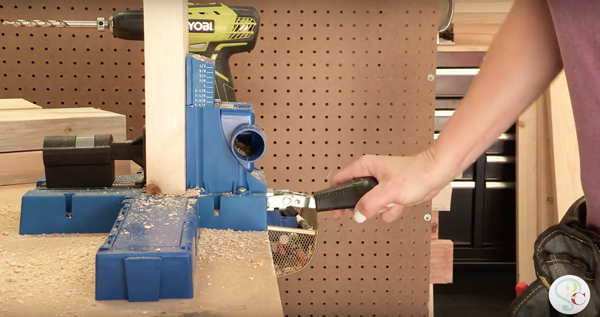
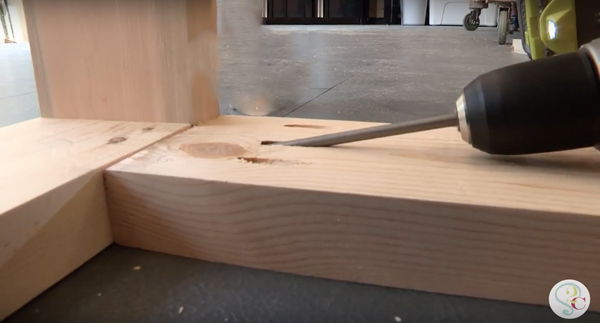
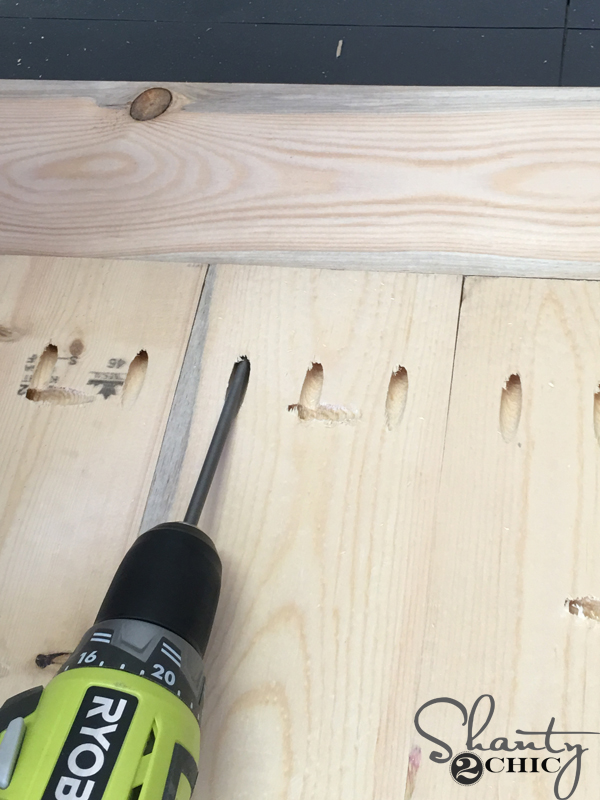
After all of our cuts had been made, we used our Kreg Jig K5 to drill 1 1/2″ pocket holes into the boards.(Refer to our printable plans for the pocket hole placement). You can see that we have our Kreg Jig set to drill 1 1/2″ pocket holes. You can find the Kreg Jig that we use HERE on Amazon and you can watch our How to use a Kreg Jig video HERE.
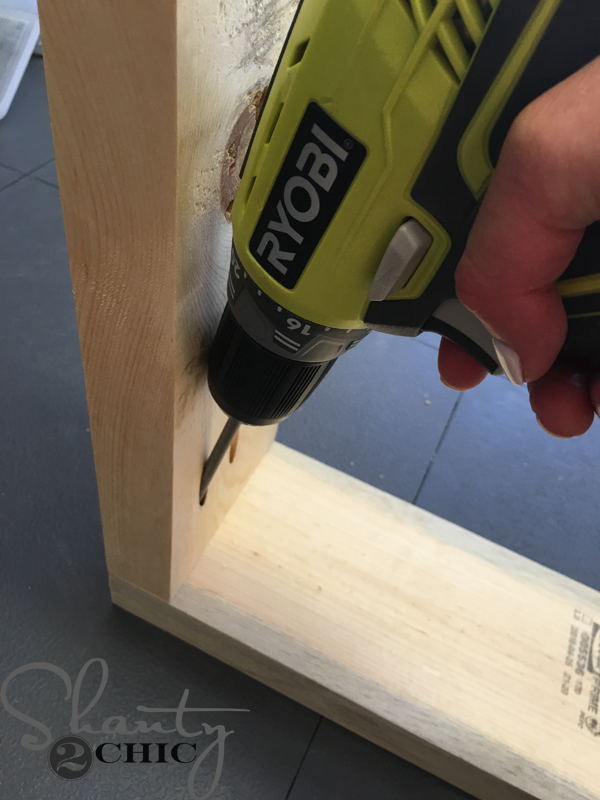
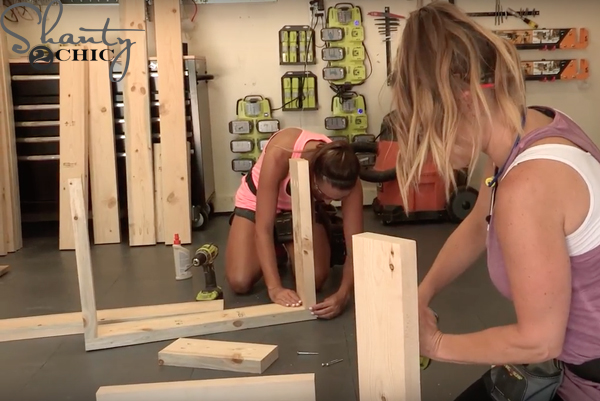
We started by assembling both legs. We used wood glue and 2 1/2″ pocket hole screws.
The leg runners will attach to the legs and be flush with the edges of the legs. Make sure that your pocket holes face out so that you won’t see them once the table is done.
Now, you should have two legs that look like boxes 🙂
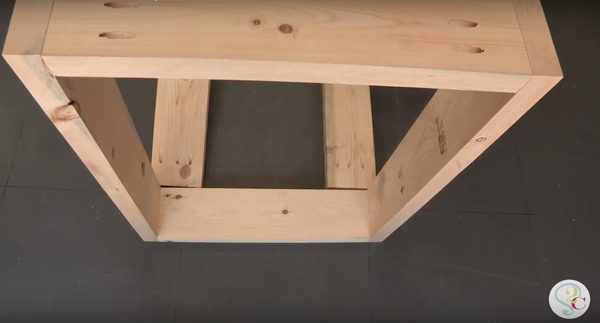
Attach the runners while the table legs are upside down. Your pocket holes will face up and the runners will be flush with the outside of the table legs.
Attach the runners with 2 1/2″ pocket hole screws and wood glue.
Now, attach the supports between the table runners with wood glue and 2 1/2″ pocket hole screws. (Refer to the plans for the placement of the supports).

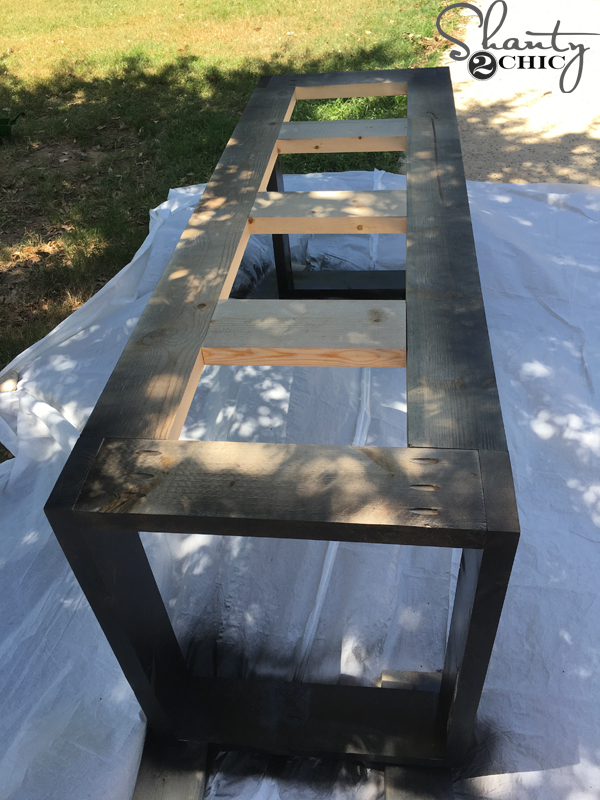
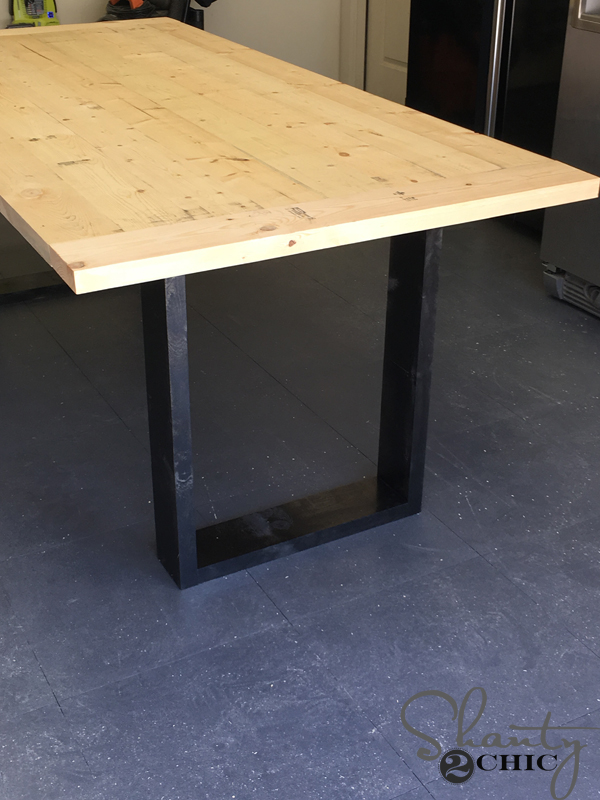
We wanted the table base to resemble a metal base so we sprayed two coats of Rust-Oleum Universal Metallic spray paint to the entire base. You can find the spray paint HERE on Amazon
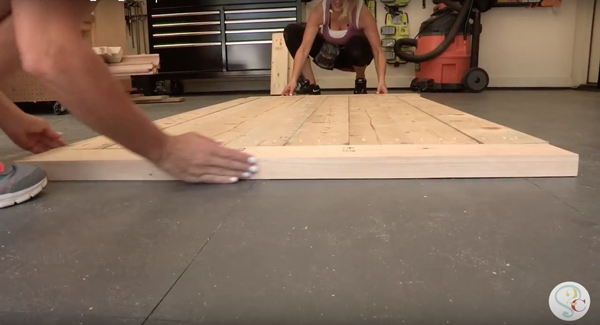
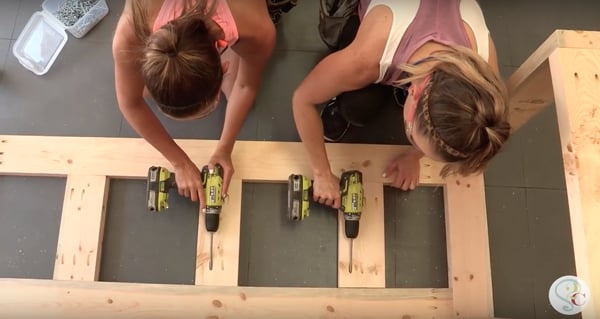
While the spray paint was drying, we assembled the table top. Attach all of the planks with 2 1/2″ pocket hole screws and wood glue. Then, measure and cut the breadboards to fit the planked top perfectly.
Attach the breadboards with 2 1/2″ pocket hole screws.
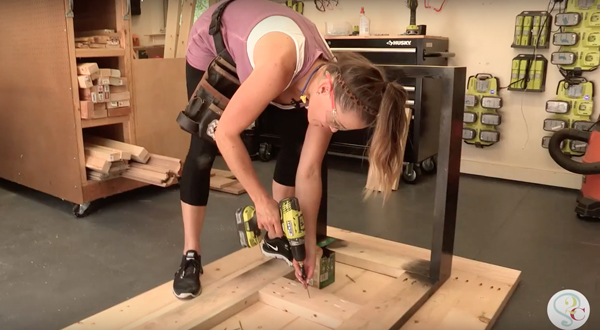
Flip the table base upside down and center it on top of the table top.
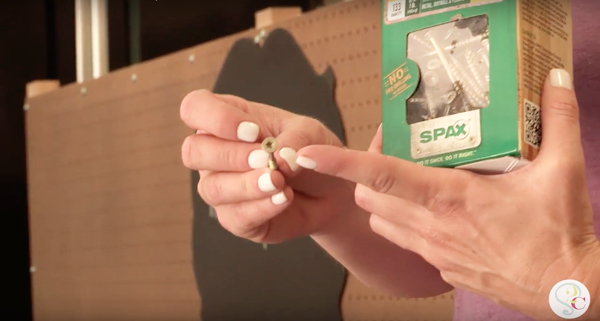
Attach the base to the table top with 2 1/2″ Spax screws. We prefer the star head screws and love using Spax screws because there is no need to predrill! You can find the Spax T-Star screws HERE on Amazon.
Flip the table right-side-up and it’s ready for the finish! We used one coat of Dark Walnut stain on the table top. You can find the stain HERE on Amazon.
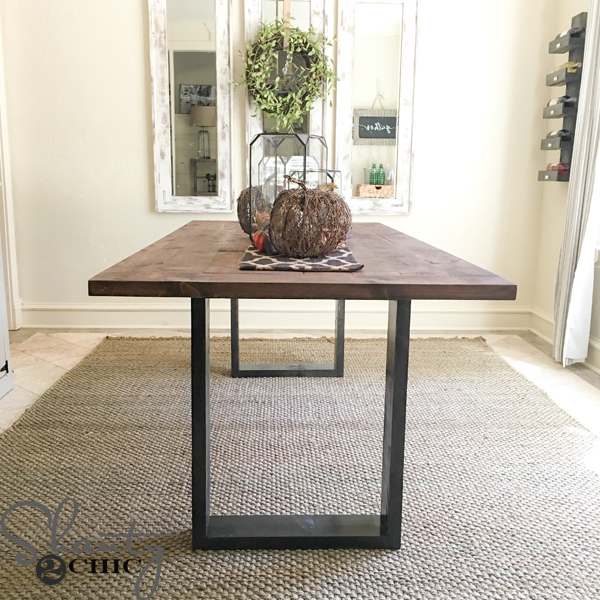
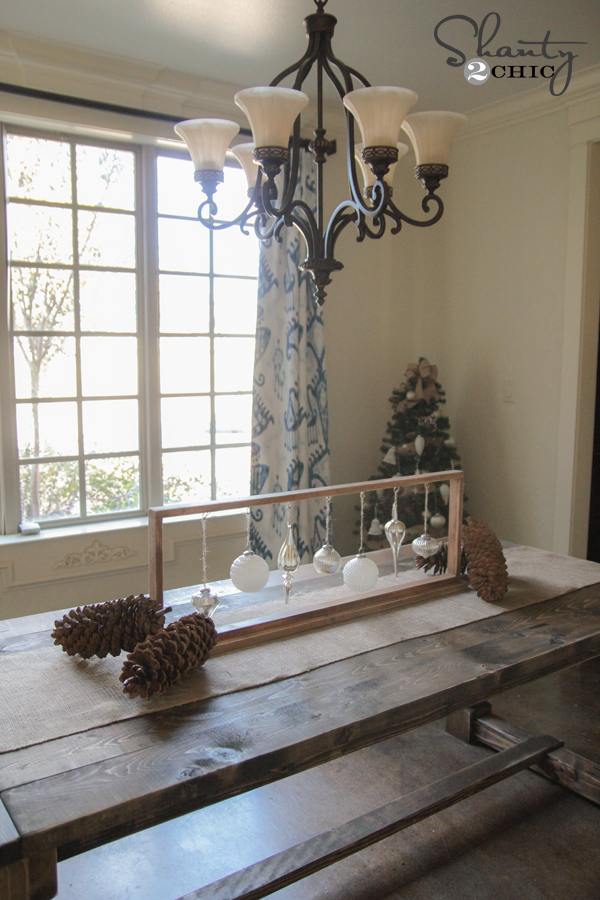
Add some fall decor and you have yourself a table that will impress your guests! We found the cute fall decor and the table runner, for the centerpiece, at AtHome!
There you have it friends! A DIY Rustic Modern Dining table that we built with only 12 2×6 boards, a few tools and had it done in one afternoon! We are ready to entertain for Thanksgiving in style! If you build one for yourself, make sure to tag us @shanty2chic on our social channels or upload it to your Reader’s Projects section of our website!
Make sure to check the how-to video out below!
Happy Building and Happy Entertaining!
You can find the rug HERE!
You can find the mirrors HERE!
The Table Runner and Fall Centerpiece Decor can be found at AtHome!
Make sure to check out our entire collection of free DIY dining table designs! We have over 25 free tutorials that are sure to match your style, skill level and space!

We just built these legs to attach to a live edge table we’re making, but they wobble a good amount in the long direction. Our table is a little wider and a little shorter than the plans so we adjusted to fit, but I see others have had this problem. Does anyone know how to fix it? We’re going to add a horizontal crossbar at the bottom connecting the two legs, but I don’t think that will be enough.
Hello, I built this table and unfortunately there is a pretty significant wobble in the legs. Any recommendations for stabilizers in the legs to reduce/eliminate the wobble?
Thank you.
You’ve probably figured it out by now, but you just need 4 small feet (2 on each end). : )
My husband and I have never built anything before and we made this to use as a large desk in our bedroom. We were so proud! Thanks for plans that made it easy for us to get a win on our first project.