Learn how to build a DIY Wood Console Table with free plans, just a few tools and a how-to video by Shanty2Chic.

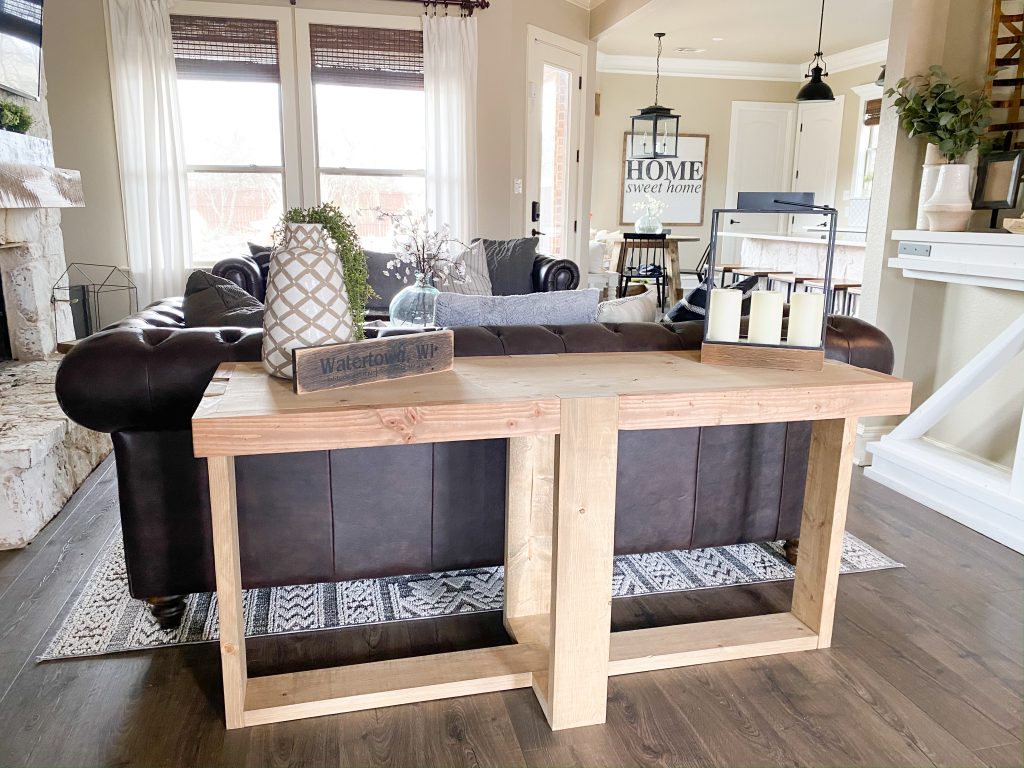
I am so excited about this new build! I have an open entry way, which is one of the things about my new home that I loved so much. My previous house had a very small entryway, and I never had the space for entryway tables. This was one of the reasons that I picked this home. I pictured a big chunky wood console table against the wall. I came across a style I liked online, but the price for anything similar ranged from $2,000 to $3,000. Realizing I could make something comparable, I got to work on designing. In the end, I crafted this 7′ Chunky Console using just 8 boards, totaling under $60 in lumber!
You can watch Whitney and I build this console below!
So fun, so easy and so much bang for my buck!
Now, let’s get to building! You can follow the step-by-step tutorial below!
Click here to jump to the free plans!Table of Contents
DIY Console Table
Materials List:
Tools:
- Drill
- Miter Saw
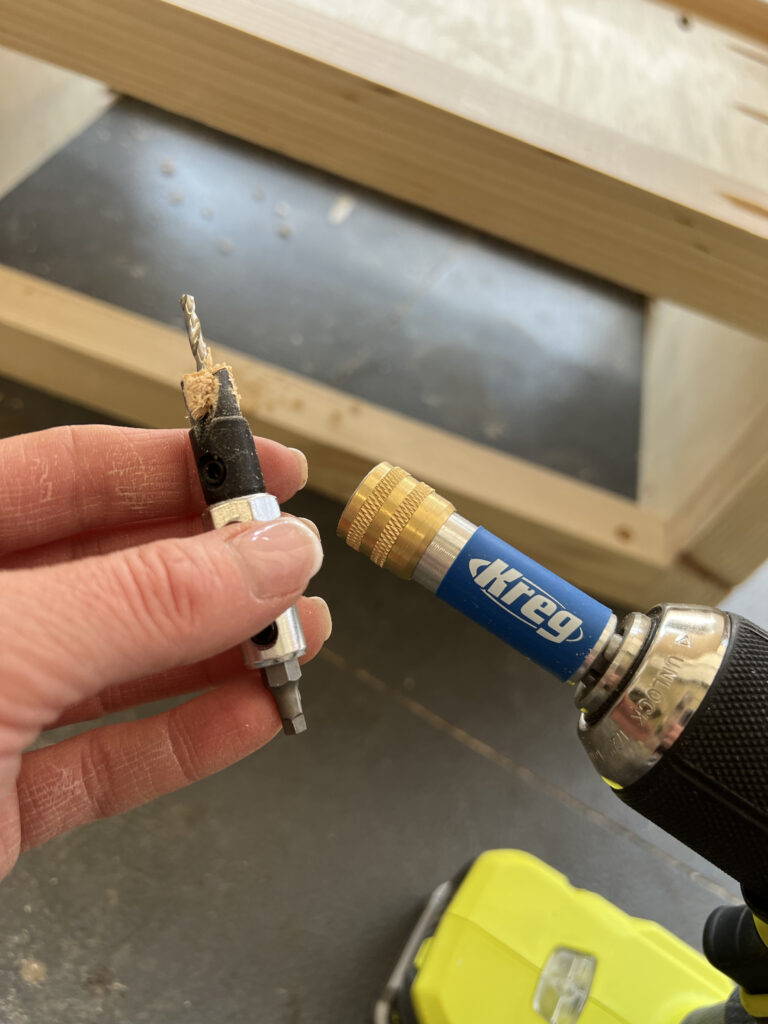
- Kreg Jig
- 16 Gauge Nailer
- 18 Gauge Nailer (optional)
- Table Saw – Optional
Supplies:
- 2 – 2x12x8 Framing Lumber
- 5 – 2x8x8 Framing Lumber
- 1 – 2x4x8 Framing Lumber
- 2″ Brad or Finish Nails
- 2 1/2″ Pocket Hole Screws
- 2 1/2″ 16 Gauge
- Wood Glue
- Wood Stain
- Protective Finish
Building the Legs
Step 1: Laminating the Legs

Cut the legs to size and stack two legs together with wood glue.

Clamp the legs together until completely dry. Build 4 leg assemblies.
Note: you can also use 2″ brad or finish nails to speed this process up.
Step 2: Adding the Spacers
Cut the spacers to size and attach them to one side of each leg assembly using 2″ brad or finish nails and wood glue.
Outside Panels
Step 3: Creating the Outside Panel

Cut the top square trim piece to size and drill 1 1/2″ pocket holes on one end of the board. We used our favorite Kreg Jig, the 720Pro, to drill our pocket holes.

Attach it to the outside panels with 2 1/2″ pocket hole screws and wood glue. This will make the console look like it has a solid beam coming through the center of the side panels at the end joints without any chiseling.
Step 4: Attaching the Outside Panels

Cut the top middle plank to size and drill 1 1/2″ pocket holes at both ends. Attach one outside panel to each end of the top side plank with 2 1/2″ pocket hole screws and wood glue. The pocket holes on the outside panels should face inside.
Attaching the Legs
Step 5: Attaching the Leg Assemblies

Attach one leg assembly to each side of the outside panels. Use wood glue and 2 1/2″ finish nails from the outside of the panels and into each spacer.
Top Trim
Step 6: Adding the Top Trim Pieces

Measure and cut for the front and back, narrow planks. Drill several pilot holes down one side of each trim piece. We used our Kreg Quick-Flip to drill the pilot holes.

Attach a narrow plank to each side of the middle top plank with 2 1/2″ wood screws and wood glue.
This is what is so great about the Kreg Quick-Flip! After you drill the pilot hole, just flip the bit and use the driver side to drive a 2 1/2″ pocket hole screw into the pilot hole. The head of the screw fits down inside of the wood with no splitting!
Inside Panels
Step 7: Installing the Inside Panels

Attach each inside panel to a leg assembly with 2 1/2″ finish nails and wood glue from the outside of the inside panel, into the spacers behind the panel.
Aprons
Step 8: Add the Apron Pieces

Measure and cut the apron pieces to size. Drill 1 1/2″ pocket holes at both ends of the aprons.

Attach them to the leg assemblies with 2 1/2″ pocket hole screws and wood glue.
The Finish
Step 9: Wood Filler

Fill any exposed nail holes with wood filler.
Step 10: Sanding the Console

Sand the entire console with 80-grit sand paper, followed by 120-grit and then 220-grit. I used my orbital sander.
Step 11: Stain the Console

Now, for the fun part! I used my favorite finish right now, a mix of Behr White Wash Pickling and Behr Rustic Brown.

I never finish a piece without my Kreg Project Blocks. You can tell how much use they’ve had! They have retractable painting points to elevate the pieces off the blocks. Must have in your shop!
I used staining rags to apply one coat of the white wash pickling all over the console and let it dry for about an hour (you want the first coat to be completely dry before applying the next stain).

Once the first layer of stain was dry, I applied one coat of the rustic brown. The first application of the white wash pickling gave the rustic brown a more muted tone that I absolutely love!
Step 12: Protective Finish

I used one of our very favorite finishes, I used a bristle brush to apply 2 coats of Varathane Triple Thick Polyurethane in Satin finish. Make sure the finish is completely dry before applying additional coats. This finish will go on white and dry clear.
That was it! I absolutely love my new beefy console in my entryway. It looks so custom and it’s the perfect start to creating my dream entryway! It would also make a great end table behind a couch and modifying the dimensions would be very simple.

This is why I love DIY home decor! I found similar consoles online that retail for over $2,000 but I was able to create my own custom version to get the exact size and color that I wanted for under $60 in lumber!

Links to Items in This Space
Check out all of the products I used to decorate my space below!


Make sure to share your build pic with us on social media an use #shanty2chic so we can share them too!
Happy Building!
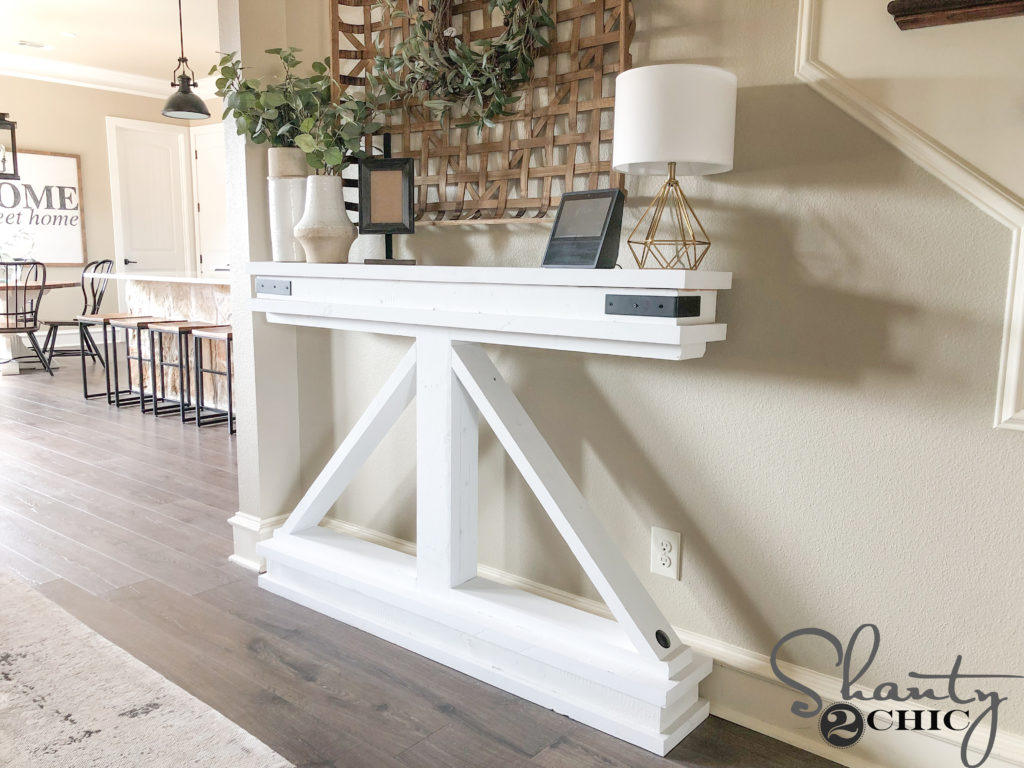
Check out our Other DIY Console Table Builds


DIY Wood Console Table Printable Plans
Tools
- Drill
- Miter Saw
- Kreg Jig
- 16 Gauge Nailer
- 18 Gauge Nailer (optional)
- Table Saw (optional)
Supply List
- 2 2x12x8 Pine or Framing Lumber
- 5 2x8x8 Pine or Framing Lumber
- 1 2x4x8 Pine or Framing Lumber
- 2" Brad or Finish Nails
- 2 1/2" Pocket Hole Screws
- 2 1/2" 16 Gauge Finish Nails
- Wood Glue
- Finish
- Protective Finish
Instructions
Cut List
- Cut List


Building the Legs
- Cut the legs to size and stack two legs together with wood glue. Clamp the legs together until completely dry. Build 4 leg assemblies.Note: You can also use 2" brad or finish nails to speed this process up.

- Cut the spacers to size and attach them to one side of each leg assembly using 2" brad or finish nails and wood glue.


Outside Panels
- Cut the top square trim piece to size and drill 1 1/2" pocket holes on one end of the board. Attach it to the outside panels with 2 1/2" pocket hole screws and wood glue.

- Cut the top middle plank to size and drill 1 1/2" pocket holes at both ends. Attach one outside panel to each end of the top plank with 2 1/2" pocket hole screws and wood glue. The pocket holes on the outside panels should face inside.


Attaching the Legs
- Attach one leg assembly to each side of the outside panels. Use wood glue and 2 1/2" finish nails from the outside of the outside panels and into each spacer.


Top Trim
- Measure and cut for the front and back, narrow planks. Attach a narrow plank to each side of the middle top plank with 2 1/2: wood screws and wood glue.


Inside Panels
- Attach each inside panel to a leg assembly with 2 1/2" finish nails and wood glue from the outside of the inside panel, into the spacers behind the panel.


Aprons
- Measure and cut the apron pieces to size. Drill 1 1/2" pocket holes at both ends of the aprons and attach them to the leg assemblies with 21/2" pocket hole screws and wood glue.


The Finish
- Fill any exposed nail holes and sand the entire console down. Choose a finish of your choice and make sure to follow-up with a protective finish!Make it your own! Be sure to share your builds with us on social media and use #shanty2chic so we can share them too!Happy Building!


The table saw is listed as optional. How would you propose doing this without one? I don’t see anything regarding this.
What size are the spacers?
Are the spacers included in the cut list or have I not had enough coffee this morning? Haha..
Adding to the spacers question, haha.
This DIY console table looks amazing! Love how simple materials can create such a stylish and functional piece that fits beautifully in any home.
https://furniturebarn.com.au/
How did you make this so squared without planing? Love this!