Hope you guys are having a great weekend!! I wanted to show you all a quick, cheap and so chic way to mat your own photos. I used this method with fabric for my photo wall but I thought I would change it up a bit and use burlap for this demo… yeah:)

Your first step will be to take the backing off of your frame. This method is great for wall frames because the back is a bit messy but if you are doing a table frame you may want to clean your edges up a bit more than I did. Lay your backing on your fabric.

Cut around your backing leaving about 1/2″ all around.

Use your hot glue gun to attach two opposite sides first.


Now attach your other sides using the hot glue and you are ready for your photo.
I like to change my photos out often so this step makes that very simple. Just use photo safe tape and add a few pieces to the back of your photo.

Find the center of your fabric covered backing and place the picture down on that… I use the old “eyeball” method to find center.

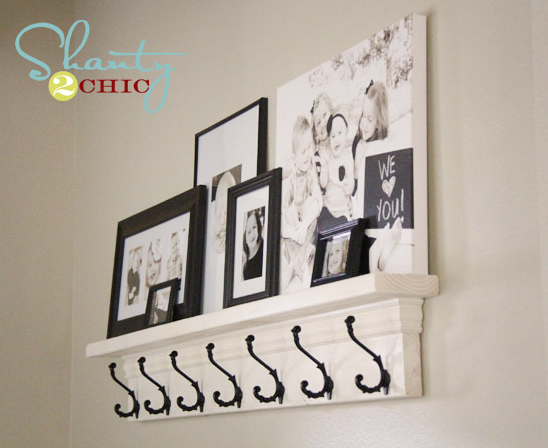
Replace your glass and add your newly matted picture and you are finished. With just a few steps and even less dollars we have taken this…

To this…


Hope you guys like it! These steps are a great way to use those unwanted frames you have hiding out and create several that coordinate to form a fun, custom photo wall. Get creative!!
Also, for those of you that asked what blue I used on the crackle frame…
Folkart Acrylic Seamist
Thanks!!!


Oh, your framed picture is AMAZING! I have used fabric before behind pictures but never used burlap and I love the way yours looks! I have to also say that I love the color you chose for the frame and how you distressed it! Oh.Must.Copy.Soon! 🙂 Thanks so much for sharing this!
Have a beautiful weekend! 🙂
Love it. The frame looks amazing, also.
I love the idea. Maybe its just my computer, but there are no instructions for the frame and I REALLY want to know how to do it! Am I missing something?
I love how you painted the frame itself, it's gorgeous!
Please feel free to add these to Talented Tuesdays at My Frugal Family!
http://theherberfamily.blogspot.com/2010/01/talented-tuesday.html
Ooo-la-la. I was just trying to think of some unique picture frame ideas. This is wonderful! Thanks for sharing.
I'm giving away a little sumthin'-sumthin' on my blog, come see me!
How cute!!! Thanks for the shout out too 😉
super cute! For table top frames cut a cereal box for the size of the back of the frame and glue the fabric to that and vola no mess on the back.