Hey guys! Hope you all had a great weekend! We had a beautiful one here in Texas, and I’m back to share my revamped dining chairs!
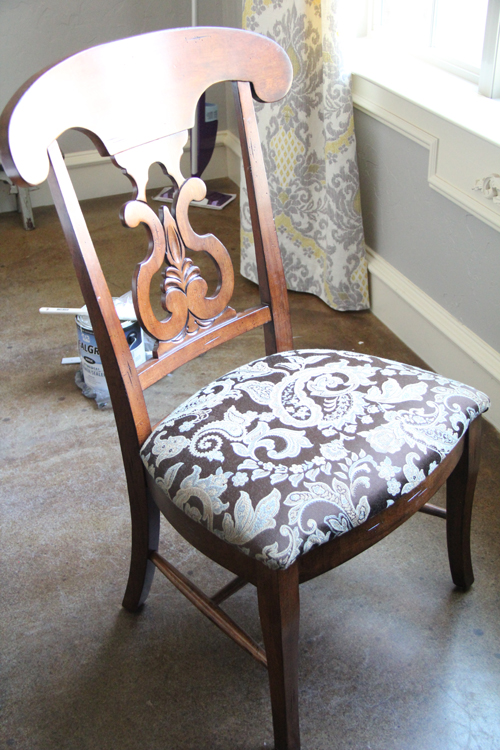
Here are what they have looked like for the last two years…
They aren’t horrible but I have had the itch to lighten things up in there.
I started by removing my cushions. Most of the dining chairs I have recovered are similar in design on this part. I just unscrewed the 6 screws on each chair from the bottom to remove the cushion.
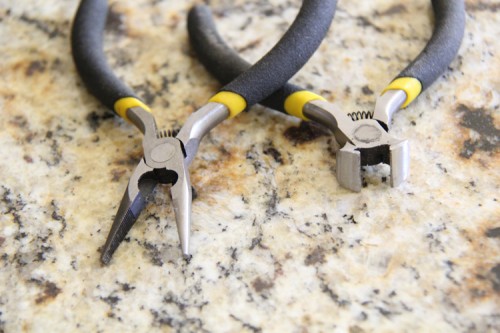
You will need a few cheap and wonderful tools for this project. These tools are a must for me and I use them on lots of things.
Needle nose pliers and End cutter pliers
Staple gun
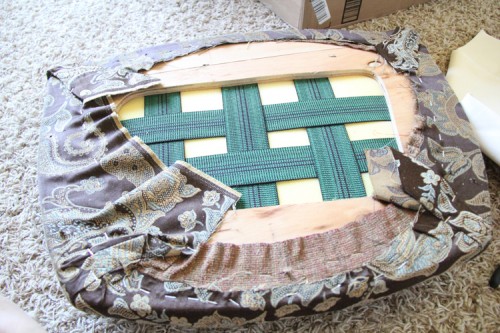
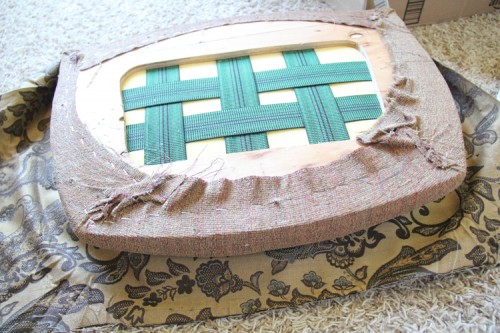
You will first need to remove the current fabric. If mine isn’t too thick I sometimes just cover over it. In this case I removed it using my pliers.
I found a great Dwell Studio fabric at Joann’s to cover the cushions. I used my old fabric to measure and cut my pieces.
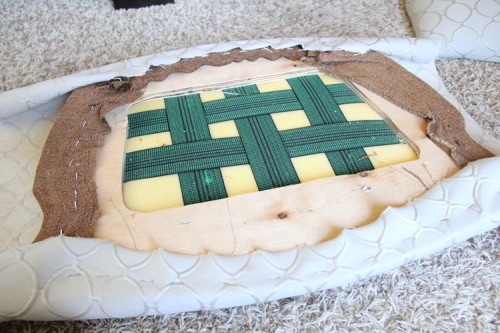
Now it’s staple time! I start with the “top and bottom”. You want to make sure you pull tight, but don’t stretch the fabric too much.
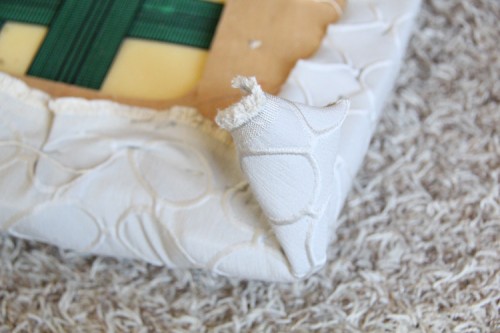
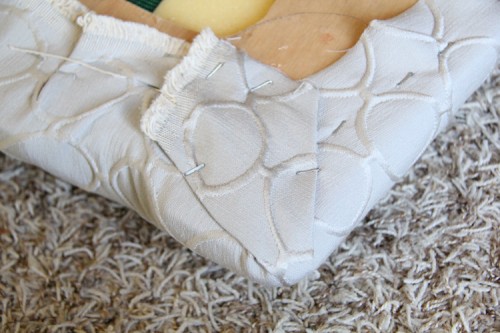
Now you will do the same to your sides and leave a small piece like this on each corner.
Fold those pieces down and staple them last.
That’s it for the cushion part!
For my chairs I decided that I didn’t have the will power to latex paint them. I used a trusty friend on all of my chairs…
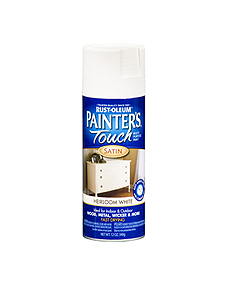
This just happened to match my Dutch Boy color I used on the table perfectly. Each chair took two good coats. The only hard part about this was the 105 temps here in Texas, and I am 31 weeks pregnant. Otherwise… It was a breeze!
Once the chairs were dry I used a 220 grit sanding block to lightly distress my edges.
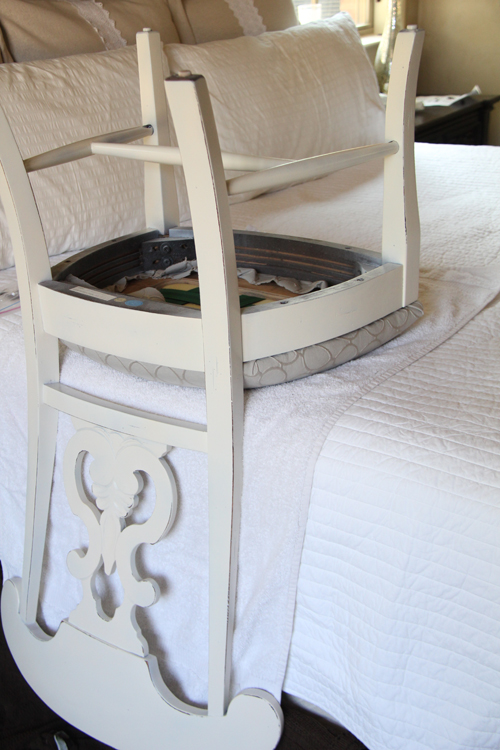
I have a pretty easy method to attach the cushions back on the chairs. I use my bed…
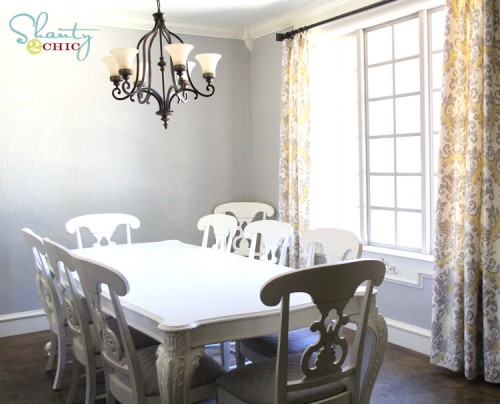
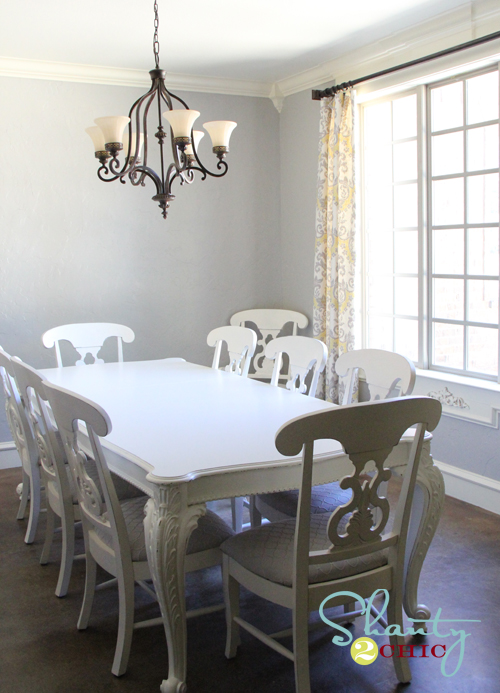
Just screw the cushion back on and you are set! Super easy! Here they are with the table….
They also make great photo props ;-)…
Thanks so much Miss Janet for getting pictures of my baby turning 1 this last week. I love them and you!
Hope you like the chairs! It was an inexpensive and rewarding fix to my dark dining room and I love them. Have a great week!
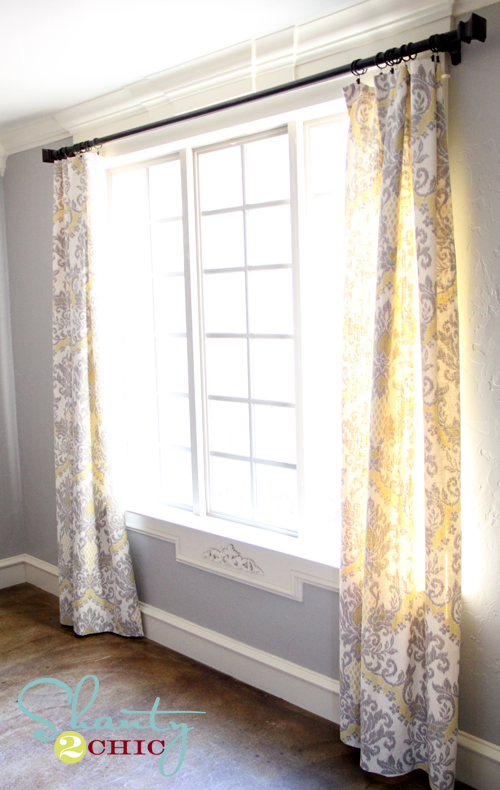
Here are some of my other recent dining room posts!








Did you prime the chairs first?
Did you sand the chairs before painting? And like the other users asked, did you use polycrilic? Thanks.
Sorry I know this post was from forever ago but I would also like to ditto Sheila mackay’s comment. Particularly:
1. How many cans did it take (i too have 8 chairs to do).
2. Is it hard not to get it all patchy???
3. Do you seal it after with polycrlic???
They look stunning !!! Thanku for yr time!!!