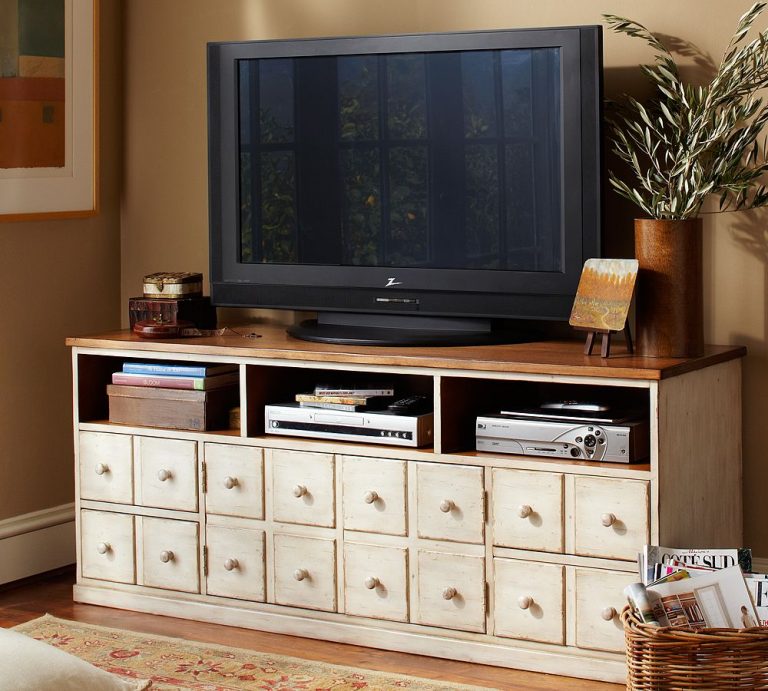
I’m back from our crazy, busy weekend and I have a project to show for it! I am continuing on with the Pottery Barn Storage System that I found over at Ana’a Blog ~ Knock Off Wood. Last week I completed the open cubbies. If you missed that tutorial you can check it out HERE. My goal in this series of projects is to prove to you that you CAN do this too! I have very minimal carpentry skills and just like many of you, I have NEVER built a piece of furniture from scratch. Well, now I actually have and I am ADDICTED!
This week I moved on to the media base and you can see the plans I used for it HERE. (It’s the part the TV stands on).
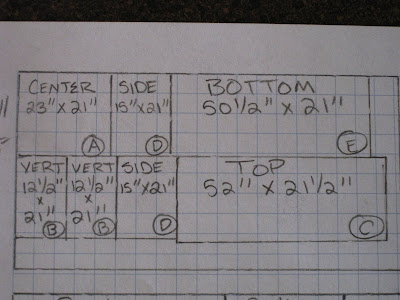
I started by drawing out a cut layout on a piece of graph paper so that I could maximize the amount of cuts per sheet of MDF. I then took the layout to Home Depot where they cut all of the boards for FREE! ( I know some of you mentioned that your Home Depot would not cut or charged per cut. I did ask this time and it turns out that my Home Depot cuts the first two cuts for free and then it is $0.25 for each additional cut. They were very nice and still did not charge me for any of the cuts…hopefully I will get this lucky everytime!)
This is a close-up of the cut layout for the 3/4″ MDF, which I used for the top, sides and back of this piece.
Here is a close-up of the cut layout for the 1/4″ plywood that I used for the back. I had to use plywood because they did not have a long enough piece of 1/4″ MDF:( I bought the longest piece available and added a few cuts for the backs of future pieces to get my money’s worth. The cut needed for this piece is the top left cut. (Feel free to copy my cut layout and take it with you…I just handed it to the Home Depot guys and they cut it while I shopped around.
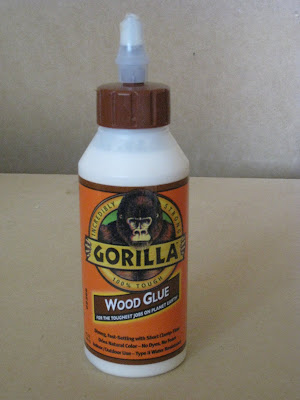
Make sure to line each edge with Gorilla Glue Wood Glue before you secure them with screws.
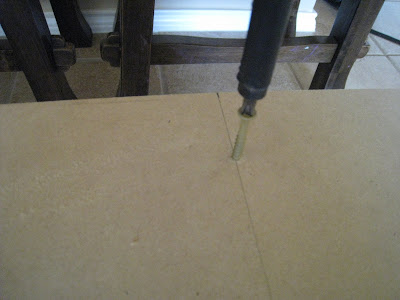
Most of the predrills are blind so I draw a line to guide where I should place the screws. 3/4″ is not very thick so a bad angle or placement of a screw could make it tear through the surface. (If this happens, no worries! You can sand it and fill it with wood filler and sand again. Good as new!)
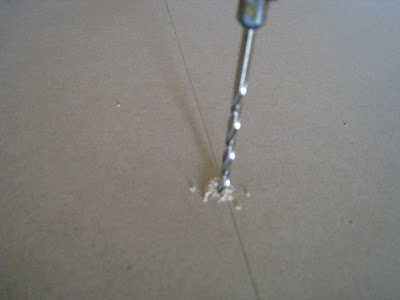
Using a drill bit that is a tad smaller in circumference than the screws you are using, predrill at least three holes (make sure to start at least 1″ from the edge to protect the wood from splitting…I use three fingers vs. measuring). I also predrill the first hole and then add the screw before I predrill the other holes so that the boards stay still.
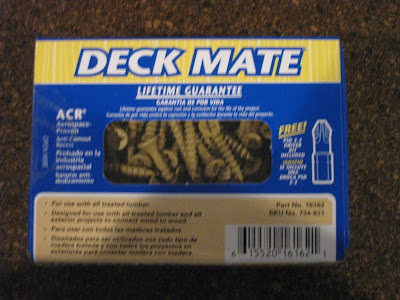
Here are the screws I have been using.
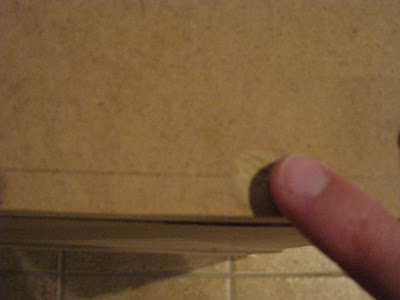
Drill the screws in until they are below the surface just a little. You can fill in the gap later with wood putty for a more finished look.
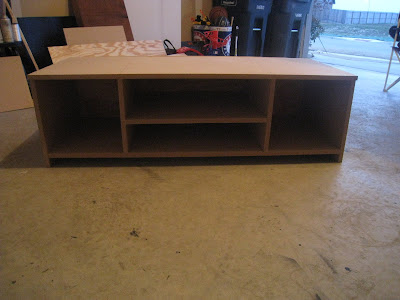
After the first steps.
and another…

Almost done!
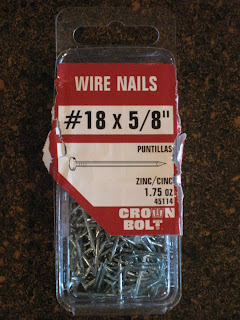
Next, I used 1″ wire nails and hammered the piece of plywood to the back side.
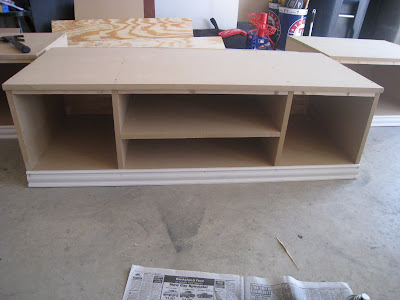
I used Gorilla Glue Wood Glue and wire nails to attach the top trim and base molding. I then hammered the wire nails to secure the back piece of plywood.
Finally, a little Elmer’s Wood Filler in each screw hole..
and pack and smooth. If it is not flush you can sand it down with a light grit sand paper.
Done!
This part of the Storage System was definitely harder than the open cubbies because of the shelves but it was still easy. Total cost was about $45 and it took me about 2 hours to complete. If I can do it ANYONE can! Just do one piece at a time. You will be amazed at what you can do when you set your mind to something. Check back for the next piece to my Storage System!!!
TO BE CONTINUED….
~Ashley













So far so good! Look forward to seeing them finished.
WOW that is some project………not sure if I'm brave enough to attempt it. You're doing an awesome job, looking forward to seeing the finished product!
Wow!! You know something similar to this is on our list and hubby keeps asking if I have seen any photos of it done following Knock Off's directions! Well HA! Now I can say "Yes, as a matter of fact, I HAVE" (sorta)
Wow, you make this look easy. I'll be following you! Sherry
Wow! You need to add this to the "I did it without my husband" MEME! That's pretty darn impressive!
Warm blessings,
Spencer
I love seeing your progress! I am going to start this project next week and love all of your tips so thank you. I do have a question for you, is there a reason you decided to use MDF over plywood? I am trying to decided which is the best option for me and would love to hear your thoughts. Thanks
My husband and I just started ours! We are SO excited!! Thanks for showing us how to do this piece, we are starting it next week!
WOW! I'm off to buy some gorilla glue and some deck screws! Thanks for the inpiration!
Can't wait to see more! I just discovered your blog (and Ana's) and I'm having a great time seeing your furniture process!
This project is awesome! I can't wait to see how it turns out – it looks pretty great so far. Have a great weekend!!
This is amazing!!! I love, love, love the fact that you are telling how much everything is costing along the way!!! I am going to do this project, but didn't know how much to budget! You have inspired me to start this weekend! Thanks! Oh, also a BIG Happy Birthay to Ashley!!!
This will be our next building project, when we get our tax money back in a couple weeks. Can't wait to get started, and can't wait to see how yours turns out! It's gonna look great!! 🙂
I am also very impressed. I have always wanted to make furniture, but thought I couldn't. I am rethinking that after seeing what you are doing.
Impressive! Can't wait to see it all done! I know, patience! You are inspiring me to give it a try-maybe this summer!
Oh my gosh- I cannot wait to see the finished product. You are ROCKIN that thing!!!!
Layla 🙂