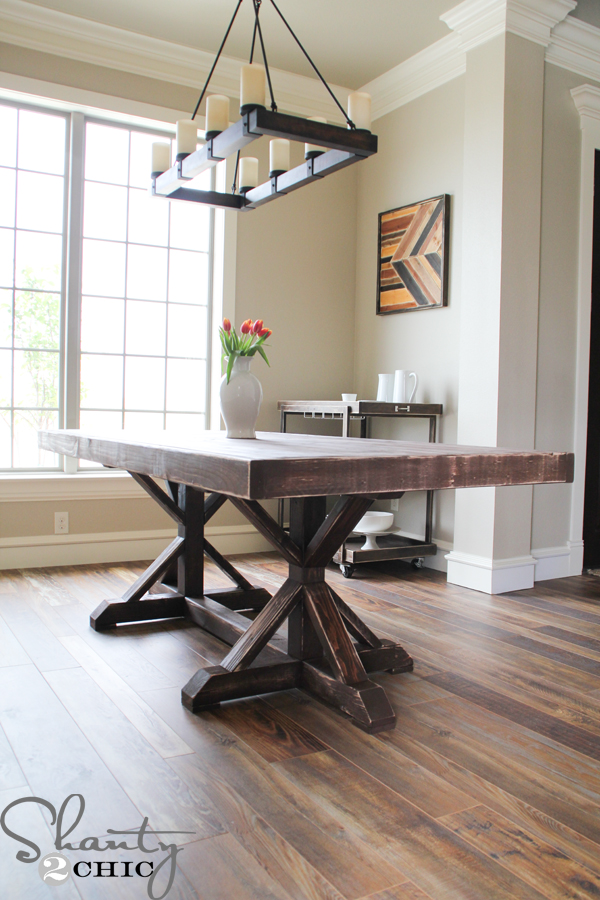
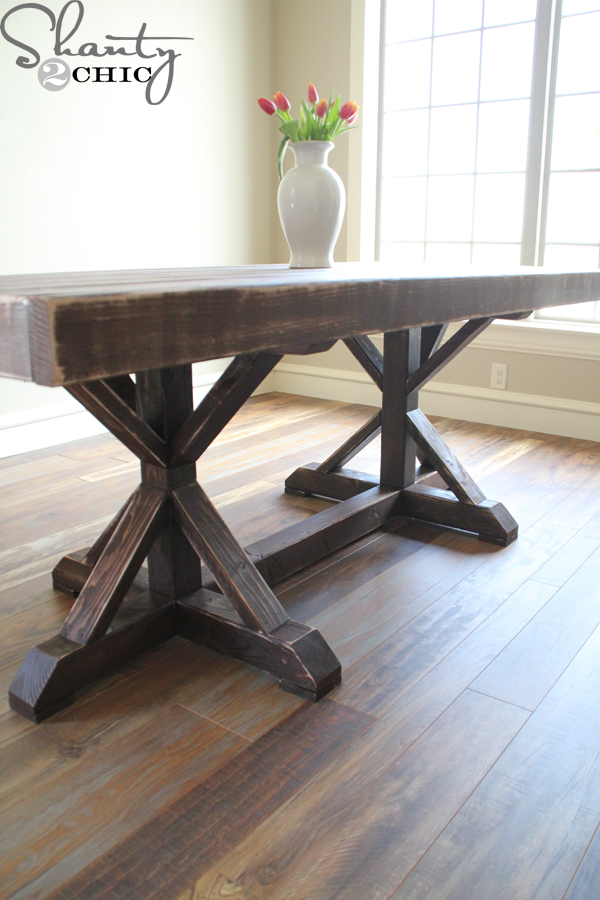
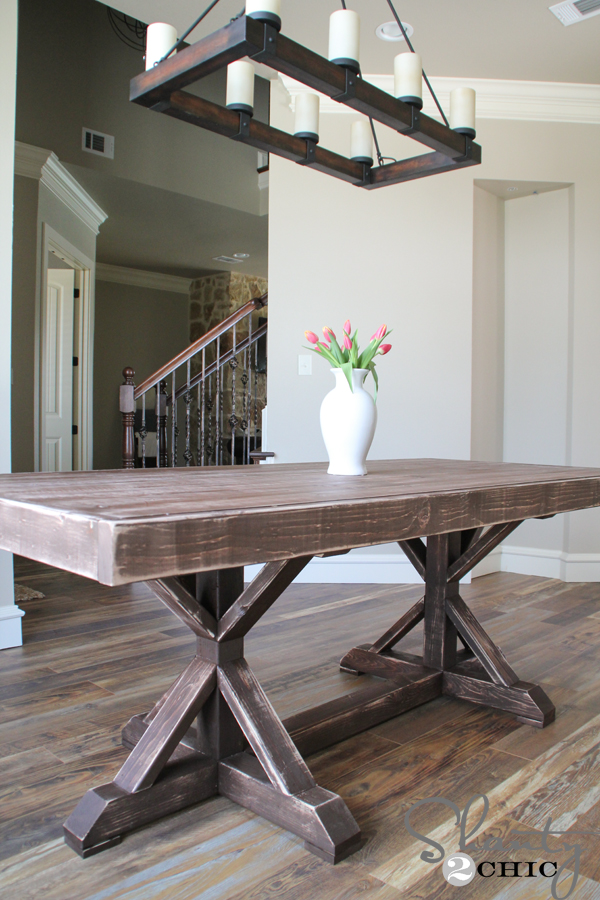
Learn how to build a farmhouse style dining table for $110 with free plans and a full tutorial. This design is inspired by Restoration Hardware and you can build this solid wood table for a fraction of the price!
Hey there! I’ve been moving right along trying to fill up all of the empty rooms in my new house. This week I moved into my dining room and I have been dying to build this Restoration Hardware inspired Dining Table since I started building my new house! You may have seen a sneak peak of this beauty on our Instagram! I love the look of a rustic dining table, like the boards came out of a 100-year-old building. Solid pine timbers never looked so good!
Make sure to follow us on Instagram and Pinterest to keep up with our most current projects!
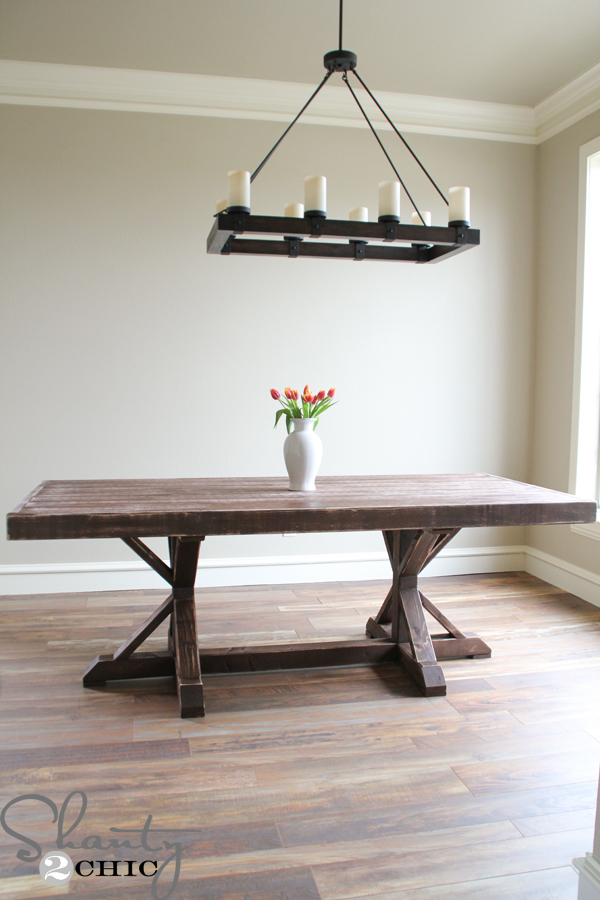
Man I love this table! The farmhouse table that inspired it is a Restoration Hardware Table that costs $2,205 to purchase, before tax, and I built mine for $110! Wow, wow, wow! I still can’t believe it!
Table of Contents
How to Build a Farmhouse Dining Table
Supplies:
- 7 – 1x6x8 Pine or Whitewood Boards
- 8 – 2x4x8 Pine or Whitewood Boards
- 2 – 4x4x8 Pine or Whitewood Posts (can laminate 2 2×4’s)
- 1 1/4″ Pocket Hole Screws
- 2 1/2″ Pocket Hole Screws
- Kreg HD Screws (for 4×4’s)
- 1 1/4″ Brad Nails
- 2 1/2″ Wood Screws
- Wood Glue
- Stain and/or Paint
Tools:
- Miter Saw
- Drill
- Kreg Jig
- Brad Nailer
Of course, we want you all to be able to build one too so we have FREE Printable plans for you! Just click the image below or HERE for the free Farmhouse Table Plans.
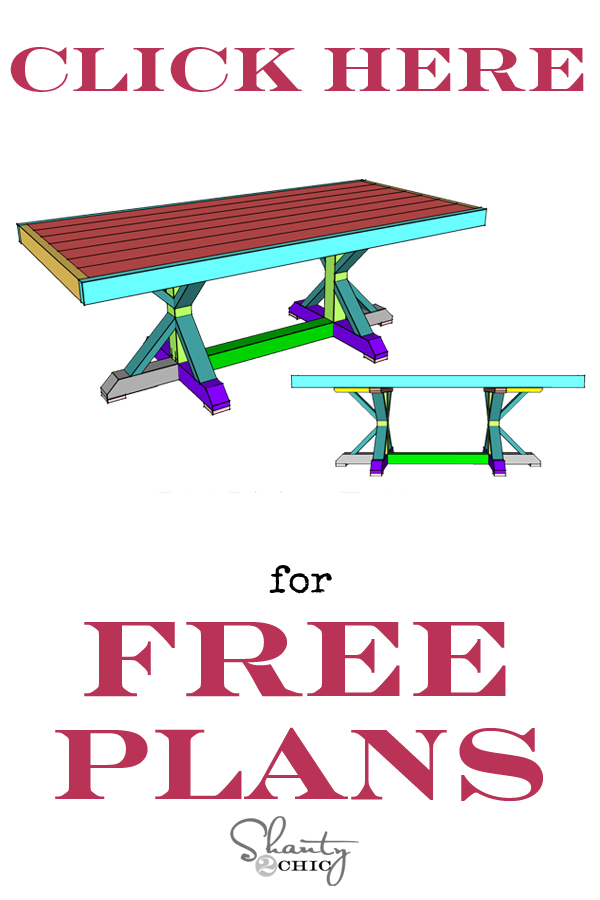
And, as always, I’ve provided my tutorial pictures to make it even easier for you to create your own! I love building farmhouse tables because you get so much bang for your work and money. They look intimidating but this one, especially, is VERY EASY to build! So, let’s build this DIY Restoration Hardware Dining Table!
Building the Table Top
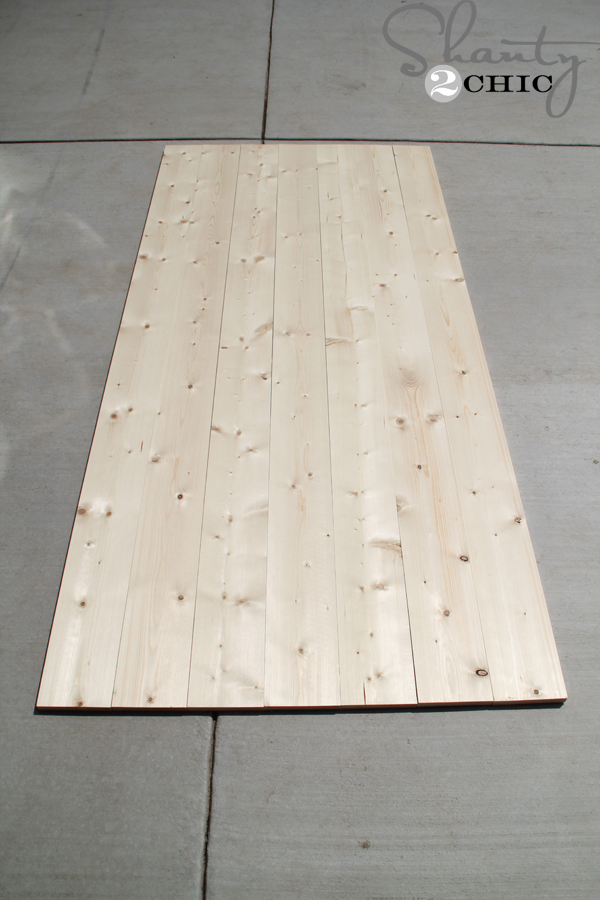
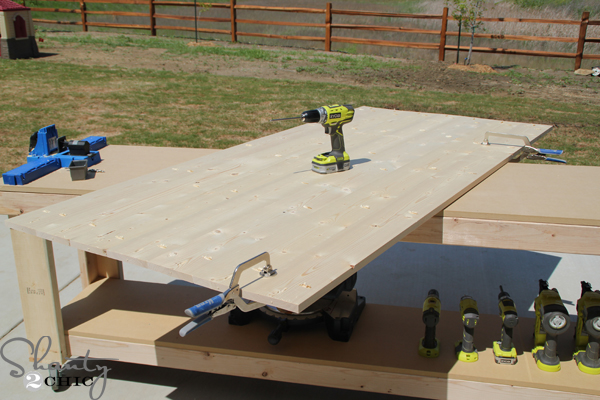
I started by attaching the tabletop planks, with the 1×6 boards, to create the planked top!
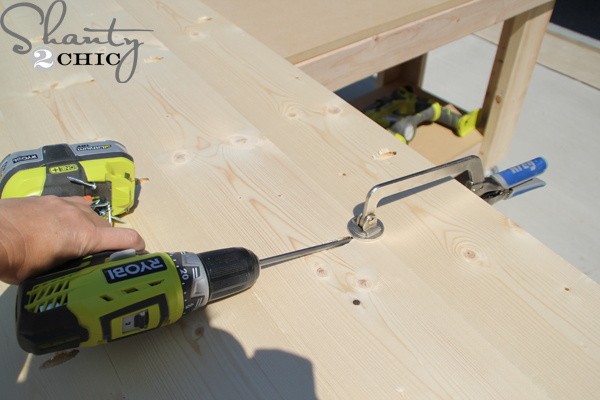
First, I used my Kreg Jig set at 3/4″ to drill pocket holes around the edges of the boards.
- You can find the Kreg Jig HERE on Amazon.
Next, I used 1 1/4″ screws to attach the boards. To create a smooth surface and to keep the top from bowing, just clamp each pocket joint as you go. We love our Kreg Face Clamp for planking table tops.
- You can find the Kreg Jig Face Clamps HERE on Amazon.
Easy enough! Time for the table top trim!
Make sure to measure and cut as you go for the trim pieces.
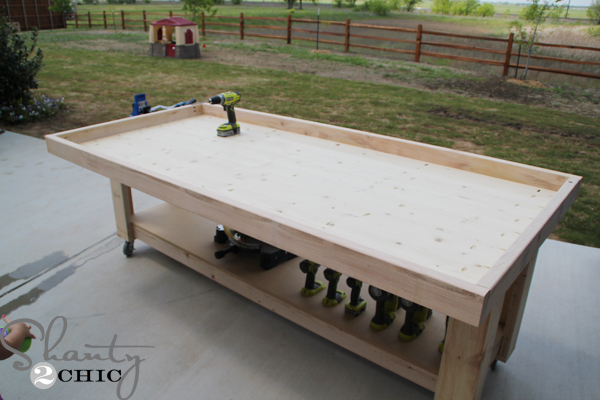
I started by cutting the long side pieces to size. Then, I attached them to the sides of the table top with 1 1/4″ pocket hole screws and wood glue.
I followed up by measuring for the width of the table top. I cut my end trim pieces to size and attached them with 1 1/4″ pocket hole screws from the end of each plank, into the trim pieces.
Step 2: Building the Base of the Table
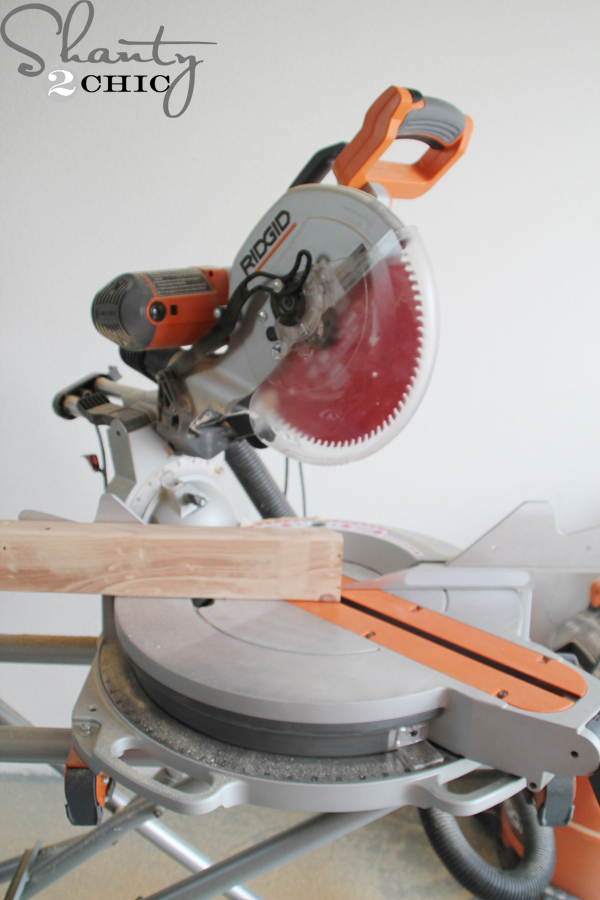
I used my Ridgid 12″ sliding compound miter saw to cut the 4×4 table base pieces.
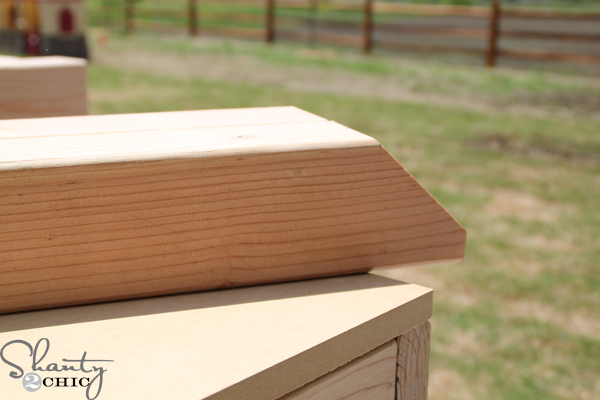
Here’s a pic of the 45 degree miter that you will need to cut for the feet.
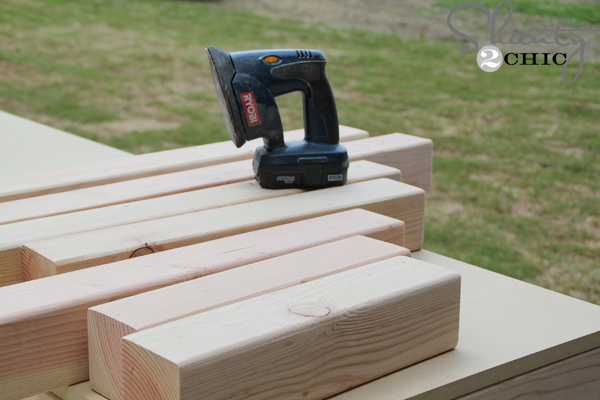
Before assembling the pieces, I gave them a good sanding with my Corner Cat sander. I don’t always do this before assembly but the 4×4’s were dirty and pretty rough. I used a 50-grit sanding pad for this. I used a 50-grit sanding pad for this and sanded with the grain of the boards.
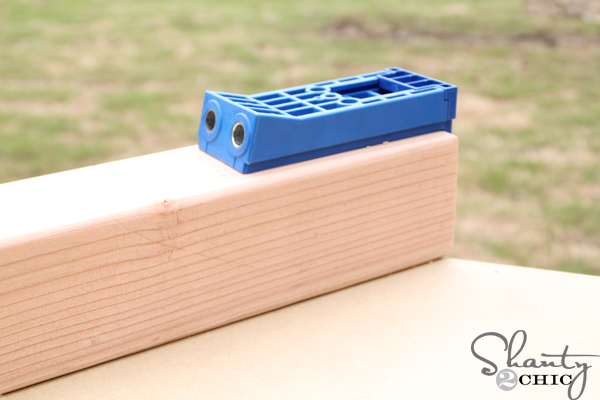
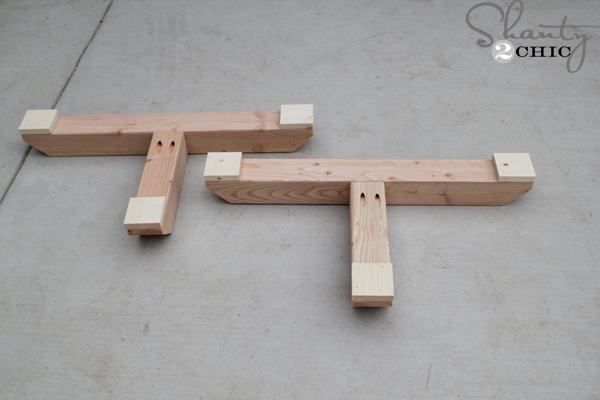
To attach the 4×4 leg pieces together , I used my Kreg HD to drill the pocket holes into the long base runner. It’s super easy, just clamp and drill! I attached the runner to the feet with Kreg HD screws.
- You can find the Kreg Jig HD HERE on Amazon.
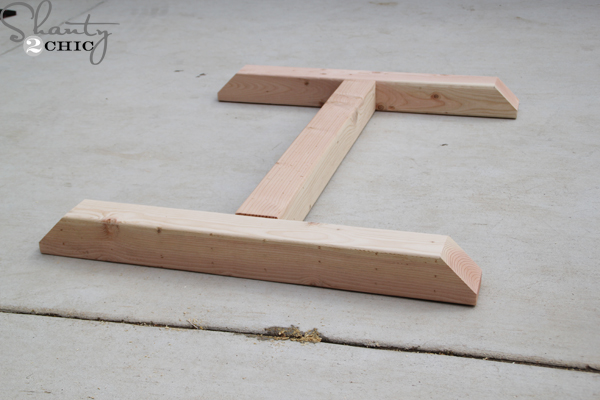
Here is the runners and the feet assembled. Don’t use wood glue here because this is a temporary assembly just to establish the pocket hole joints. After assembled, remove the stretcher.
Then, attach the short feet.
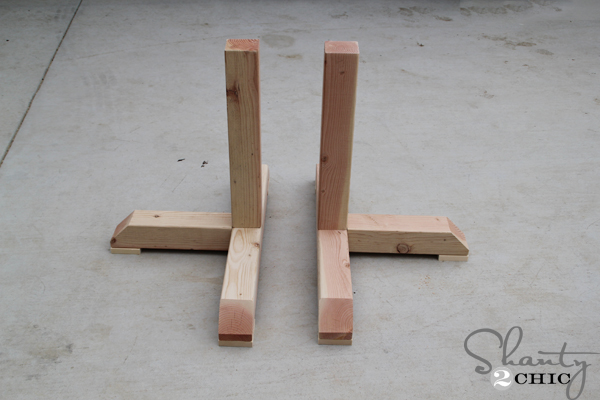
With the table feet upside down, attach a foot pad to each foot.
Flip the feet right-side-up and attach the table legs.
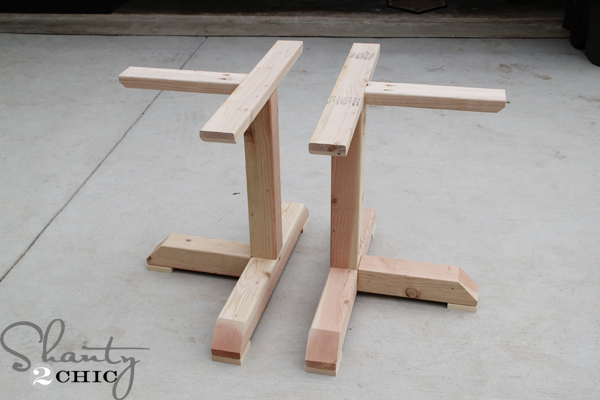
Then, start stacking the 2×4 cuts on top of the legs. I used 2 1/2″ spax screws. They are a bit pricey for wood screws but you don’t have to pre-drill!
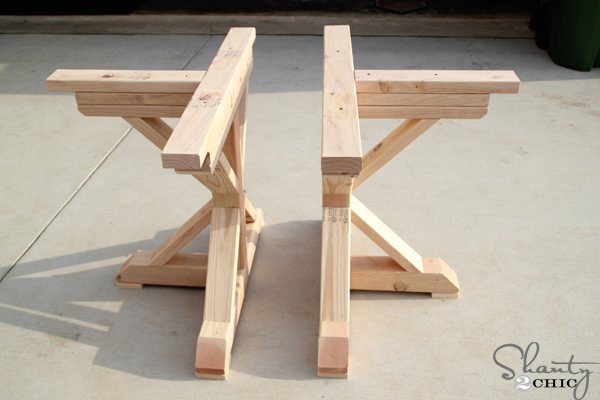
Here are the legs completely assembled and now, believe it or not, it’s time to stain! Don’t assemble the table yet, stain first!
Step 3: Staining the DIY Dining Table
Before staining, we like to use the water-popping technique. Just use a damp cloth to wipe the entire table down and let it dry.
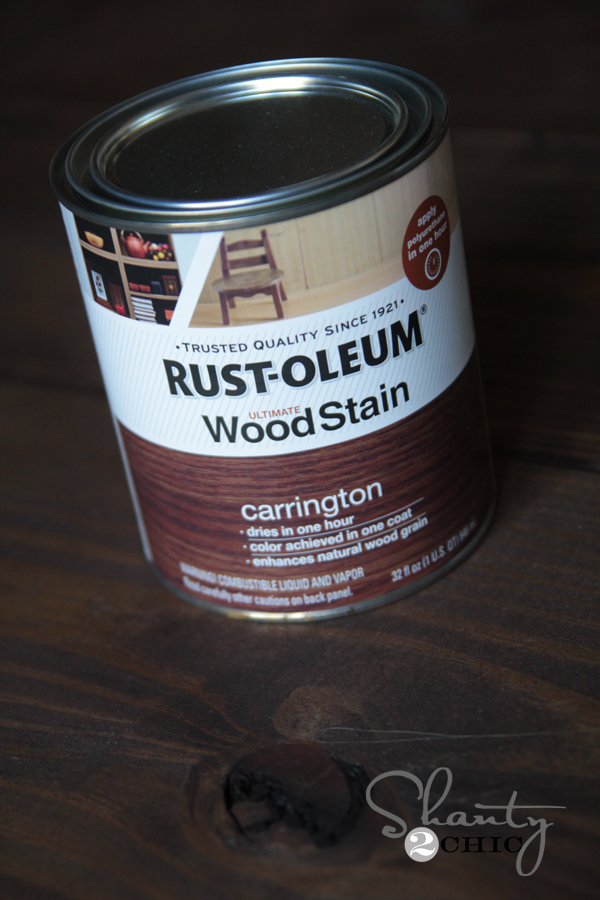
I chose Carrington by Rust-Oleum to finish the table. Just wipe on one-coat with a dry cloth, wait 5-minutes to let it sit, then wipe with another clean cloth to blend it. Make it your own with any finish you like! We love the variety of stains that Rust-oleum carries!
- You can find Rust-oleum Stain HERE on Amazon
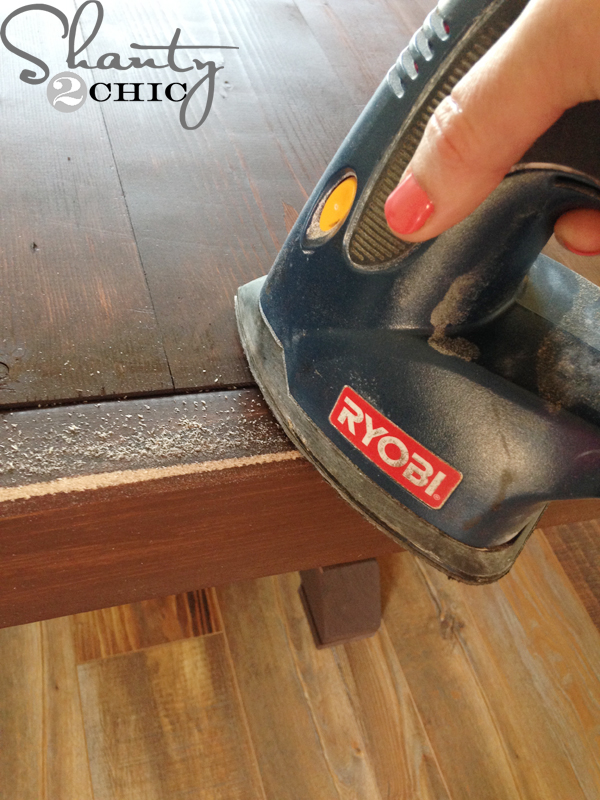
I wanted the table to look worn so I used my Ryobi Corner Cat sander to distress all over. I used an 80-grit sanding pad for this part. (I didn’t decide to do this until the table was inside and assembled. It made a big mess so if you know you will do this, do it before you bring it inside.
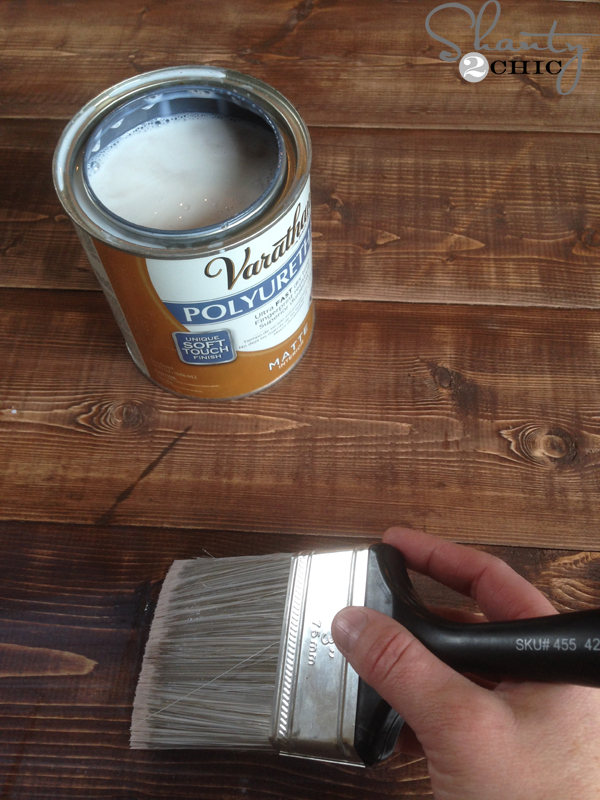
I did add 3 coats of Varathayne polyurethane to the table in, matte finish, with a bristle brush. The matte gives it a very natural finish and protects the table top from minor spills. Now the table top is more kid-friendly 😉 I would still use coasters and placemats when using the table but this finish makes clean up super easy!
- You can find the Poly HERE on Amazon
Step 4: Attaching the Table Top to the Table Base
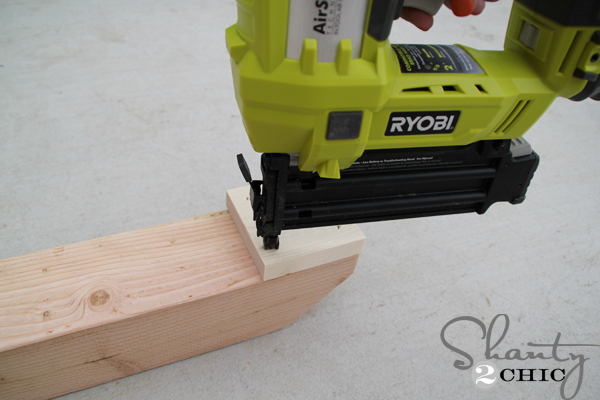
To attach these angle pieces we suggest screws in the plans. However, if you have a nailer, that will work great! If you choose to use wood screws, just predrill from the top of the angle piece into the leg post at an angle (bottom pieces angle down, top pieces angle up). Follow with 2″ wood screws and fill your screw holes with wood filler.
LOVE it 🙂
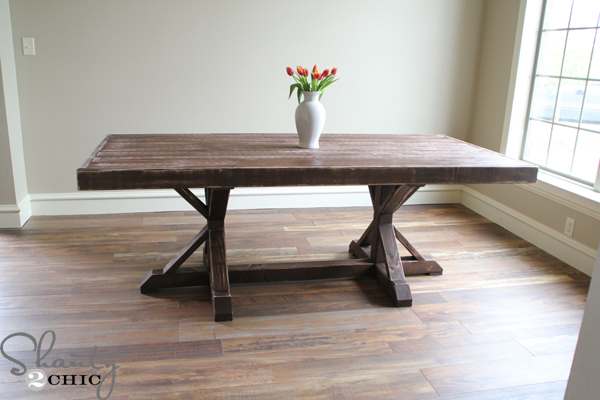
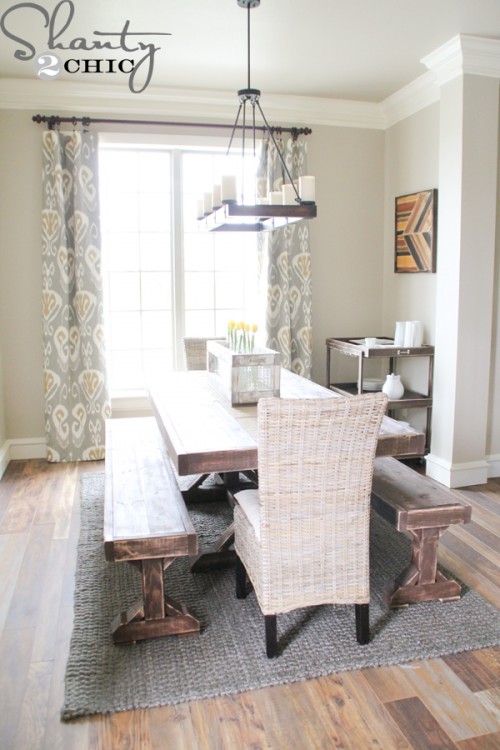
I love my new dining room table! Now I need to get busy on the benches and filling up the rest of the room! I have to say that this is by far my favorite Farmhouse Table that I have built so far! It completely transformed my dining room and it adds the perfect touch of farmhouse style!
Free plans for the matching benches can be found HERE
Thanks so much for stopping by 🙂 – Ashley
Curious about some of the other things you have seen in this room? Just click the links below for more info!
Pottery Barn Inspired Pallet Art
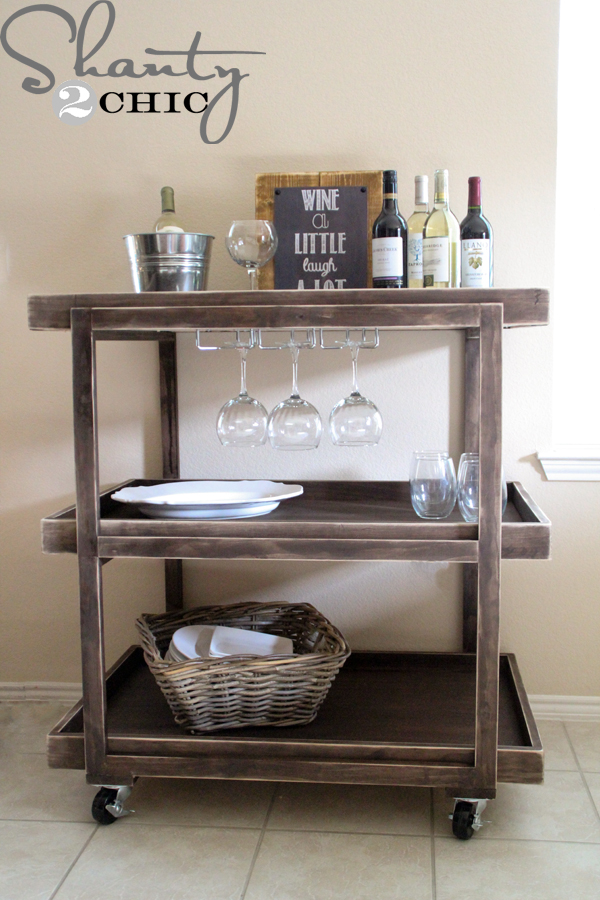
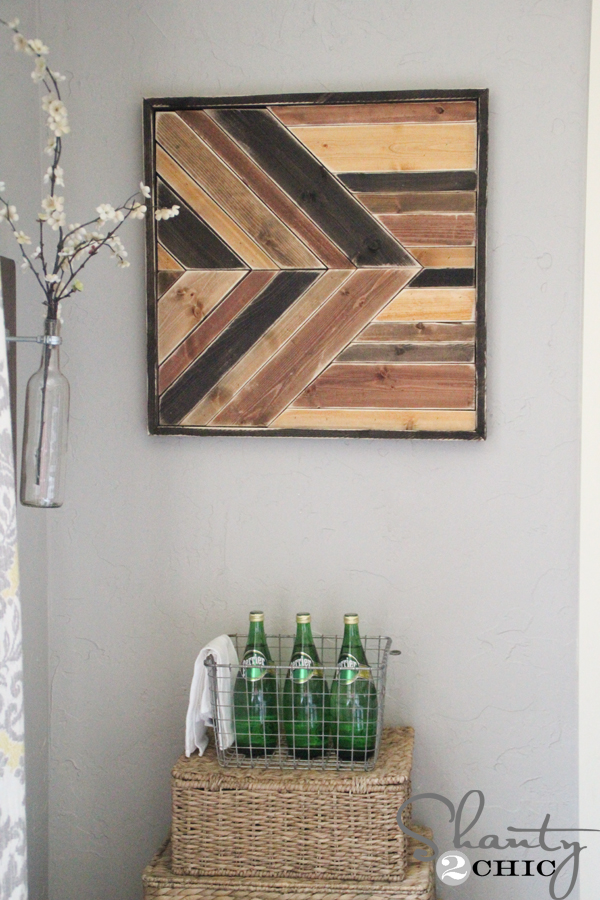
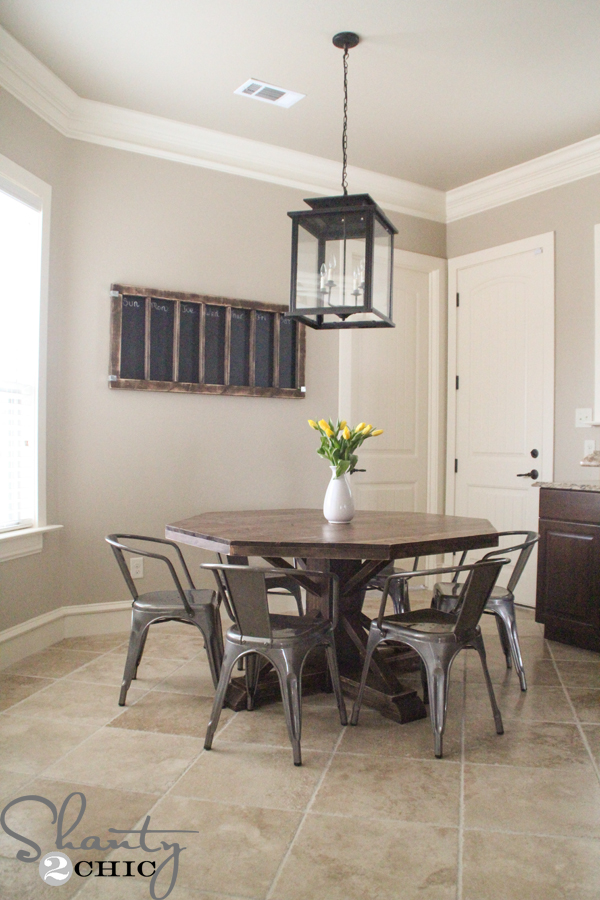
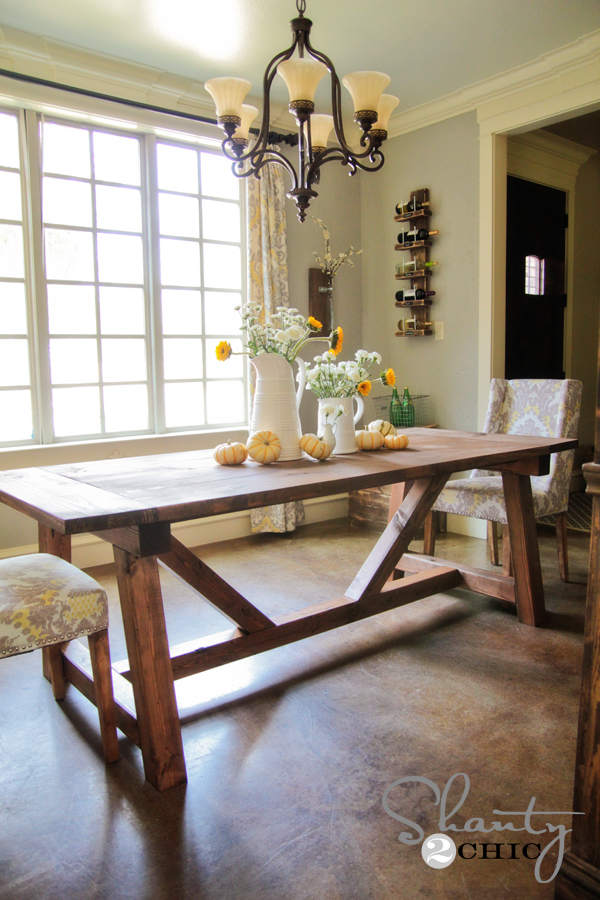
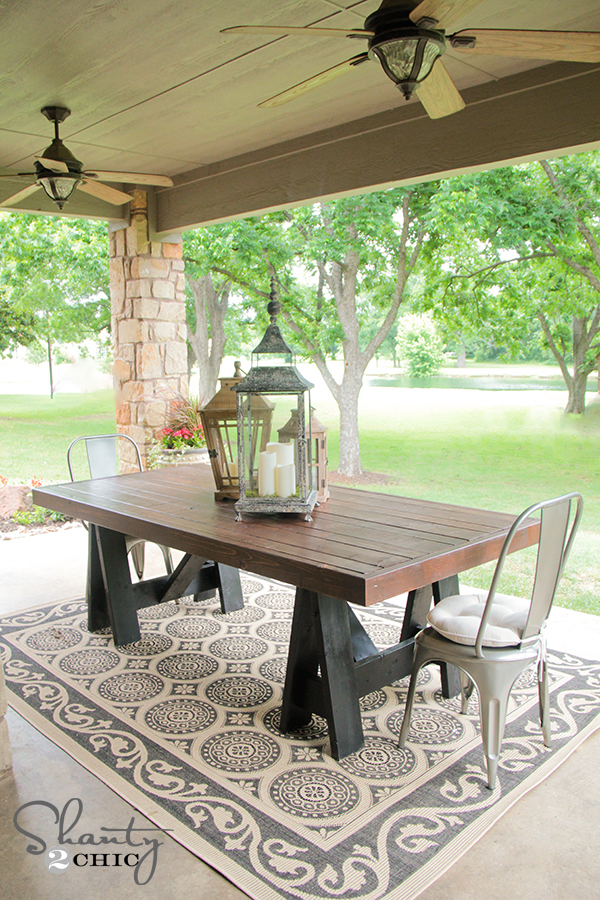
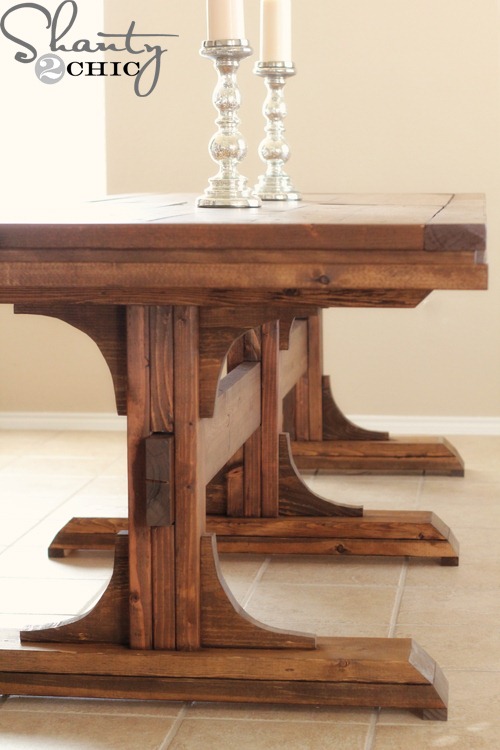
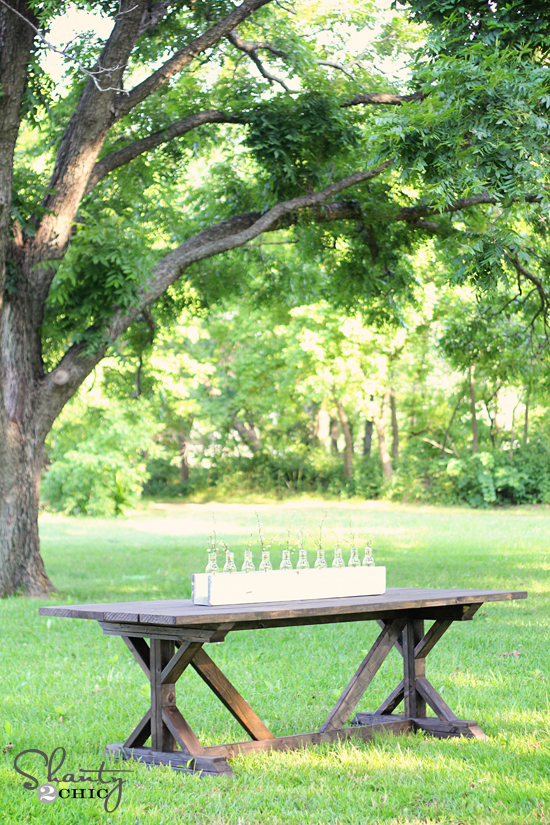
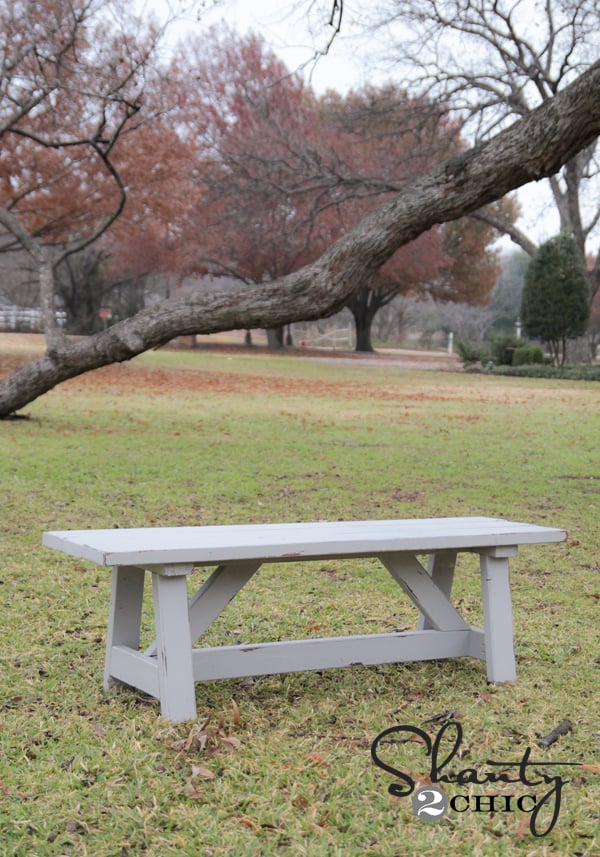
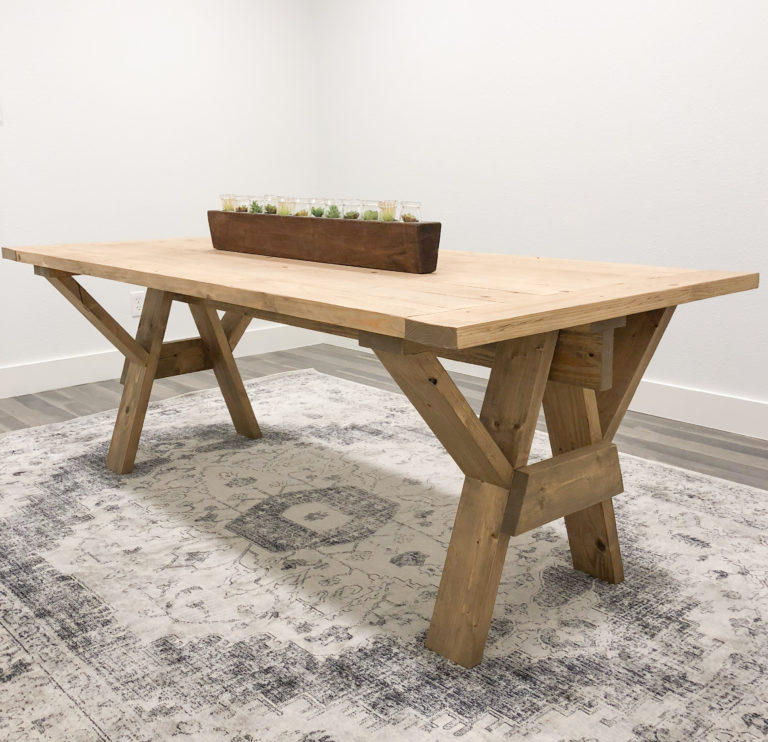
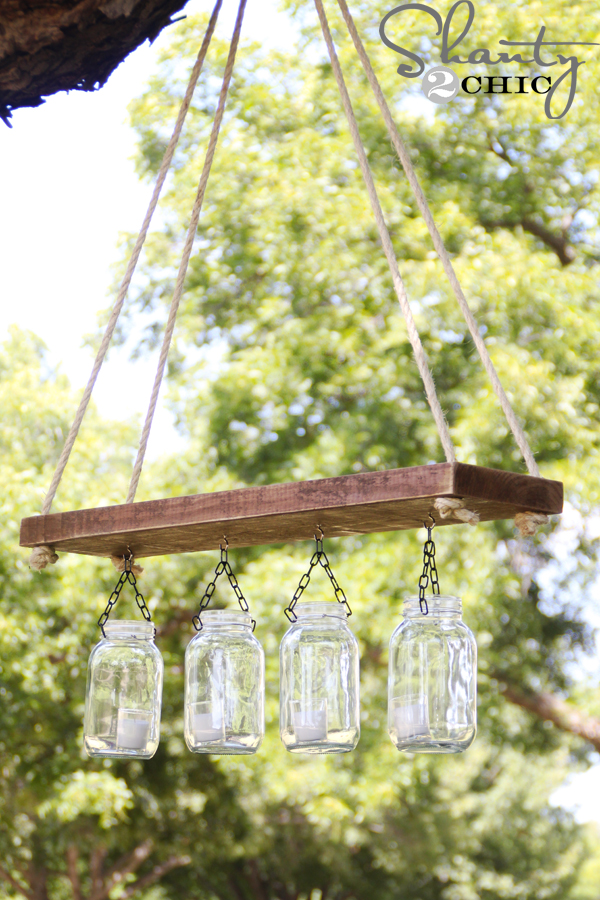
We have built a ton of gorgeous farmhouse tables over the years! You can click the images below for more free Dining Table Plans.





I just started this project this evening and I’m very excited! I know everyone works at their own pace but I was curious how long it took you from first cut to stain? Thanks
Awesome!!! I would say to plan on a weekend worth of work 🙂
Hi. I finished the table would like to send pic if its allowed. Thanks
Working on benches now!
Wow!!!! We love it Vanessa!!!! Thank you for sharing 🙂
Certainly going to try this. I am going to keep it at 96″, do you think I can leave the base is? I imagine it should be enough to support the longer top.
Yes Michael! I think that would be plenty! If you are concerned, you could add a few inches to the base!
are there any plans available for the light fixture above the table?
Hi Lina,
There is a link to the light fixture at the end of the post. I purchased it 🙂
So, I just finished this project. First off, thanks for the plans and pics, there’s no way I could have done this on my own. It’s looks gorgeous (if I do say so myself). The only issue is that it’s a bit tall. Mine is coming out at 32.5″, and that feels pretty high with the chairs we have. How high did yours come out?
Hi John!
Just measured and mine is 31″ high…. Wonder what you did different?
OK, thanks. I have no idea what I could have done differently. Regardless, at this point, I’m just going to remove the 3rd layer from the top of each base component. That will drop me down to 30 3/4″, which should feel much more normal, and really shouldn’t affect the aesthetic. Thanks again for all the help.
Great idea!!! Send us some pics of it 🙂
Ok, so now I’m officially done and I couldn’t be happier. I’ll try to attach some pics below. Aside from height difference which wasn’t planned, I did two other things differently. First I used poplar instead of pine. Second, I used a solid stain and didn’t attempt to distress the wood. Hope you like it! Thanks again!
PS Ignore the rest of the room, this was step one for putting together a dining room.
Way to go John!!! Love the finish on it!!!! 🙂 thanks so much for sharing!
Hi John, looks great. Mine as well came out tall, so I will also remove that top layer on the base. Just curious, what did you use for the poly topcoat? Is that semi-gloss?
So I was just attaching the 1×6’s together and the screw end popped through the top side of the wood. I thought I had all the adjustments set on the kreg jig. Could I have just tightened the screw in too much? It isn’t that noticeable so I may just still use the board.
Also, does anyone have a method for attaching the 4×4’s without using the kreg hd?
Hey Steve! That stinks!! I have done that a couple of times and I either drilled the pocket hole too deep or put my screw in at a weird angle. I would try backing off the depth a bit. Hope this helps!
Thanks I’ll try it!
but the light fixture above the table w/ the candles… did you make that?? I love it!
thank you! I purchased it from Ballard! There’s a link at the end of this post 🙂
I have a desk that is all done minus the seal…
I cannot decide between satin or matte finish!
Do you have any pros and cons to either?
And Ive never used rustoleums satin poly… is it shiny?
The minwax satin was way more shiny than Id thought it would be for “satin”
Awesome!!! We prefer matte but there isn’t a huge difference between the two. You won’t see a sheen at all on the matte…
Anyway you could give me the plans for this table but for a 6ft table? I want to build this table for my breakfast nook and 96 inches is too long for my space. Thanks!
Hey I love the design but I was wanting to use 2X12’s instead of 1X6’s on the top, do you think the legs can adequately support nearly doubling the weight?? Thanks
Hi Andrew. I would think so but I haven’t personally tried it!
Why not glue the table top along with the pocket screws? It would seem like the wood would shrink and cause cracks in between the places where the screws are over time.
You can do that if you would like 🙂
What are the finished dimensions of this table?
Hi, can you tells what kind of floors are in your house? I love them!
Thank you Brooke! I shared a link to the flooring at the end of this post 🙂
How do you clamp down the pocket hole joints in the MIDDLE of the table? The clamps don’t reach! Please help thanks
Hey josh! I work from one end to the other so I’m adding 1 board at a time and clamping that board… Make sense? Then it only has to reach the width of 1 board…
Yes, thanks so much, u gals are great
What are the finished dimnesions?
7 ft x 41.5″
Finished height?
Hi Guys, I absolutely love what you guys are doing here! I am having trouble finding untreated pine or whitewood 4x4x8 posts in my area. Did you find them at your local home depot? Thanks and cannot wait to get started on this project!
Keep searching. They are out there. Lowes and Home Depot stopped selling untreated 4X4’s for some unknown reason. Check your local lumber yards
We do find them at Home Depot but try a local lumber yard too!