Hey friends!
Hope you all had a great weekend! Ours was beautiful here!
Many of you have seen Ashley’s Reclaimed Wood Wall Art she did for above her couch a while back. I LOVE hers. In fact, every time I go to her house it makes me want to change the art above my couch as well!
So… I came up with this!

Here is how I made it!
I started with wood from Lowe’s. This is the great part…
I went ahead and bought 8′ pieces and cut them in half to save money. I used furring strips for mine. You can have Lowe’s or HD cut yours in half for you if you don’t have a saw. Or, you can also use a super cheap hand saw like THIS one. It’s really easy to cut this type of wood with a hand saw.
2 – 1×2″ furring strips
2-1×3″ furring strips
2- 1×4″ furring strips
My cost for wood was under $15!
Once mine were cut I laid them out like this…


Then I used 1/4″x 3′ birch project sticks to attach all the wood together. These can be found with the other birch boards and they were really cheap… Like $1.50 a piece.
I marked where I would lay my stick and then added a little Gorilla Wood Glue!


Then I nailed my sticks to the boards like this. If you don’t have a nailer you can also use wood screws! Just pre-drill your holes and attach the screw through all the boards.

Next, I flipped it over and gave it a coat of my very fav…

Here it is drying…

Next for the fun part!
I used my Silhouette machine and Contact paper to make my stencils. You can also buy your own stencils at a craft store or print your own letters and use a craft knife to cut them out with contact paper.
The font I used is called Arial Black.
I cut my L, V and E. I also used a heart shape that came with a set of 9 hearts on Silhouette Software.
You can see a detailed post on cutting Contact paper with the Silhouette HERE.
I lined my letters up first to make sure I liked it…

Then I put the outsides of the letters on to be my stencil. I used some acrylic cream and coral paint to add my letters.


My final step before I hung it up was to shanty it up a bit! I used an 80 grit sanding block to lightly distress each letter. I LOVE the results…


To hang it I had to get the hubby’s help! I just used 2 1/2″ drywall screws straight through the sign into the studs of the wall. I used three screws on the sign and it is super sturdy!
Want to see it up on the wall??


What do you think???
I hope you LOVE it 😉 No pun intended….
If you do, I would love for you to share the LOVE and Pin it like crazy below! Oh I could go on and on 😀
Thanks so much!
~Whitney


Just curious where you got the couch! I love both the sign and the couch!
I do love this, but I love love love your coffee table! Do u have a tut for how u made. It? I’m new here
Super cute!!! I am going to pin this and try and actually make it! It’s super cute!!
This is just too cute, I love it. The rustic feel makes it that much more awesome.
SOOOO BEAUTIFUL!!
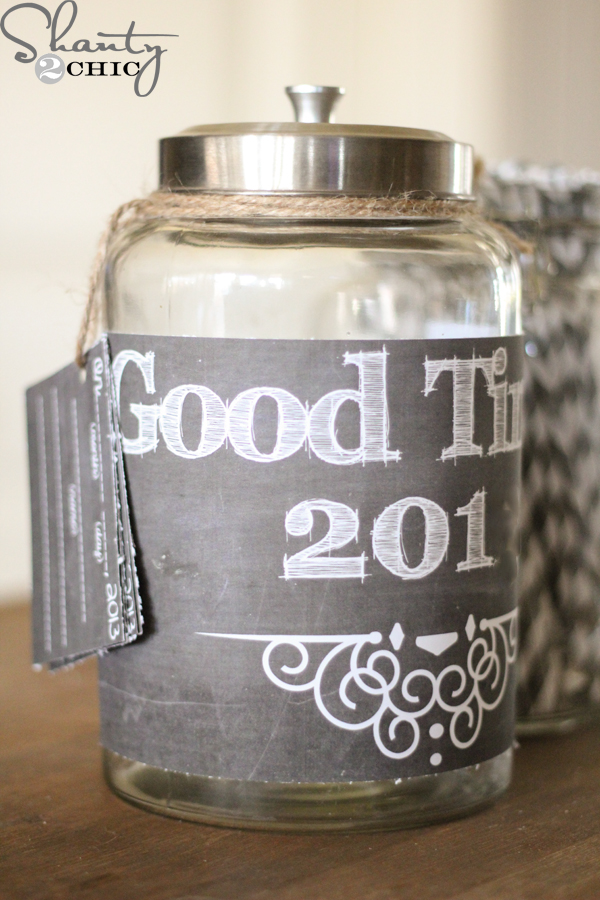
LOVE IT! OMGOSH! and the little bookend things too… What’s the story behind those??? I want this little set of the wood art, bookends, and jars for above my couch! Lol 😀
This turned out so nice. I love the “rustic” look of it.
lexmallabooks.com
Great project and great tutorial! I love that you added the cornices on each side as well. Nice touch!
I’m new to your blog. Love your decor. Wondering if you made the industrial coffee table (visible in your LOVE wood sign post)?? It would be perfect for our soon to be re-done family room. Thanks!
I did Kimberly! Here is the reveal link and the instruction link is on that post. I did use rubber casters on mine that I made in the picture because of the babies 🙂 I got them at Northern Tool as well.
https://www.shanty-2-chic.com/2011/06/crate-coffee-table-reveal.html
Really cool! Love how easy it was to do! Great job!
Barbara
http://chase-thestar.blogspot.com/
Looks good. @valerie – I have a Cricut as well. You need software to cut any font you want (software is called SCAL), but the newest version does not support Cricut anymore. If you want the software that DOES support cricut email me at stephenbenham @ hotmail . com. Without it, you could use a font cartridge and cut the letters just the same.
Hi there 🙂 I am getting ready to make this sign this weekend. I was reading the comments and saw yours about software for the Cricut. I have a new cricut machine I got last year. I would LOVE to have access to some software to use with it. I was interested in your comment mentioning the possibility that their is some software out there that I could still access for my Cricut….maybe I am reading in to this too much and its just wishful thinking. I am not a total cricut genius so forgive me if my question is silly 🙂 Thanks for your time in reading this!! Have a great day!
Hello Kristin. Feel free to email me at stephenbenham @ hotmail . com and I can give you a hand with this!
This is adorable. Can I make one for the playroom that says mess? haha I may have to use this for something, for real.
LOVE it!! I can’t get enough of signs, letters, or anything to do with type…
as a graphic designer, I think it might be in my blood!!
love. love. love. brilliant and you have convinced me to attempt to make my own spin on your project. thank you!
Rustic and pretty. I HAVE to make one of these. Great tutorial 🙂