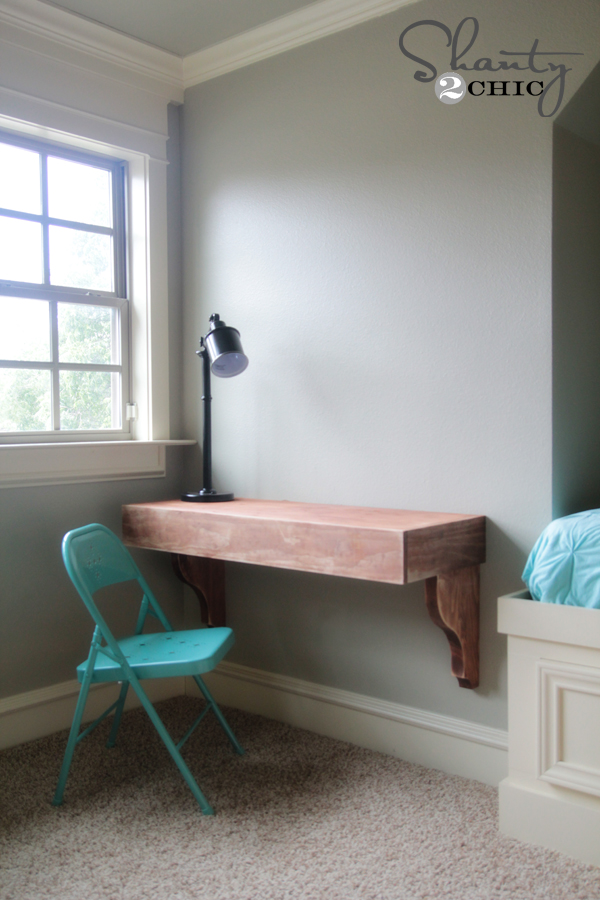
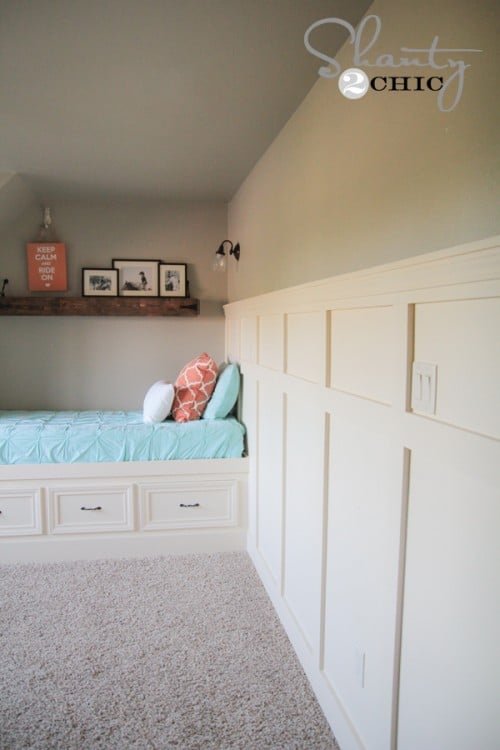
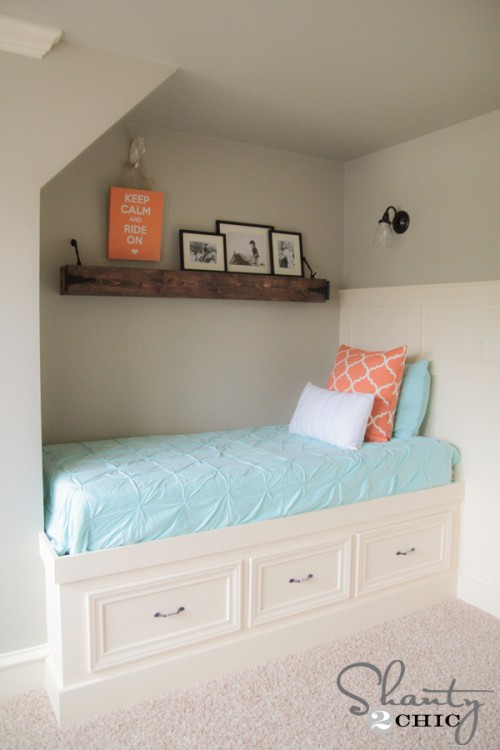
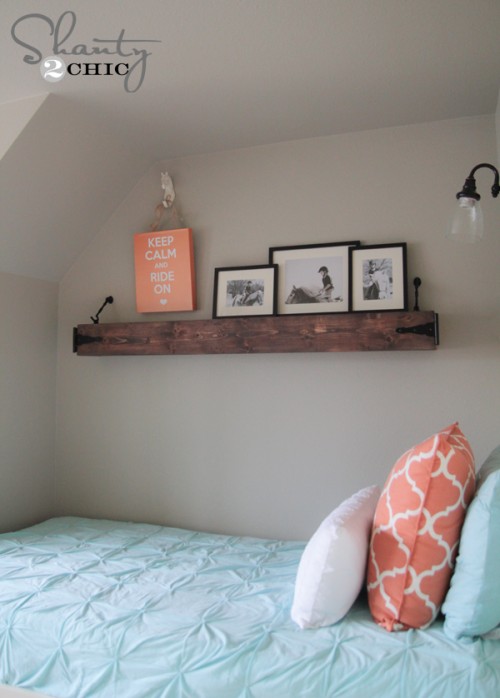
Many of you know I have been finishing off a bedroom for one of my girls over the past several weeks. I closed off a loft space upstairs to give her a new room, and I have been busy getting it all decked out. Last week I shared her DIY corbel desk I created for under $85. I decided to fill up the blank wall space above it with these really cute and simple DIY frame shelves! Look how fun they are!

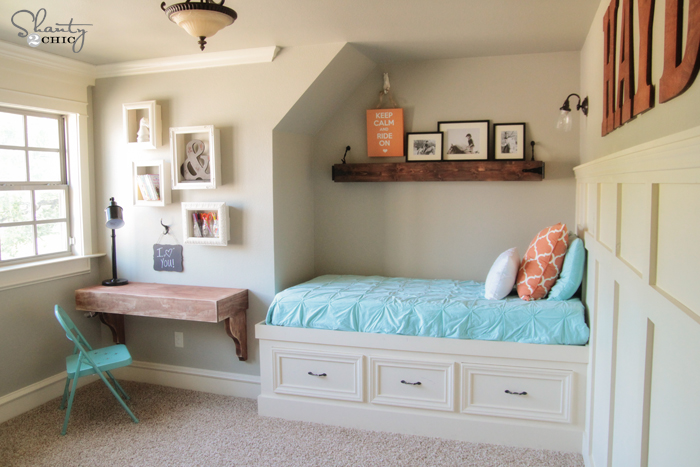
This is such simple project, and a great way to reuse old frames or to dress up cheap frames. I started with some old frames I used on my old photo wall. Most of these frames were from Walmart and Hobby Lobby, and they were all super cheap. I started by taking the glass and backing out and removing any hardware on the back leaving a blank frame. Then, I measured both sides of the frames.

Next, you will need some 1×4 boards. I used all scrap for mine. I actually had scrap 1×4 MDF, but pine will work! Really anything will! You will make two cuts for each side. So, I had 2 cuts at 8″ and 2 at 11″ since that was the measurement of my frame. Each frame will be different, so just cut yours to size.

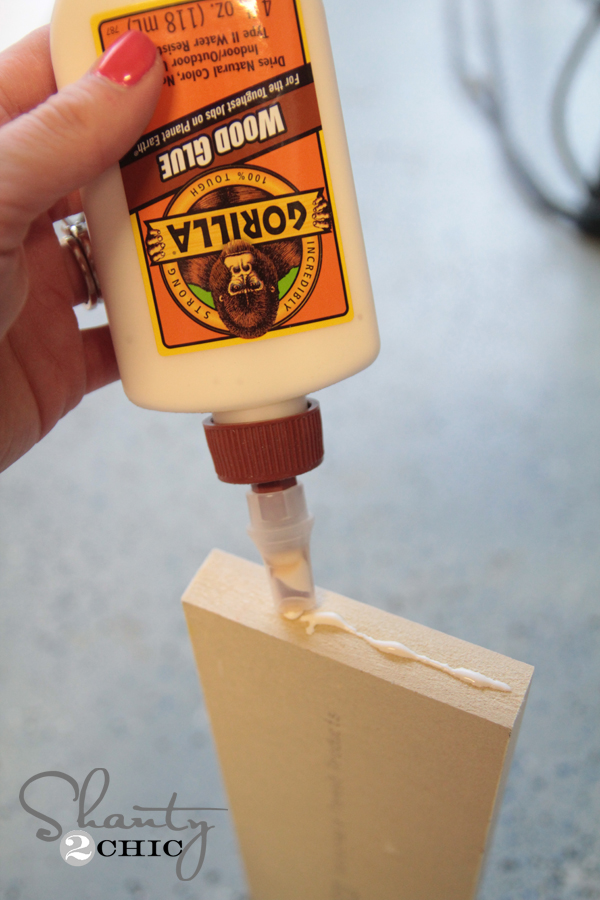
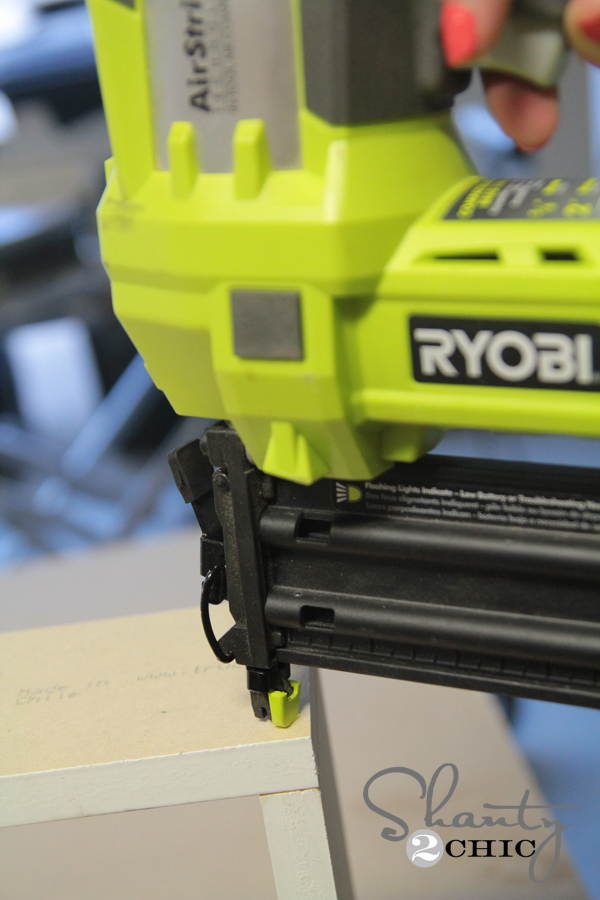
Next I added a line of Gorilla wood glue and used my Ryobi Airstrike Nail gun to make a box from these pieces. I used 3 nails on each corner like this.
Your finished box should look a bit like this…
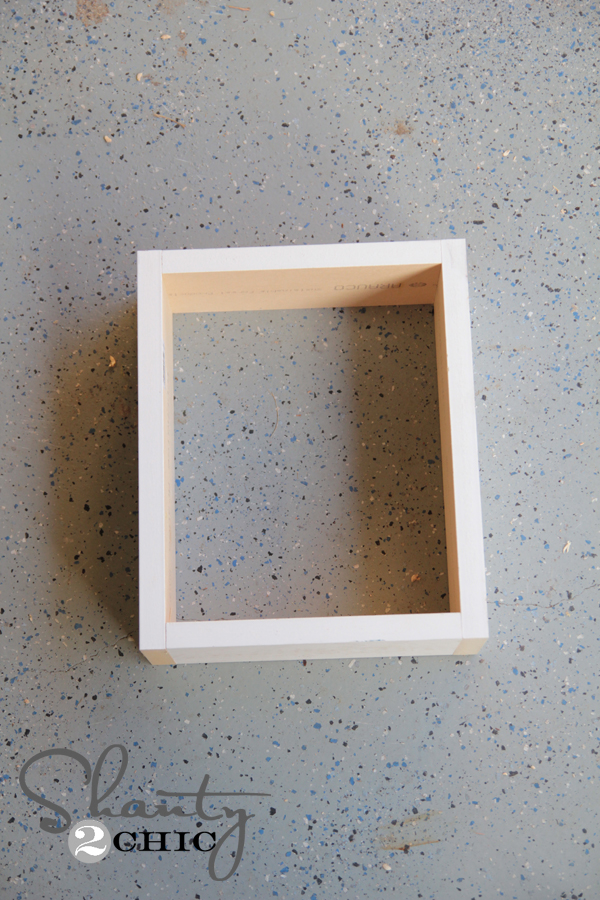
You can see how it measures the same as the opening of the frame…

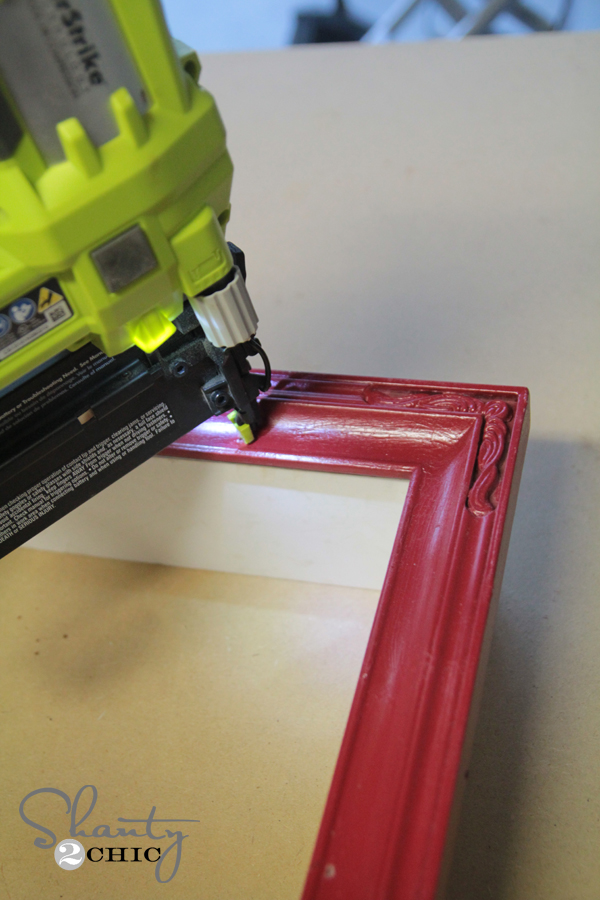
Next, I used a line of wood glue around the edge of the frame like this…

I laid my frame on top of my box and used 1 1/4″ brad nails through the frame and into the box to hold it together.
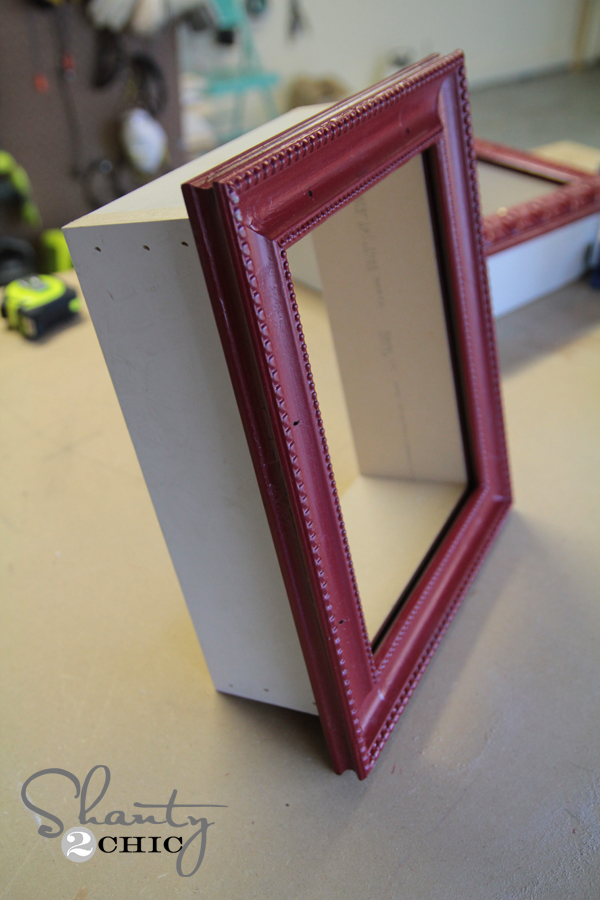
The finished boxes looked a bit like this…
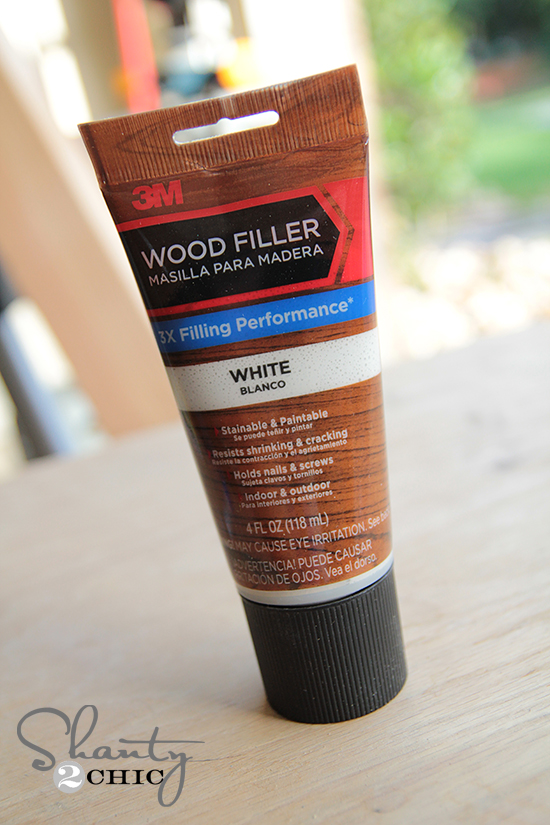
My final step was painting them. Before I did that, I used a bit of wood filler to fill all of my nail holes.
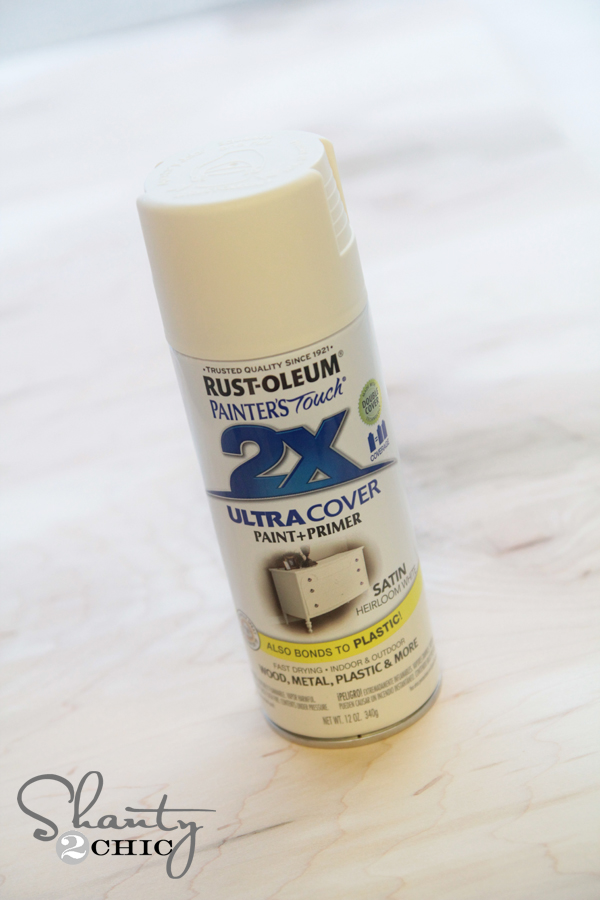
I painted all of the boxes and frames with my very favorite spray paint color. I used Rust-Oleum Painter’s Touch in Heirloom White. You can get this at Home Depot.
Once they dried I was ready to hang them up! I used command strips for this part. These things are the BOMB. They make life so easy. I decided to use 3 hangers on each frame.

I just attached the strips in pairs, attached them to each box, and pulled the back piece off before attaching the frames to the wall.

I filled each of her boxes with stuff she uses for art and reading. I found the really cute ampersand HERE at Birch Lane! The awesome task lamp is also a Birch Lane find! You can see it HERE! It’s one of our fav new stores for accessories… Such cute stuff!
Here is how they turned out!
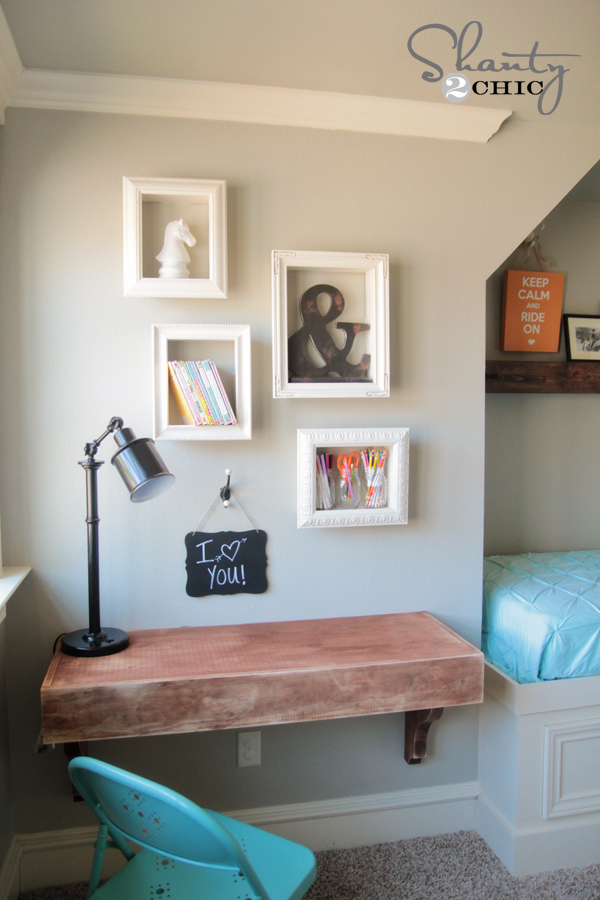
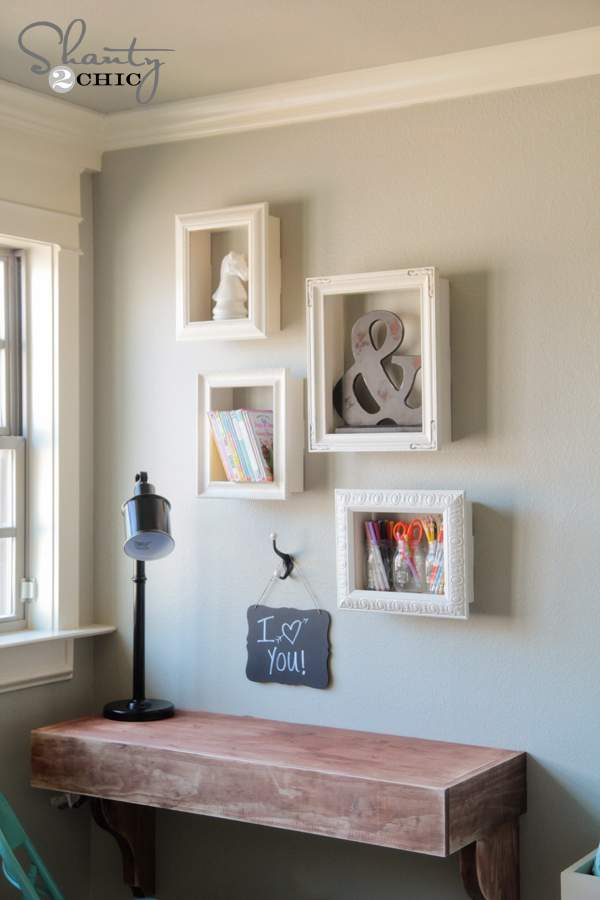
So fun!
I hope you guys love them as much as she does 🙂 I would LOVE for you to PIN and share these frames with all of your peeps! You guys are the best!
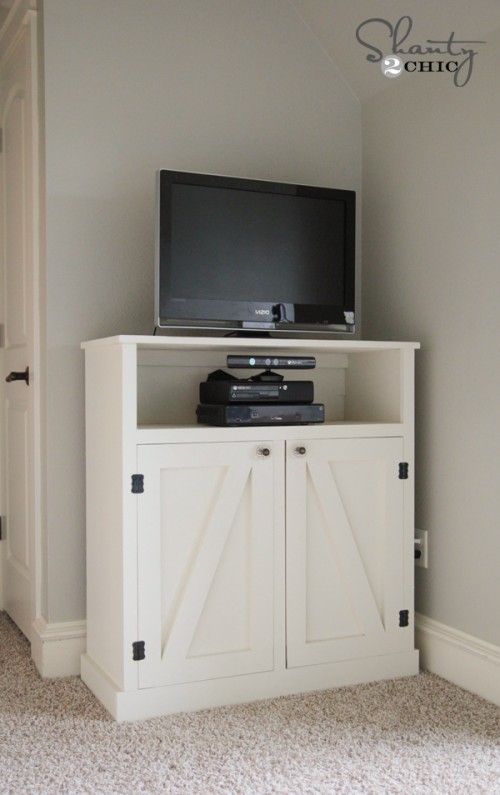
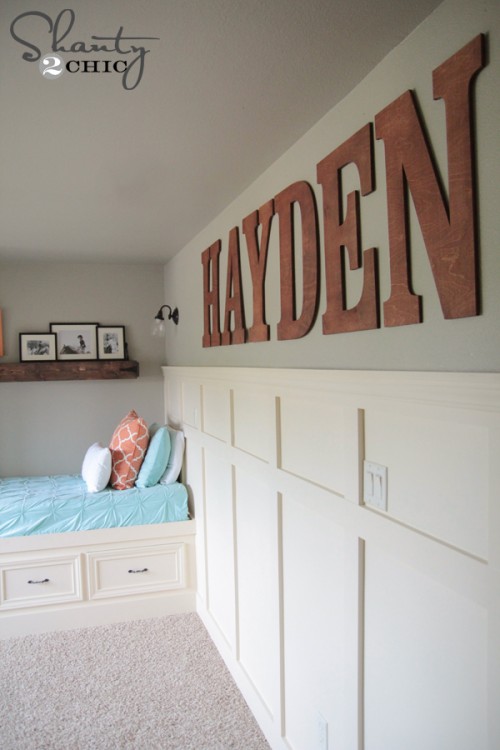
You can also check out the other projects I have done in her room below!

This was one of those duh moments for me lol I have been on a search for shadow box frame with glass and here I found it so easy to make my own thanks to you. With a few minor adjustments I added glass and the back of the original frame. Thank you so much. I guess I was just over thinking lol. Thanks again.
hi,
where did you get the frame from?
Love this DIY Thank You!!! I ended up using the saw tooth picture hangers for added holding strength,
I love this idea!!! This looks awesome!!!
what color are those walls ?
Those are beautiful. Thanks for the inspiration
I Loved it! 🙂
oh wonderful work!!
Where did you find that “Mint” green comforter??
I love this. I was wondering if you could help me figure out how to take this a step further for my living room? I have some old keys of my late granddad and I want to display them in a shadow box. So, I want to take your idea and add a back and the glass back to the front. What materials do you suggest using? Thanks so much! -Andrea
This is just a creative idea: using 3D photo frames as elegant storage in a bedroom. Your daughter is so lucky to have such an awesome bedroom design.
The room looks great! I can’t believe those 3M strips hold items as heavy as books!
I couldn’t believe it either,so I tried and …..Nope they don’t resist the weight:( sorry but in this so called easy project is just not easy as it looks.
Mine are still hanging perfectly 😉
LOL,congrats! but its hard to make them hold the weight.I had to nail them to the wall and it makes more sense.
Glad you got it figured out!
Project was done, so had no choice but figure it out on my own, other wise it would be as good as yours (no reason to post that didn’t hold the weight(which it did not hold it!!!), if it really had work:)LOL
Mine did hold the weight just fine, so I wouldn’t post that. Your frames may have been heavier. There a lots of factors. And really, having to add a small hanger to the back of the shelf to hang it wouldn’t make it a difficult project. Sorry!
I used the command strips and they are working just fine, even with heavy books and decorations! Maybe you used the strips meant for lighter loads star salci?
Am LOVING these. Who would have thunked it would be so simple. I love shadow boxes and now one can make them to any size for a little price. Thank you.
So cute….and so easy!
Genius!