As promised, I am back to share the free plans for my DIY Cabinets!
If you missed the tour of my shop, you can check it out HERE!
We built our home about 4 years ago and one of the reasons we picked this floor plan was because it has an extra single car garage – which is the perfect spot for my garage workshop. I was in a hurry to get my shop set up, when we moved in, so I just threw up some open shelving for my storage.
The problem with open shelving in a shop is that EVERYTHING ends up covered in layers of sawdust. It was driving me crazy so I finally broke down and built some custom cabinets!
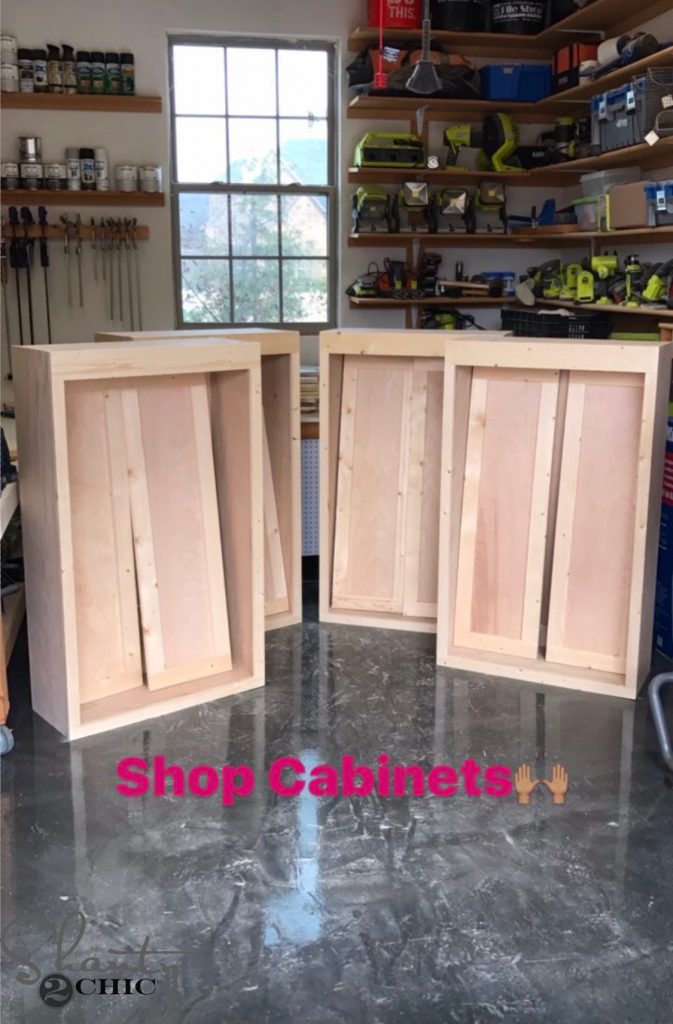
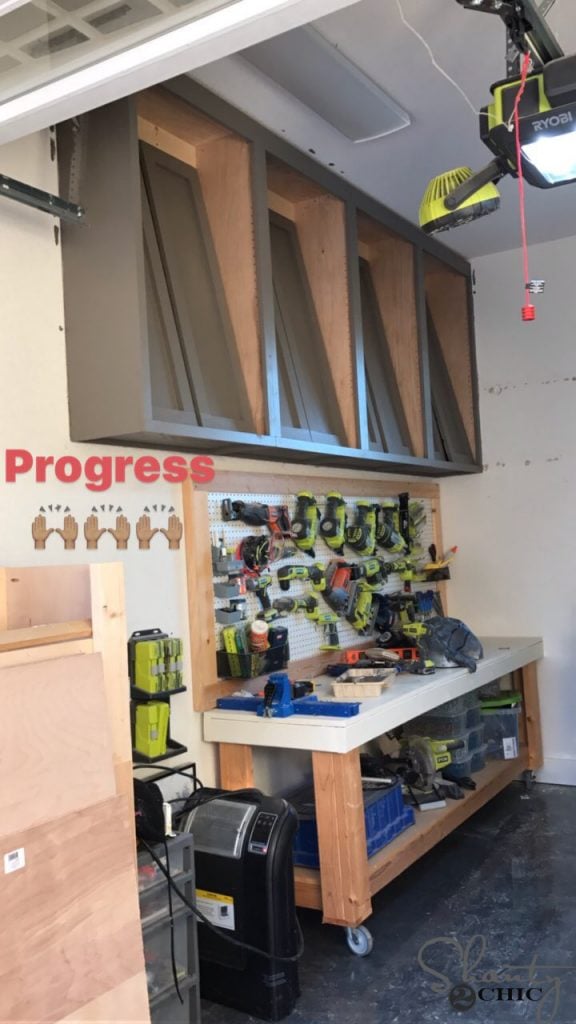
I decided on upper cabinets to maximize the storage space in my shop, I designed these cabinets to go ceiling high (I have 9 foot ceilings) and I made them 50″ tall. This gave me enough space below the cabinets for a full pegboard and a workbench. The cabinets are high but I have a step ladder and I don’t have to get in and out of the cabinets that often. Can I just say, I am OBSESSED with my cabinets!
DIY Garage Storage Cabinet – Free Plans
Make sure to download the free printable plans to build your own HERE and follow along below for the step-by-step process.
The plans are for one cabinet box!
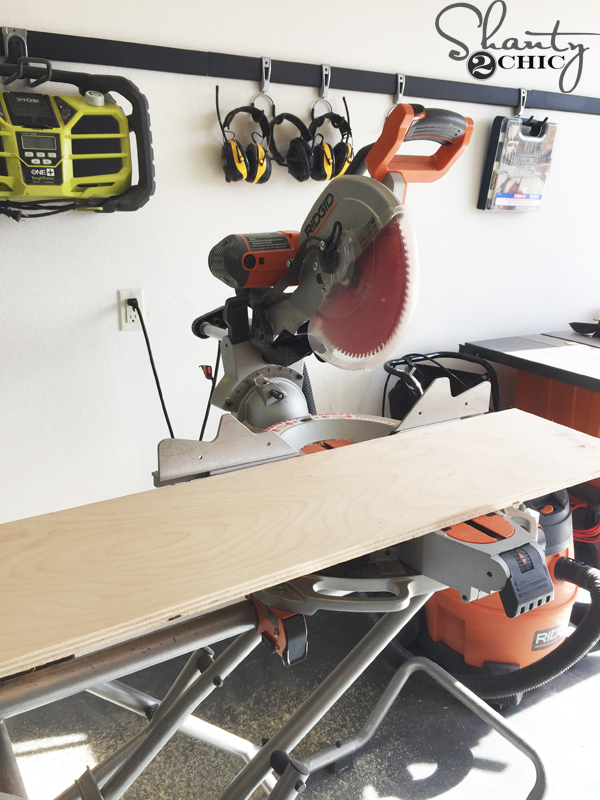
DIY Cabinets – Rip The Birch Plywood
If you don’t have a table saw, you can have the hardware store rip the plywood for you and then you can make the cross cuts at home with your miter saw or circular saw.
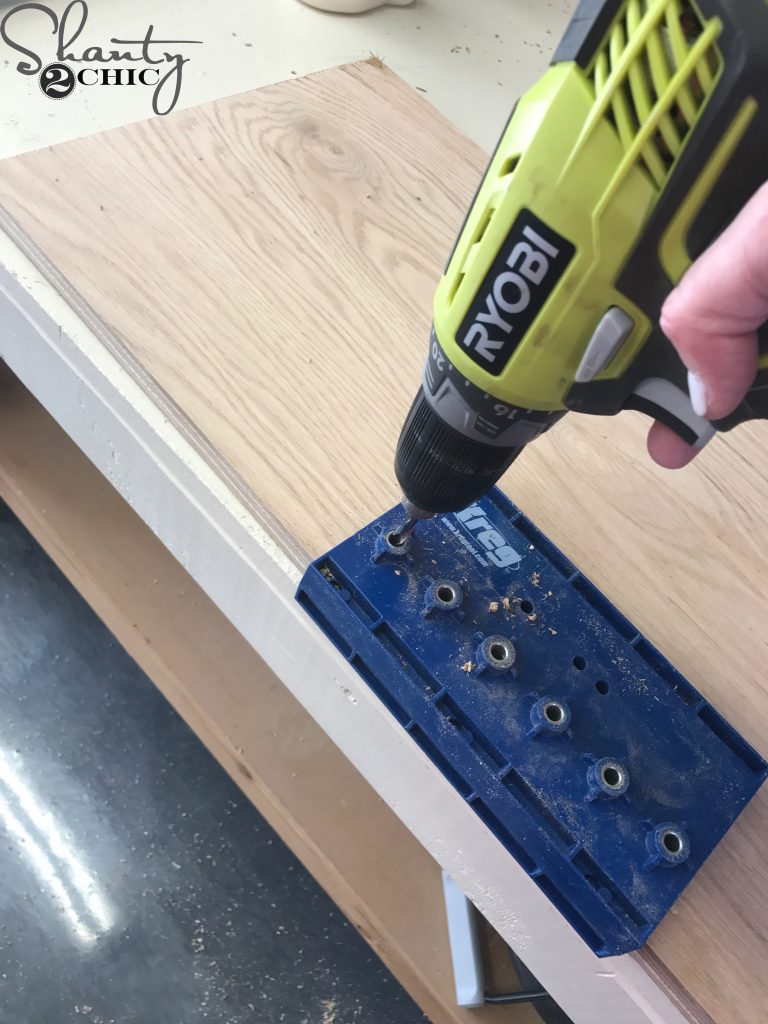
After making the cuts for the top, bottom and sides of the cabinet box, I used my Kreg Shelf Pin Jig to drill shelf pin holes into both cabinet sides. Refer to the plans for the placement. You can find the Kreg Shelf Pin Jig HERE on Amazon! It’s super easy to use. It has a guide on one end and you just drill through the holes to create the perfectly spaced shelf pin holes.
DIY Cabinets – Shelf pin holes
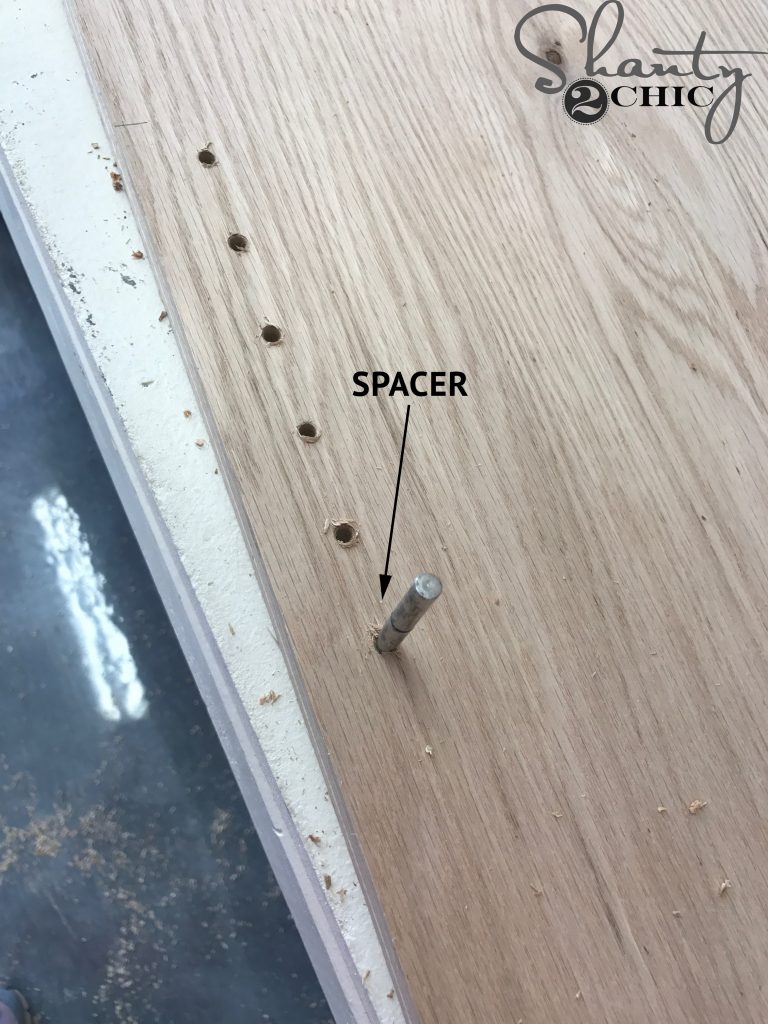
After you drill the first 6 holes, place the spacer in the bottom hole
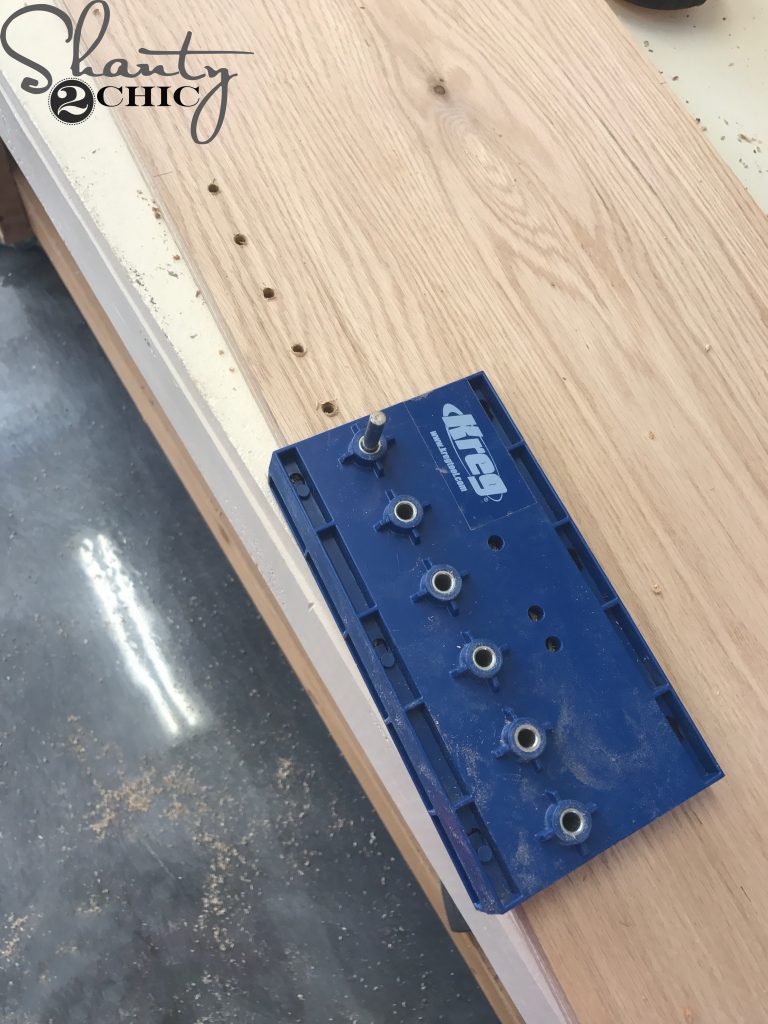
and then slide the Shelf Pin Jig over the spacer and drill the next set of holes. Continue this until you have the number of shelf pin holes that you prefer.
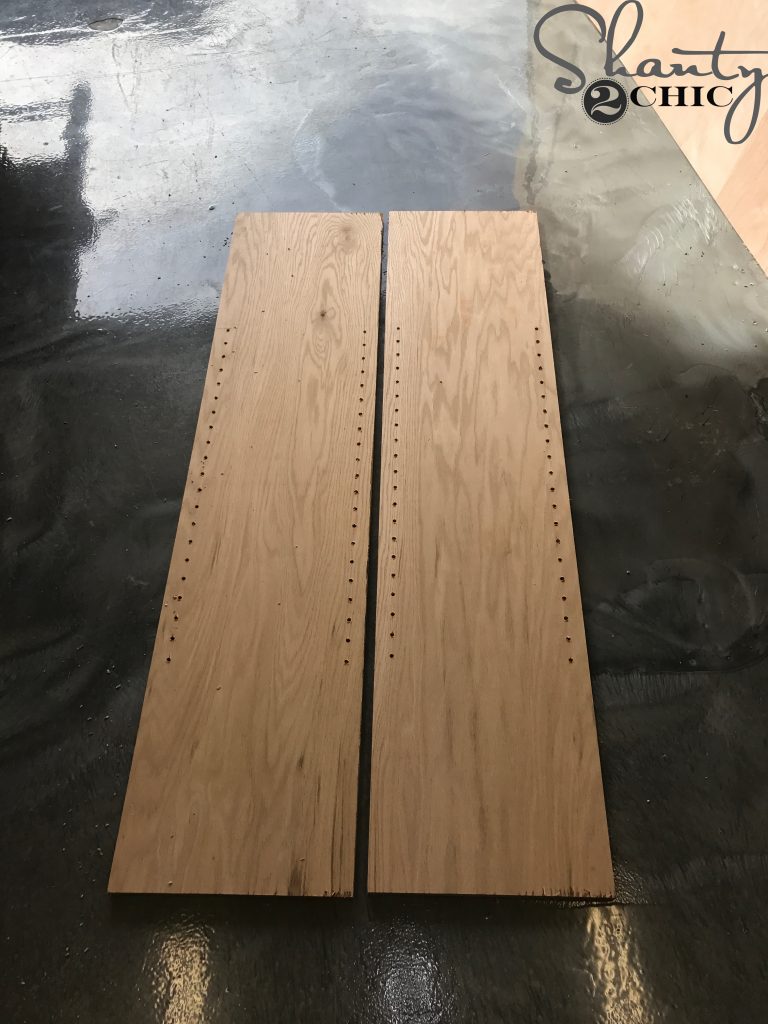
Drill shelf pin holes on both sides of each cabinet side.
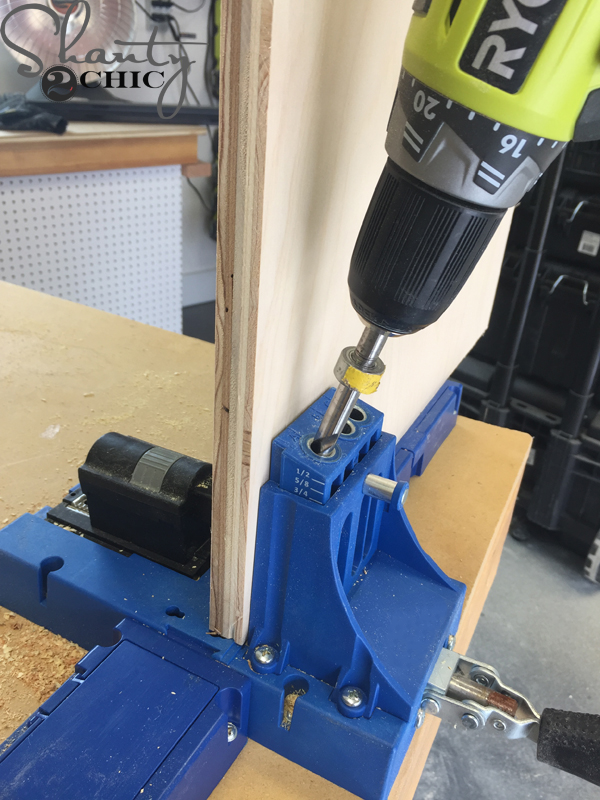
Next, I drilled 3/4″ pocket holes, with my Kreg Pocket Hole Jig, into both sides of the top and bottom cabinet box pieces. You can find our favorite model of the Kreg Jig HERE on Amazon!
DIY Cabinets – Box Assembly
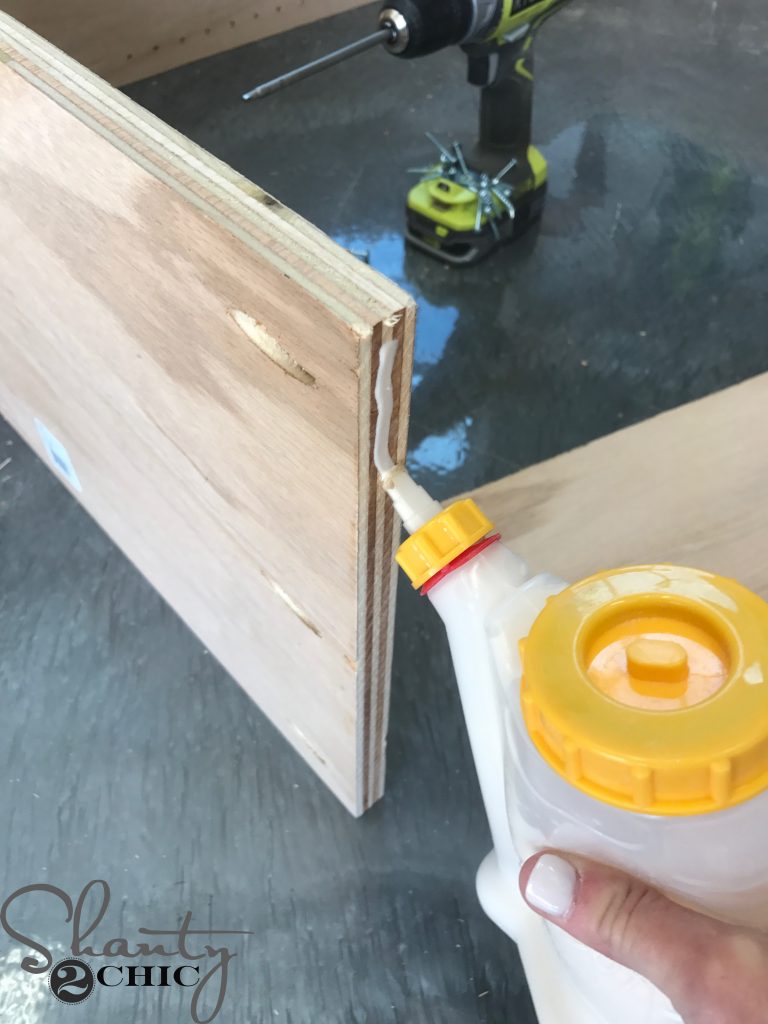
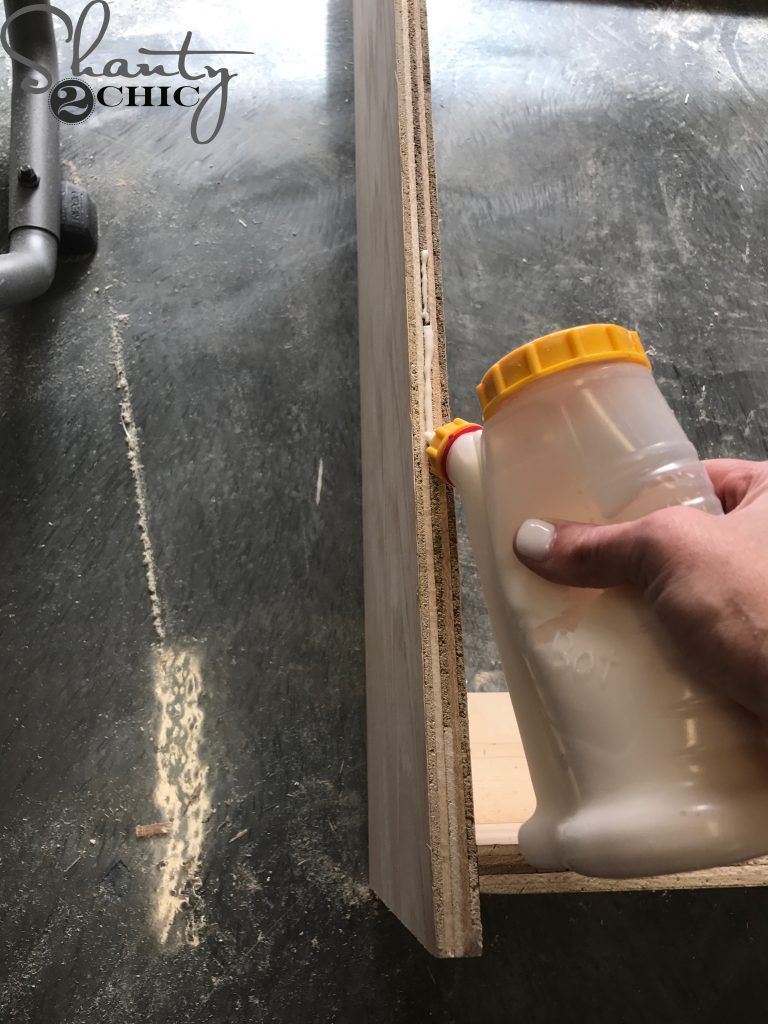
To assemble the cabinet box, I ran a line of wood glue on the ends of the top and bottom pieces (you can find our favorite glue bottle dispenser HERE on Amazon)
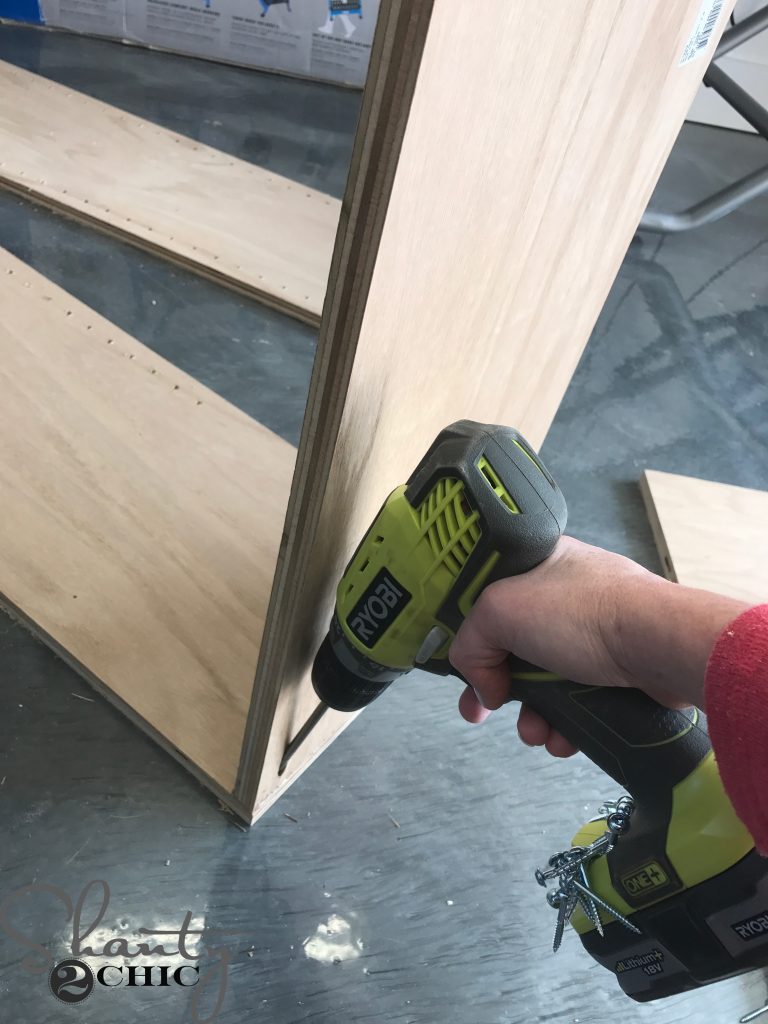
and attached the top and bottom pieces to the cabinet sides with 1 1/4″ pocket hole screws and wood glue.
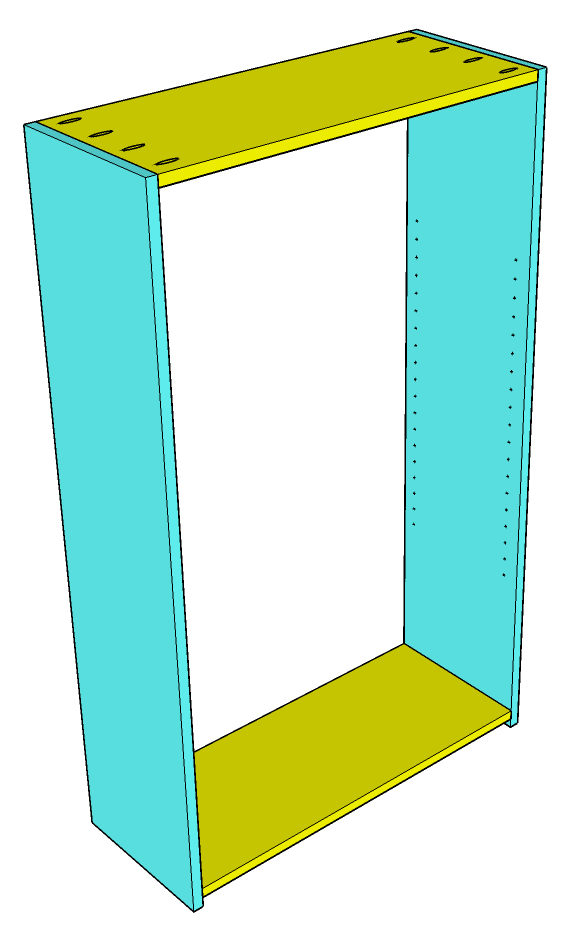
The pocket holes on the top should face up and the pocket holes on the bottom should face down. The top piece should be flush with the top of the cabinet and the bottom should be attached 3/4″ up from the bottom. Refer to the plans for detailed placement.

Cut the back brace pieces and drill 3/4″ pocket holes into the ends and one side of each piece. Attach them to the top, bottom and sides of the cabinet. They should be flush with the back of the cabinet.
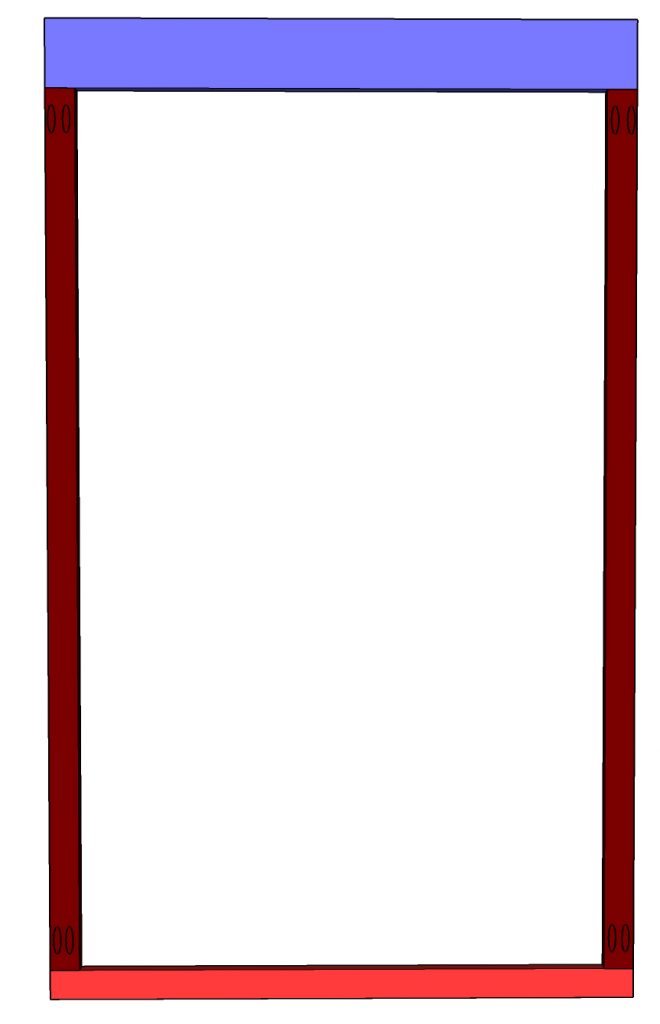
Measure and cut the face frame pieces to size. Drill 3/4″ pocket holes into each end of the side pieces and attach them to the top and bottom pieces with 1 1/4″ pocket hole screws and wood glue.
Apply a thin line of wood glue to the front edges of the cabinet box
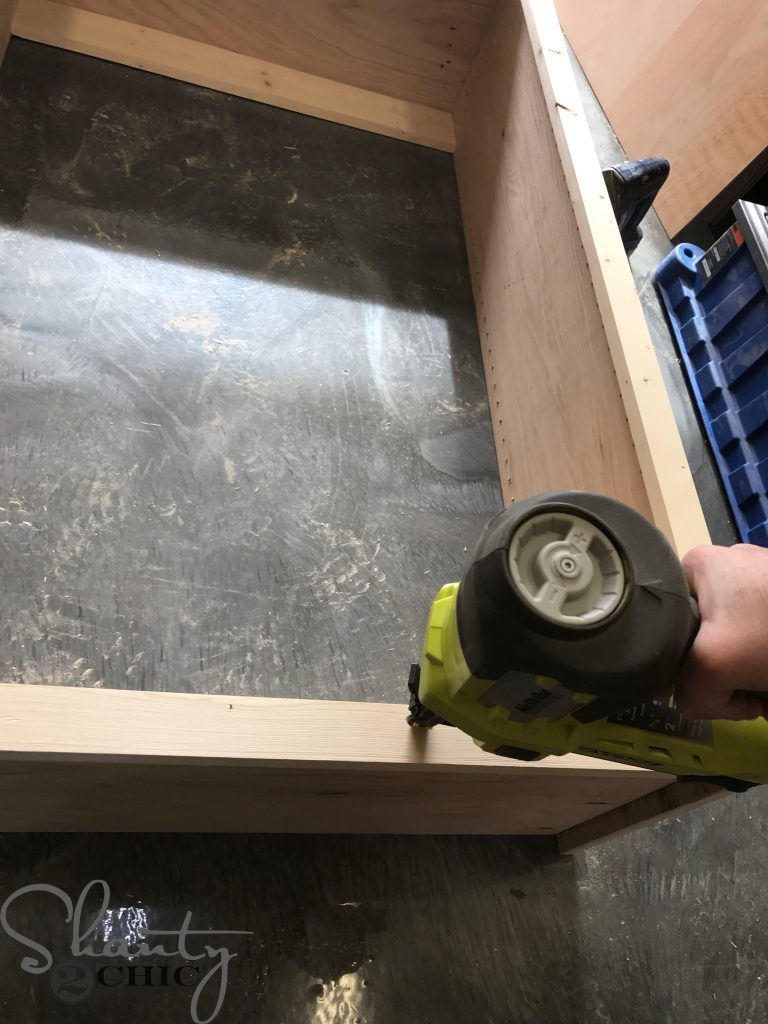
DIY Garage Cabinets – Face Frame
and attach the face frame to the cabinet with a nail gun and 1 1/4″ brad nails. The sides and top of the face frame should be flush with the sides and top of the cabinet. The bottom of the face frame should be flush with the top of the bottom shelf. I used my Ryobi Airstrike 18 gauge brad nailer for this.
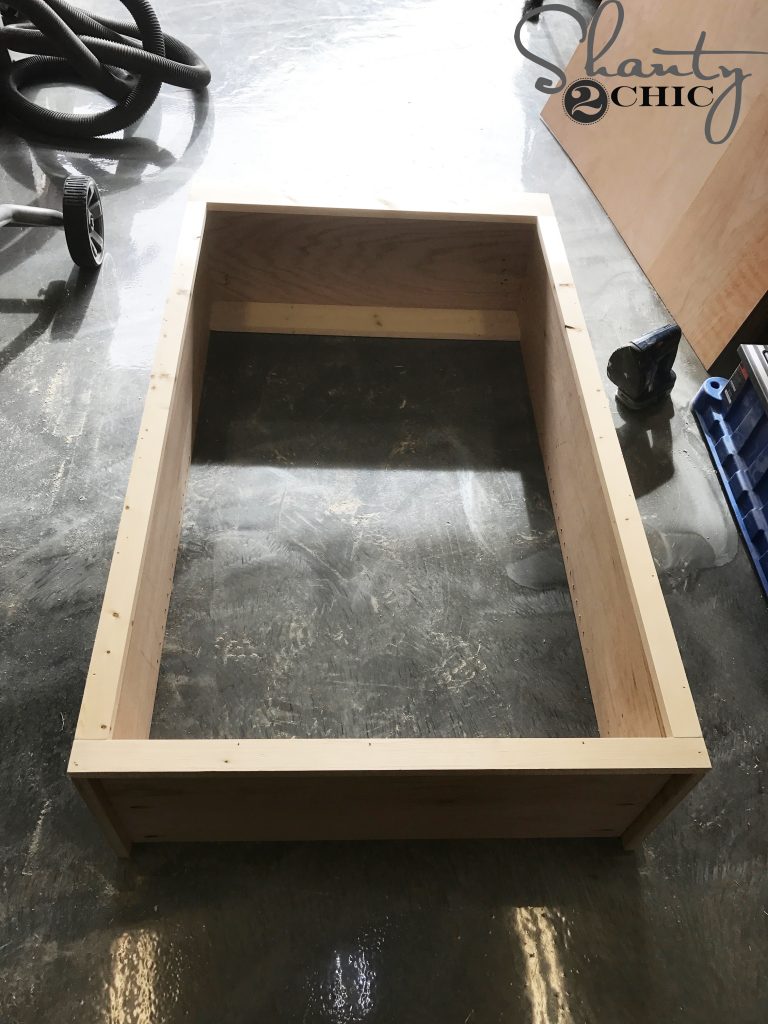
Here is the cabinet with the face frame attached.
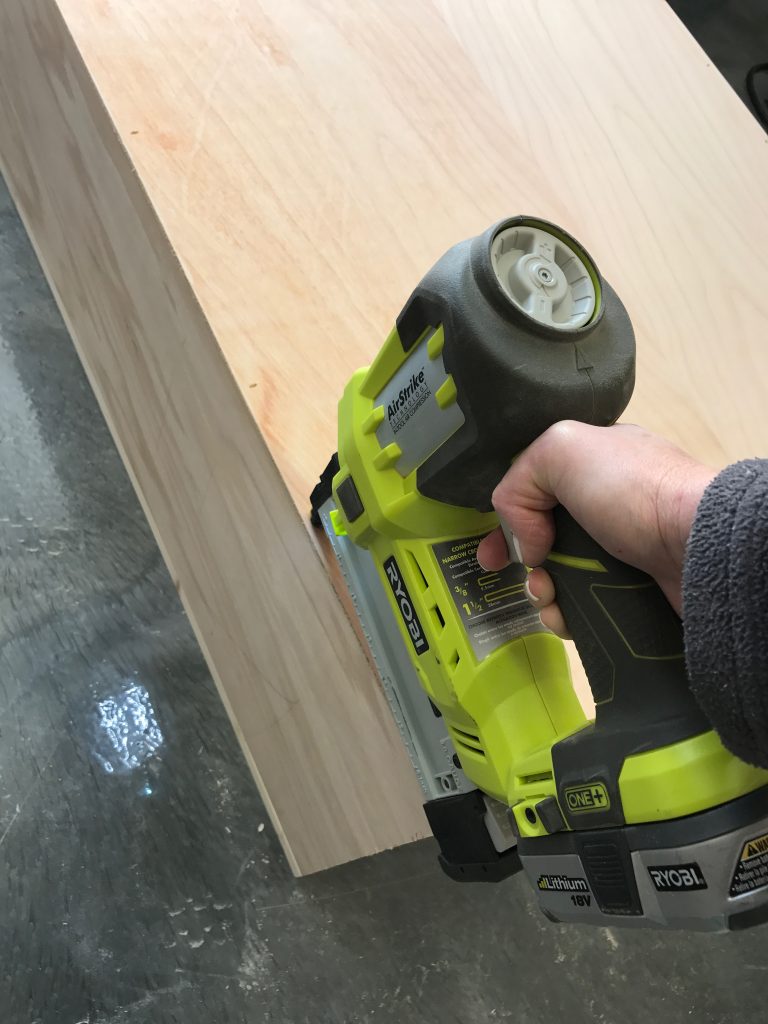
Now, flip the cabinet over on its face and attach the 1/4″ hardwood plywood to the back with 3/4″ staples and wood glue. I used my Ryobi Airstrike Stapler but you can also use a brad nailer here.
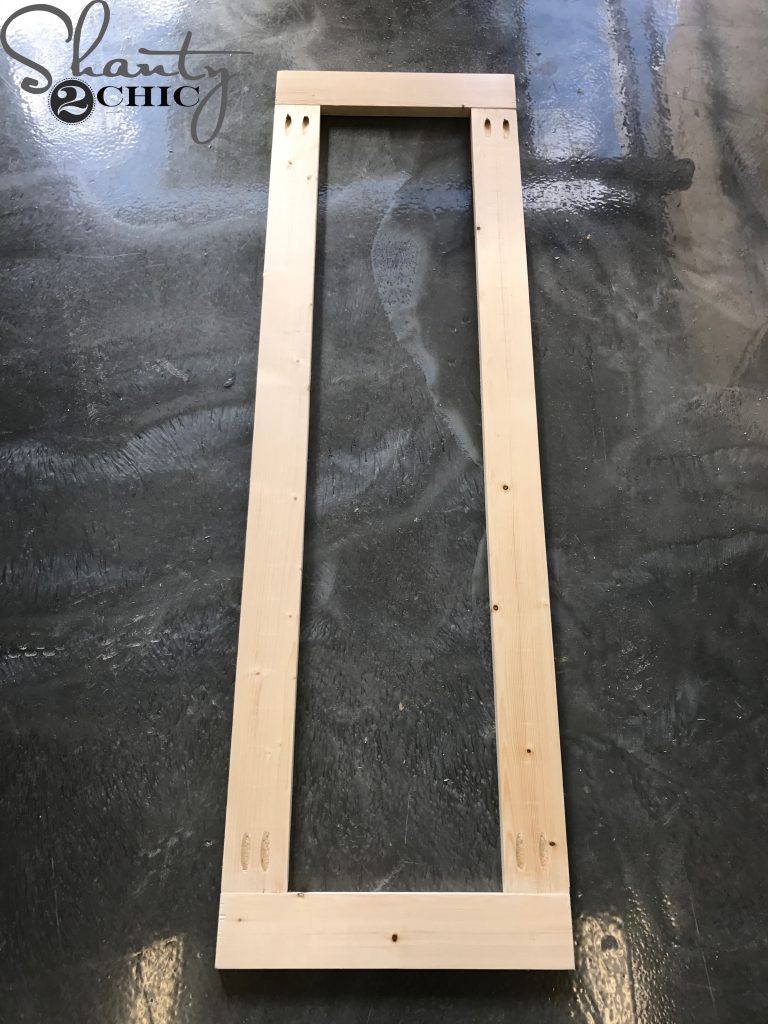
DIY Cabinets – Cabinet Doors
Set the cabinet aside and begin building the cabinet doors. Measure and cut the cabinet door trim to size and drill 3/4″ pocket holes in the ends of both vertical trim pieces. Attach them to the top and bottom pieces with 1 1/4″ pocket hole screws and wood glue. Do this for both doors.
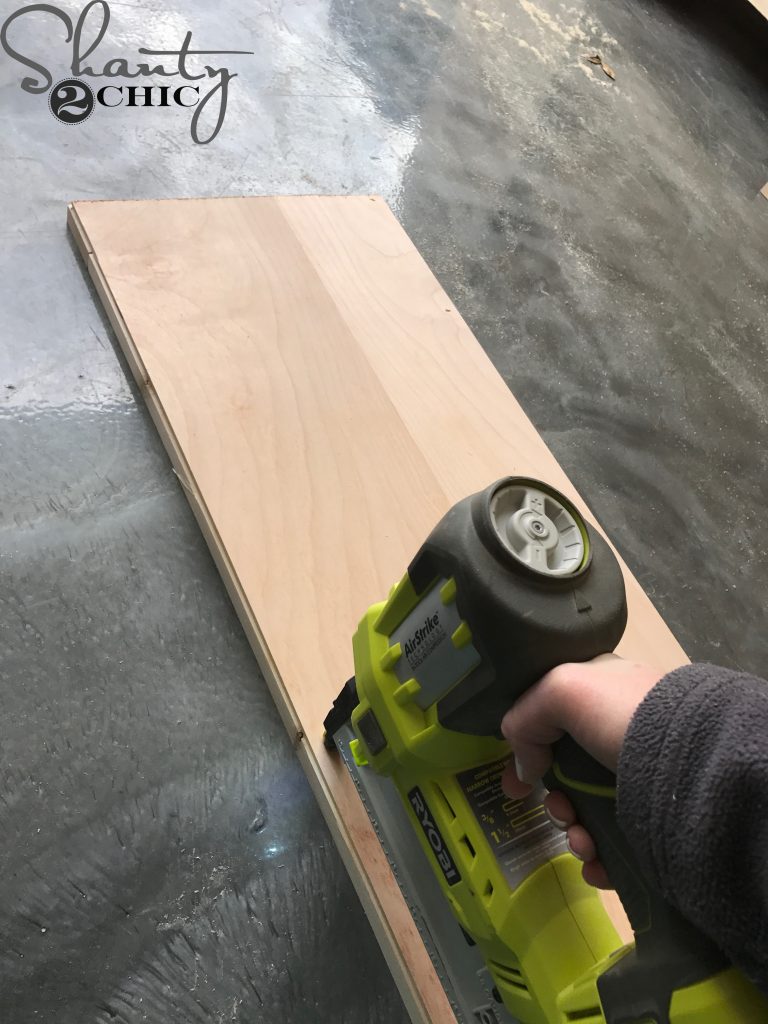
Cut the 1/4″ hardwood plywood to fit the door frame and attach it to the back of the door frame with 3/4″ staples and wood glue. I used my Ryobi Airstrike Stapler but you can also use a brad nailer here. Do this for both doors.
With the doors assembled, now is a good time to paint the cabinets. You can also attach the doors with the hinges, to make sure they are a good fit, but you will want to remove the hinges before painting and hanging the cabinets.
Garage Cabinet Installation
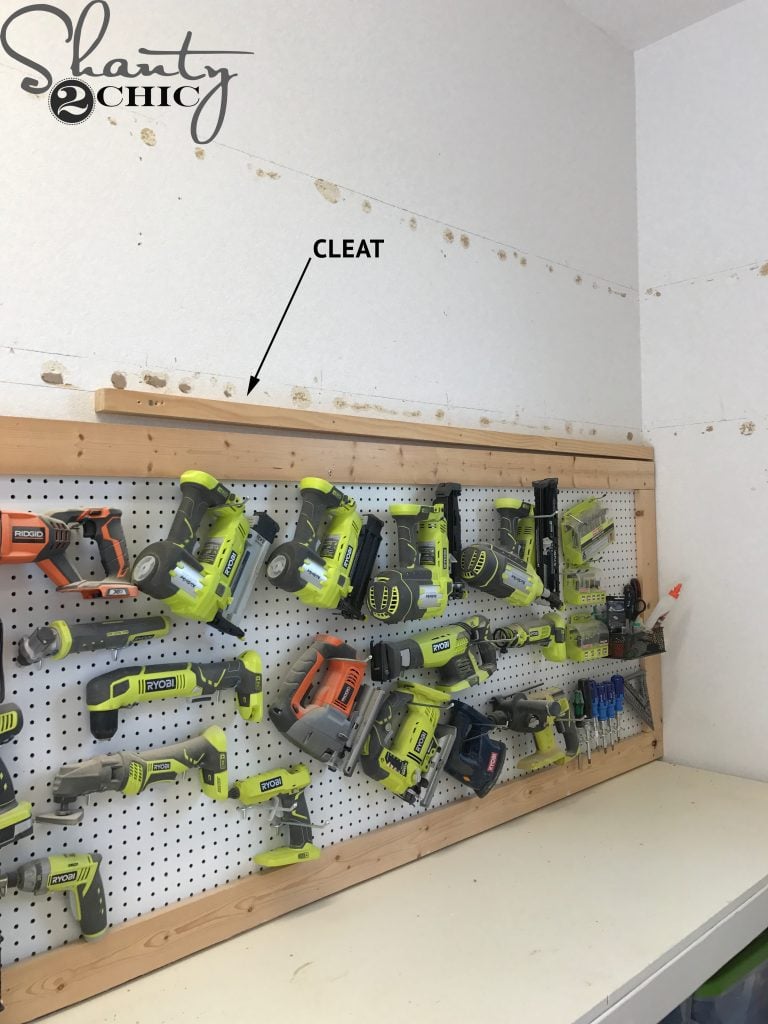
To hang the cabinets, I used an 8ft 2×2 scrap as a cleat. This allowed for me to hang the cabinet alone AND it kept them level with each other. Use a level to make sure you are attaching the cleat level and attach it to the studs behind the wall with 3″ wood screws. Before hanging the cabinets, be sure to mark where the studs are behind the wall.
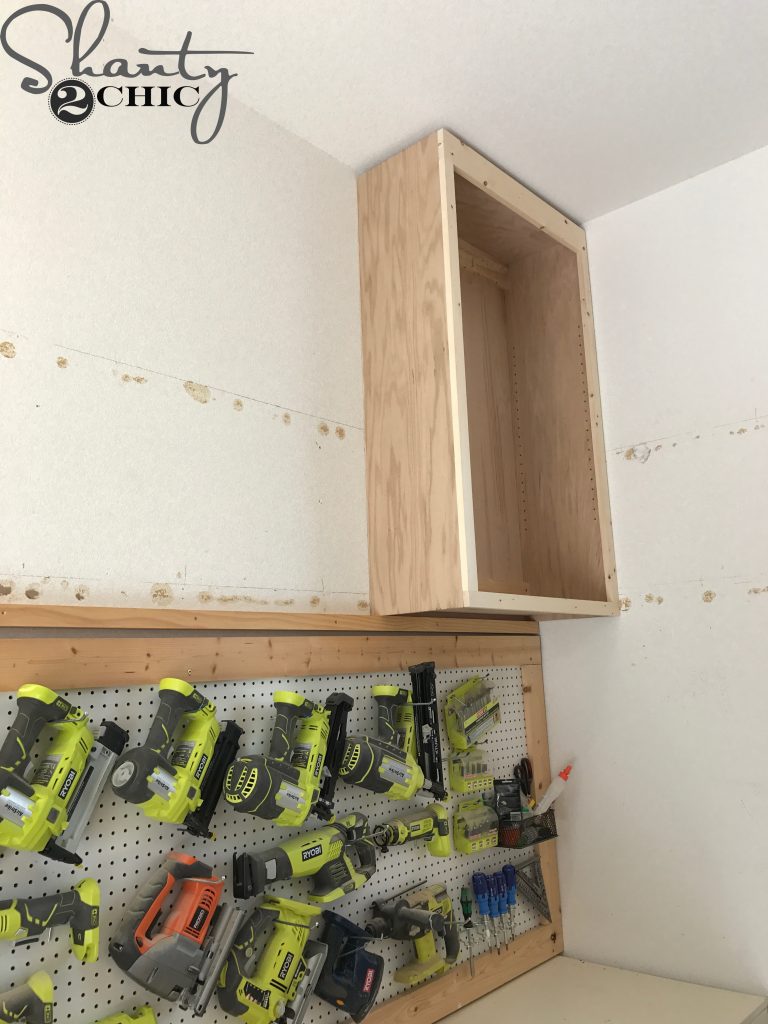
Lift the cabinet to rest on top of the cleat then drill 3″ wood screws from the back braces and into the studs behind the wall.
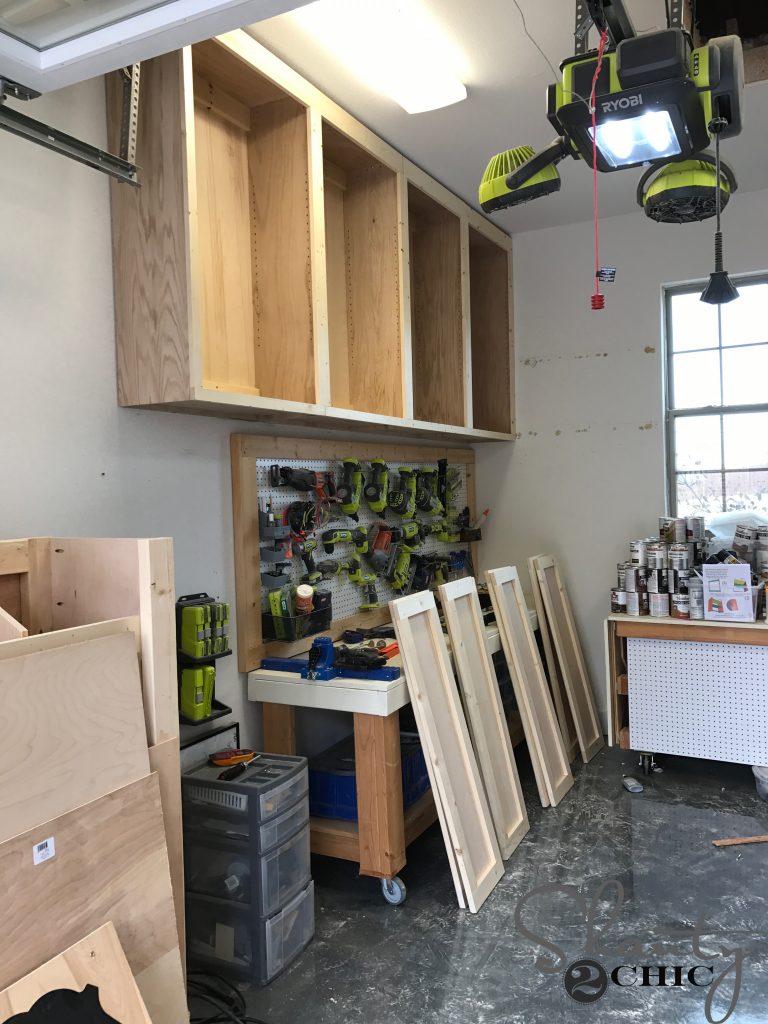
Do this for every cabinet box (you may need to add another cleat if your cabinets stretch over 8 ft. across the wall.
DIY Cabinets – Paint
Once the cabinets were hung, I painted them with two coats of Urbane Bronze by Sherwin Williams.
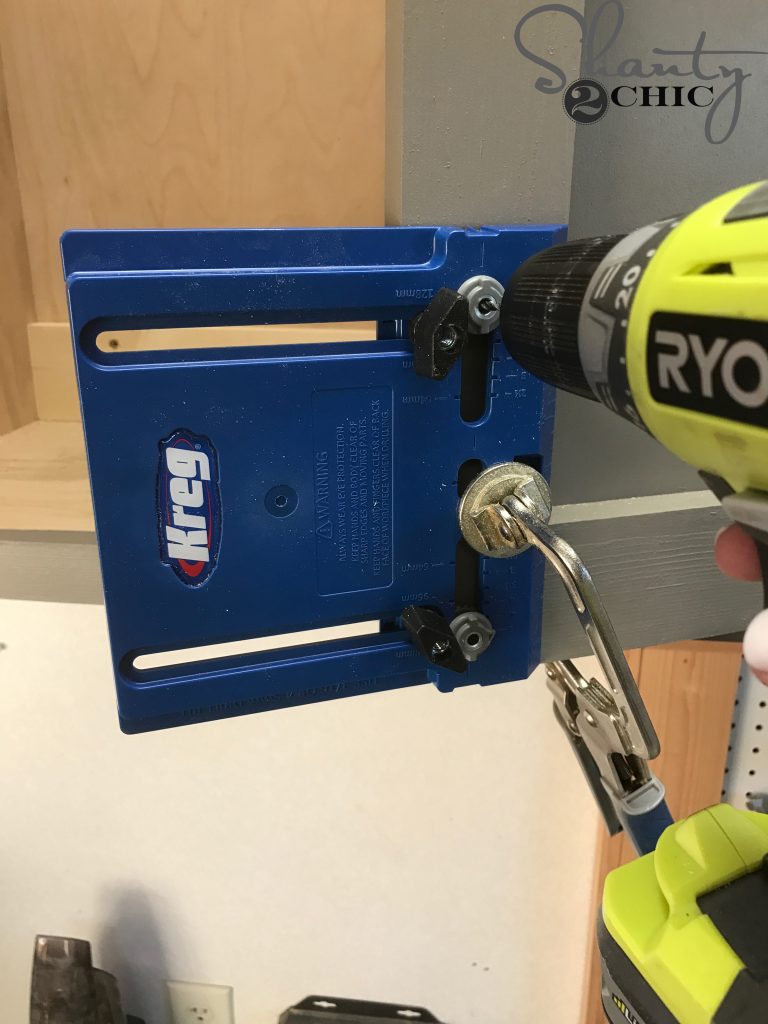
When the paint was dry, I attached the doors with the hinges and I used my Kreg Cabinet Hardware Jig to attach the pulls to the doors. You can find the Kreg Cabinet Hardware Jig HERE on Amazon. You will also need a Kreg Jig Face Clamp!
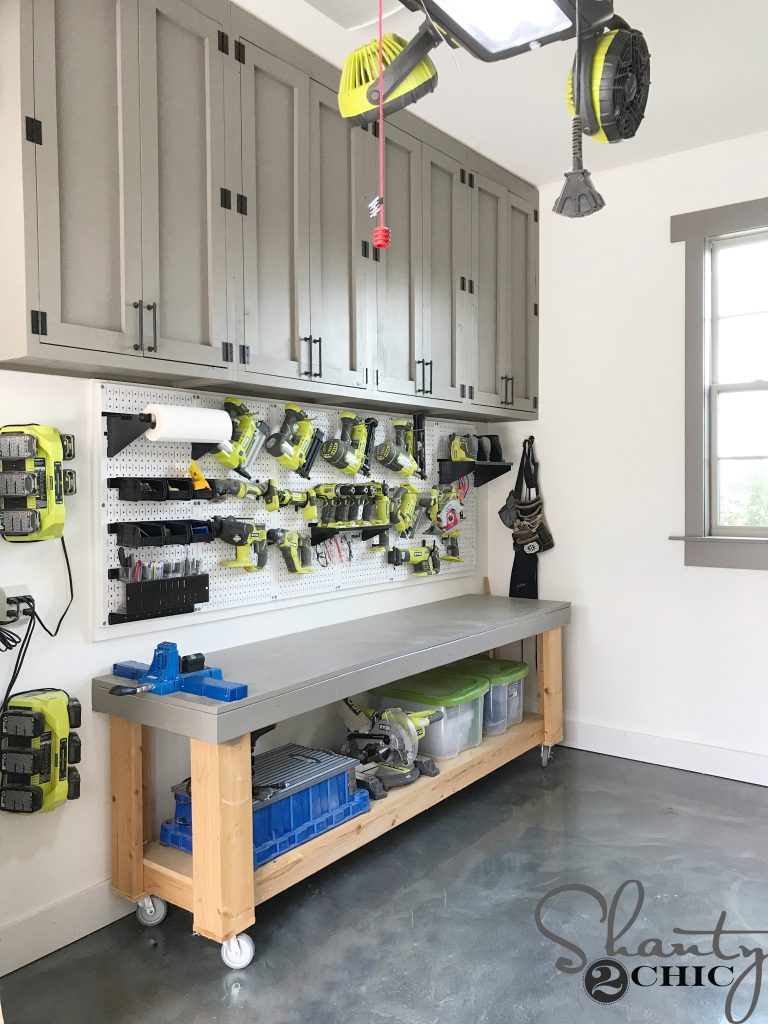
Now, just cut the shelves to size and slide them into the storage cabinet using the shelf pins! That was it! I love my new DIY Cabinets! I gave my workbench top a fresh coat of paint and installed a new Wall Control Pegboard – this thing is the bomb!!! I
You can find more info on the items in my shop below!
Cabinet Pulls: HERE
Cabinet Hinges: HERE
Cabinet Door Clasps: HERE
Ashley’s Shop Tour – HERE
Lumber Cart Plans – coming soon but you can check Whitney’s Lumber Storage Cart out HERE
Narrow Work Bench Plans – HERE
Peg Boards – HERE
Peg Boards Hooks and Accessories – HERE
Floor Coating – I can’t recommend the product because it is chipping horribly. I am going to do something else on my floors and will update you soon on my solution!
Garage Door Opener – HERE
Check out our “Tools” page for our suggestions on what tools you need to start your shop!


Importante información. Gracias por las publicaciones desde nuestra web de Euromillones.
Thank you very much! For our garage, I can’t wait to get started on this project.
What kind of shelf pins did you use? Flat ones? Or did you cut a groove underneath each cabinet shelf to sit down on the shelf pin?
How did you put holes in 1 1/4” from front? I can align it an inch and a half from the front or use the corner guide and do an inch. But an inch and a quarter is hard because I can’t make sure they’re all even. Thanks
I’ve completed a bunch of long standing projects lately and their aftermath has left me with the conclusion that it is time to really knuckle down and get the shop organized. So I have put everything on hold while I make some much needed organizational improvements to my work space.
I have come to a few conclusions that I am using to guide me process.
1. If I use it a lot, I need to make it easy to get to and easy to put away. This may sound obvious, but I find that things like my angle grinder, which I typically keep in the factory case on a shelf above my workbench, is seemingly easy to get too but once I get it out the case and all the discs are left sitting on some horizontal surface, usually my work bench, taking up valuable work space until I am done with my project. I’m going to ditch the case and try to locate it and all it’s related accessories in a drawer or tool box so as to eliminate the wasted space a case takes up while not in storage.
2. Vertical storage is the only effective way to keep your benches clear. This one I think is key. Stacking things on flat surfaces is a waste of work space and invites the addition of more crap. It also makes it harder to get at things. Ideally things should be stored on a wall or shelf 1 item deep and 1 item tall. If you have to stack things, you need more shelves.
3. Organize like things together. This one also sounds obvious, but things like boxes of bolts, screws and nails seem to get strewn around my work benches to no end. I have tackled this by buying one of the Harbor Freight rolling hardware carts. It has a ton of space to store loose hardware of all kinds and since it’s mobile, I can roll it right next to the project I am working on saving trips too and from the workbench. I have also bought some cheap tool boxes to store things like electrical parts and pieces. I have one box devoted to things like breakers, wire crimps, switches, cable ends, plugs, etc. I have done the same for plumbing parts and fittings.
4. When you’re finished with a project take some time to clean up and put stuff back where it belongs. We’d all rather be wrenching, but it is important to take a short break after any project and simply clean up. I have been lax in this and it has shown. Before I started cleaning, I had 3 benches full of crap now only 2 are full of crap and I hope to have that down to 1 before the end of the week.
Hey Sam, thanks for taking time to list helpful organizing ideas. I’m just setting up my first “big” shop (after retiring &having time), and your observations will be printed and hung next to my first bench.
Slainte, mate!
I’m dying to get your lumbar cart plans!! When do you think they will be available?
Hello! What color did you paint the cabinets? I love the color! thanks!
I need a few extra cabinets In my kitchen. To save on the cost, could I leave the plywood off the back (against the wall)?
I love these! I am new to modifying plans and these are a little large for my space. Can they be easily adjusted to 40-42 inches? Thanks so much!
Thank you! I love these so much!! I am going to attempt this. BTW I LOVE the hinges and hardware. Where did you get them?
Nevermind, I saw all the info listed! Thanks!
Thank you! This actually looks like something I mighjt be able to do! FYI your link for the Kreg Shelf Pin Jig is not correct but I found them on Amazon anyway.
Did you attach 1/4 inch plywood to the back?
Wow we are here to build…. not to tear down other people.
Did I miss the price estimate? I would love to know how much it cost per cabinet.
I am interested in the price per cabinet as well. I am wondering if it is cheaper to go get used cabinets or build these myself for my garage. I am redoing my whole garage and putting shelves above a workbench around the whole garage. It is going to be costly but don’t want to break the bank.
Thank you! ? I can’t wait to make these for our garage!