As promised, I am back to share the free plans for my DIY Cabinets!
If you missed the tour of my shop, you can check it out HERE!
We built our home about 4 years ago and one of the reasons we picked this floor plan was because it has an extra single car garage – which is the perfect spot for my garage workshop. I was in a hurry to get my shop set up, when we moved in, so I just threw up some open shelving for my storage.
The problem with open shelving in a shop is that EVERYTHING ends up covered in layers of sawdust. It was driving me crazy so I finally broke down and built some custom cabinets!
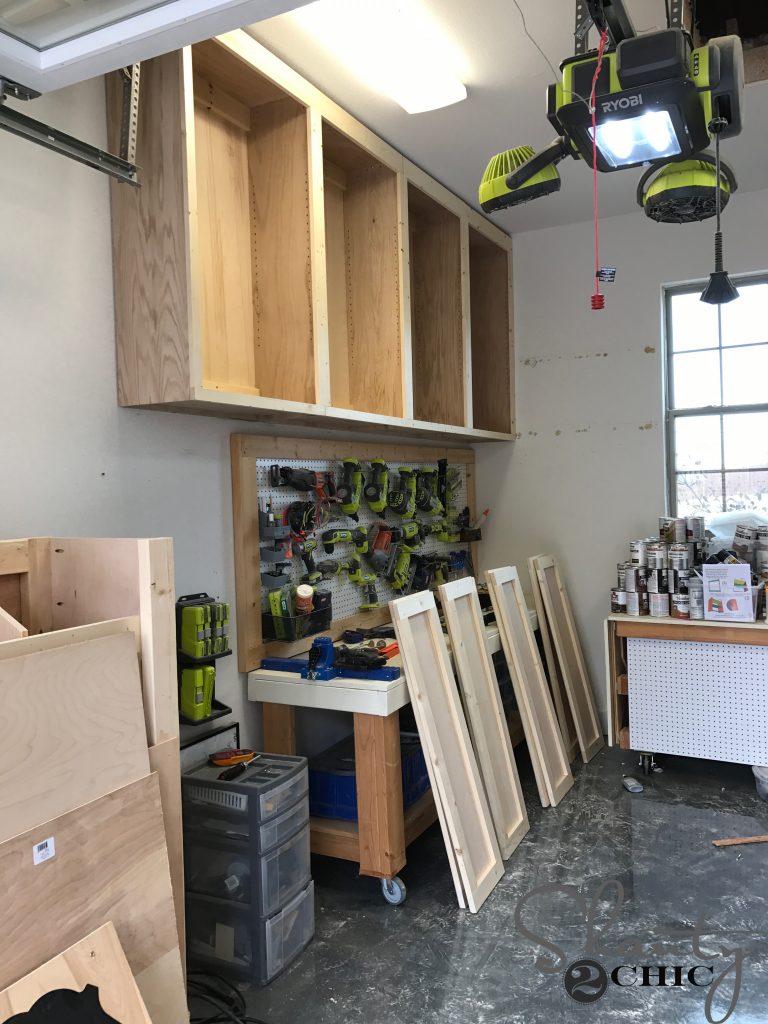
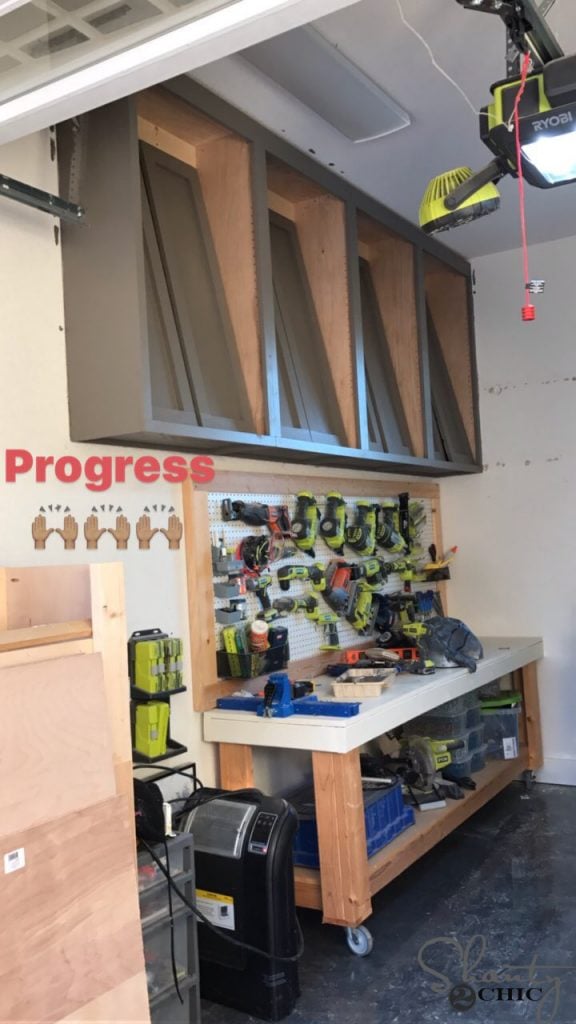
I decided on upper cabinets to maximize the storage space in my shop, I designed these cabinets to go ceiling high (I have 9 foot ceilings) and I made them 50″ tall. This gave me enough space below the cabinets for a full pegboard and a workbench. The cabinets are high but I have a step ladder and I don’t have to get in and out of the cabinets that often. Can I just say, I am OBSESSED with my cabinets!
DIY Garage Storage Cabinet – Free Plans
Make sure to download the free printable plans to build your own HERE and follow along below for the step-by-step process.
The plans are for one cabinet box!
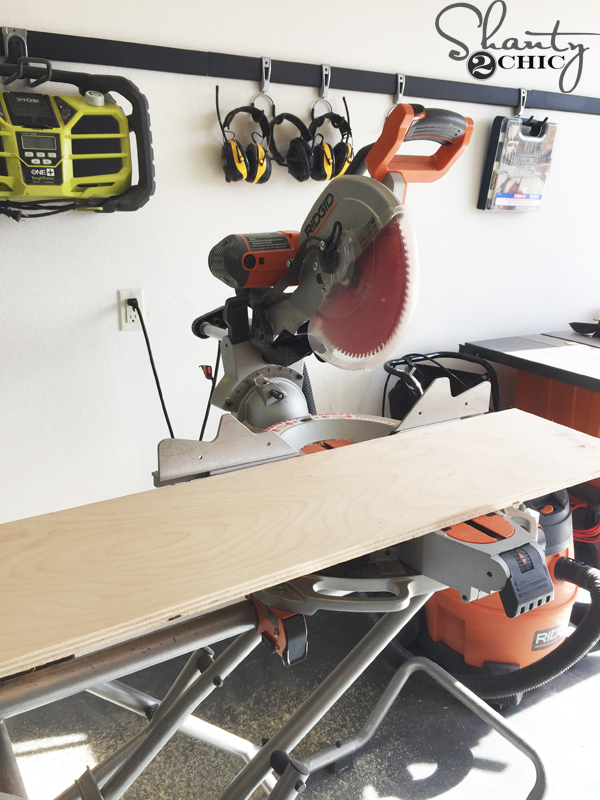
DIY Cabinets – Rip The Birch Plywood
If you don’t have a table saw, you can have the hardware store rip the plywood for you and then you can make the cross cuts at home with your miter saw or circular saw.
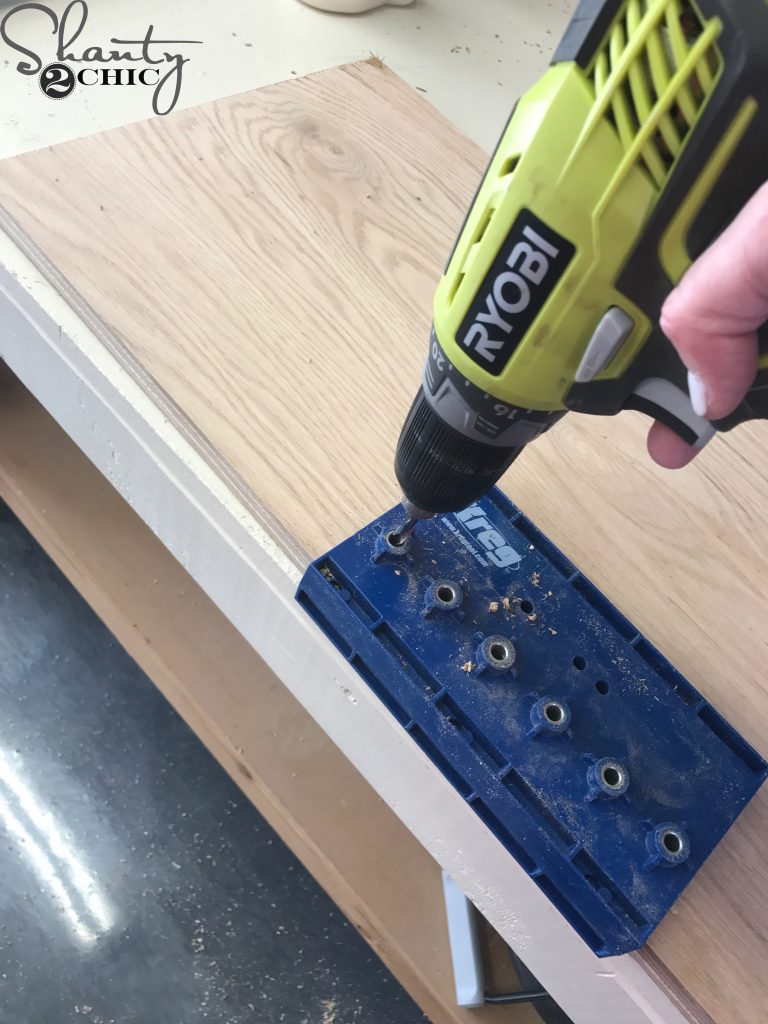
After making the cuts for the top, bottom and sides of the cabinet box, I used my Kreg Shelf Pin Jig to drill shelf pin holes into both cabinet sides. Refer to the plans for the placement. You can find the Kreg Shelf Pin Jig HERE on Amazon! It’s super easy to use. It has a guide on one end and you just drill through the holes to create the perfectly spaced shelf pin holes.
DIY Cabinets – Shelf pin holes
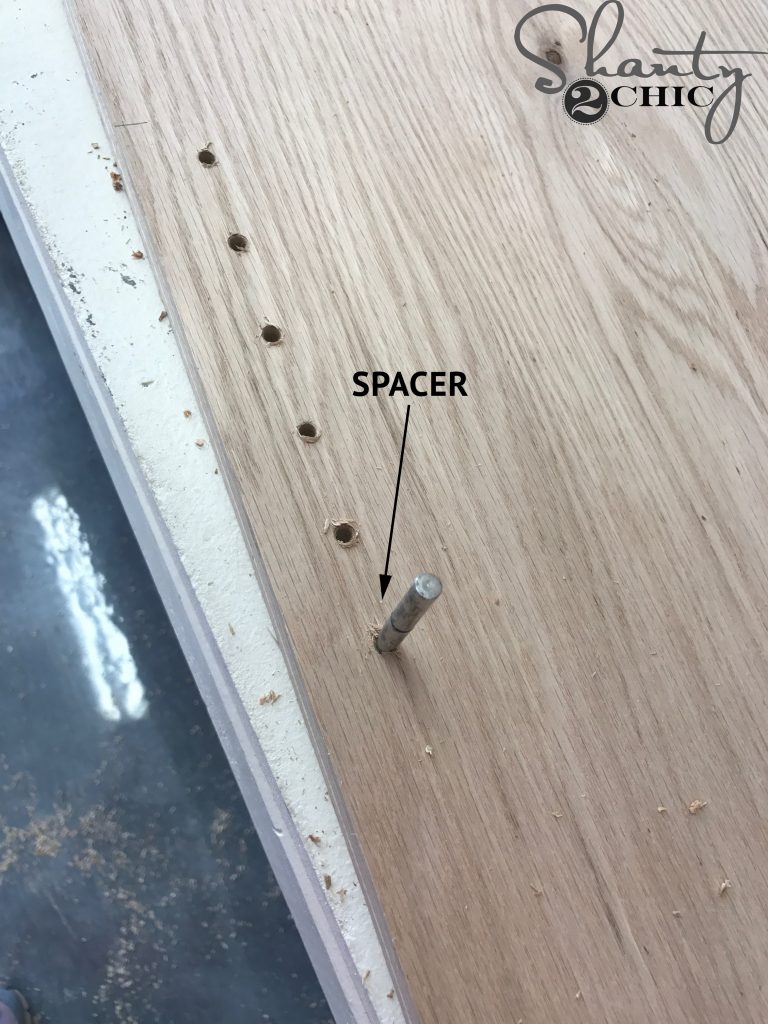
After you drill the first 6 holes, place the spacer in the bottom hole
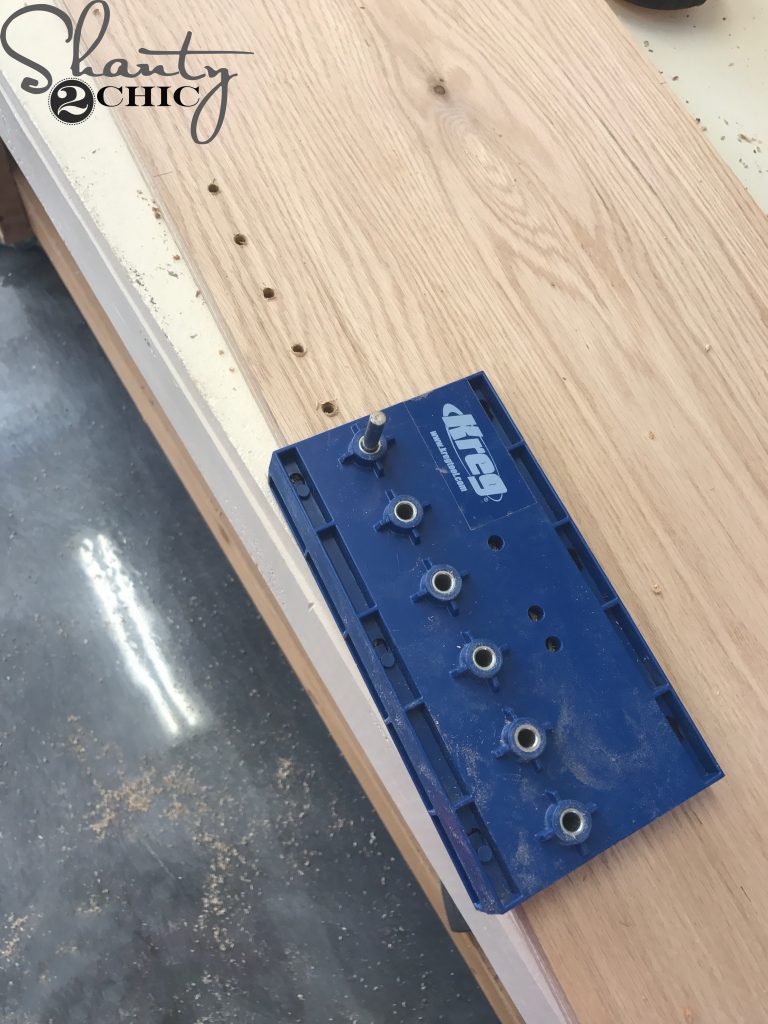
and then slide the Shelf Pin Jig over the spacer and drill the next set of holes. Continue this until you have the number of shelf pin holes that you prefer.
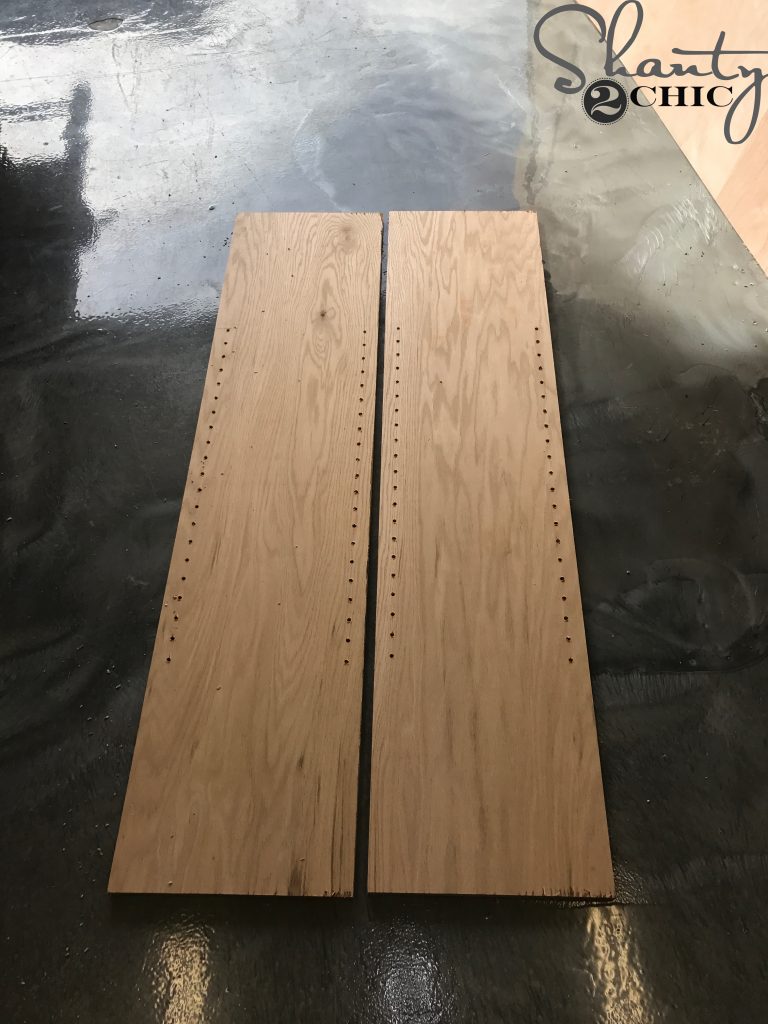
Drill shelf pin holes on both sides of each cabinet side.
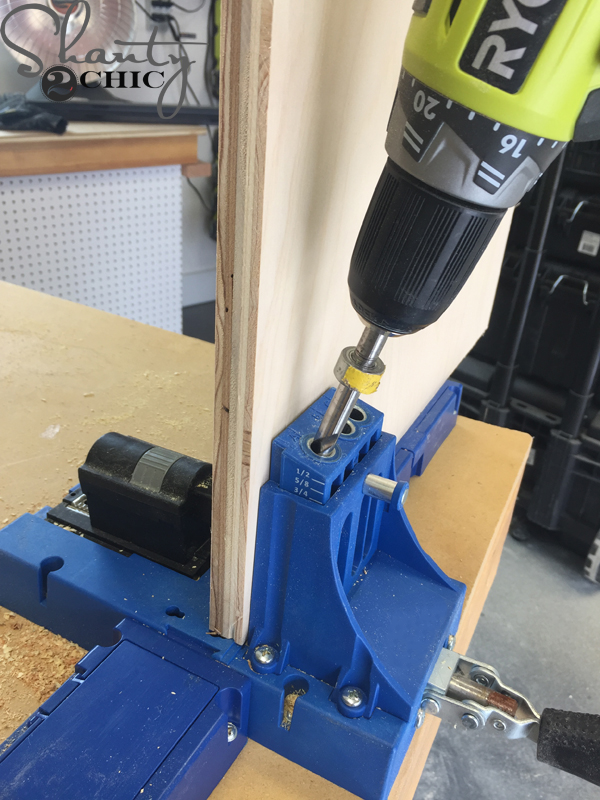
Next, I drilled 3/4″ pocket holes, with my Kreg Pocket Hole Jig, into both sides of the top and bottom cabinet box pieces. You can find our favorite model of the Kreg Jig HERE on Amazon!
DIY Cabinets – Box Assembly
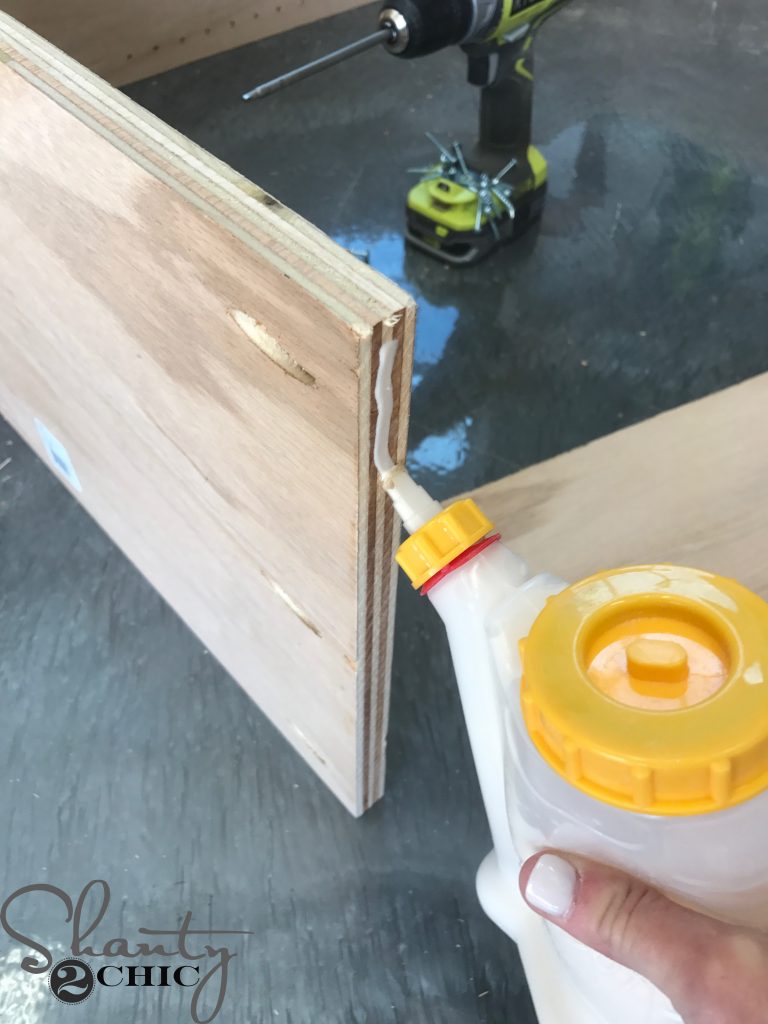
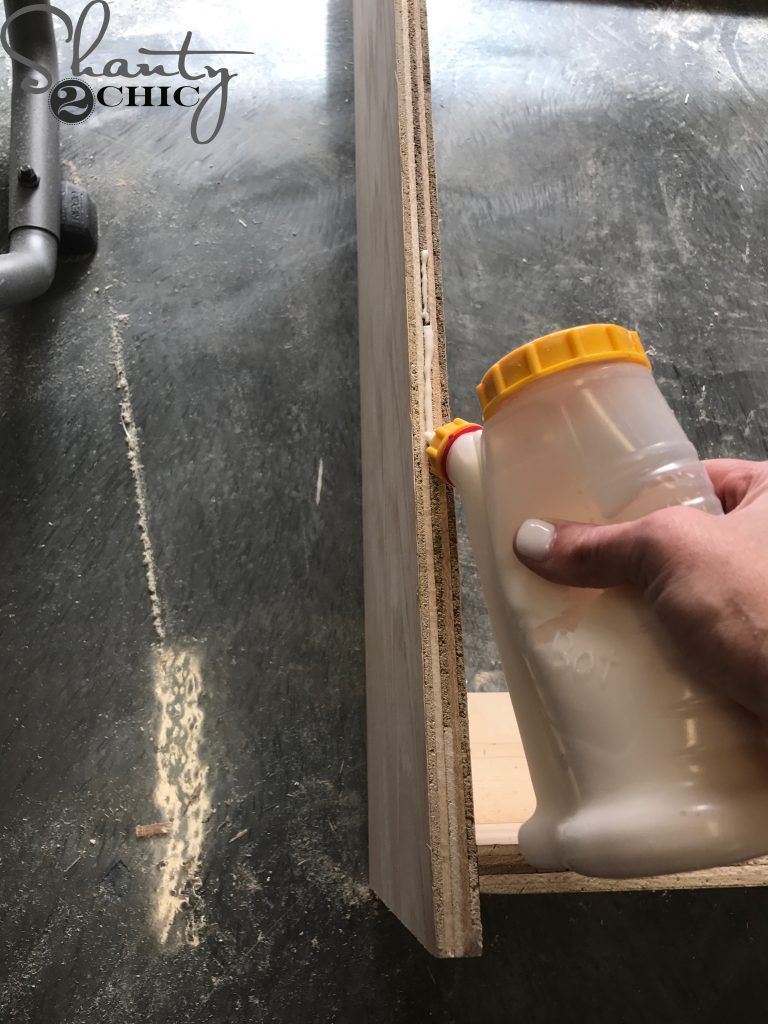
To assemble the cabinet box, I ran a line of wood glue on the ends of the top and bottom pieces (you can find our favorite glue bottle dispenser HERE on Amazon)
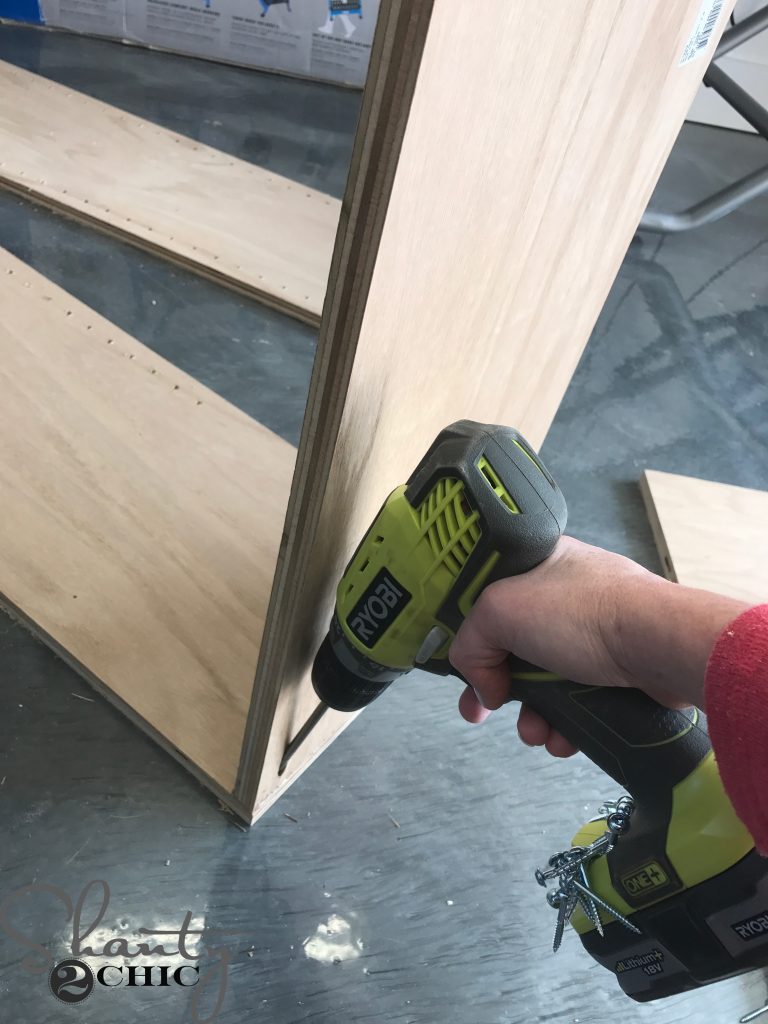
and attached the top and bottom pieces to the cabinet sides with 1 1/4″ pocket hole screws and wood glue.
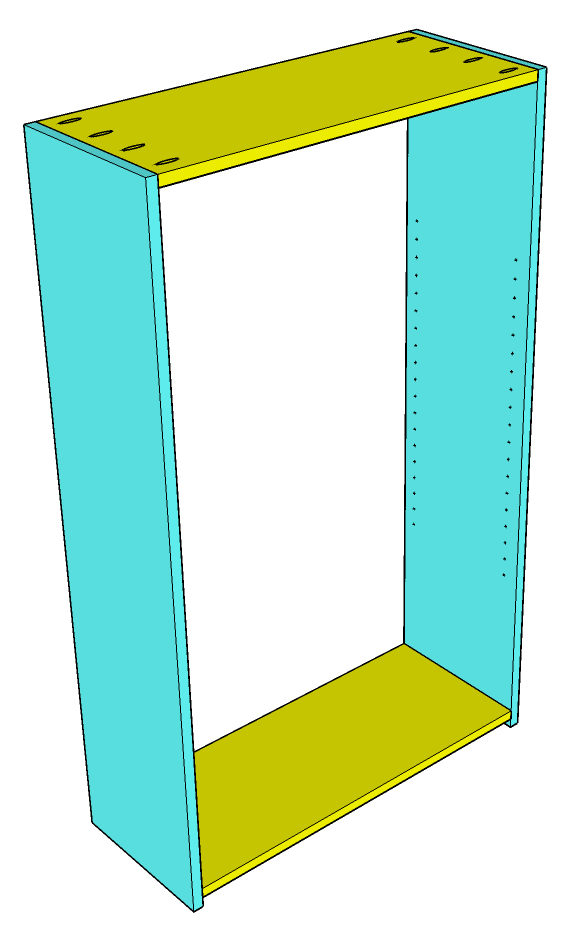
The pocket holes on the top should face up and the pocket holes on the bottom should face down. The top piece should be flush with the top of the cabinet and the bottom should be attached 3/4″ up from the bottom. Refer to the plans for detailed placement.

Cut the back brace pieces and drill 3/4″ pocket holes into the ends and one side of each piece. Attach them to the top, bottom and sides of the cabinet. They should be flush with the back of the cabinet.
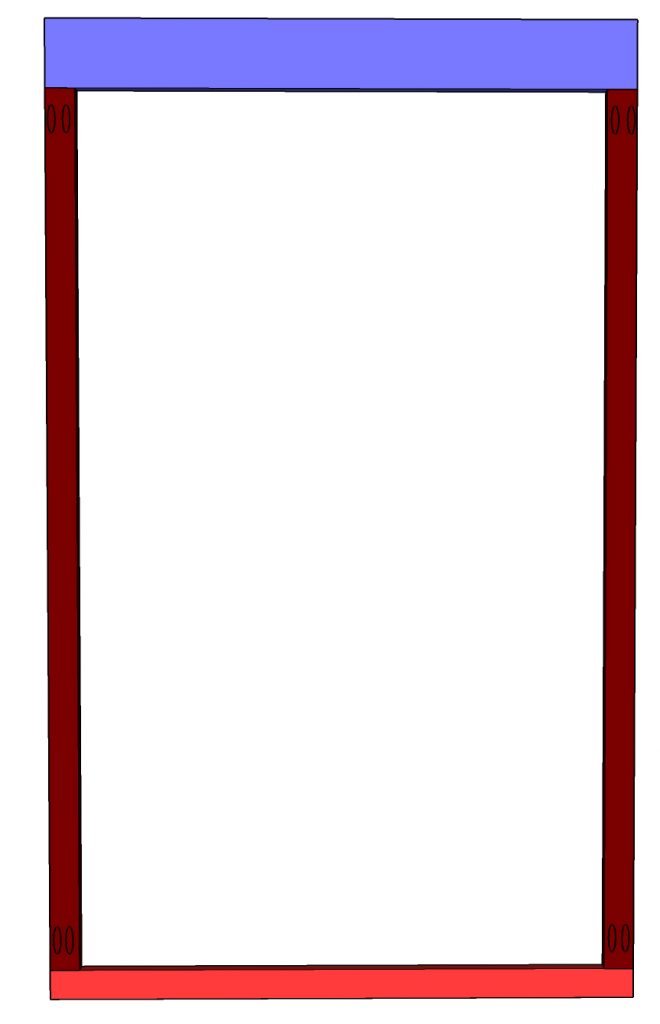
Measure and cut the face frame pieces to size. Drill 3/4″ pocket holes into each end of the side pieces and attach them to the top and bottom pieces with 1 1/4″ pocket hole screws and wood glue.
Apply a thin line of wood glue to the front edges of the cabinet box
DIY Garage Cabinets – Face Frame
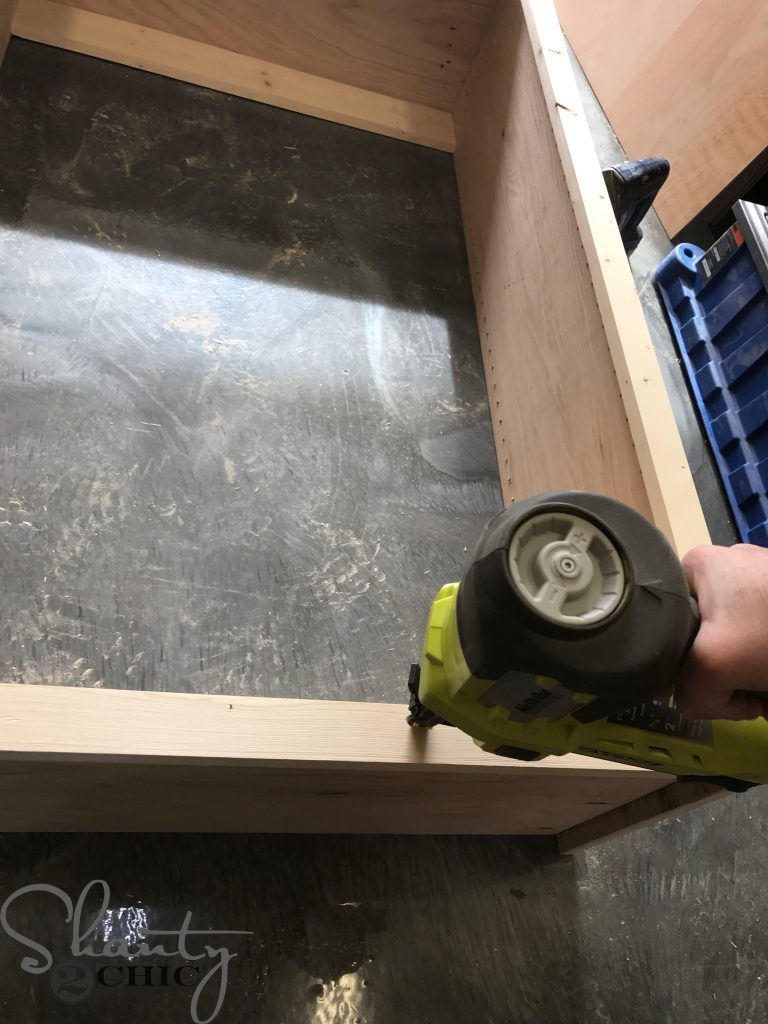
and attach the face frame to the cabinet with a nail gun and 1 1/4″ brad nails. The sides and top of the face frame should be flush with the sides and top of the cabinet. The bottom of the face frame should be flush with the top of the bottom shelf. I used my Ryobi Airstrike 18 gauge brad nailer for this.
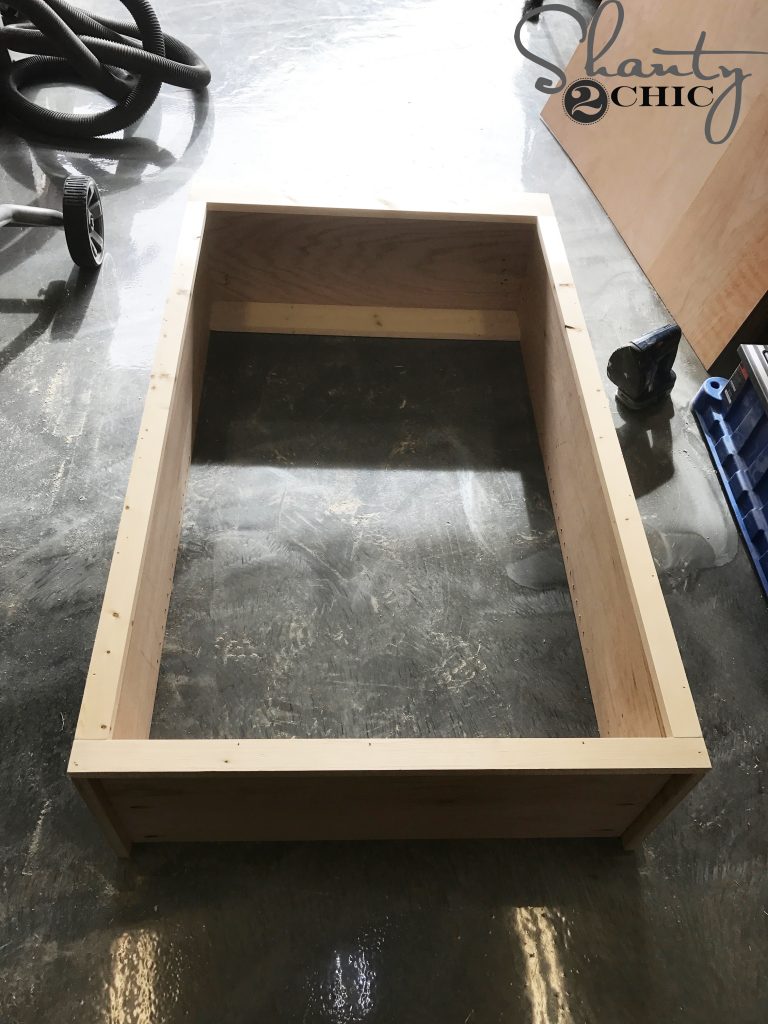
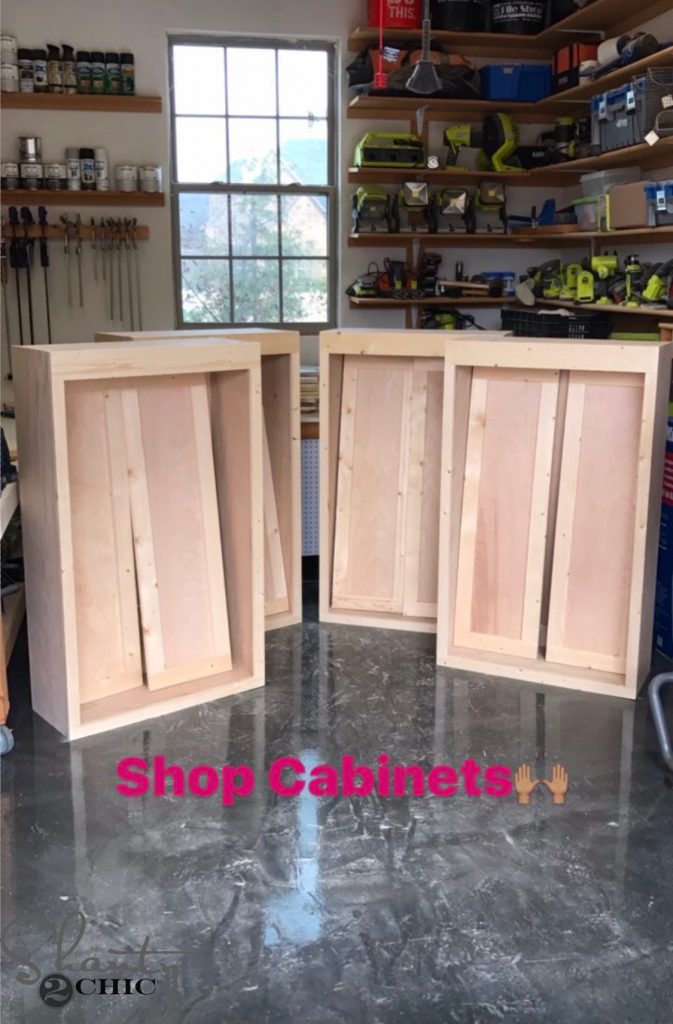
Here is the cabinet with the face frame attached.
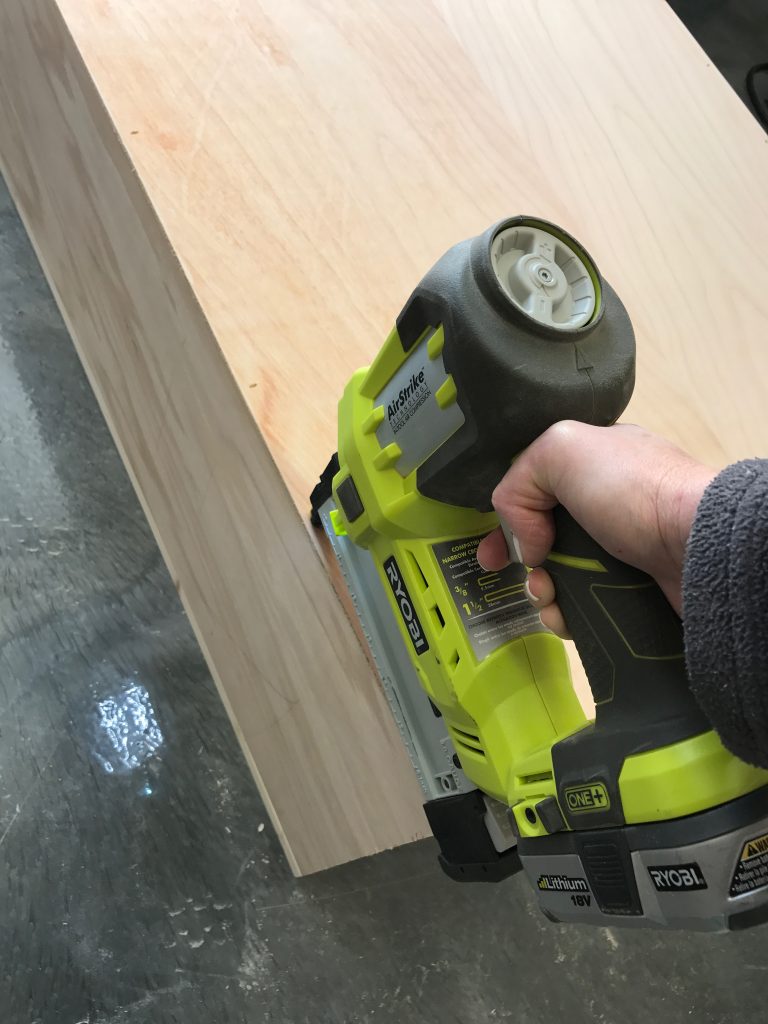
Now, flip the cabinet over on its face and attach the 1/4″ hardwood plywood to the back with 3/4″ staples and wood glue. I used my Ryobi Airstrike Stapler but you can also use a brad nailer here.
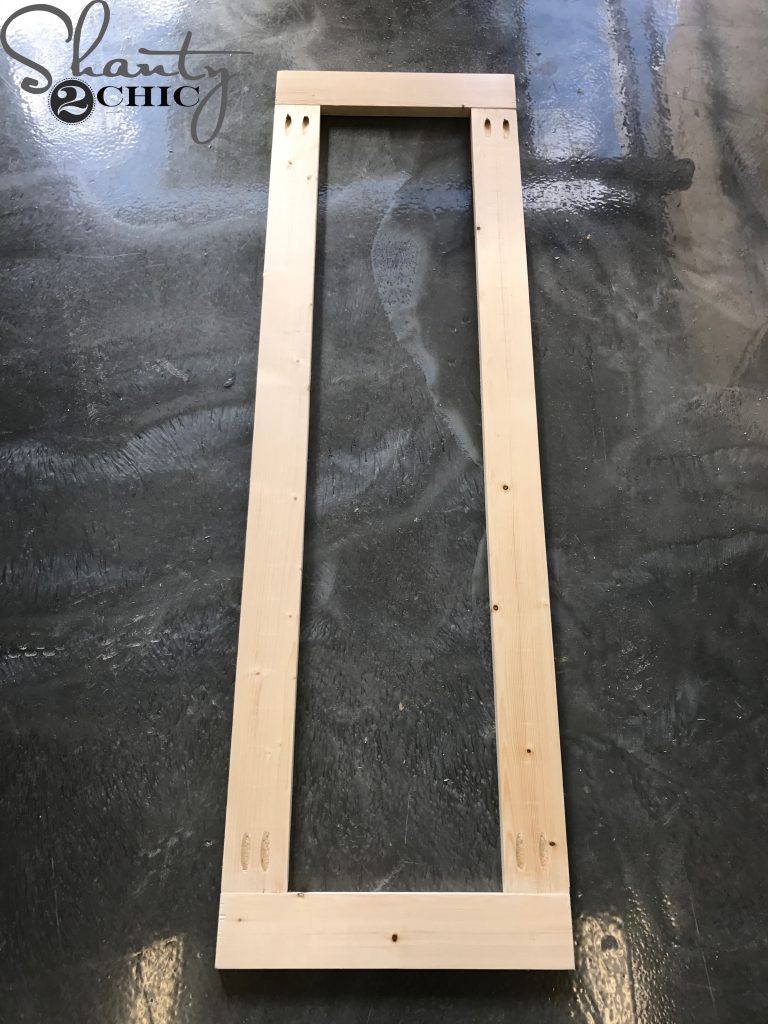
DIY Cabinets – Cabinet Doors
Set the cabinet aside and begin building the cabinet doors. Measure and cut the cabinet door trim to size and drill 3/4″ pocket holes in the ends of both vertical trim pieces. Attach them to the top and bottom pieces with 1 1/4″ pocket hole screws and wood glue. Do this for both doors.
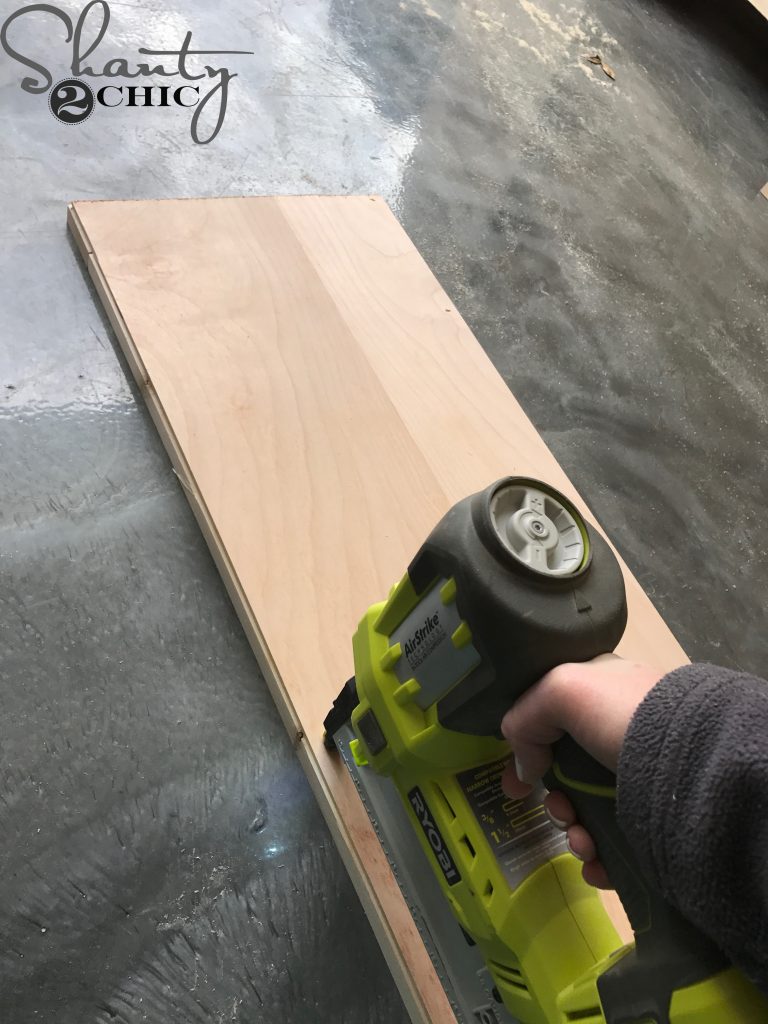
Cut the 1/4″ hardwood plywood to fit the door frame and attach it to the back of the door frame with 3/4″ staples and wood glue. I used my Ryobi Airstrike Stapler but you can also use a brad nailer here. Do this for both doors.
With the doors assembled, now is a good time to paint the cabinets. You can also attach the doors with the hinges, to make sure they are a good fit, but you will want to remove the hinges before painting and hanging the cabinets.
Garage Cabinet Installation
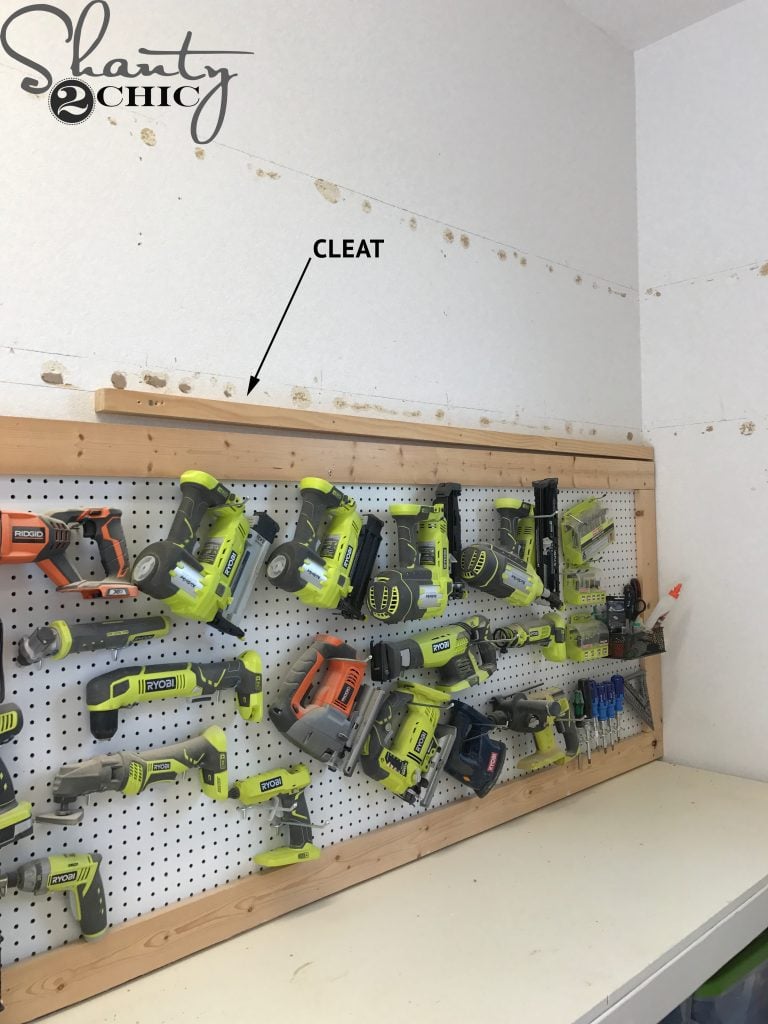
To hang the cabinets, I used an 8ft 2×2 scrap as a cleat. This allowed for me to hang the cabinet alone AND it kept them level with each other. Use a level to make sure you are attaching the cleat level and attach it to the studs behind the wall with 3″ wood screws. Before hanging the cabinets, be sure to mark where the studs are behind the wall.
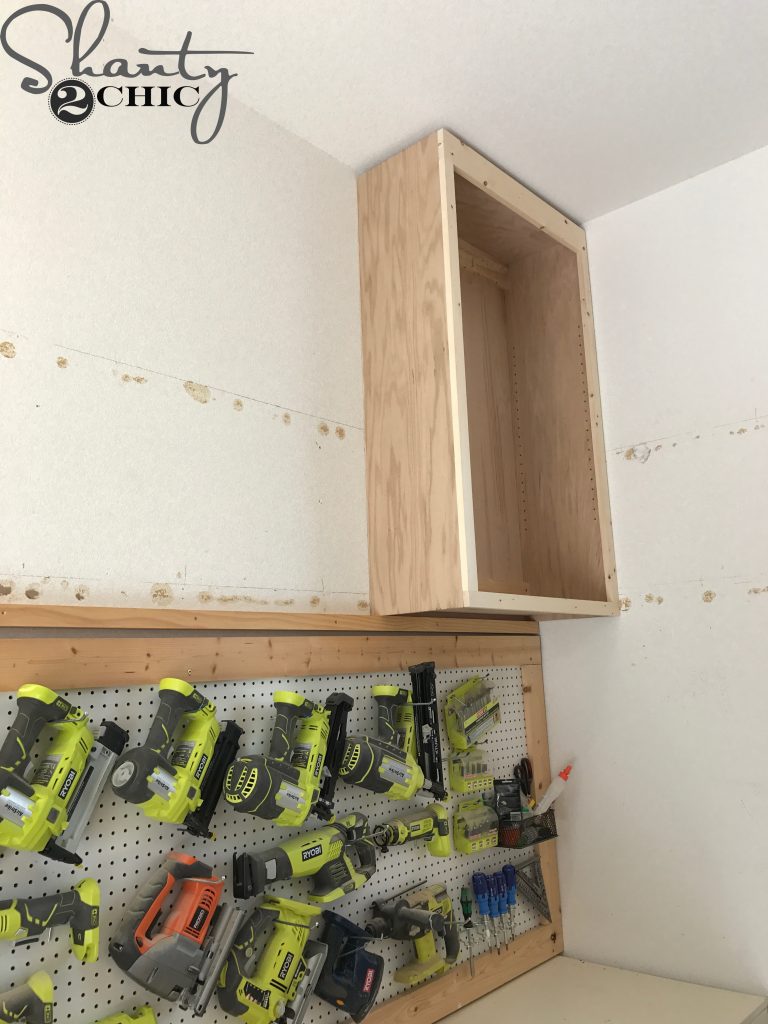
Lift the cabinet to rest on top of the cleat then drill 3″ wood screws from the back braces and into the studs behind the wall.
Do this for every cabinet box (you may need to add another cleat if your cabinets stretch over 8 ft. across the wall.
DIY Cabinets – Paint
Once the cabinets were hung, I painted them with two coats of Urbane Bronze by Sherwin Williams.
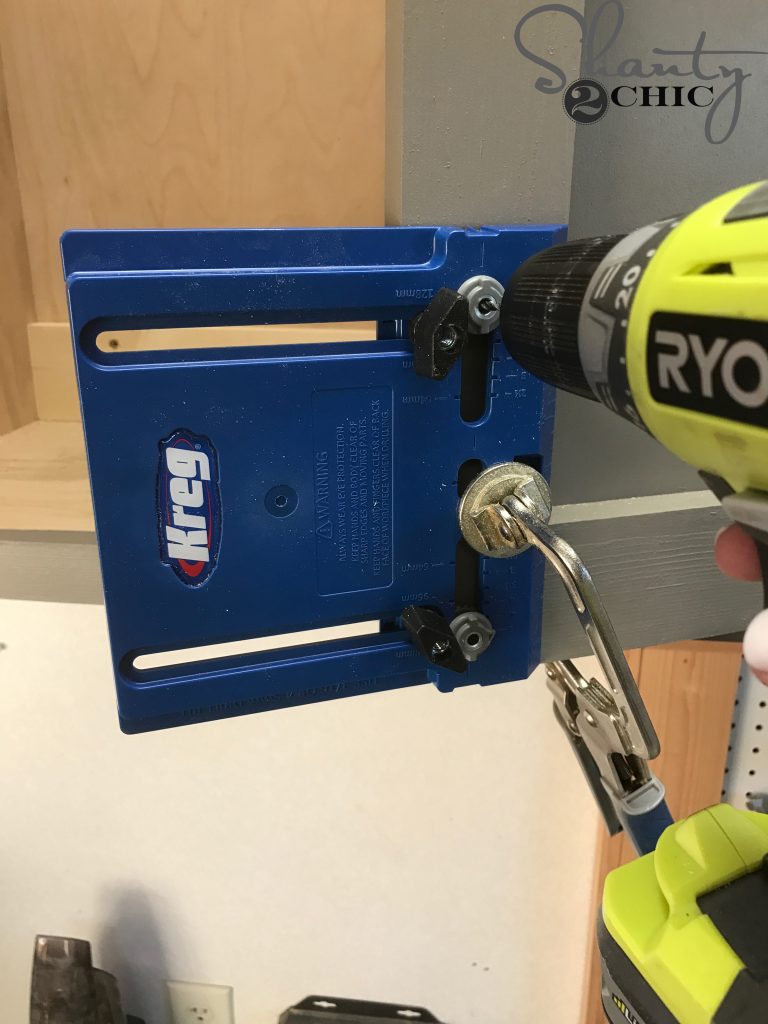
When the paint was dry, I attached the doors with the hinges and I used my Kreg Cabinet Hardware Jig to attach the pulls to the doors. You can find the Kreg Cabinet Hardware Jig HERE on Amazon. You will also need a Kreg Jig Face Clamp!
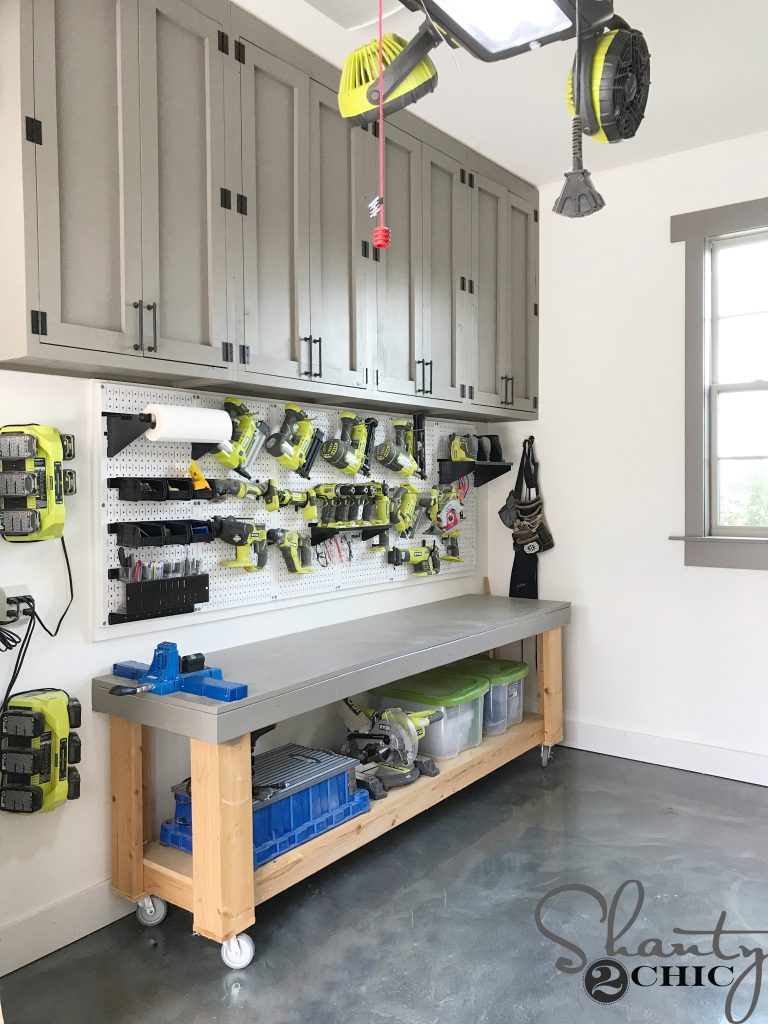
Now, just cut the shelves to size and slide them into the storage cabinet using the shelf pins! That was it! I love my new DIY Cabinets! I gave my workbench top a fresh coat of paint and installed a new Wall Control Pegboard – this thing is the bomb!!! I
You can find more info on the items in my shop below!
Cabinet Pulls: HERE
Cabinet Hinges: HERE
Cabinet Door Clasps: HERE
Ashley’s Shop Tour – HERE
Lumber Cart Plans – coming soon but you can check Whitney’s Lumber Storage Cart out HERE
Narrow Work Bench Plans – HERE
Peg Boards – HERE
Peg Boards Hooks and Accessories – HERE
Floor Coating – I can’t recommend the product because it is chipping horribly. I am going to do something else on my floors and will update you soon on my solution!
Garage Door Opener – HERE
Check out our “Tools” page for our suggestions on what tools you need to start your shop!


This is a very informative and useful project. Building DIY cabinets can make a huge difference in both storage and overall interior organization, and it’s great to see the process broken down so clearly. I like how the approach focuses on practicality, durability, and clean design. It’s always inspiring to see cabinetry ideas alongside broader interior and material trends here: https://plywoodbazar.com/
A valuable and well-explained DIY guide.
Thanks for the great post! I am going to build these for my garage. What color did you paint the walls of the garage?
Hello- I’m wondering how much if any I’d need to adjust the size of the doors if I used a concealed hinge instead of the one mounted on the exterior of the cabinet.
Thank you! I love these so much!!