Hey guys! Just thought I’d show you what I’ve been working on!
I’ve been working on my master bathroom this week. So far, I have painted the walls a pretty green color to match a waverly fabric that I picked out for my master bedroom
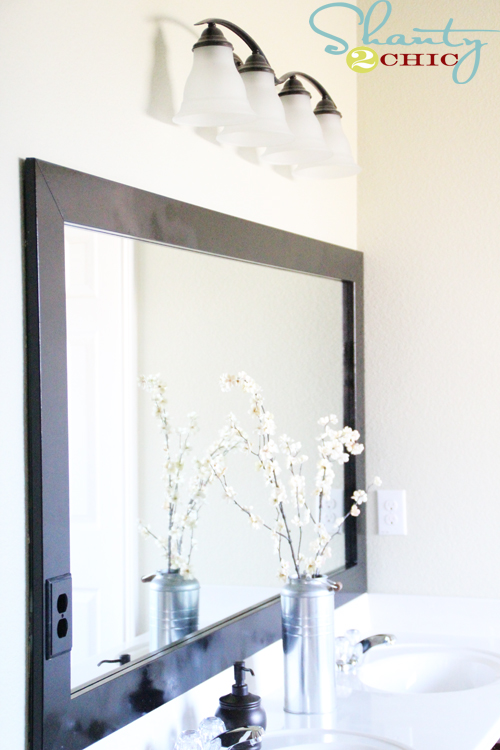
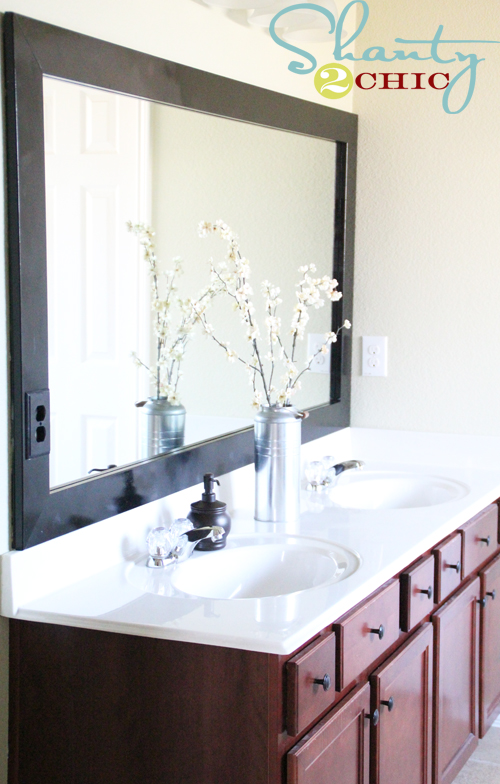
and framed my gigantic mirror! Here is the before….


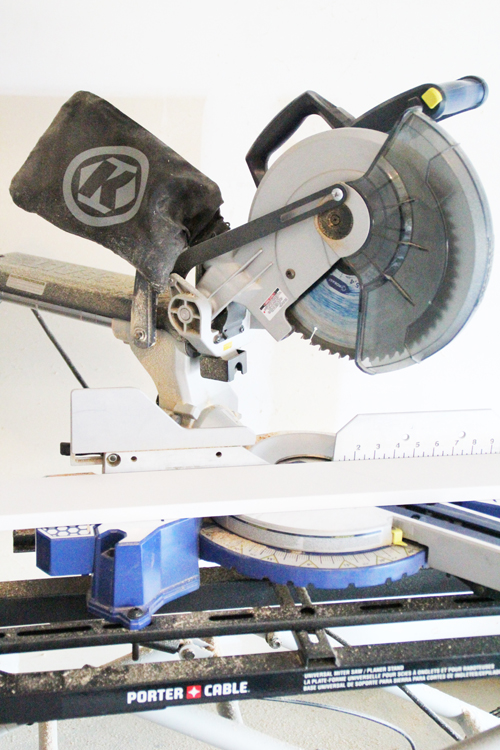
I used my compound miter to cut the 45 degree angles (you can also do this with a miter box and a hand saw)

See that lovely? Yah, the electrician apparently installed the outlet too far in and they had to cut a hole out of the mirror for it. I wish I had asked that the builder fix this before we moved in but you live and learn;)
I had to get creative because I was TIRED of looking at the mess up:) I used my router to cut two holes out for the socket
and I found this wooden face plate at Wal-Mart for $2! I just spray painted it with the same black gloss.
My final step was to get it up there so I used Liquid Nails and applied it directly to the mirror. LOVE the new look and it was only $15!
I feel like I got a lot of bang for my buck on this project and it was so easy and quick! I can’t wait to get started on the rest of the mirrors in my house but I guess I need to finish this room first! I’ll be back with updates soon!
~Ashley







Ok I am really late to the party lol….. but, I’m confused. I know you put holes in the wood so you could put the plate over them, but how does anything actually plug in? The MDF is thick already so doesn’t it make it to where nothing can actually plug in?