Learn how to build this DIY Farmhouse Coffee Table with only 8 boards with free plans and a how-to video by Shanty-2-Chic.
Hey guys! Happy Wednesday! Happy day before Thanksgiving day! I can’t wait for #allthefood! Today we are sharing a super cute solid wood table you can make for under $40 in lumber and only 8 boards… Heck yes. Sign me up! Before we get started, be sure to check out the video by clicking the play button below!
I have added a link at the bottom of this post to print the free plans for this table!
How to Build an 8 Board Farmhouse Coffee Table
Table of Contents
Step 1: Building the Leg Assemblies
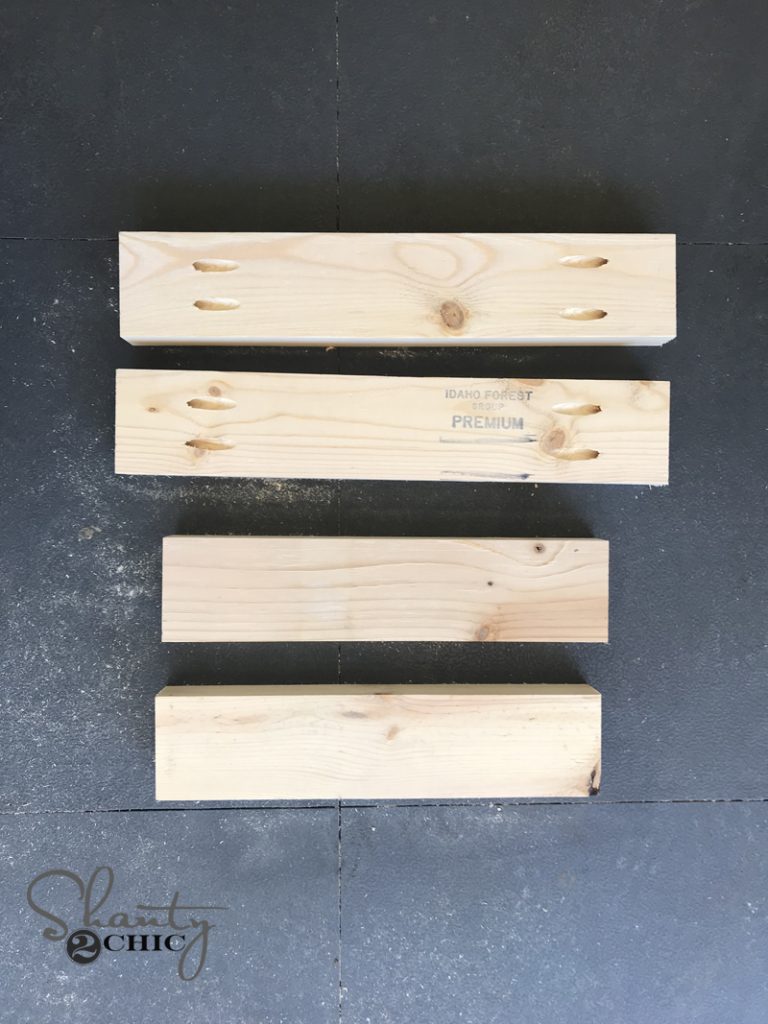
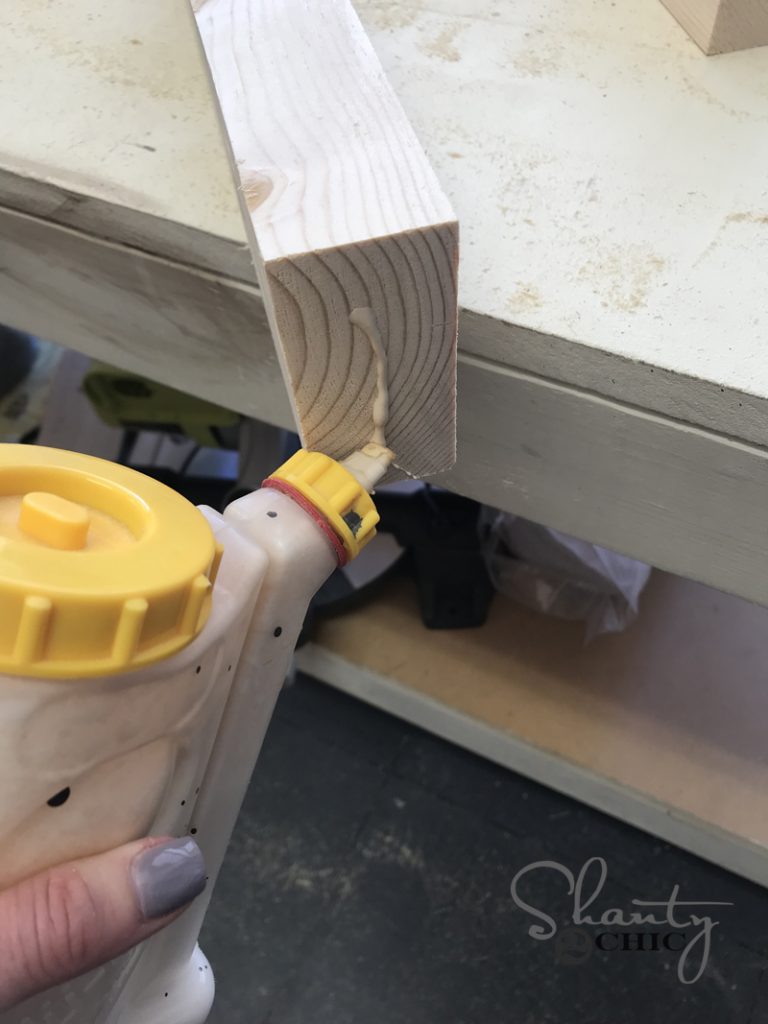
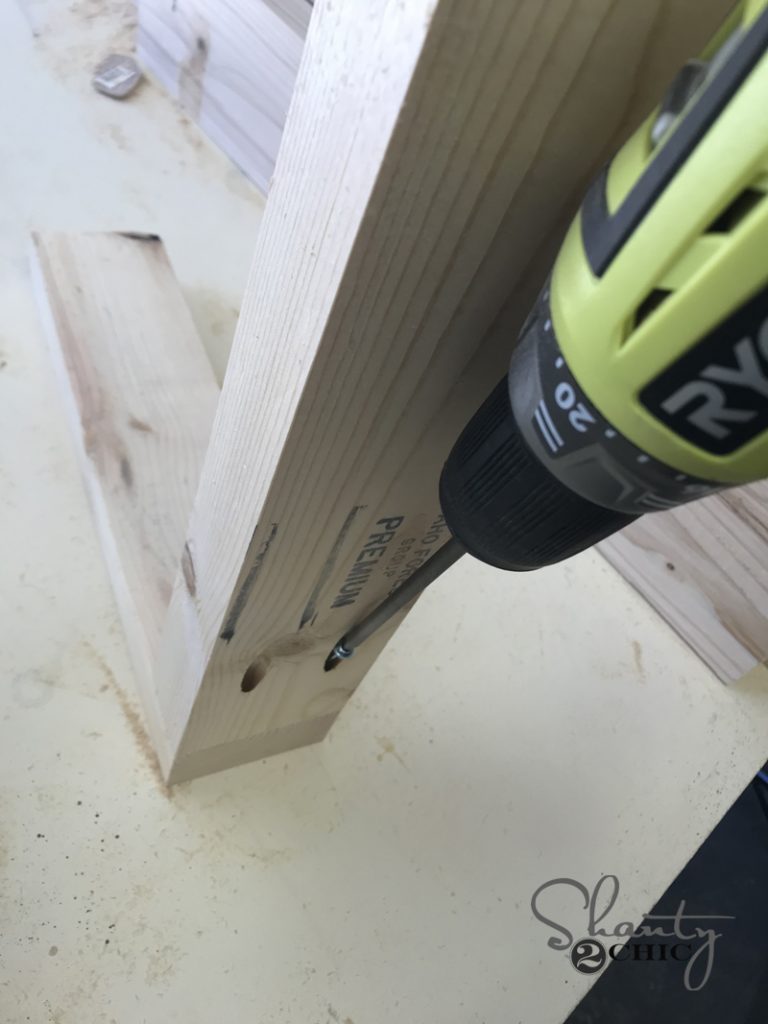
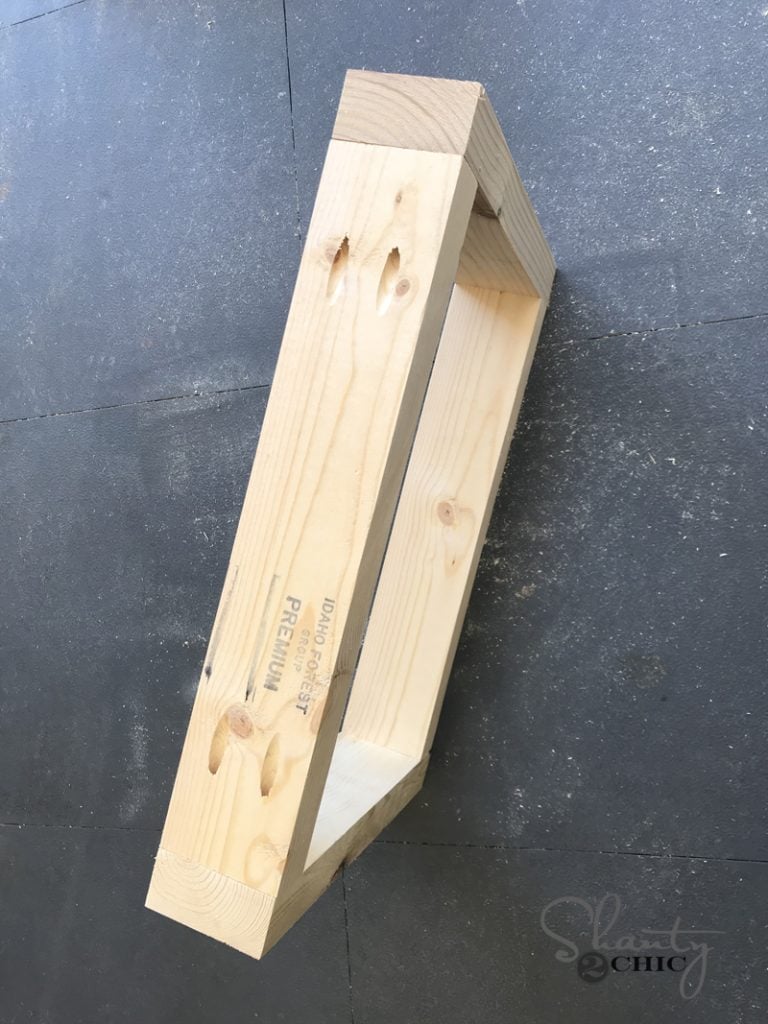
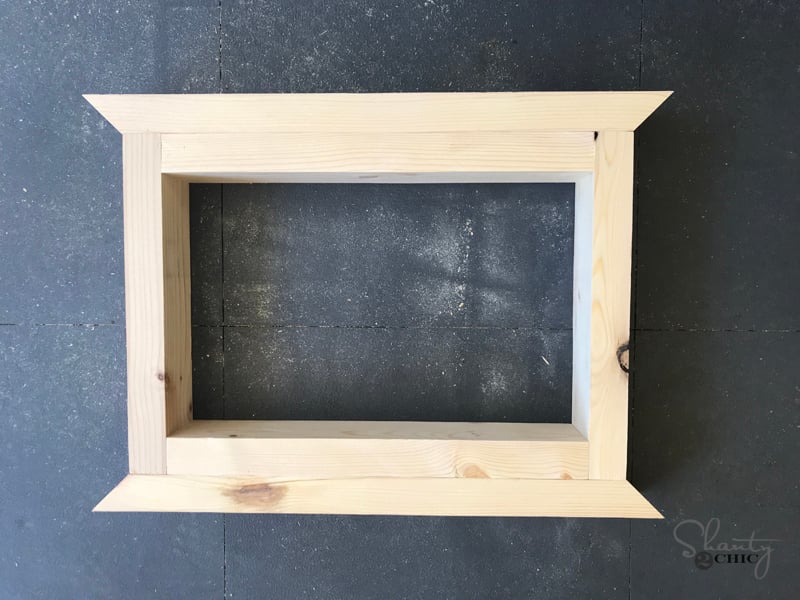
First, build two boxes for each leg assembly. These are attached using wood glue and 2.5” pocket hole screws through the horizontal boards and into the vertical boards. You want your pocket holes facing the outside of the box on this part because we will cover them with another board on the next part. We used our K5 Kreg Jig for this part. We get asked ALL the time which Kreg Jig to start with. We always suggest the K5. We use it on almost every build. You can find it HERE on Amazon!
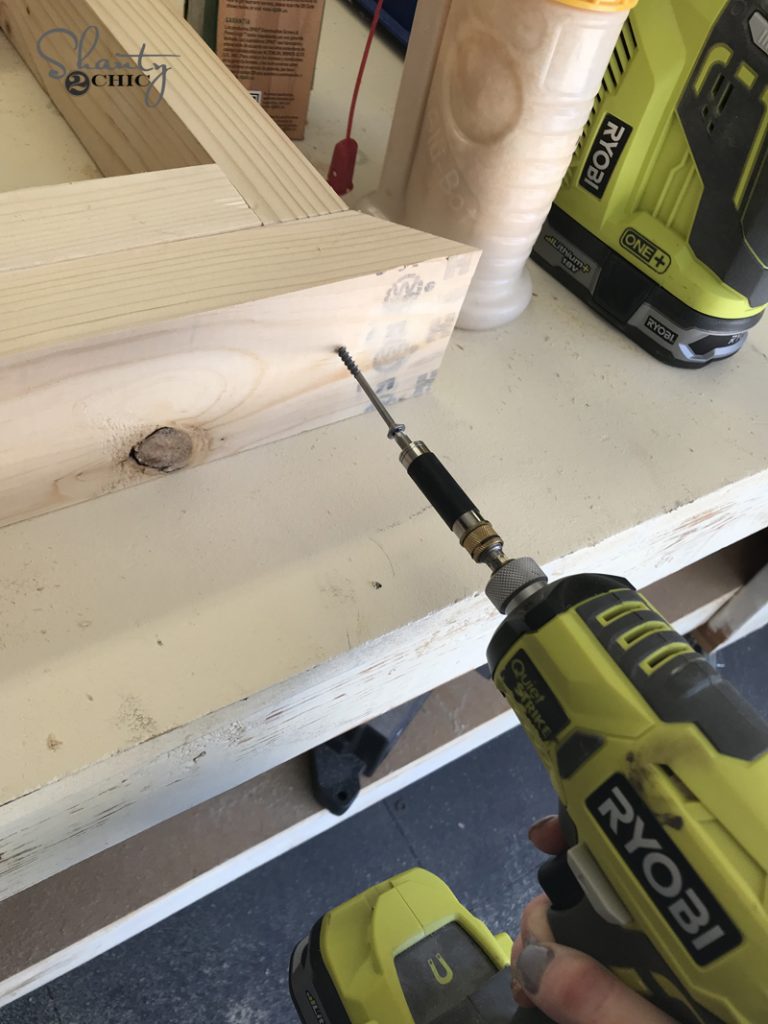
Now add the decorative pieces to the top and bottom. These edges are cut at a 45˚ angle and are attached to each assebly with wood glue and 2.5” wood screws through each decorative piece and into the leg assembly.
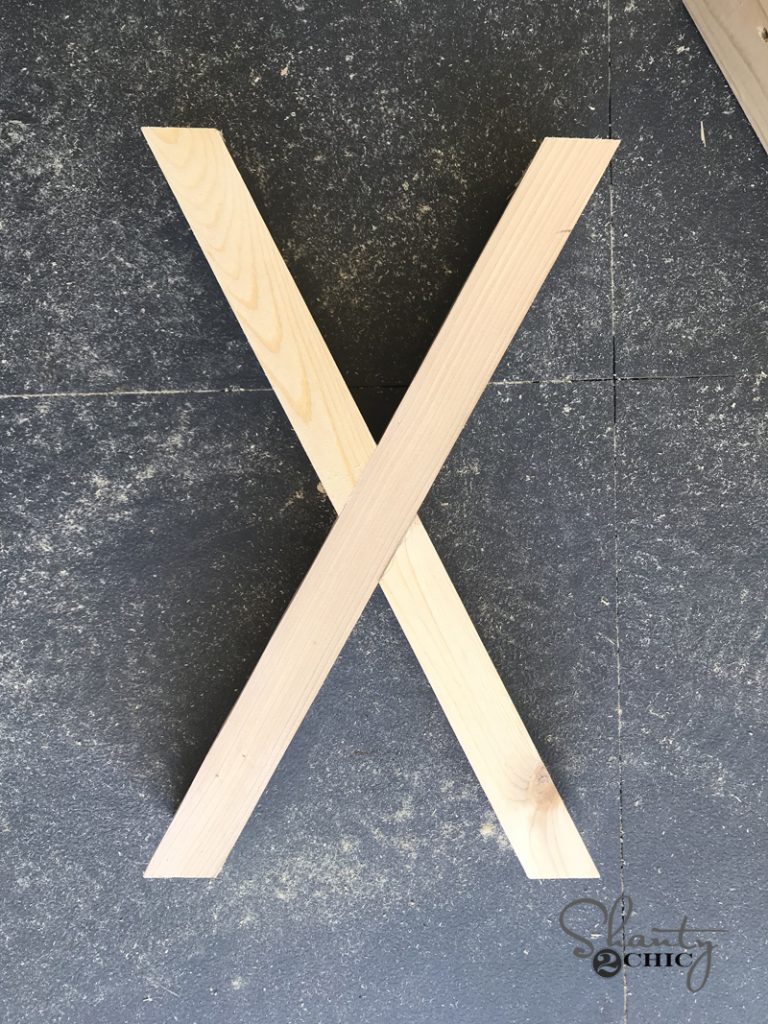
We cut the decorative x boards to fit on this part. Mark each board with your pencil and cut them to fit exact. You can check out the video if you have questions about this part! We walk you through it. Cut the diagonal pieces to fit first, then mark and attach them to each other using wood glue and nails. Then, fit them in the box and attach them with wood glue and nails through the box and into each end of the X piece.
Step 2: Building the Table Top
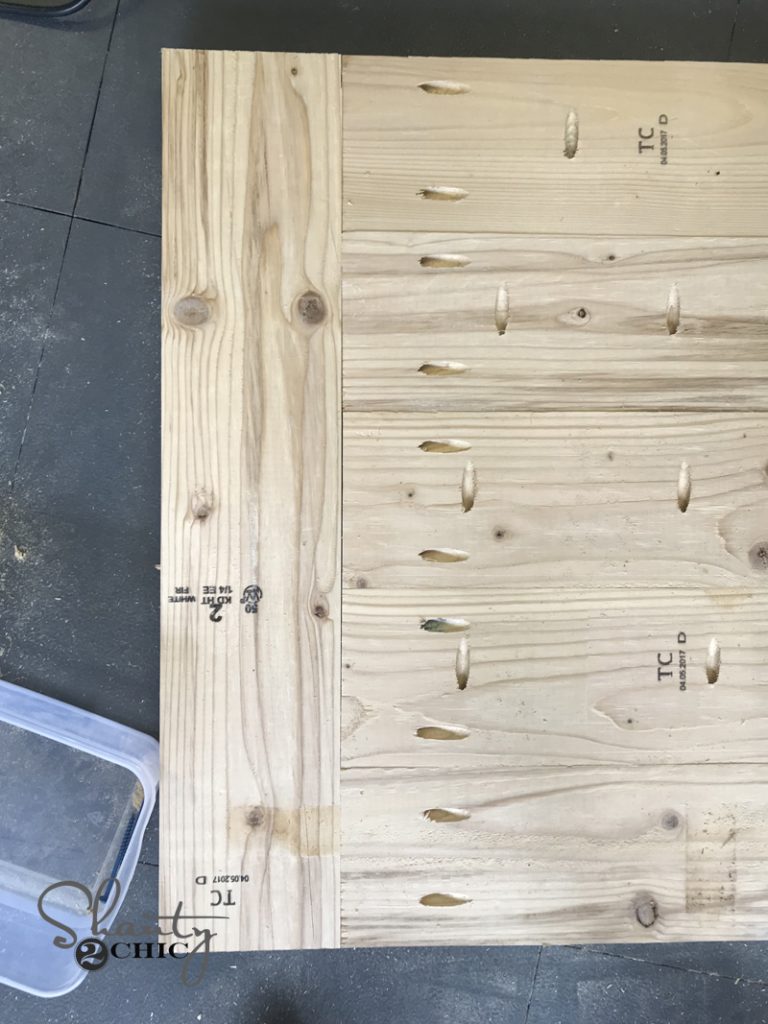
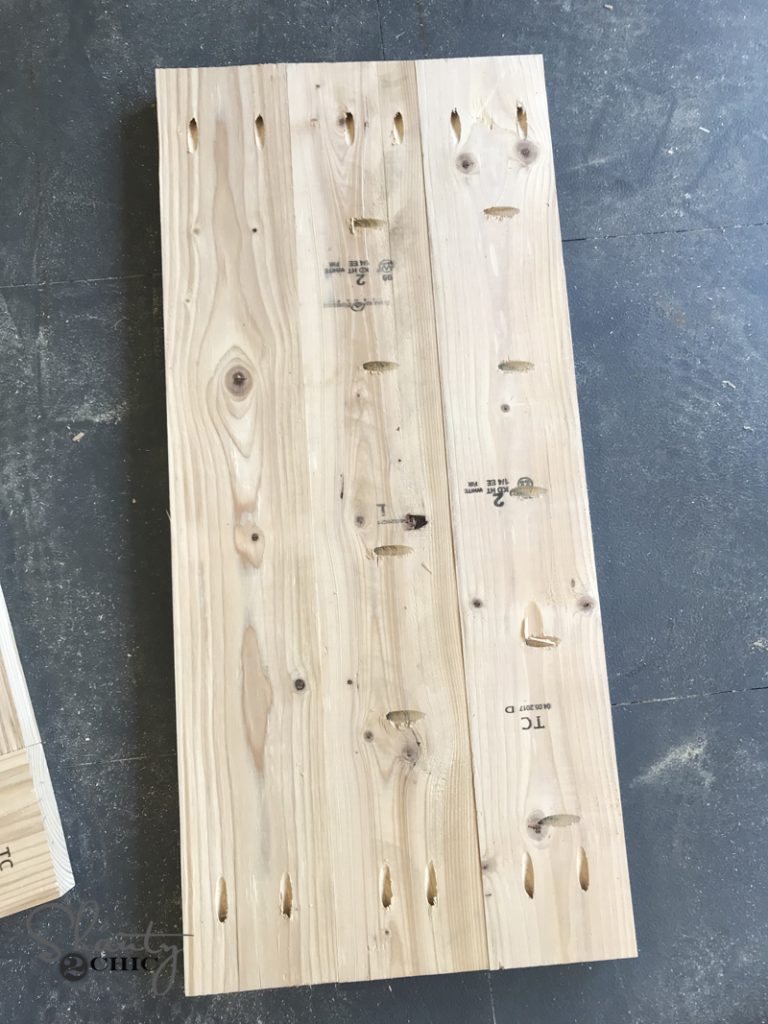
To build the table top, we used our Kreg Jig to create 1.5” pocket holes down one side of 4 of our 5 longer boards, and also at both ends of all 5 boards. Attach the 5 boards to each other first with 2.5“ pocket hole screws, and then attach the breadboards with 2.5” pocket hole screws.
Create the shelf assembly of the table the same way! Attach the three boards to each other using 2.5” pocket hole screws. Don’t forget to add the pocket holes on each end to attach this to the leg assembly later.
Step 3: Attaching the Runner
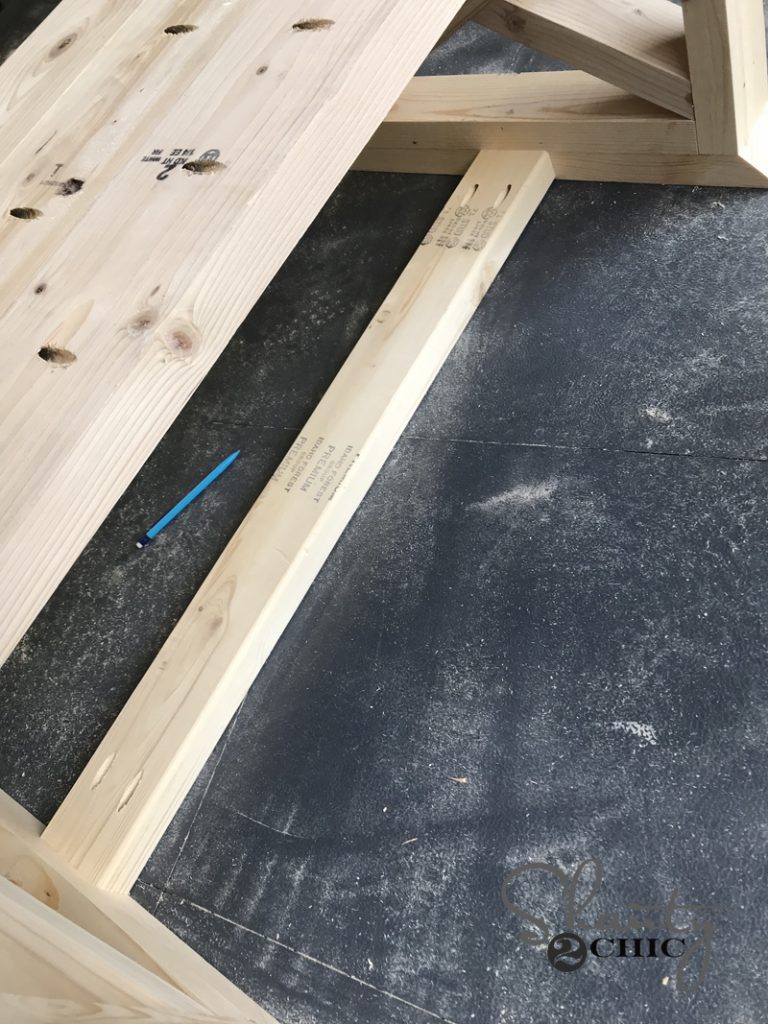
Now attach the horizontal runner that will go between each leg assembly. This is attached using wood glue and 2.5” pocket hole screws into each assembly. You will also attach the bottom shelf to both sides on this part. Make sure your pocket holes are facing down.
Step 4: Attaching the Table Top
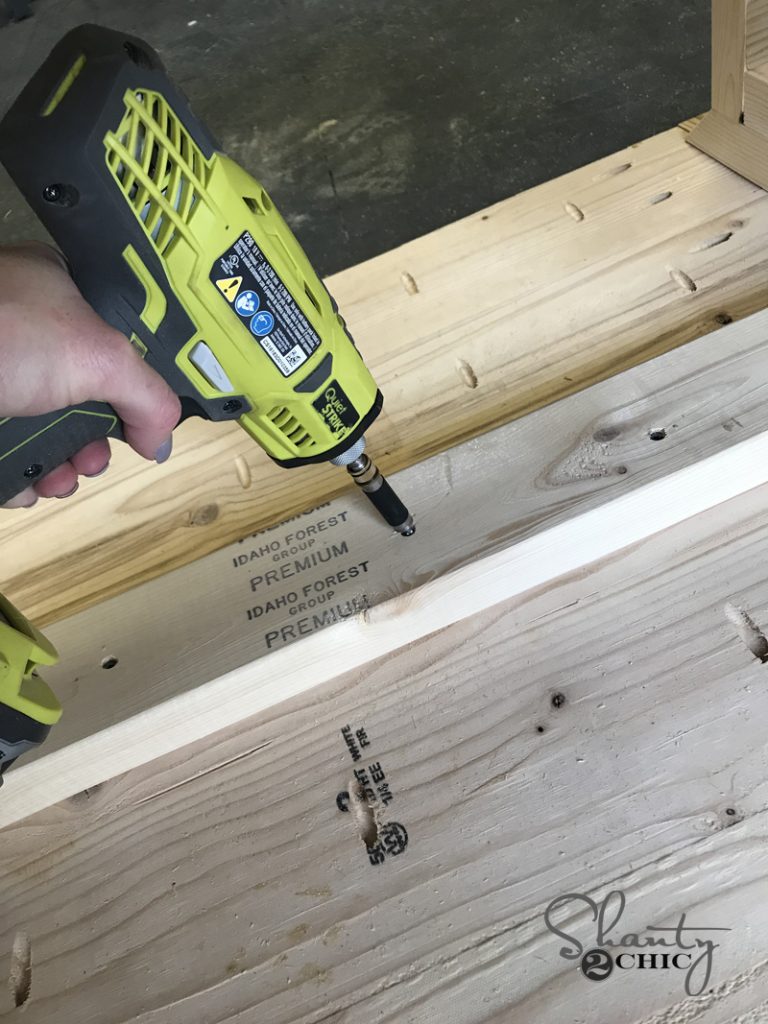
Final step is attaching the top to the table sides! Line the top up evenly on the base. Set the top face down on the ground and attach the base through the horizintal runner using wood glue and 2.5” wood screws.. You can also add a few 2” nails through the top and into the bases.
Step 5: Staining the Rustic X Coffee Table
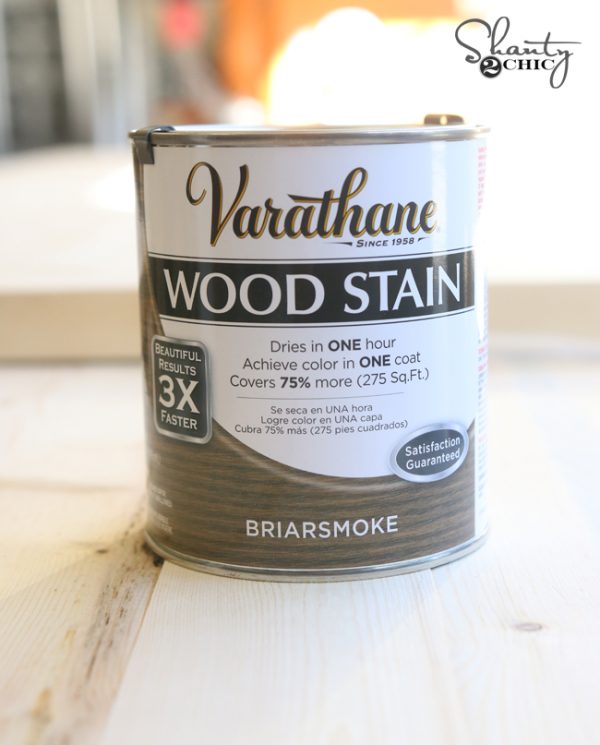
Once I finished the full assembly, I stained the table using Varathane Briarsmoke stain and I mixed it with half natural stain to lighten it up just a bit. I did a 50/50 mix. Just stir it really good. It’s my favorite stain color combination right now. You can find it HERE on Amazon.
I added the decorative hardware last. I found that at Hobby Lobby. This is a link to one of their corner pieces.
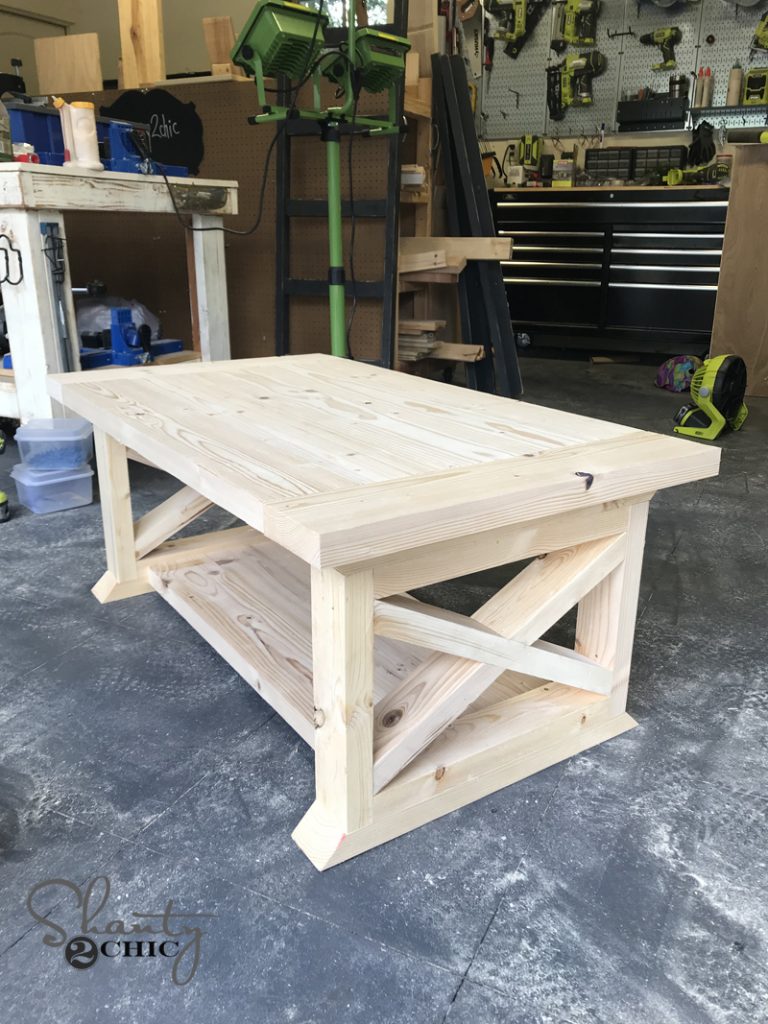
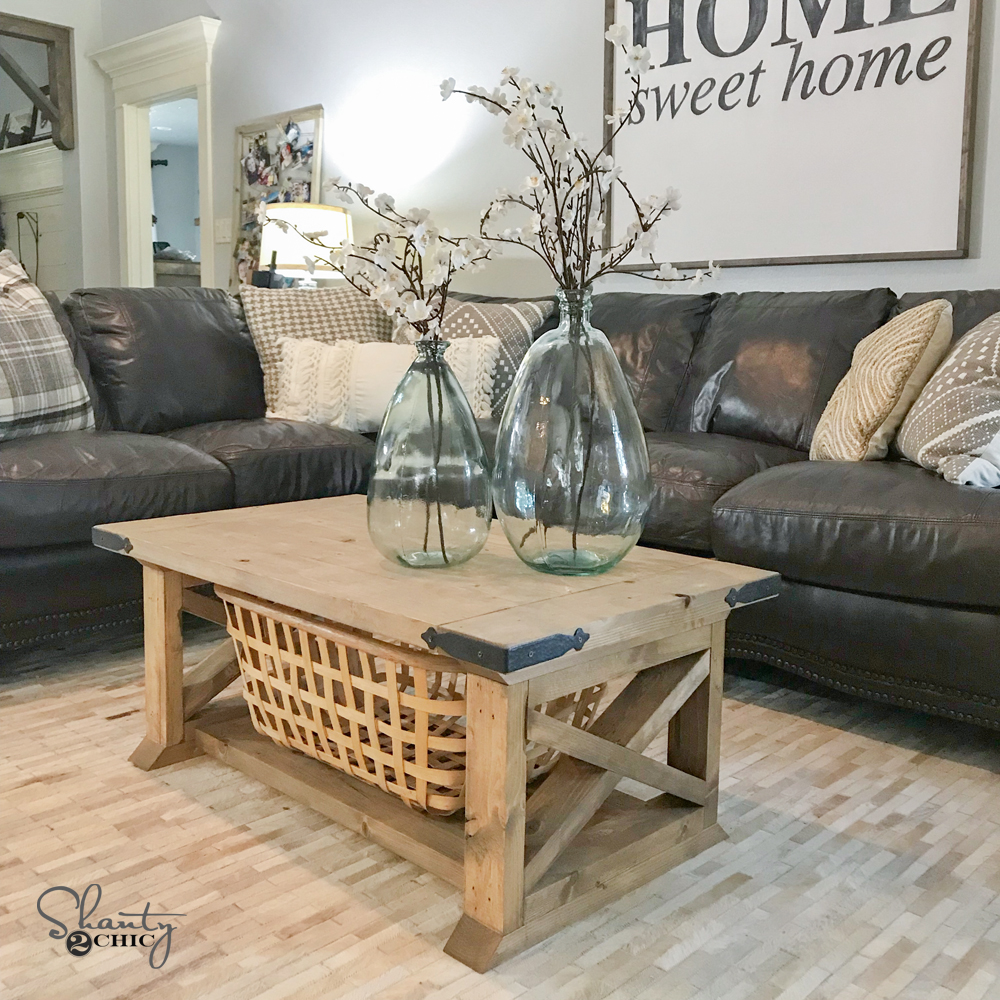
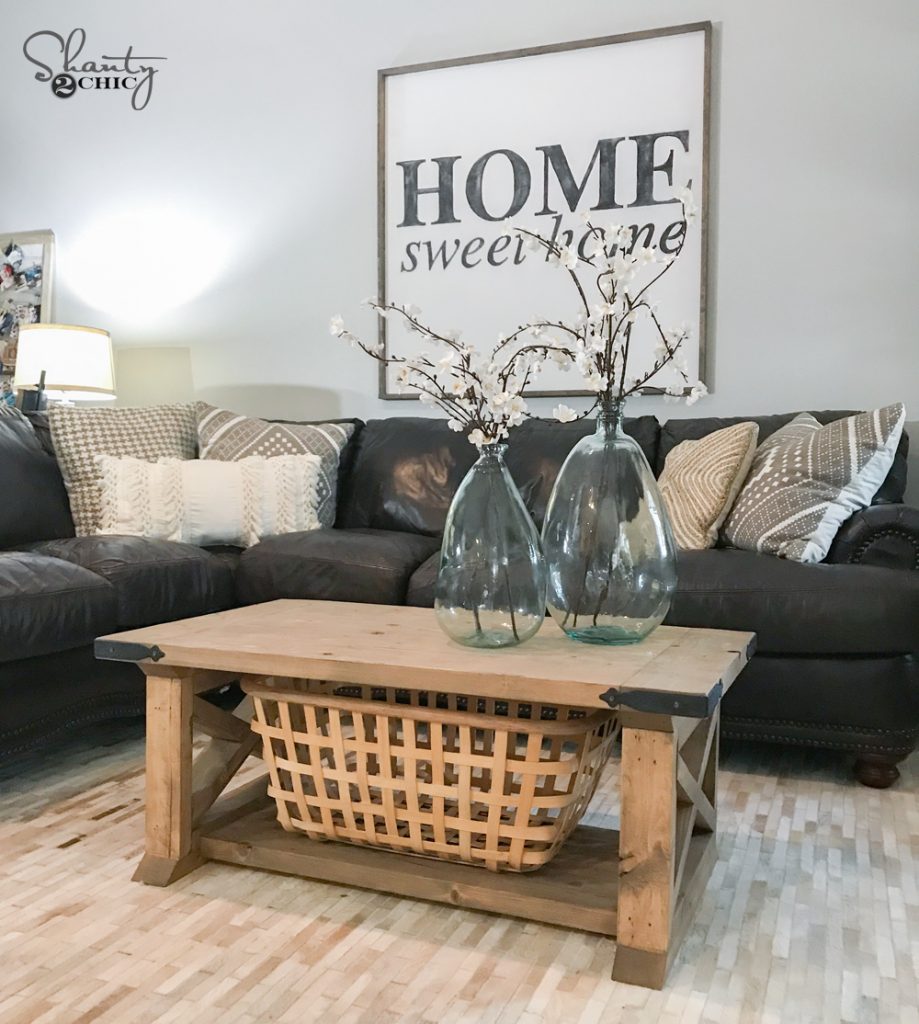
And here is my beautiful table all finished!
I found the glass vases HERE!
I found the flower stems HERE!
The tutorial for the sign can be found HERE!
The tutorial for the corner corbel can be found HERE!
I LOVE how this one turned out! It’s the perfect mix of rustic and modern farmhouse design, the durability, with the framing lumber, is kids-friendly and you really can’t beat the price too! You can download and print the FREE PLANS HERE!



What are the finished measurements?
Hi, I built this without the shelf at the bottom, due to the fact that I have dogs who like to go under the table. My table wobbles, though. Do you or anyone have any advice for eliminating the wobble? It’s stable when shaking the short sides front to back, but wobbly when shaking the long ends side to side.
My husband used these from woodprix and he’s very satisfied. However. This one is awesome.
Do you have matching side (end) tables for the 8 board Farmhouse coffee table? How can I get the material and cut list if you do?
I love the color you used and wanted to do mine the same. Except I missed the detail about mixing the stain…I just used Briarsmoke. I’m not loving how dark and gray it is. I wont be using a one coat, fast drying stain again. It goes on way too thick and the excess wont wipe off. I was hoping for more of a yellow tone to match my house. ?
has anyone tried building the table without ripping the 2×4, 2×6’s just curious about measurements and if its buildable, or should I just rip them. only 1/2 inch needs to be ripped, I would have to do with skill saw since I have no table saw
Does anyone know what the wall color is on this picture?
I have had the email about this post in my inbox since I received it last November, and it will stay there until my husband gets around to building this for me! ? I love it! Also, do you mind telling me where you got the gray plaid pillow on the far left of the photo? I’ve been looking for similar ones for our sofa and loveseat. Thanks!
Hi there,
I just bought the hardware for the corners. I got the exact ones you linked from Hobby Lobby. In person, they look really short compared to the hardware on your table. Are the two the same size/dimensions? Thank you!
Rachel
The Hobby Lobby BLACK FORGED CORNER BRACE at $10 each look like the ones they used.
They are on sale every other week for 50% off
I love this & your videos. It’s really helped my confidence level (as a total beginner.) I’ve made your floating shelves (LOVE them) and the cake stand you did (I’m adding dowels in the middle for the connecting parts so I can take it apart & store it almost flat & not worry about Velcro) I’m wondering if you’d do a console that matches this?
I love this & your videos. It’s really helped my confidence level (as a total beginner.) I’ve built your floating shelves (LOVE them) and the cake stand you did (I’m adding dowels in the middle for the connecting parts so I can take it apart & store it almost flat & not worry about Velcro) I’m wondering if you’d do a console that matches this? I really like Ana White’s x console but liked your legs better!
I too want to know… what kind of wood did you use? Pine, fir or….? I’m never sure what’s best to grab. Do you find furniture grade? Pine is so soft & limited in my area for dimensions. Fir is readily available but I’m not sure how the end product comes out. Thanks!
I built one of these without the Xs (because I have a 2 year old that would’ve been climbing up all day long). It came out awesome. I wish so could share a pic. Thanks for sharing the plans!
What is that black bit you have on your quiet strike?
That is called an apex
Are you going to have plans for matching end tables?
We did our own… just use same dimensions for the X sides… then choose how wide you want the top. Can’t share pics here for some reason.
YES!! I just finished the farmhouse coffee table. It is quite “beefy” and I love it. My family is very impressed with your design. I’ve never used the Kreg before and am sold. Please, please make matching end table plans available. Thank you so much for all you do for the DIY community.