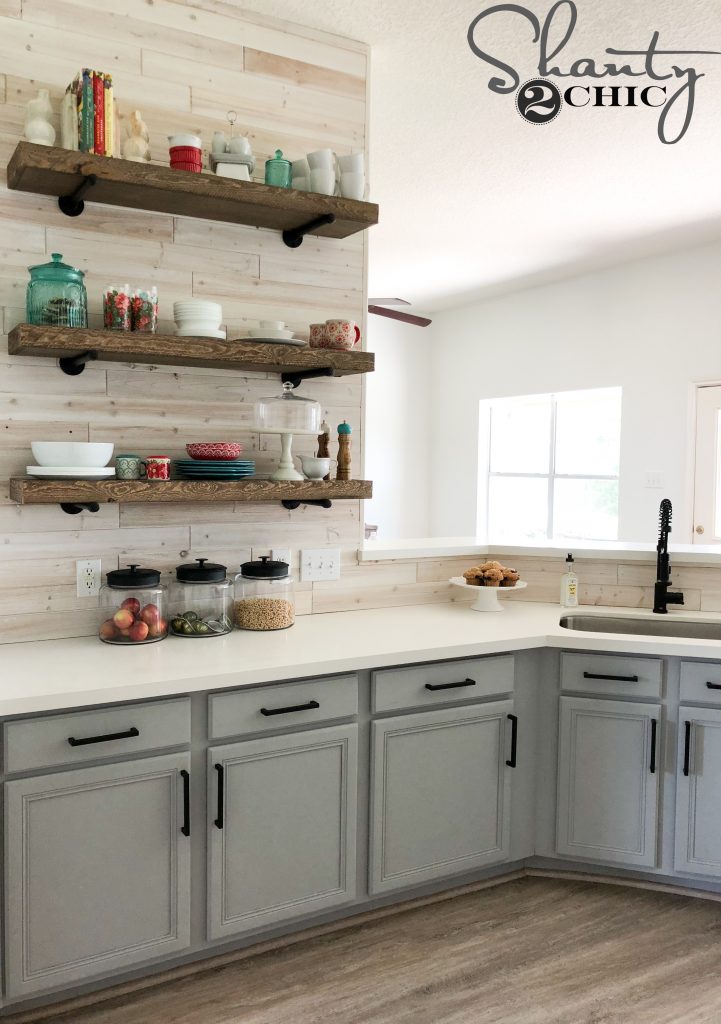
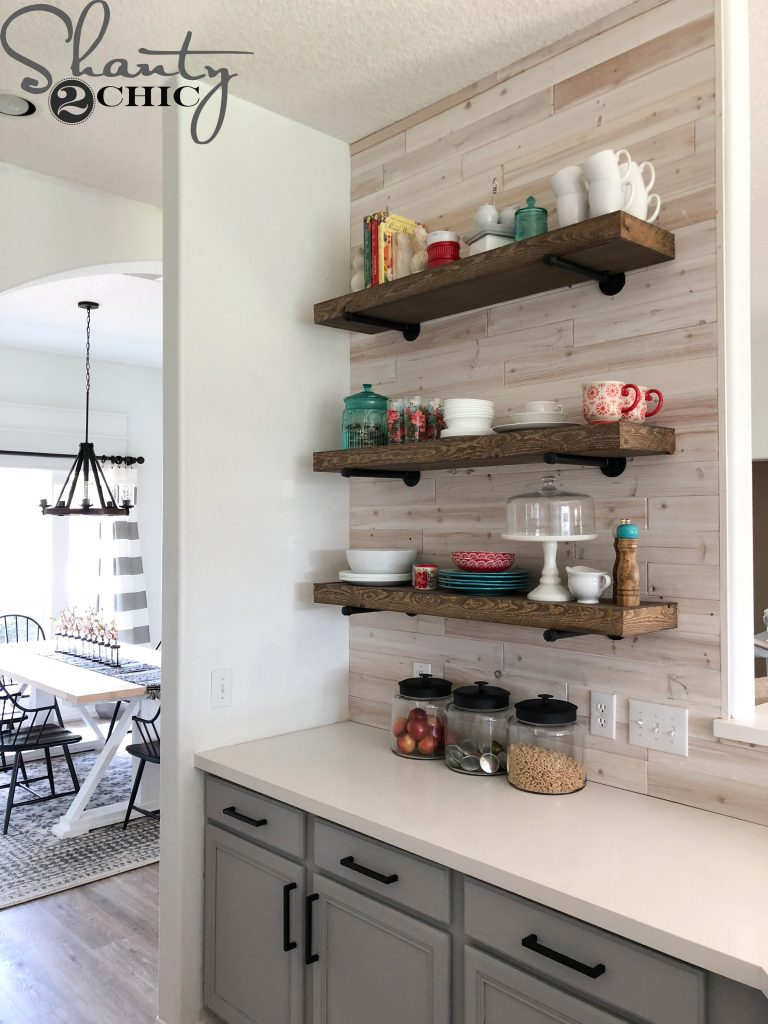
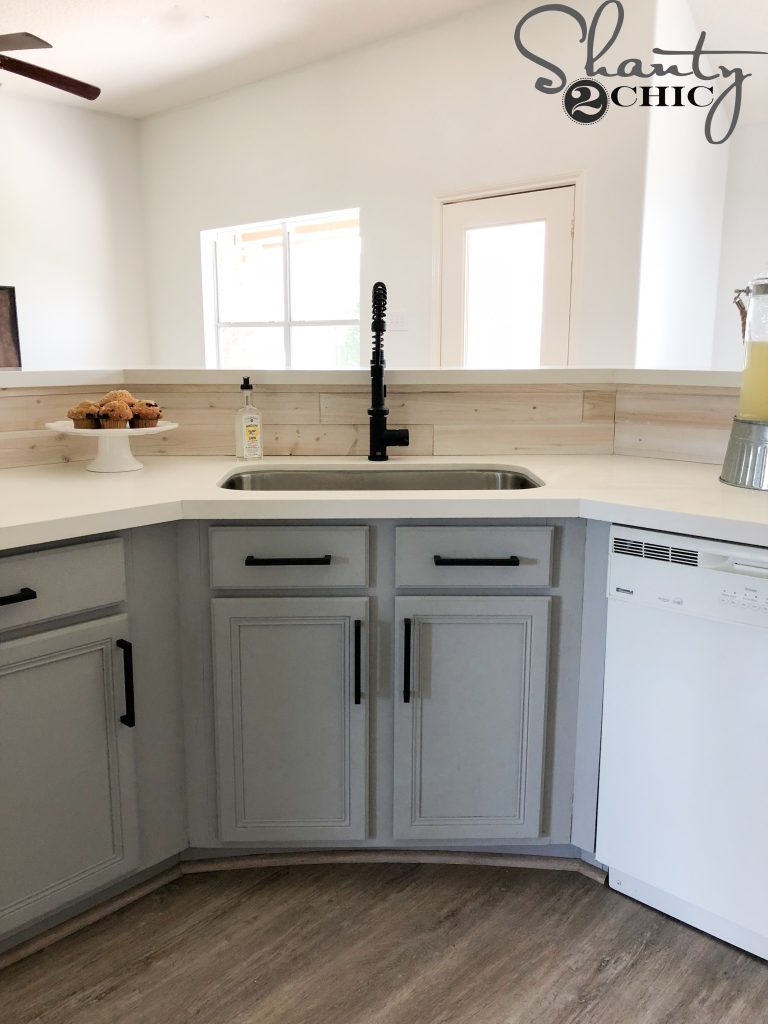
DIY Driftwood Backsplash – Free plans and how-to video live, now!We are back again to share our latest update that we did in our sisters Shanty House Crash series! We took a road trip this summer to her home in Houston, Texas. The goal was to transform her outdated, builder-grade home a custom update. This DIY Driftwood Backslash was our first project to tackle in her kitchen and it really set the whole look for the room!
Just click Play in the box below to watch!
This is such a simple DIY and this is all we used for install:
Ryobi 18-Volt Power Caulk and Adhesive Gun
Ryobi 18-Volt Pin Nailer
Miter Saw
Level
That’s it!
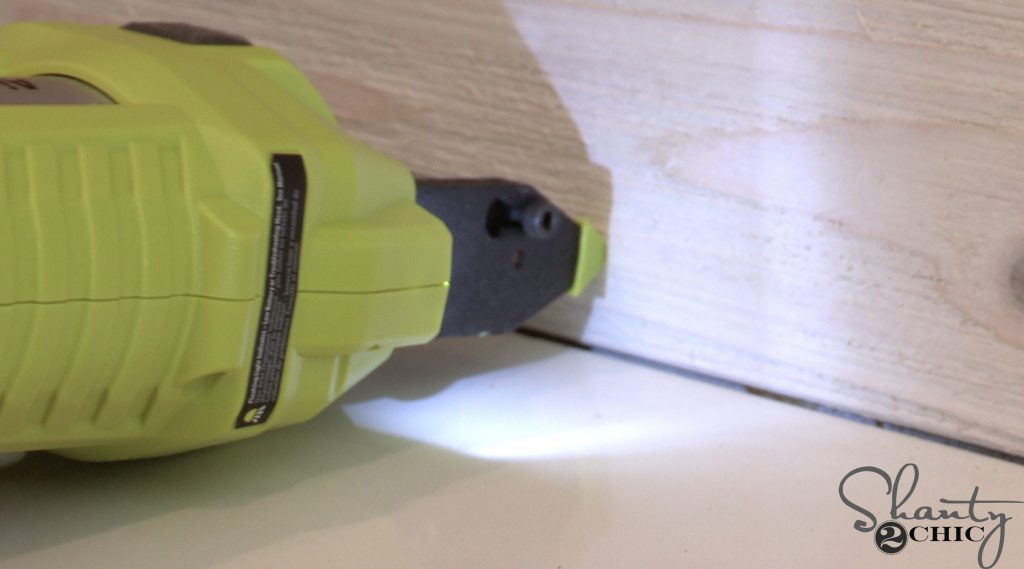
DIY Driftwood Backsplash – Installation
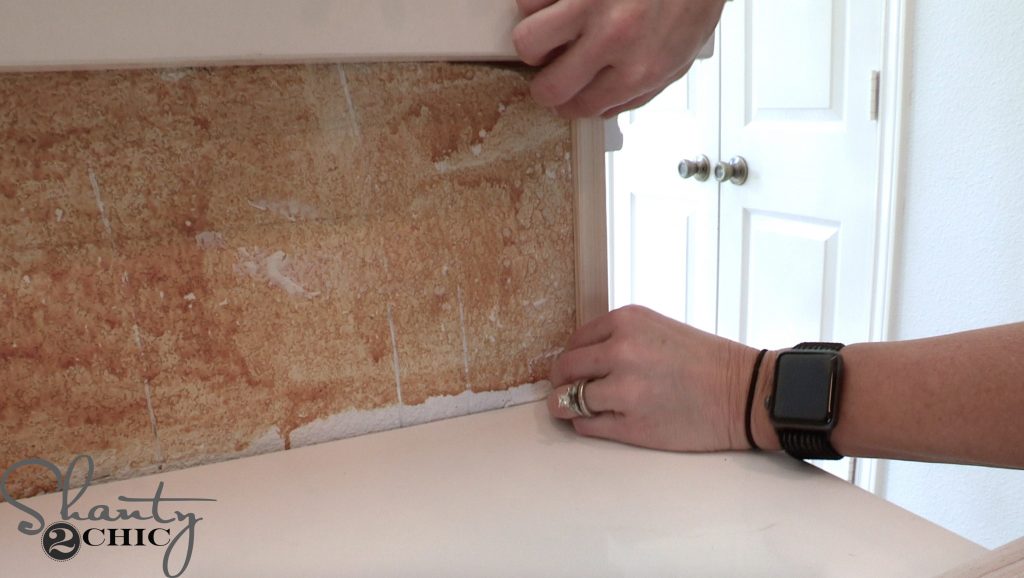
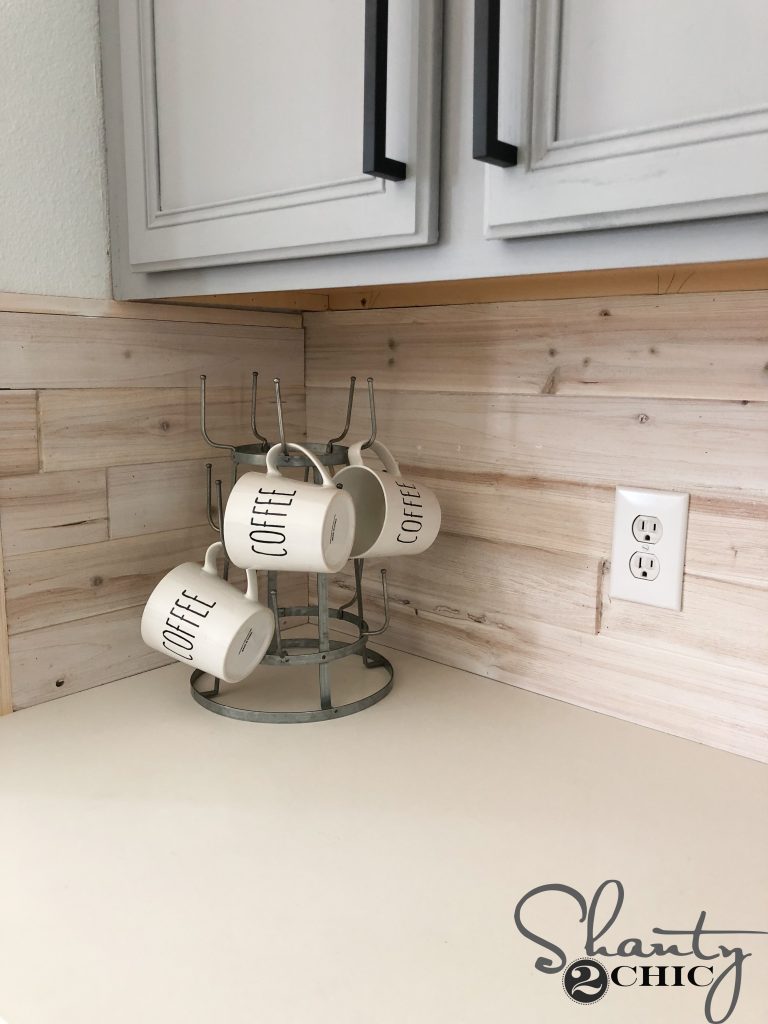
Installing it is very simple! Just add some panel adhesive and attach each plank to the wall with 23 gauge pin nails. Start with the first row, against the side wall. Work your way down the counter top, making sure that the planks remain level with each other.
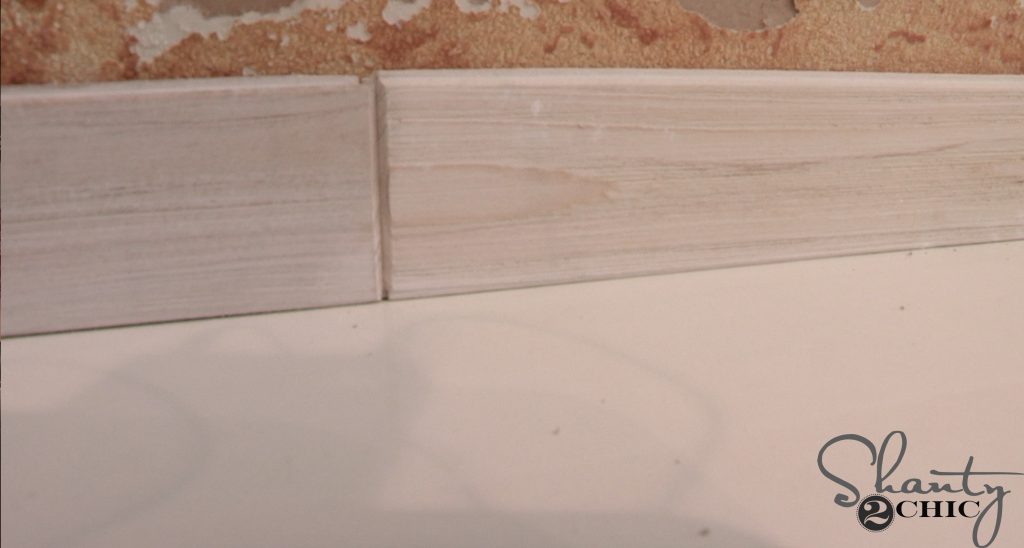
These planks are tongue and groove so they will interlock on each side, top and bottom. The tongue and groove on the first plank (wall side) should be cut off.
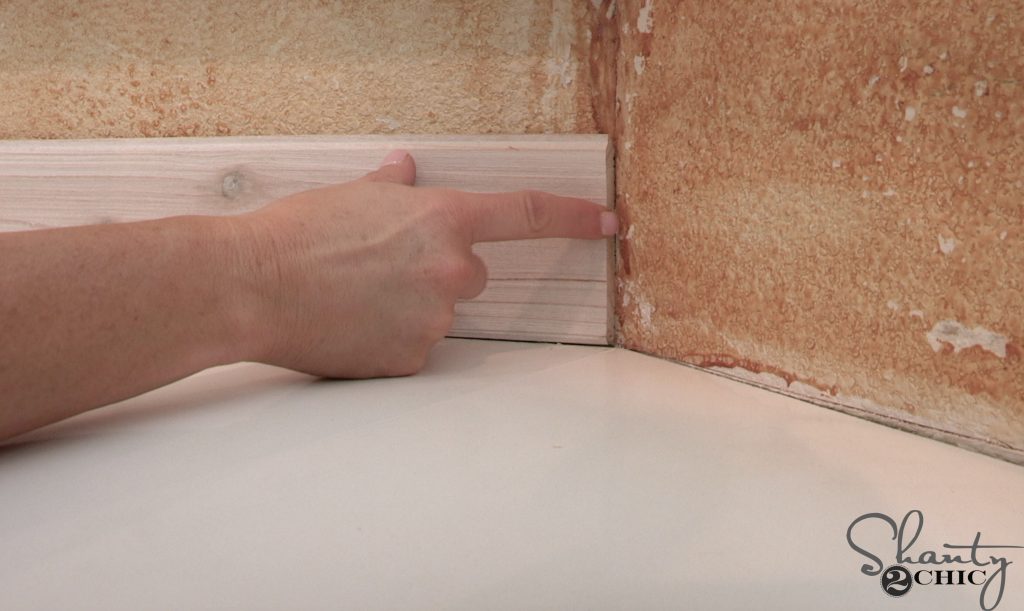
DIY Driftwood Backsplash – Cutting an Edge
If you have a 45° counter wall, cut one edge at 22.5
then, cut the return side at 22.5° as well.
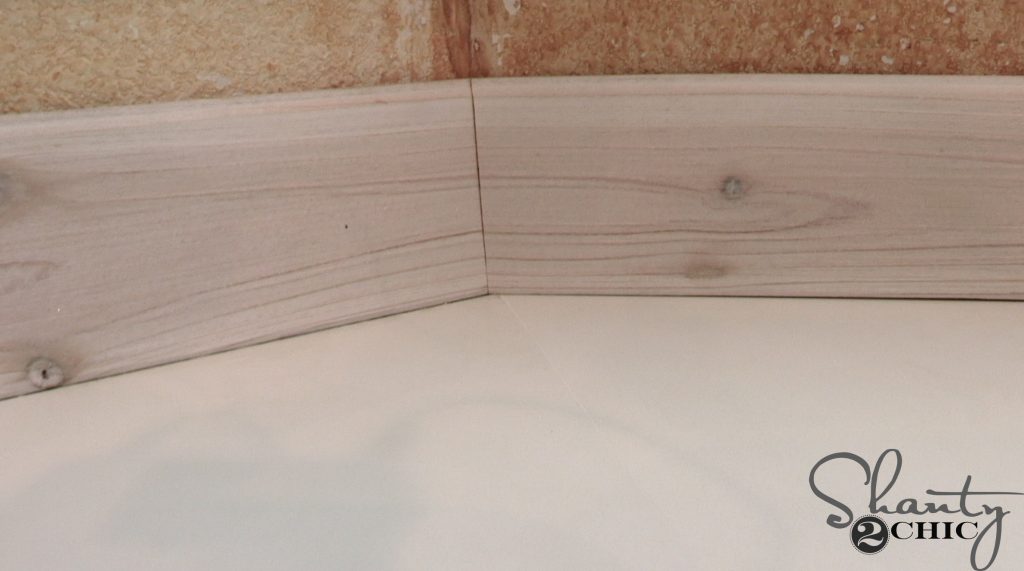
DIY Driftwood Backsplash – Adding Trim
The end of her island is rounded so, we cut a 1/2″ stick of trim
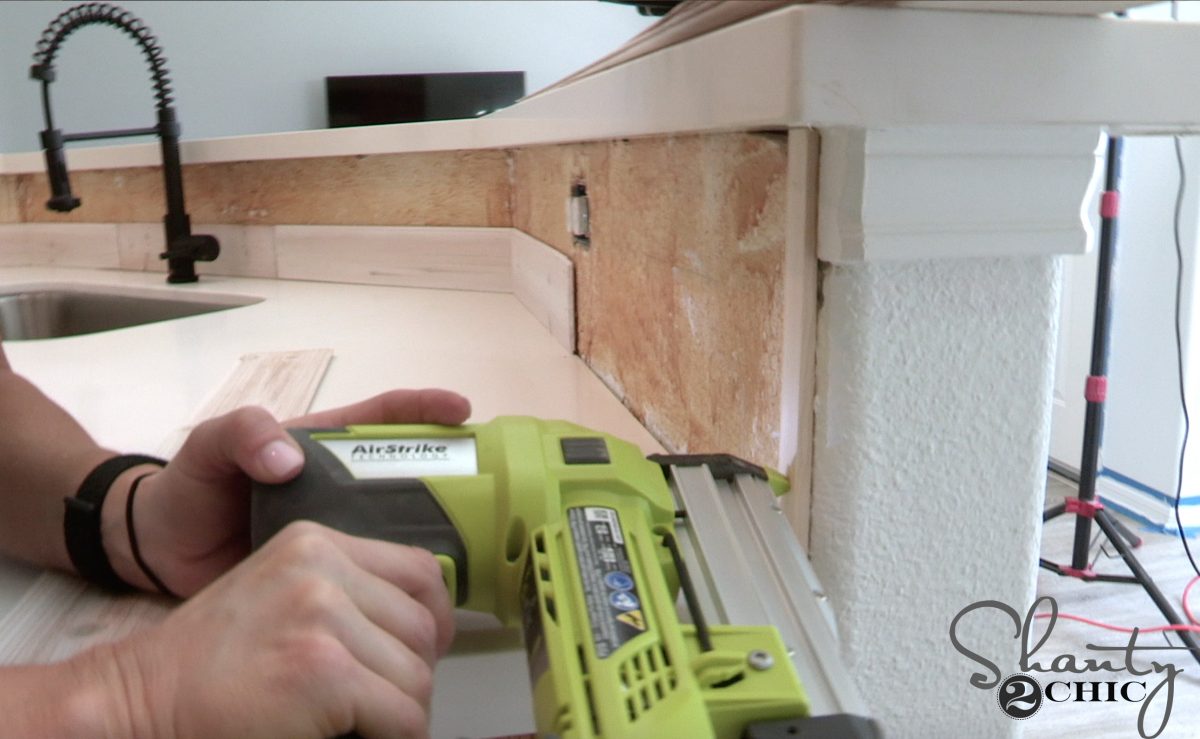
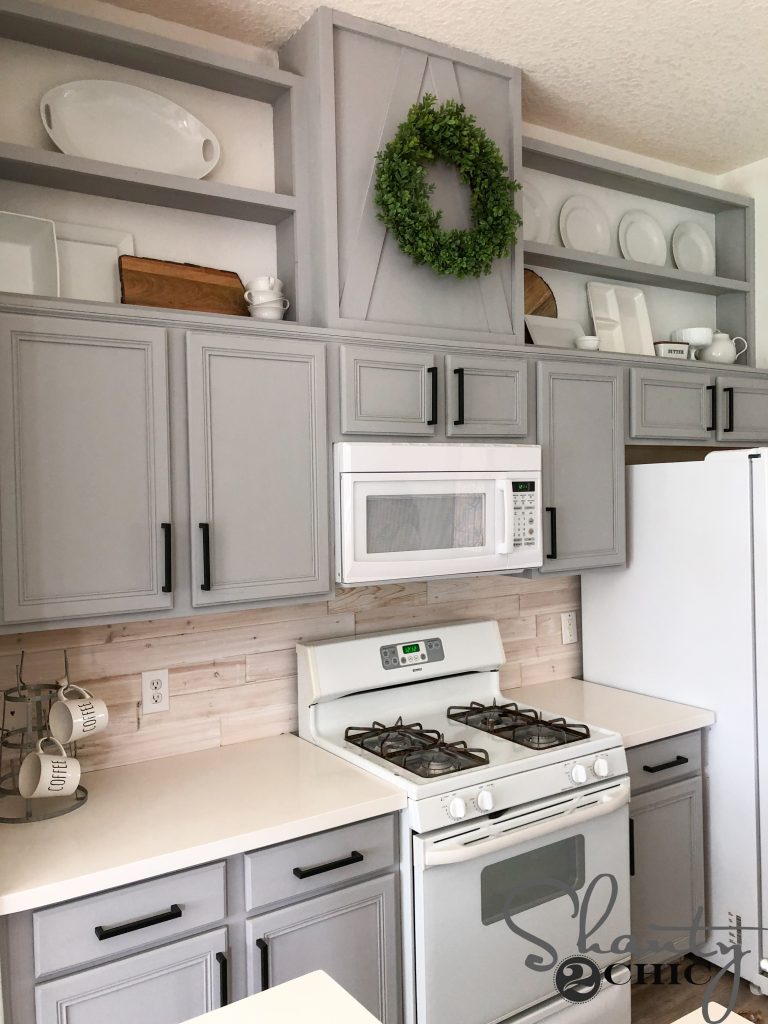
and attached it to the end of the wall with adhesive and pin nails. We dry-brushed some white chalk paint on the trim pieces to tie them in with the drift wood. Once the first row was complete, we worked our way up, row by row. Make sure to stagger the seams from one row to the next.
DIY Driftwood Backsplash – Add Your Finish
Because this is a backsplash, we added a protective finish. You can find the finish we used HERE. We are super happy with the way this DIY Driftwood Backsplash turned out and at only $2 per square foot – it’s not only a beautiful option, it’s affordable!
Check the links below for sources in this space!
Mugs
Flooring
Items on Pipe Shelves:
We can’t wait for you to see the rest of the projects we did in her home. Make sure to subscribe to our Youtube Channel so you don’t miss anything! Here’s what’s coming up!
Farmhouse Dining Table – Free plans and how-to video live, now!
DIY Driftwood Backsplash – Free plans and how-to video live, now!
How to Add Height to Kitchen Cabinets – Free Plans and how-to video live, now!
Custom Cabinet Trim Hack – Free Plans and how-to video live, now!
How We Paint Cabinets –Free Plans and how-to video live, now!
How to Frame and Cover a Crescent Window – Free Plans and how-to video live, now!
DIY Round Kitchen Table – Free plans and how-to video live, now!
DIY Pipe Shelves – Free plans and how-to video live, now!
DIY Barn Door for the Pantry – Free plans and how-to video are live, now!


This driftwood backsplash looks incredible—such a creative way to bring natural texture and character into the space. I love how the different tones and wood grains add depth while still keeping the design warm and inviting. Projects like this really show how versatile wood panels and reclaimed-style materials can be for interior accents. We’ve found resources like https://plywoodbazar.com/
useful for exploring different wood and panel material options that work well for unique DIY wall features like this. Beautiful work!
Was the counter top changed to painted?
The Link for the finish y’all used still doesn’t work. Could you add it please? Also, did you apply the finish before or after install?
Can you link the finish you used? That would be so helpful! Thanks!!
There is nothing linked for the clear coat you used. Can you tell me what you used? Thanks!
We’re thinking about updating our kitchen floors. What flooring is in this kitchen?
This turned out so pretty. I love the color of the wood!
This is beautiful!! We have a funny kitchen set up where our stove is right next to the fridge (I mean they literally touch each other) so i am trying to figure out a backsplash that could also continue onto the wall. Question…I saw that you used a poly to protect it. Did you apply that before or after you installed it on the walls? This might be a great solution to my problem!!
I really like your driftwood backsplash idea and would love to do something similar, but I’m curious about running wood behind the stove. Any danger from heat? Anything I should consider when installing to avoid fire threat?
I sure appreciate your tutorials and the care you give in answering questions and guiding others!
I’m concerned also. Driftwood behind the stove, since mine is gas and flat. Gas knows is on the front.
I am loving the tongue & groove backsplash for our laundry room/bathroom remodel we are currently knee deep in! I did not see where this came from, or any information on the product as it is perfect – and inexpensive!! If you could let me know, or update this email/post/information, I would be so happy!!
What color of kilz chalk paint did you paint the cabinets? I read through the Instagram posts and platinum ring and chalk gray are both mentioned. Thanks!!
It is beautiful and I love the cabinet refinish to compliment the look. Good job ladies. A coulple questions though. How did you address the wall outlets? Did you have to cut out the areas for the covers extra large and set them inside of the backsplash material or did you have to move the actual outlet? I tried this and my material was thicker. My outlet covers wouldn’t fit. Thank you
Where did you get the tongue & groove for the backsplash? This is just what I’m looking for for a bathroom backsplash! Thanks for your help!
Hi, love the backsplash. I tried to select the HERE link to what finish you used to protect it from water and it didn’t work. Did you just you polyurethane? How many coats? Etc…
I had the same problem
I love you girls & have been a huge fan of your diy projects & plans for a while now, but this house-crash has prompted a whole new level of inspiration for my kitchen! Y’all make it look so ‘do-able’! Thanks for the upcoming timeline! I can’t wait to try it all!