Learn how to build this easy DIY Outdoor Lounge chair with free plans and a how-to video by Shanty2chic!
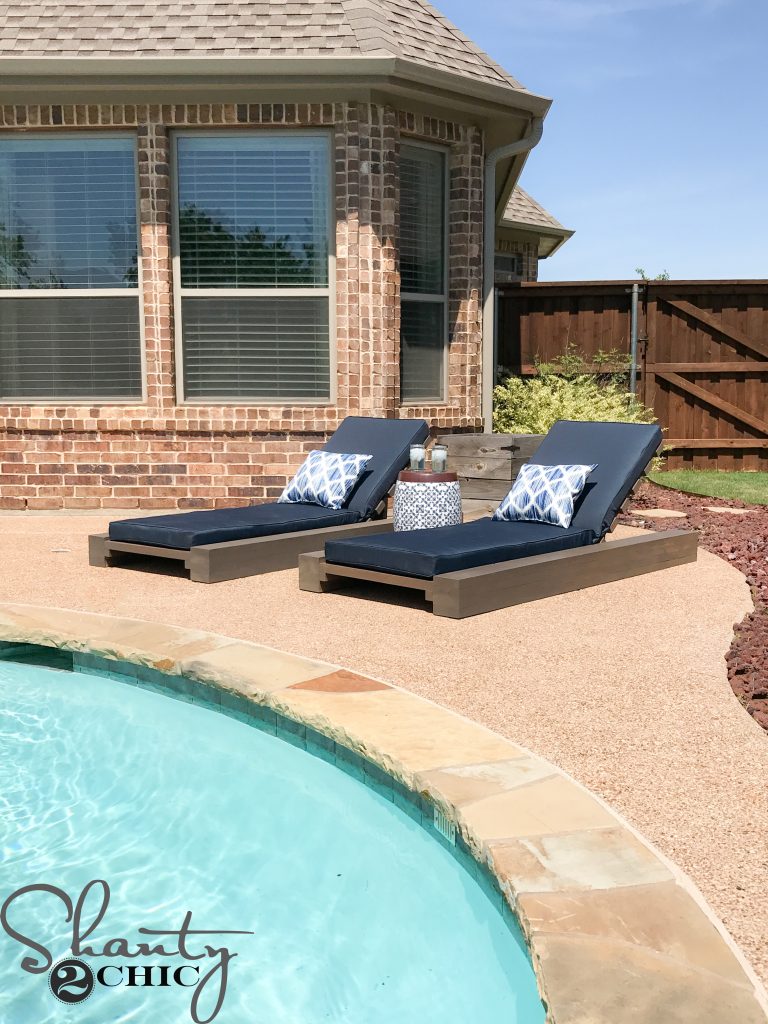
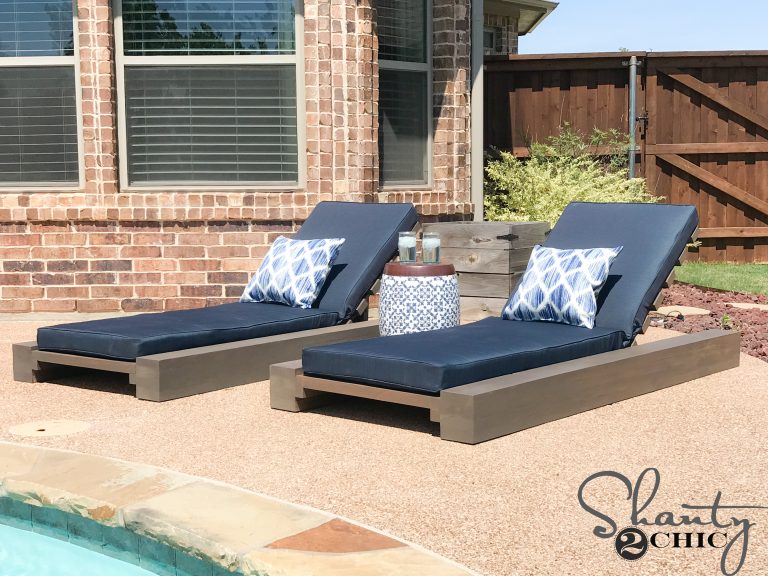
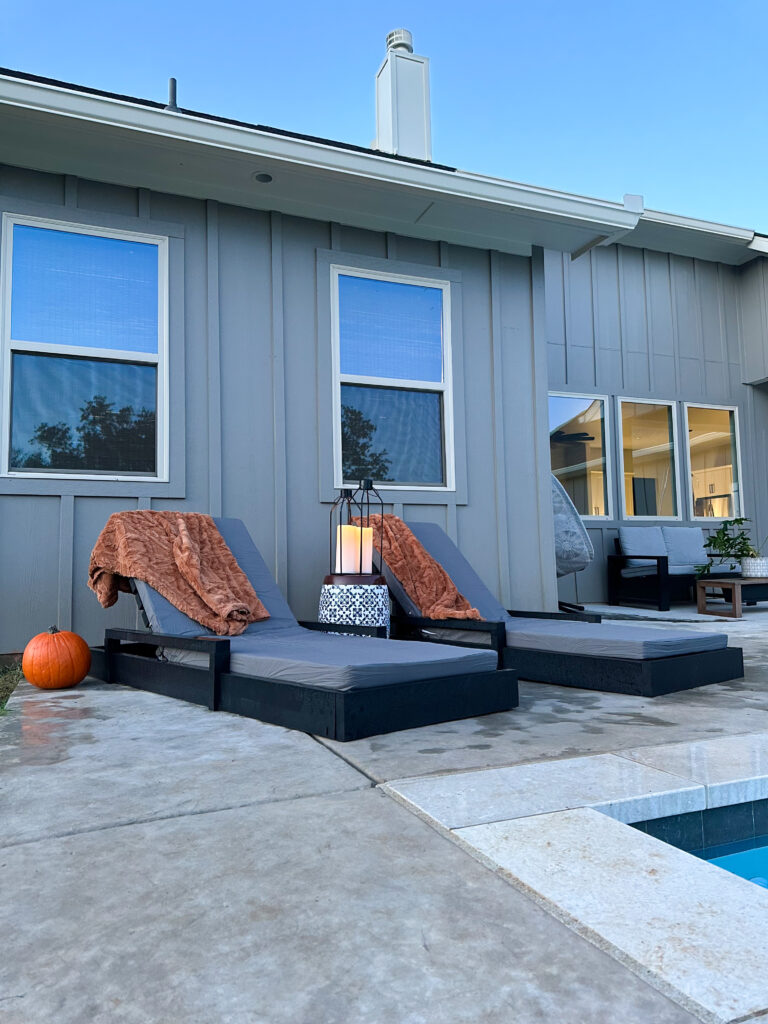
It’s officially SUMMER break, here in Texas, and it is already feeling every bit of 100 degrees! I’ve been dreaming, all winter, of a chunky set of DIY Outdoor Lounge Chairs for our back patio so I decided to give away my old ones and design a new set!
I couldn’t love them more! Did I mention that I built them for about $85 in lumber? Ok, I love them more 😉
Come build them with us on our Youtube Channel! Just click HERE or the link below to watch!
Fun and easy right?!
Don’t forget to download the FREE printable plans HERE and follow along with the pictures below!
I scoured the internet looking for affordable, quality cushions and found these from Target. I designed the lounge chairs based on the dimensions of the cushions. You can find the cushions HERE.
Let’s get to building!
Table of Contents
How to Build a DIY Outdoor Lounge Chair
Building the Sides of The DIY Lounger
Step 1: Ripping the Round Edges Off of the Boards

To begin, I ripped the round edges off of every 2x board. This is not a necessary step but it will give smooth straight edges on the boards, which will help the 2×6 sides to look like one giant beam. Note: As mentioned in the plans, I also ripped my own 2×2’s from 2×4. This saved me about $15 in lumber.
Step 2: Cutting the Boards to Size

Once the boards were ripped, I used my miter saw to make every cut.
Step 3: Sanding
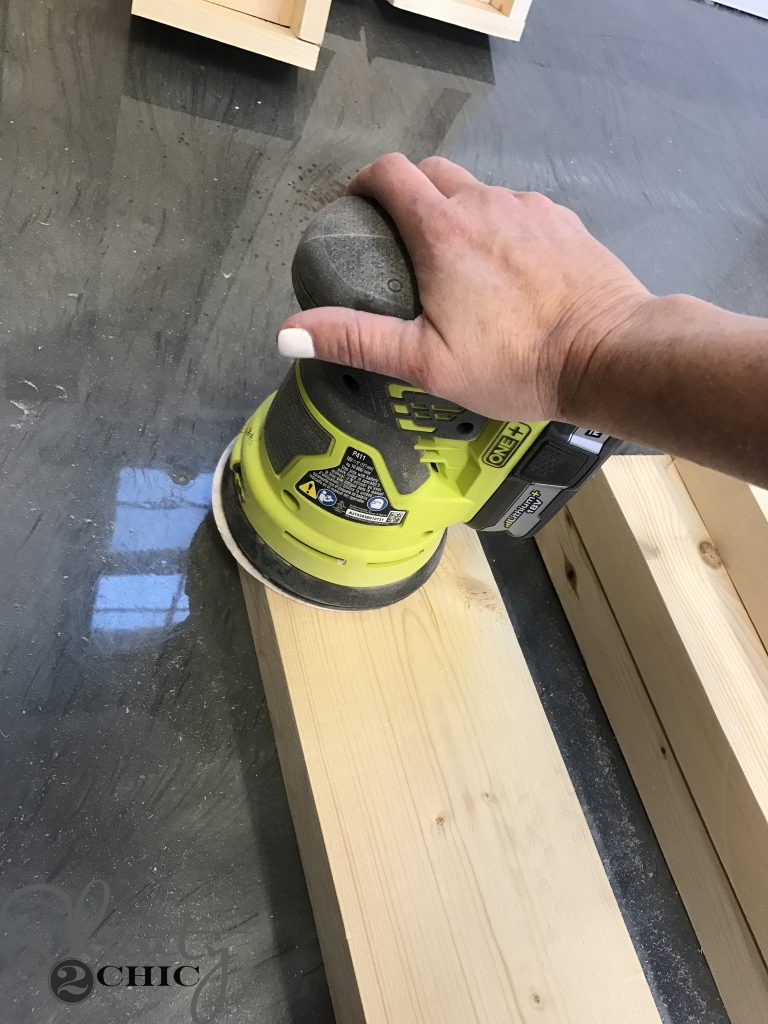
Then, I sanded the face of every 2×6 board.
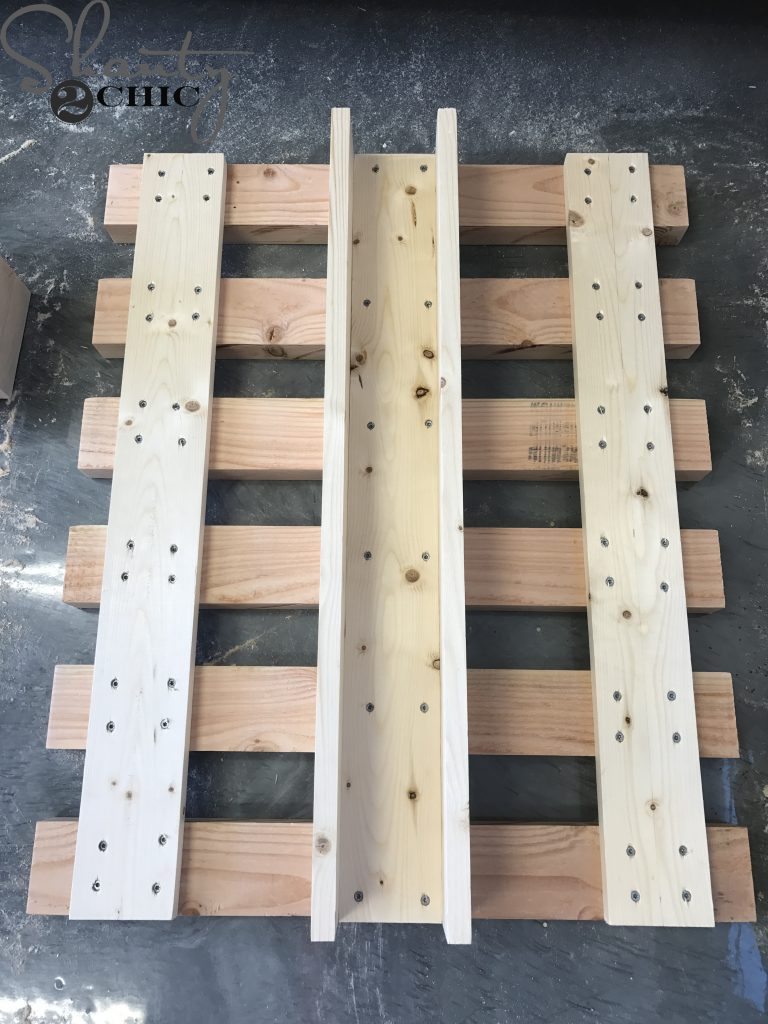
Step 4: Combining the 2×6 Boards
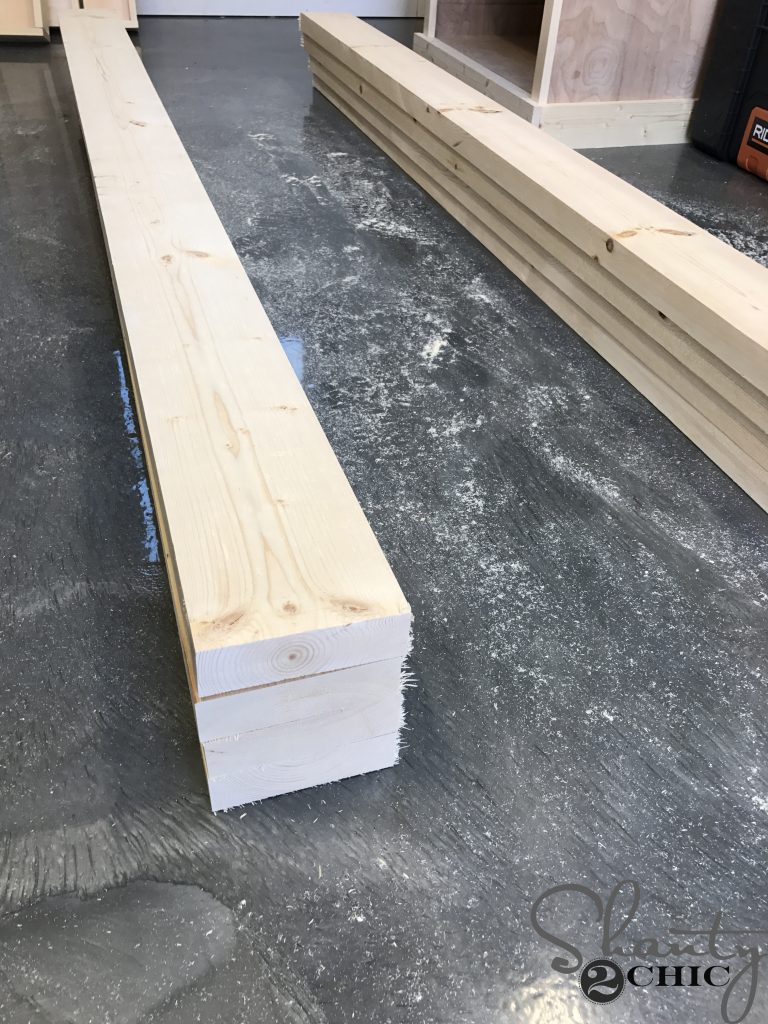
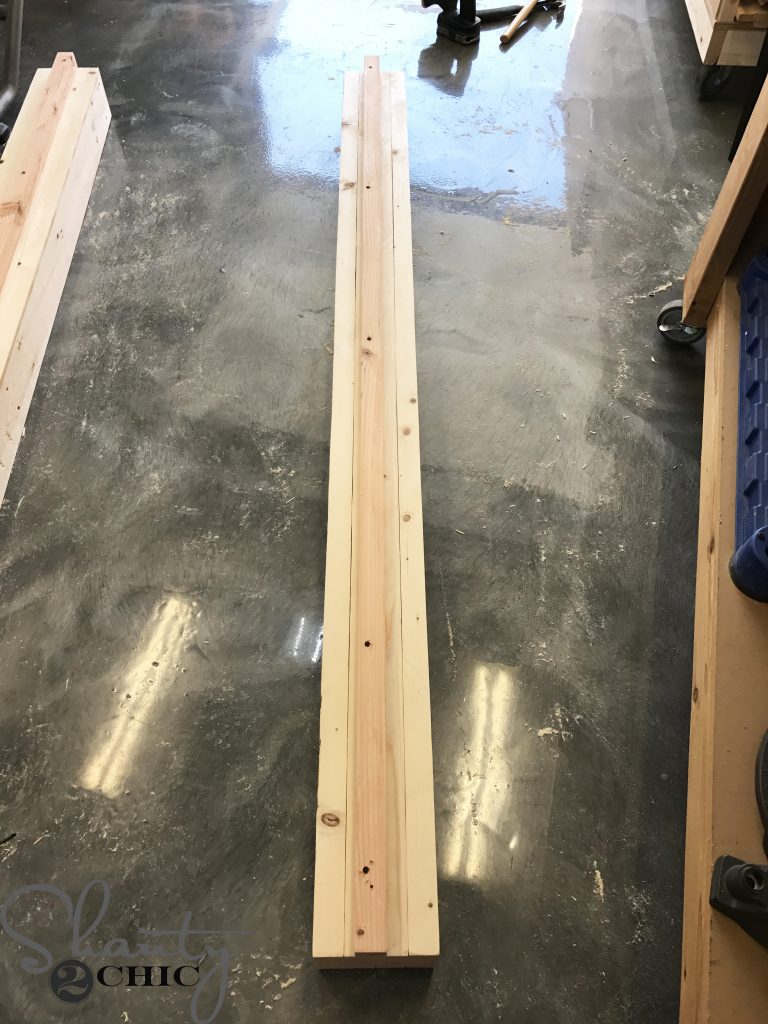
Next, I stacked the 2×6 boards, four boards high, on top of each other.
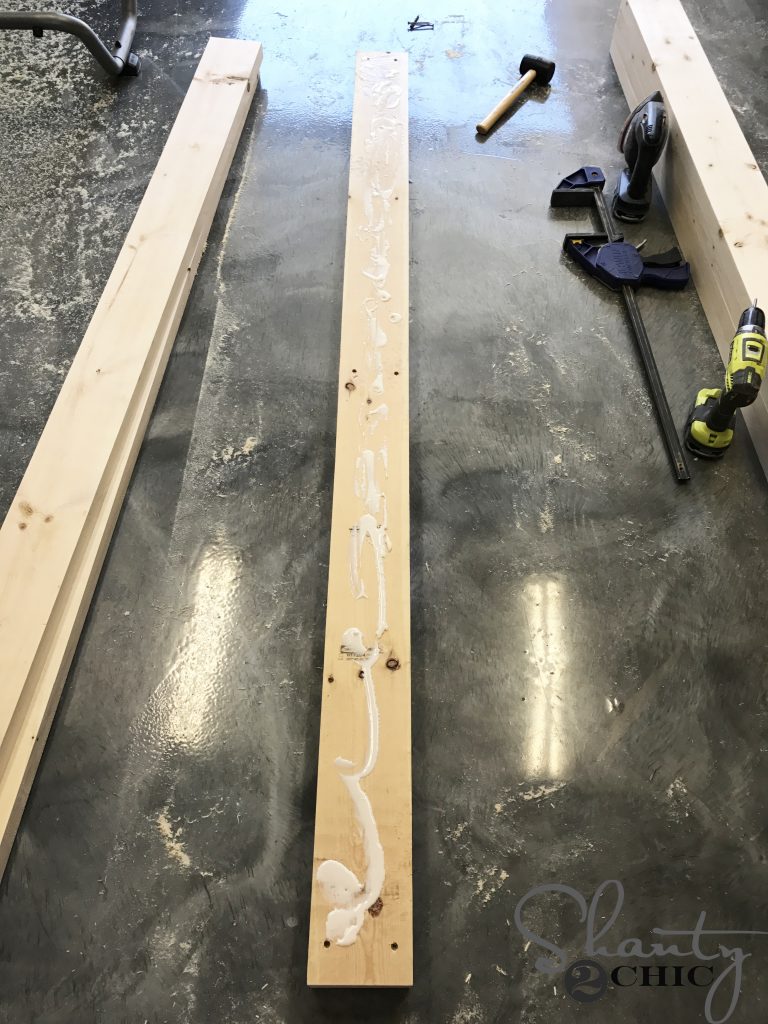
To attach the 2×6 boards start with the top piece. Flip the board upside down and apply a generous amount of wood glue to the bottom of the board.
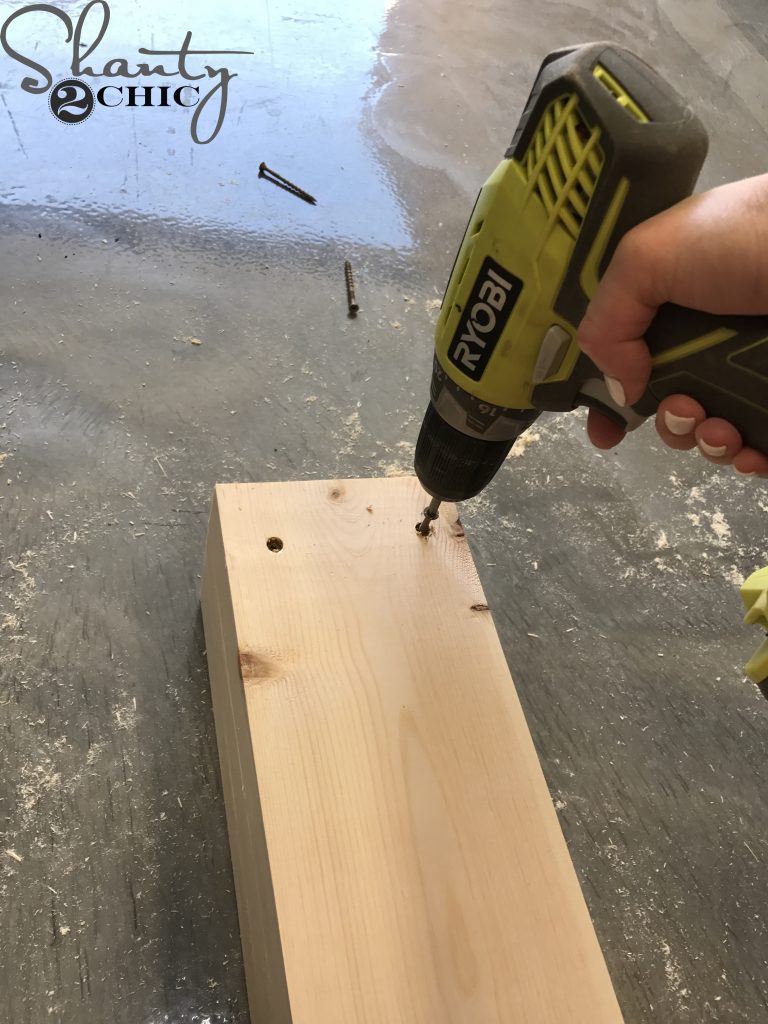
I stacked the next board, upside down, and attached it to the top board with 2 1/2″ deck screws (or exterior wood screws). I put about 10 screws down the length of the board. Remember, this is upside down so the screw holes will be hidden, once we flip it over.
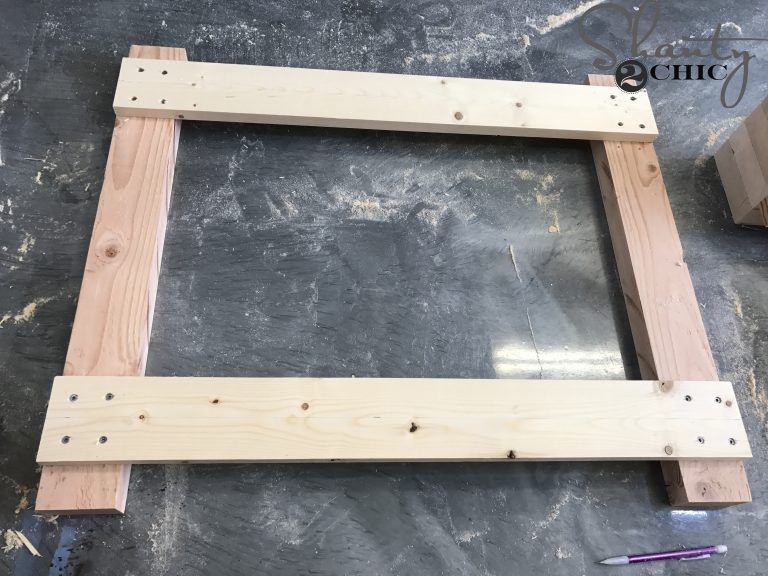
Step 5: Attaching the Cleats
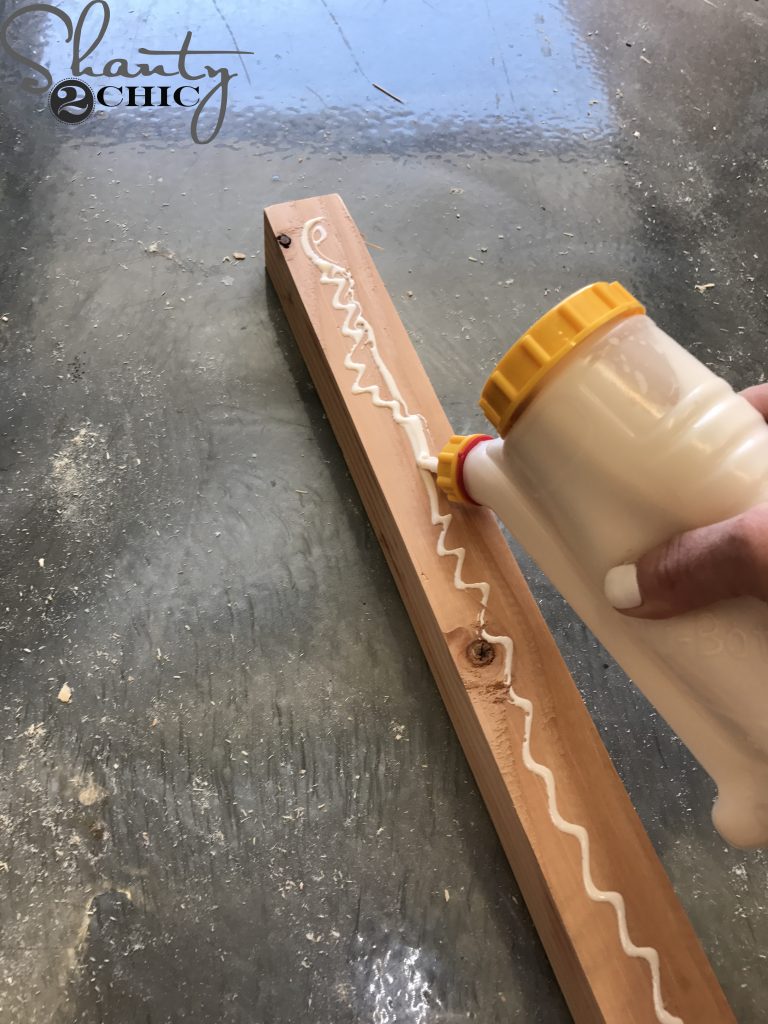
Once the two sides were assembled, I applied wood glue to each 2×2 cleat. This is a Glue Bot and you can find it HERE on Amazon. It’s our new favorite 😉 No clogging and you can apply glue with the bottle upright!

I attached the cleat, to the inside of each 2×6 side, with 2 1/2″ deck screws. I used about 5 screws down the entire length of the cleat. Refer to the plans for proper placement.
Here is one side with a cleat.
Back Assembly
Step 6: Creating the Arm Guide

Next, I assembled the guide for the back rest of the chair. To do this, I applied a thin line of glue to both sides of the 1×4 piece.
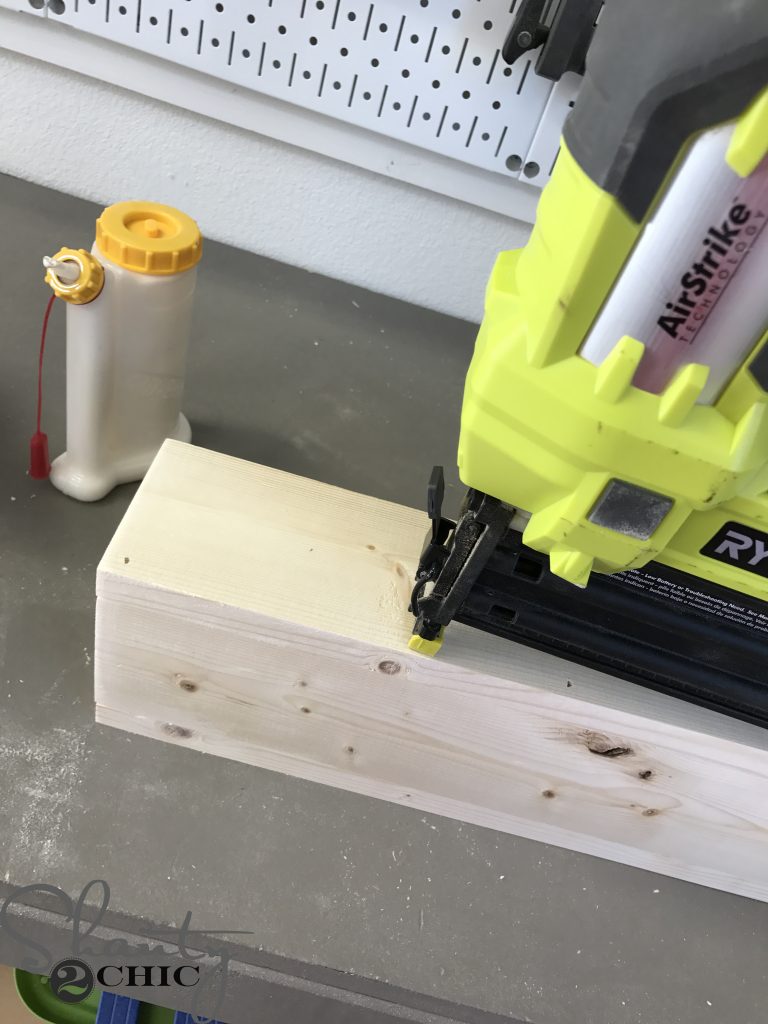
Then, I used my Ryobi 18-Volt Airstrike Nailer to attach the 1×2 pieces to the 1×4.
Step 7: Attaching the Back Slats
Time for the back rest assembly. I started by attaching the back supports to the top and bottom 2×4 slats. I used wood glue and 1 1/4″ deck screws from the back support, into the slat.
Then, I used the spacer block (noted in plans) to space the rest of the slats out evenly. I attached them the same way.
Step 8: Adding the Arm Guide
Finally, I attached the guide to the slats with wood glue and 1 1/4″ deck screws.
Building the Bottom Seat
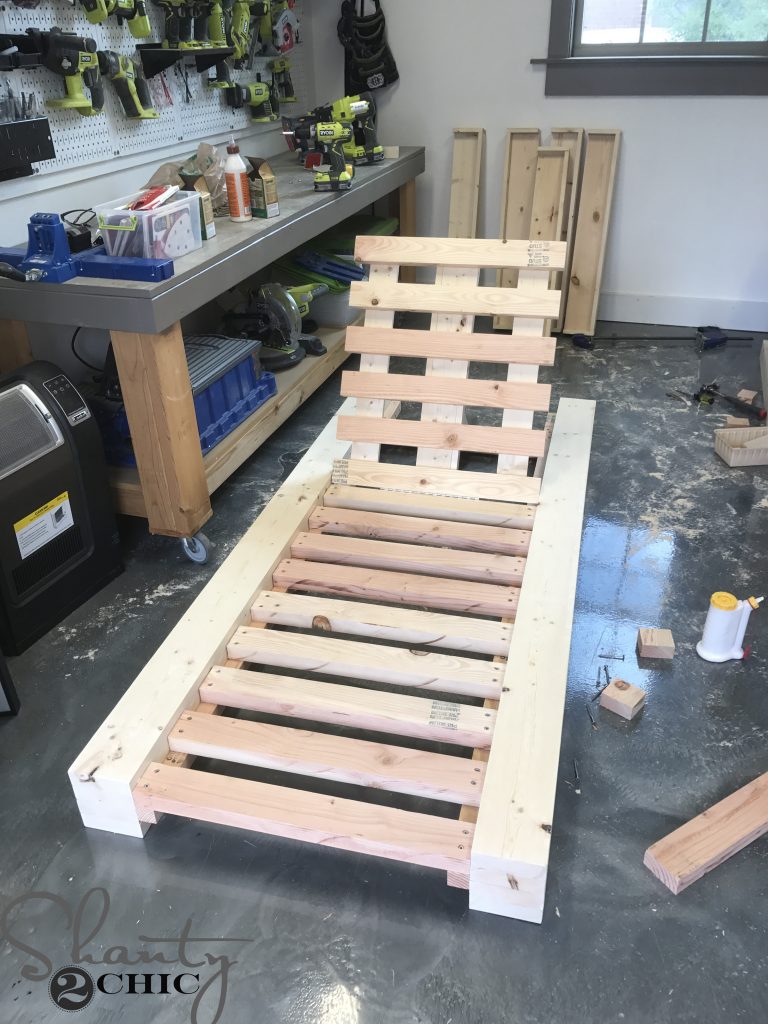
Step 9: Adding the Slats
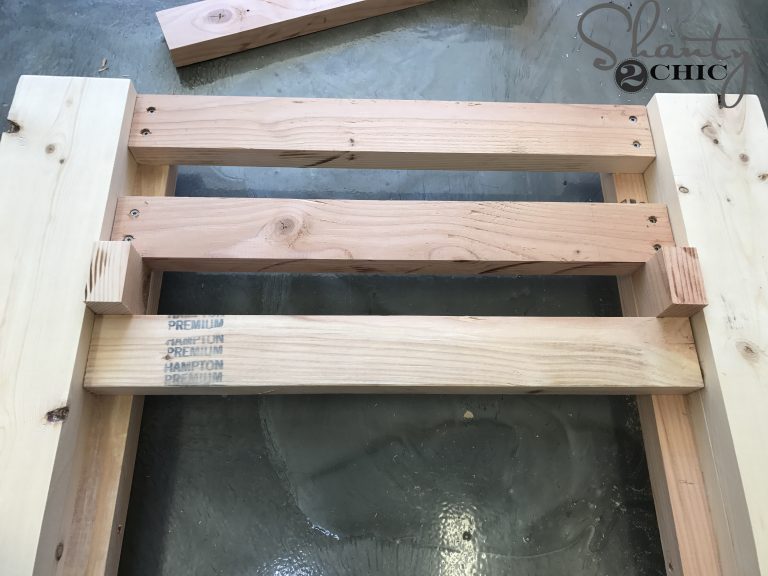
Once the back rest was assembled, I moved to the bottom of the chair.
Start with the last slat, at the foot of the chair, and work your way up. Use the spacer blocks as guides for spacing. Attach every slat with 2 1/2″ deck screws and wood glue.
NOTE: Before attaching the final slat, lay the back rest on the cleats, flush with the back of the chair. The final slat should butt up to the end of the back rest (this is necessary for the piano hinge attachment). This is also covered in the plans.
Attaching the Back Rest
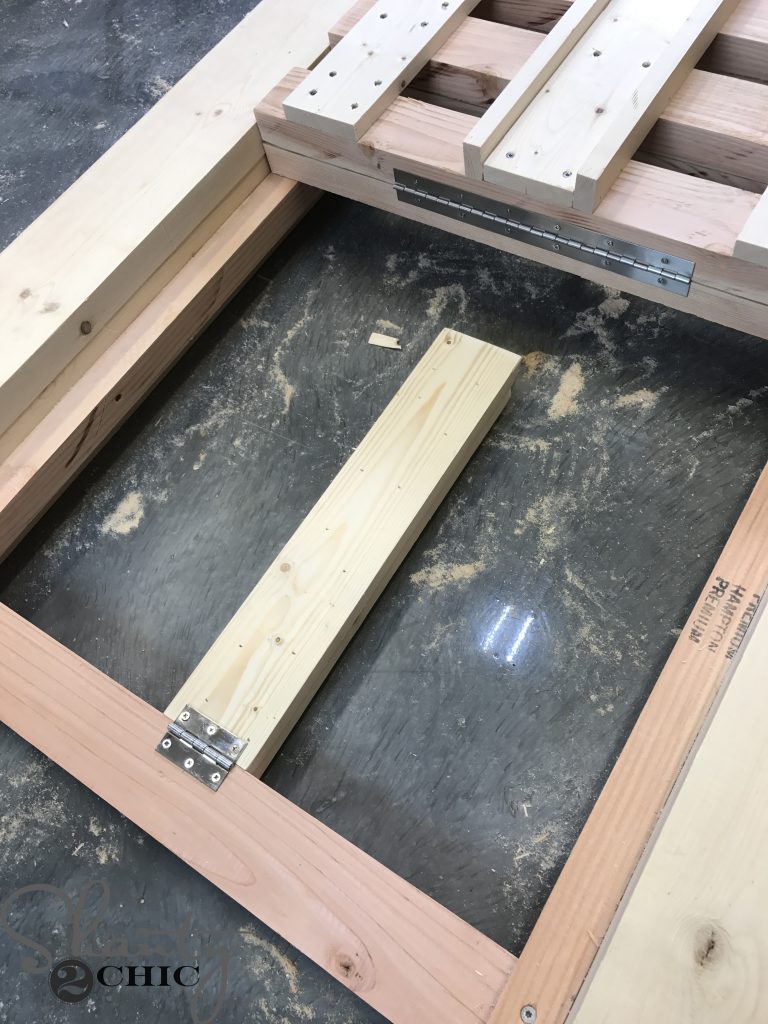
Step 10: Add the Bottom Arm Support
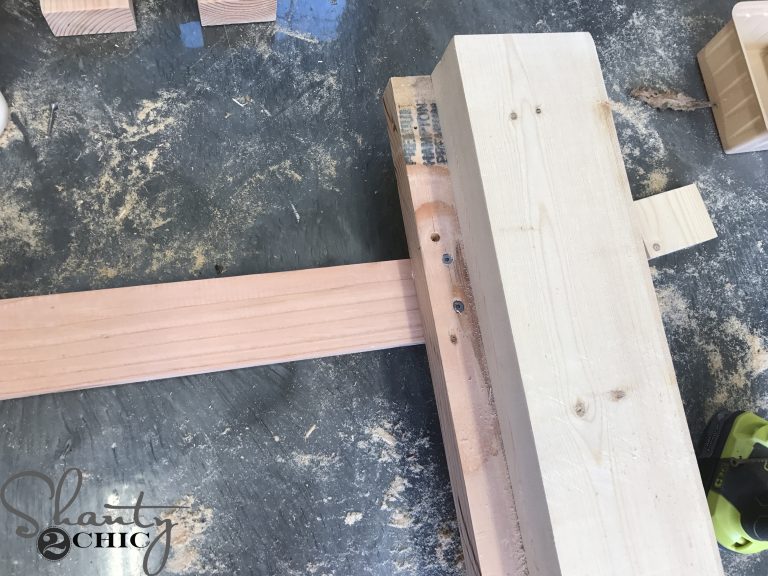
I removed the back rest and attached the remaining slat, under the cleats. I attached with 2 1/2″ deck screws and wood glue, from the top of the cleat and into the slat. Refer to the plans for proper placement.
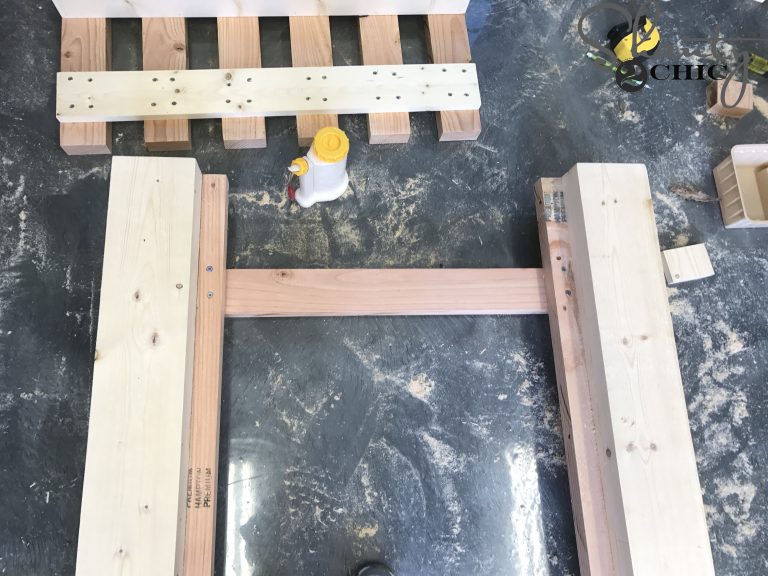
This will form a hinge board.
Step 11: Installing the Piano Hinge
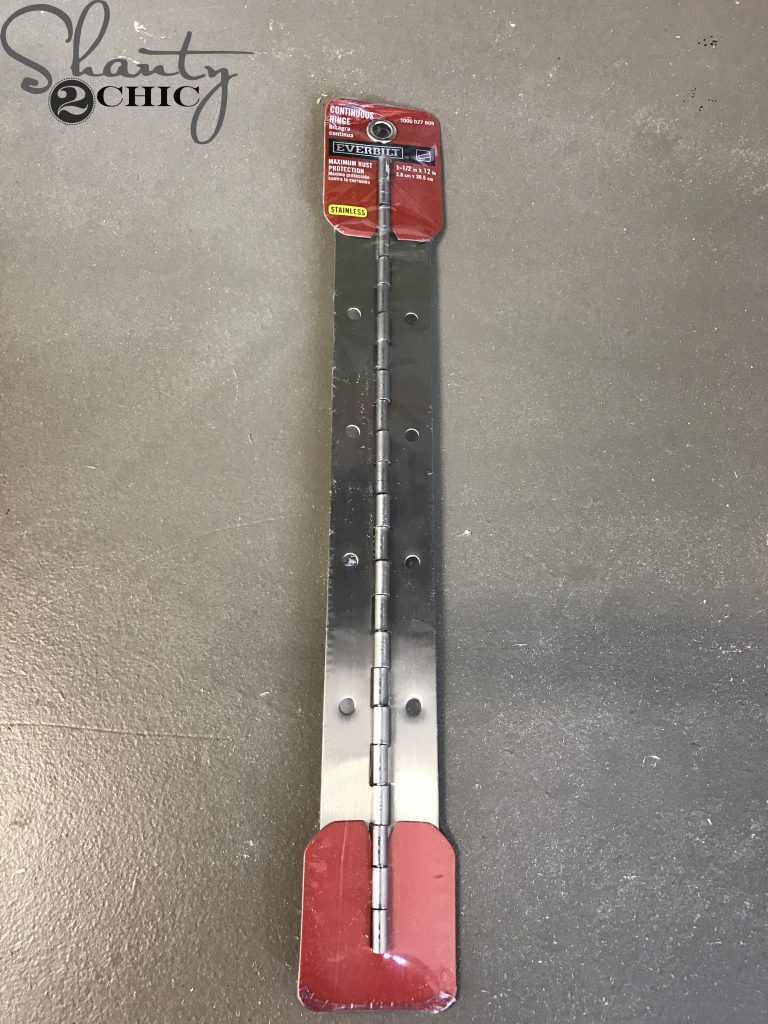
Time to add the piano hinge. I found this one at Home Depot. You can also get it HERE on Amazon.

Next, I laid the back rest upside down and flush with the top slat on the chair and attached the piano hinge.
Step 12: Assemble the Arm for the Guide
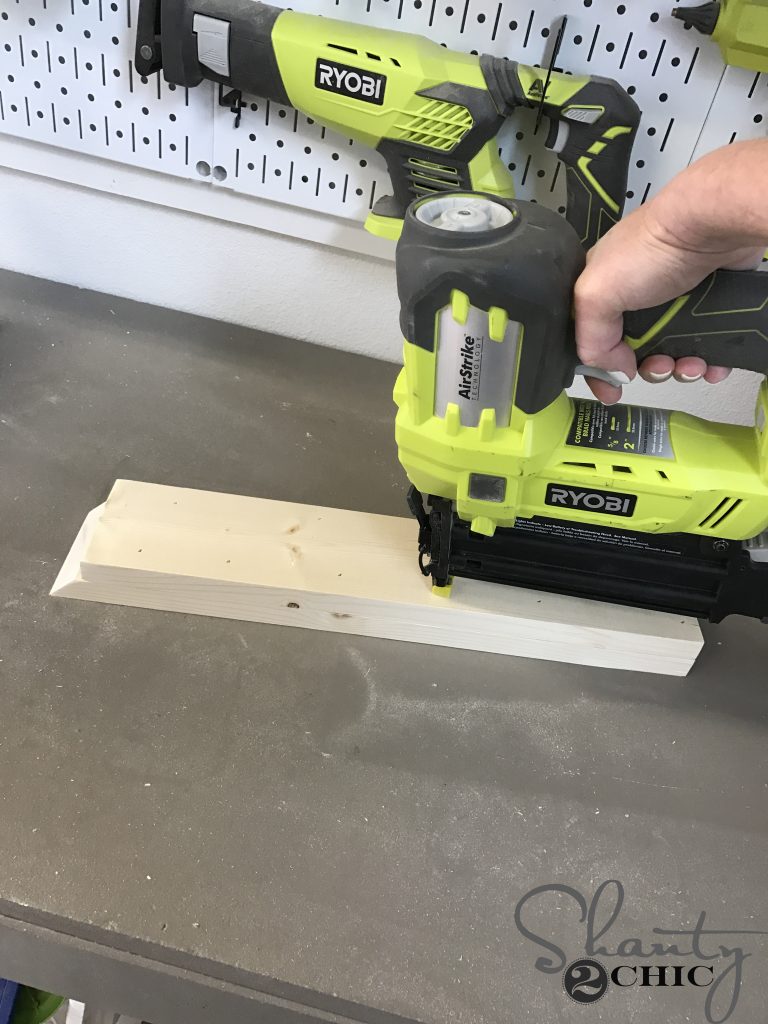
After the piano hinge was attached, I used my nailer and wood glue to build the arm for the guide.
Step 13: Attach the Arm
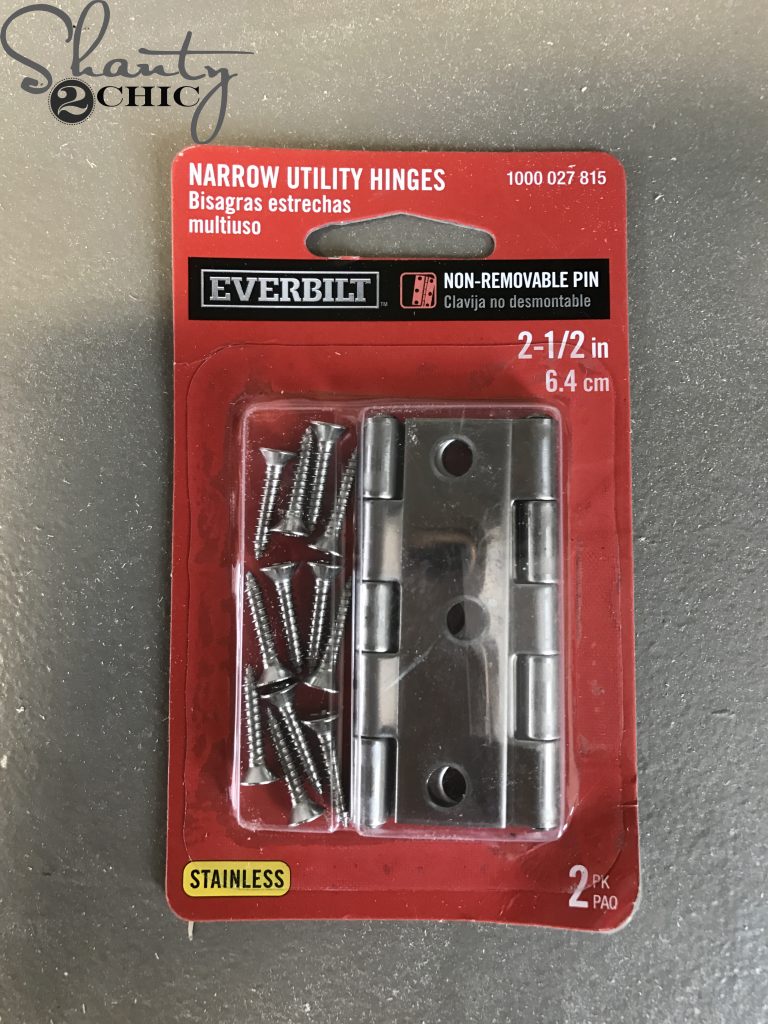
I found this hinge, for the arm, at Home Depot. You can also find them HERE on Amazon.
I attached the hinge to the arm and the hinge board with the utility hinge.
Stop Blocks
Step 14: Attaching the Stop Blocks
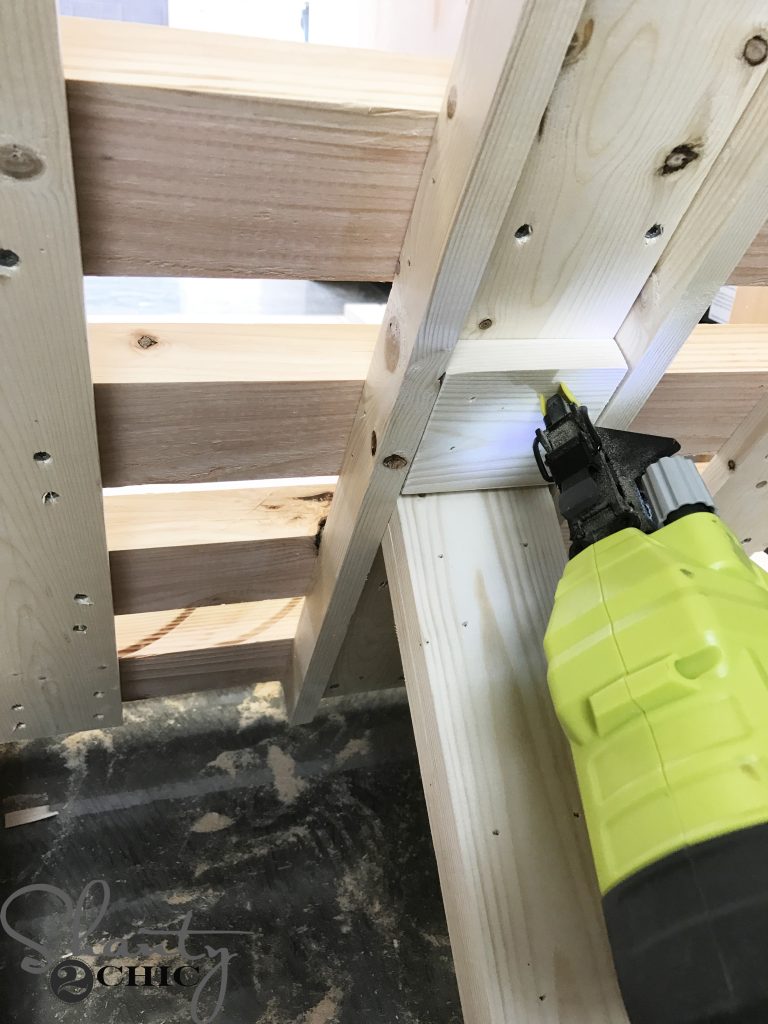
Finally, I used my nailer and wood glue to attach the stop blocks to the inside of the guide. You can place these wherever you would like to have your back rest sit.
All done!
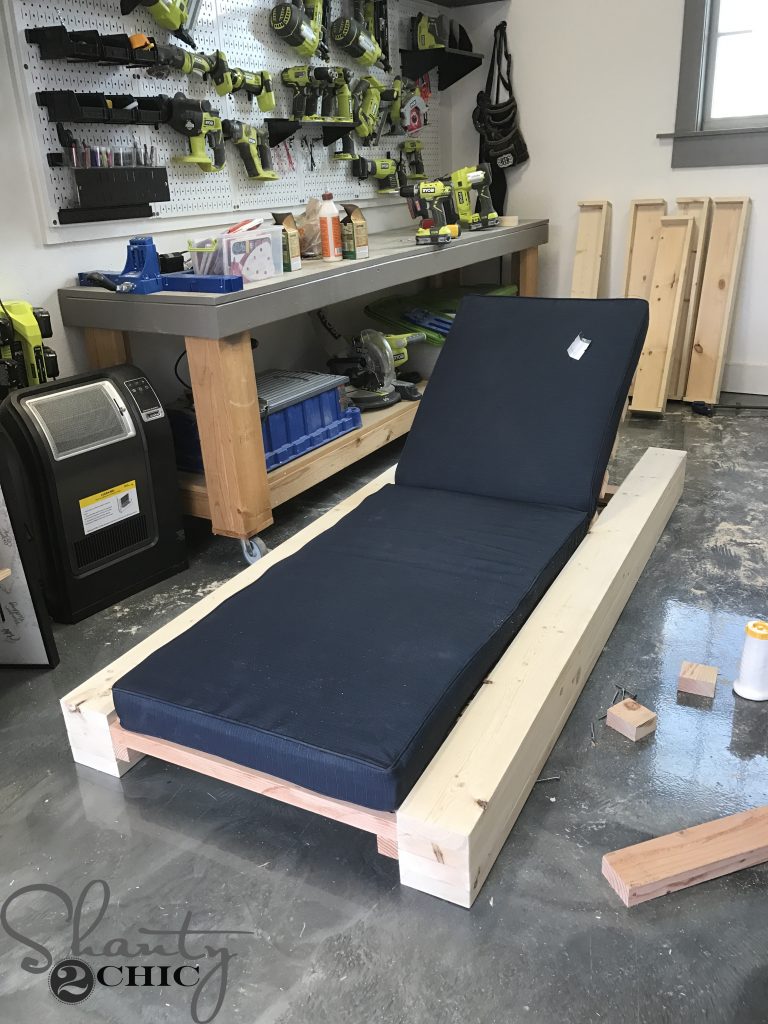
I had the test the cushion out for size 🙂
The Finish
Step 15: Stain
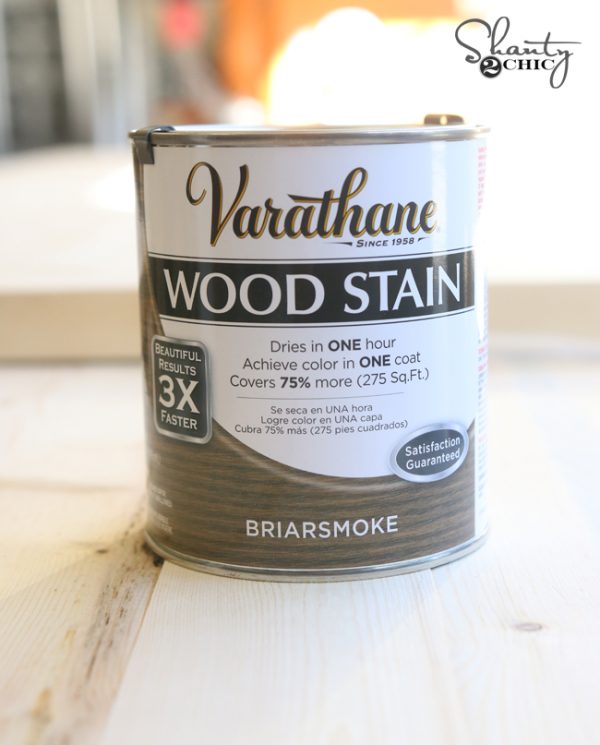
I applied one coat of Briarsmoke stain, by Varathane, to each chair. You can find the stain HERE on Amazon.
Step 16: Outdoor Protectant
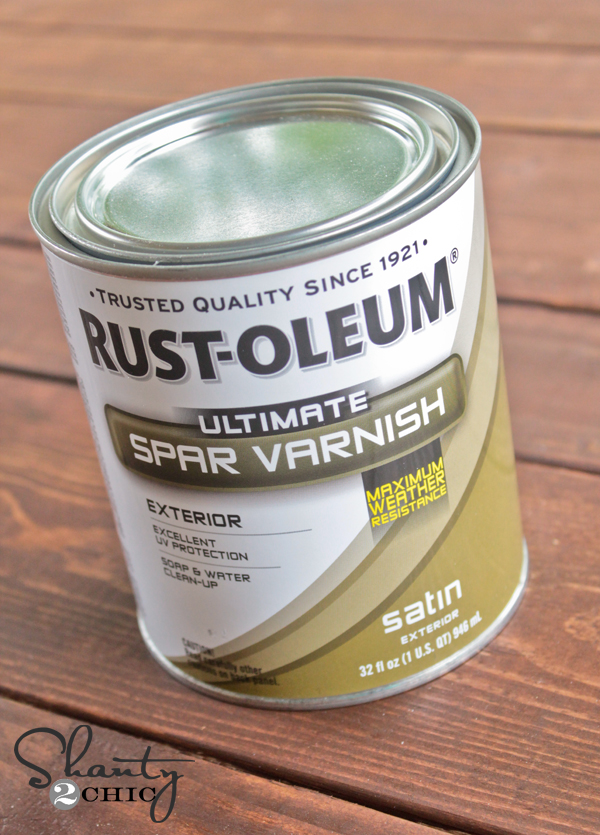
Once the stain dried, I applied one coat of Spar Varnish by Rustoleum, to protect the chairs from the outside elements.
Now, it’s time to relax and enjoy the fruits of my labor 😉
I found the outdoor pillows HERE
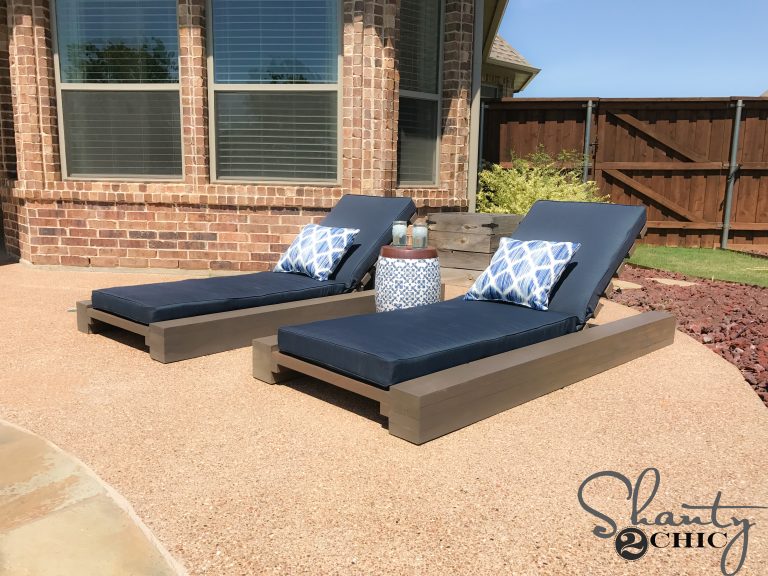
and the garden stool HERE.

Thanks so much for stopping by!
Ashley and Whitney
More DIY Outdoor Plans


What angle do you cut on the end of the adjustable arm?
45°. I’m sorry about that!
I like your design. Seems pretty simple. However I want to make more of swing and not stationary. What are your thoughts to hanging this? I am looking for ideas so I can hang from a old swing set like a swing but be able to lay down or sit up. I am thinking of your design but making it not as long and adding eye bolts to the sides to chain up on the swing set. Ideas or thoughts?
Hi. I wonder if anyone can help please. I’m very interested in making these, but I don’t understand the measurements. For example, 2x6x8 what is the 8? At first o thought it was the quantity but it’s not. Sorry I am a total novice and am going to have to get these pieces pre cut. Thanks in advance ?
The 8 is for the length when you buy it
Where did you purchase the cushions?
Did you find any info on where to buy the cushions?
I found the cushions at Target. We also added wheels and eurothane to waterproof since we live in Florida.
Thanks!
Can you help with another link for cushions or a description please. Your link is dead.
Thank you!!
What kind of wood did you use
Are the back rests adjustable or stationary?
I know this was posted several years ago, but my husband and I are planning to make 2 of these based of your design today, however I’m noticing there is no length size for any of the boards posted anywhere. Do you have the dementions of length for each kind of board?
Can you lost the dimensions of the cushions? They are no longer in stock but want to find a cushion with the same dimensions if possible. Thanks!
Would it be possible to add some sort of wheels to the back for ease of moving?
I cannot find the cushions in navy from your link. I do see other colors. Have you had the navy cushions long?
They must be sold out. I have had them for about 6 weeks.
Are these able to lay flat or are they stationary? Looking for something that can lay completely flat as well as sit up.
Thanks!
They can go flat