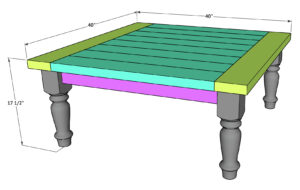
Learn how to build a DIY Coffee table with Turned Legs with free plans and a how-to video by Shanty2Chic.

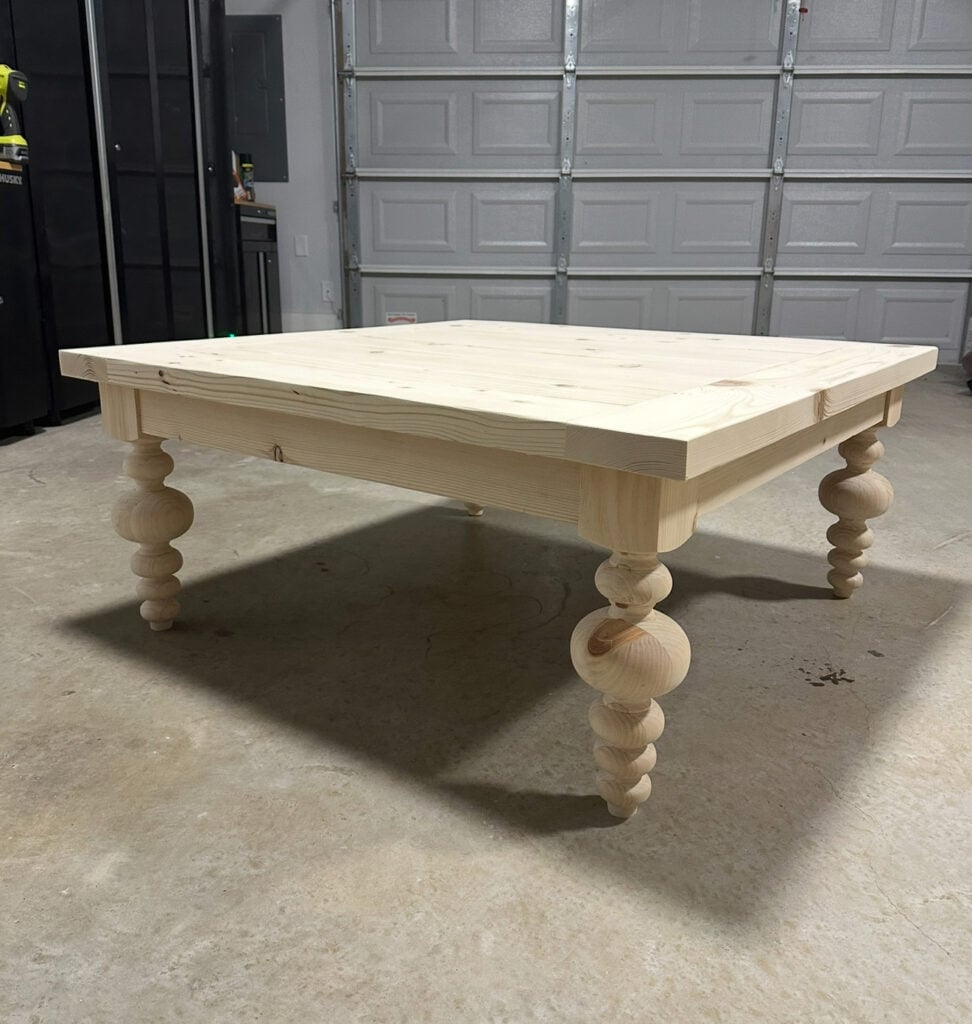
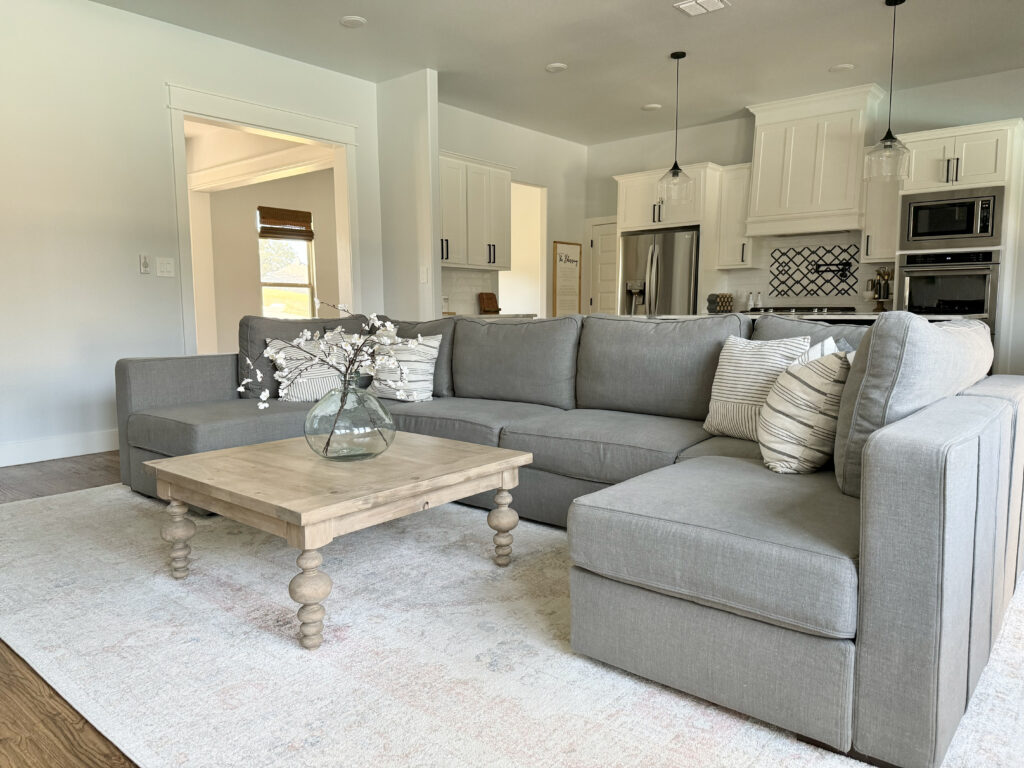
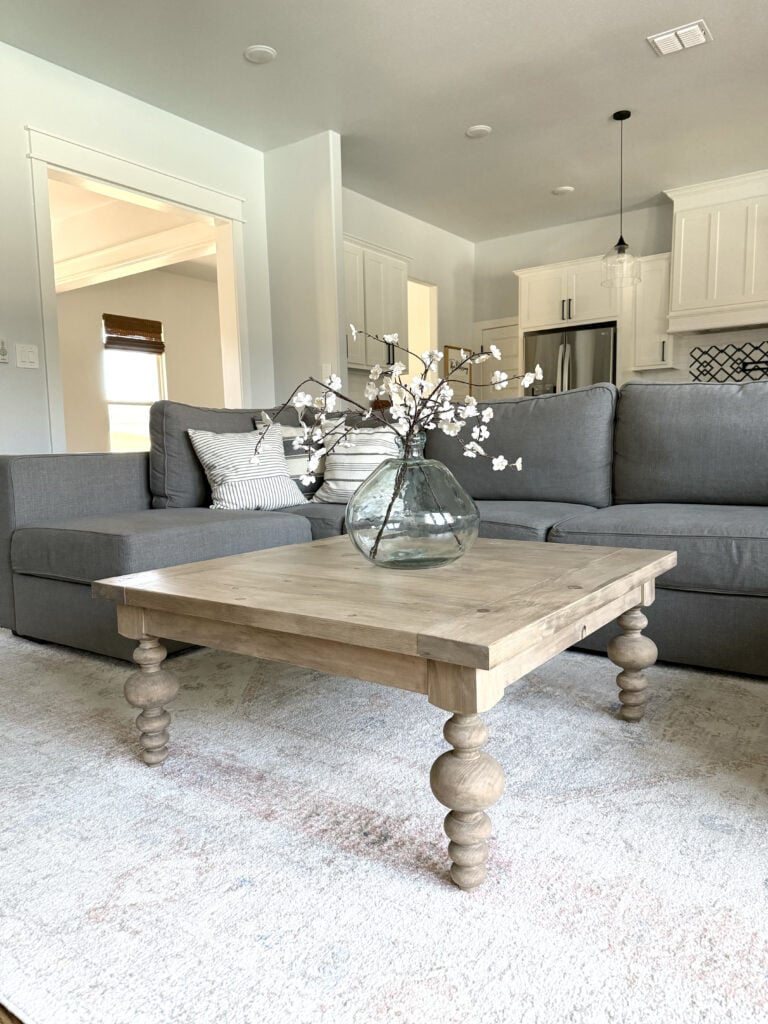
I’m back with a new build in an effort to make my new house a home! One of the projects that has been on my list since before I even moved into my new home was a square coffee table to fit my new sectional! I found a set of beautiful turned legs that I thought would be perfect for the design I had in my head so I got to work designing and building! Come follow along with me as I show you how Whitney and I built my new coffee table with just 5 boards, 4 legs and just 4 basic tools, perfect for any beginner! Just click play below to watch the full build!
Now, let’s get into the how-to tutorial!
Table of Contents
DIY Coffee Table
Materials:
Tools:
Supplies:
- 5 – 2x6x8 Framing Lumber
- 4 – Turned Legs
- 2 1/2″ Pocket Hole Screws
- Wood Glue
- Wood Stain
- Protective Finish
Planking the Table Top
Note: I used 2×6 for this entire build. I ripped the planks and breadboards to 5″ wide and the aprons to 3″ wide. This I snot a necessary step but if you choose not to rip your boards, adjust the cut list accordingly.
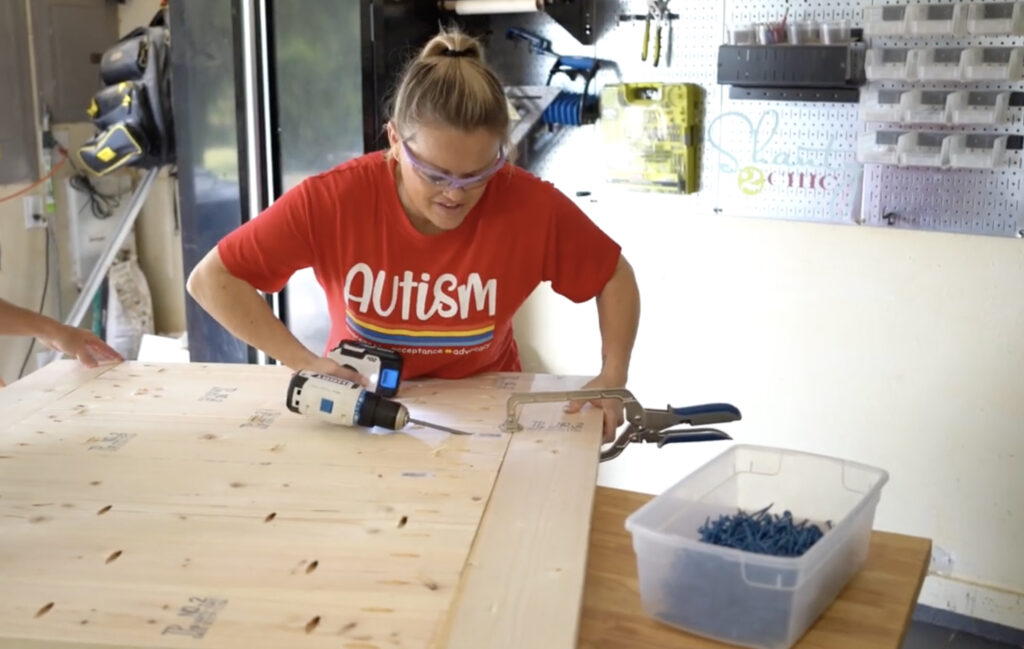
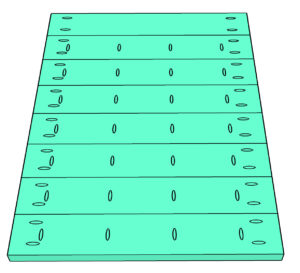
Step 1: Plank Boards
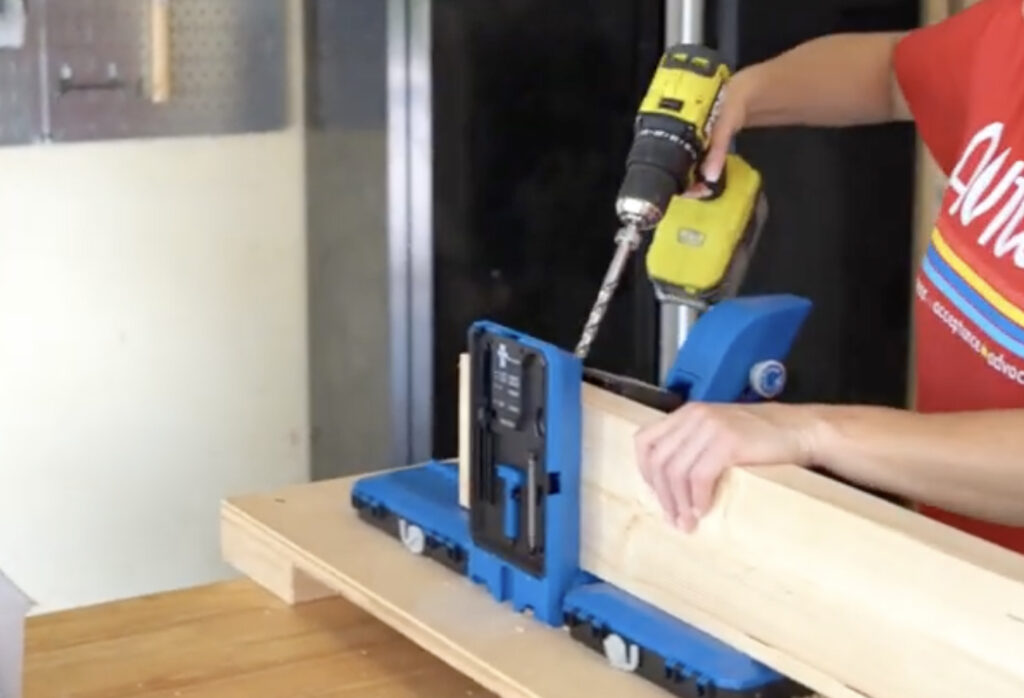
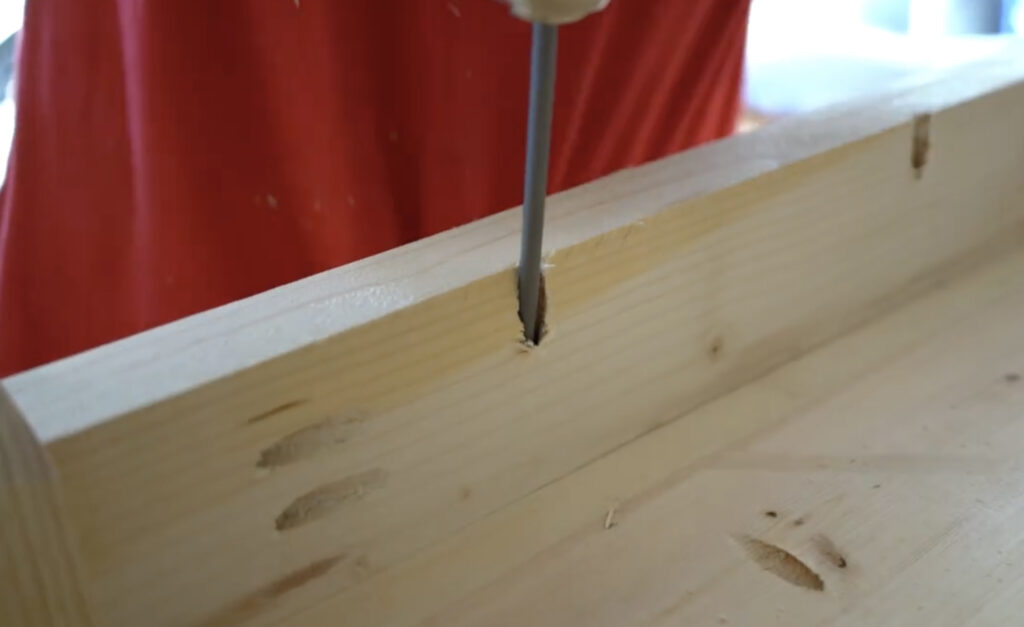
I started by cutting the plank boards to size. I used my Kreg Jig to drill 1 1/2″ pocket holes on both ends of each board and one edge on all except one board. Then, I attached the planks together with 2 1/2″ pocket hole screws.
We use our favorite Kreg Face Clamps to keep the planks smooth between the joints! No need for a jointer or planer with these guys!
Step 2: Breadboards
Once the planks were attached, I measured and cut the breadboard pieces to size and attached them to the planks with 2 1/2″ pocket hole screws, through the pocket holes at the end of the planks.
Building the Table Base
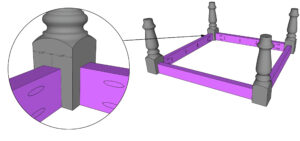
Step 3: Apron
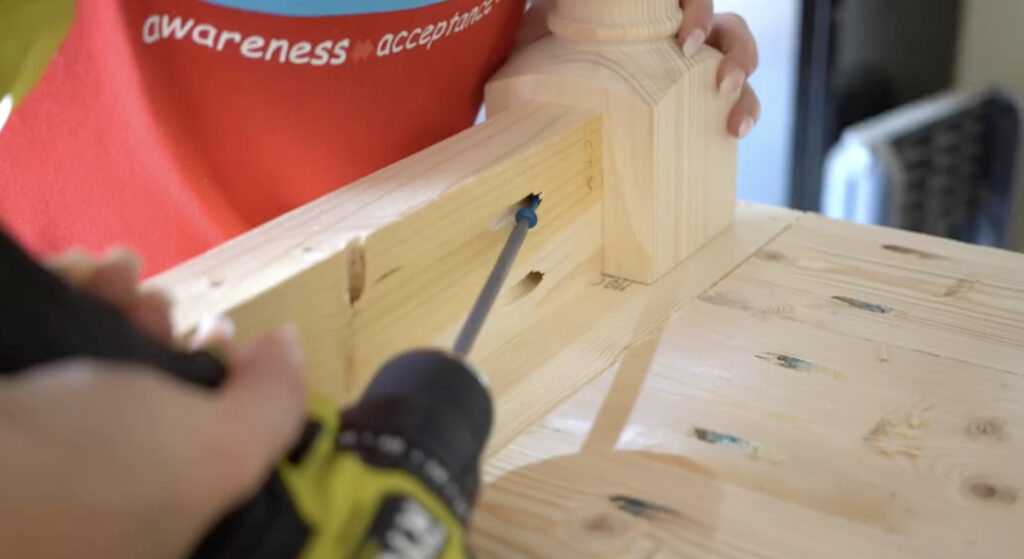
With the table top assembled, I moved on to the base of the table. I cut the apron pieces to size and drilled 1 1/2″ pocket holes at both ends of each apron piece and 3/4″ pocket holes on one edge of each apron. Next, I centered the aprons on each leg and attached them to the legs with 2 1/2″ pockets hole screws and wood glue.
Assembling the Coffee Table
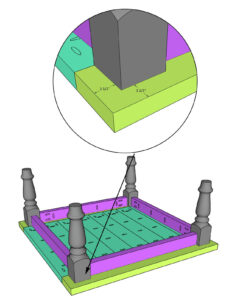
Step 5: Attaching the Tabletop to the Table Base
The final step in this super easy build is to attach the coffee table top to the base. To do this, I flipped the planked top upside down and centered the base over it. Attach the table base to the top with 2 1/2″ pocket hole screws and wood glue, through the pocket holes in the aprons and into the bottom of the table top.
- You can find the table legs I used for my coffee table here.
- For the budget-friendly legs, that we used in the how-to video, click here.
The Finish
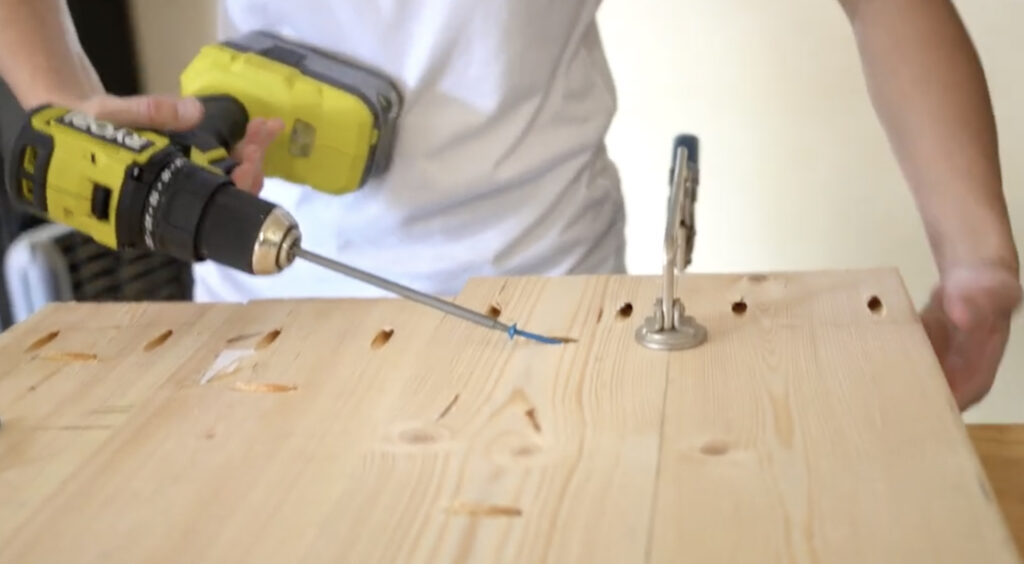
Step 6: Sanding the Table
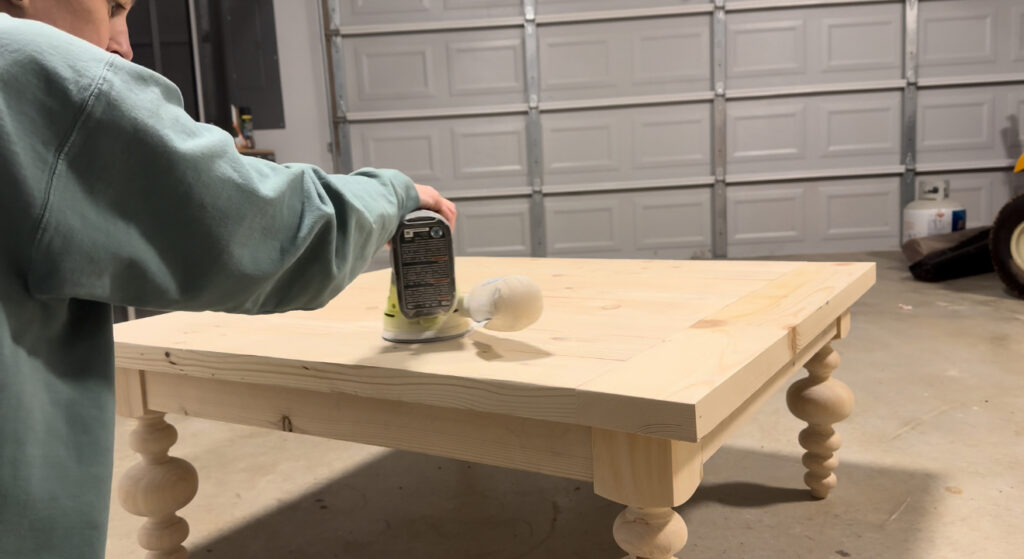
To prep the table for a finish, I sanded the entire piece with 80-grit sandpaper and followed up with 180-grit sandpaper. I used my orbital sander for the top and a sanding block on the legs.
Step 7: Staining the Coffee Table
After sanding the entire build, I moved on to the finish!

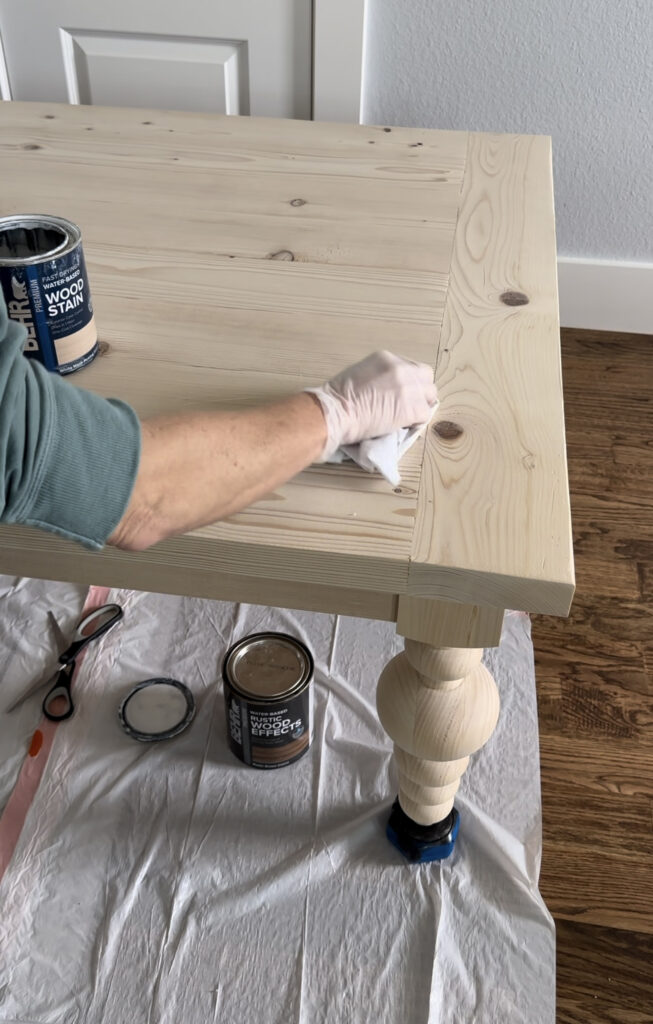
These Kreg Project Blocks are my go-to right now when I paint or stain. You can twist them to raise the paint-point’s to elevate your project off of the ground. They are super-affordable and must-have for your workshop!
I opted for my favorite finish right now, a mix of white wash pickling and rustic brown.
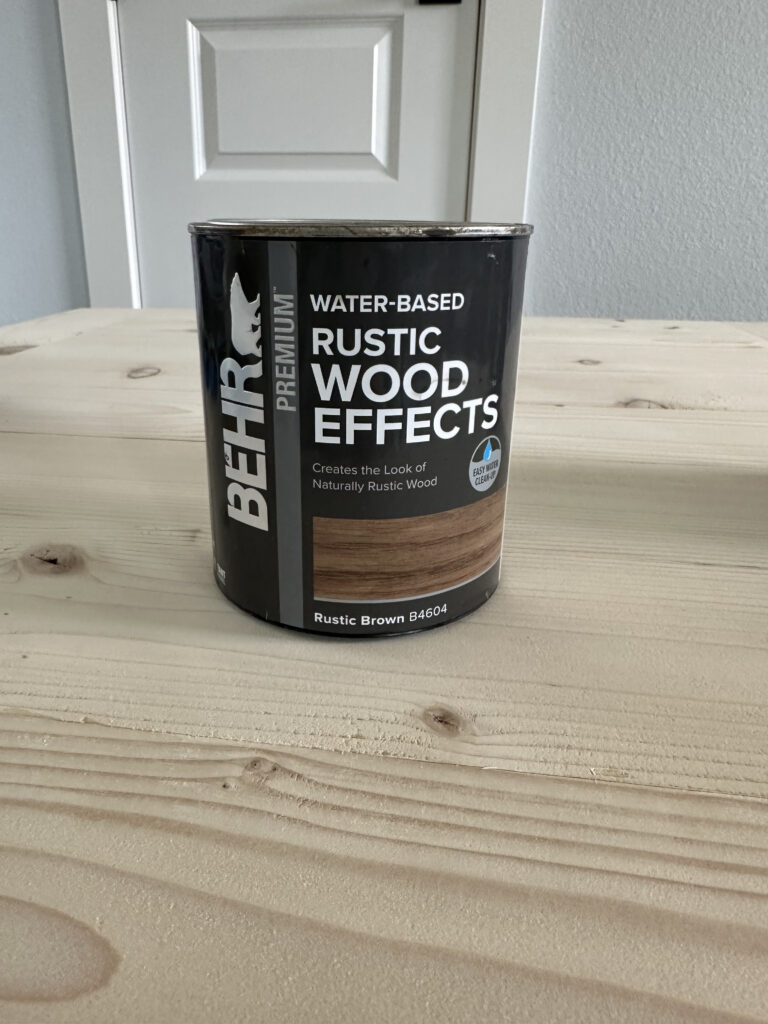
Find the Rustic Brown stain here.
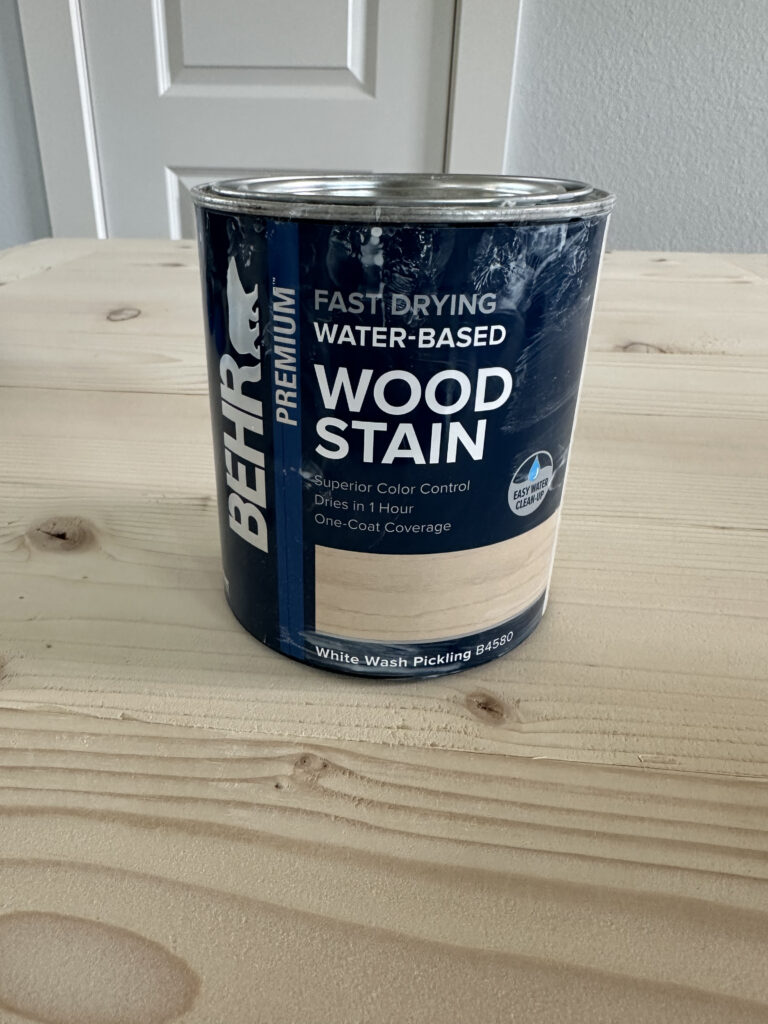
Find the White Wash Pickling stain here.

I applied one coat of the white wash pickling all over the table and let it dry for about an hour (you want the first coat to be completely dry before applying the second coat). I used staining rags to apply the stain but you can also use foam brushes.
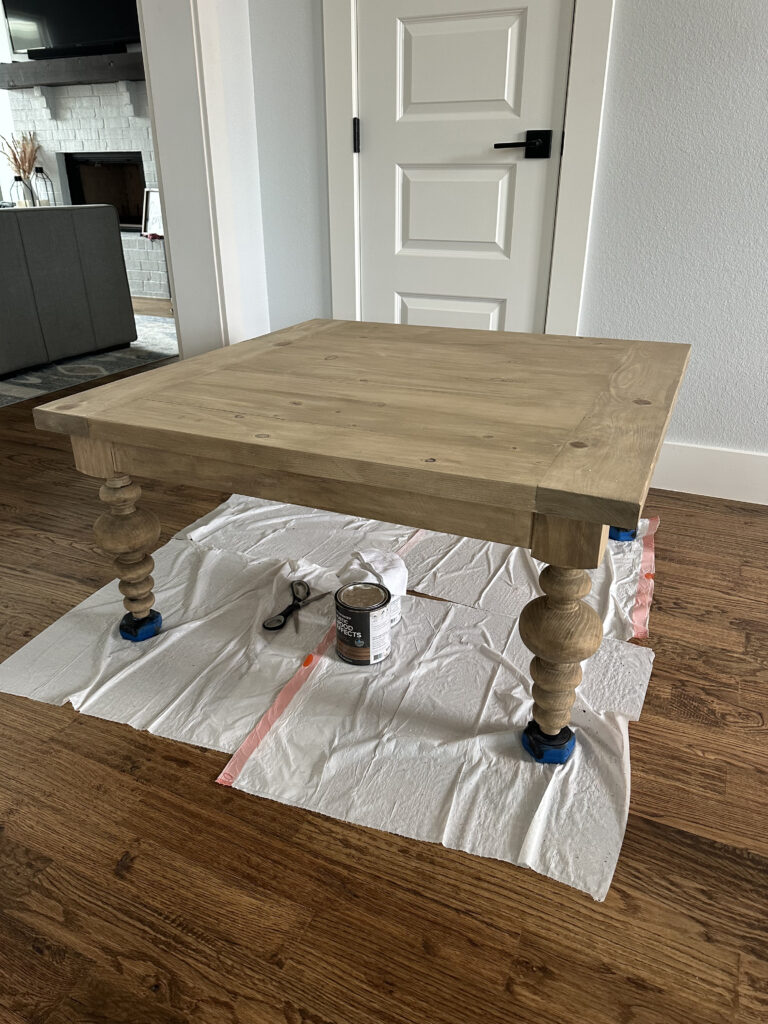
Once the first layer of stain was dry, I applied one coat of the rustic brown. The first application of the white wash pickling gave the rustic brown a more muted tone that I absolutely love!
Step 8: Applying a Protective Finish

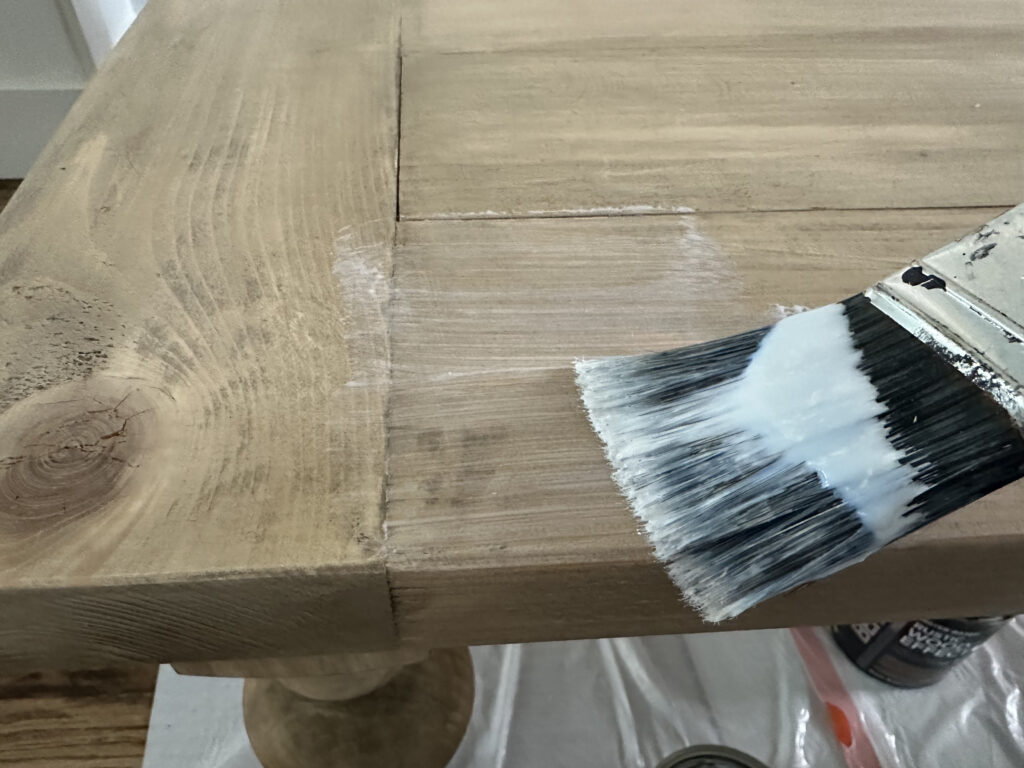
The final step in this build was to add a protective finish! I used a bristle brush to apply 2 coats of polyurethane on the top and legs, letting the first coat completely dry before adding the second. This poly will go on white but dry clear!
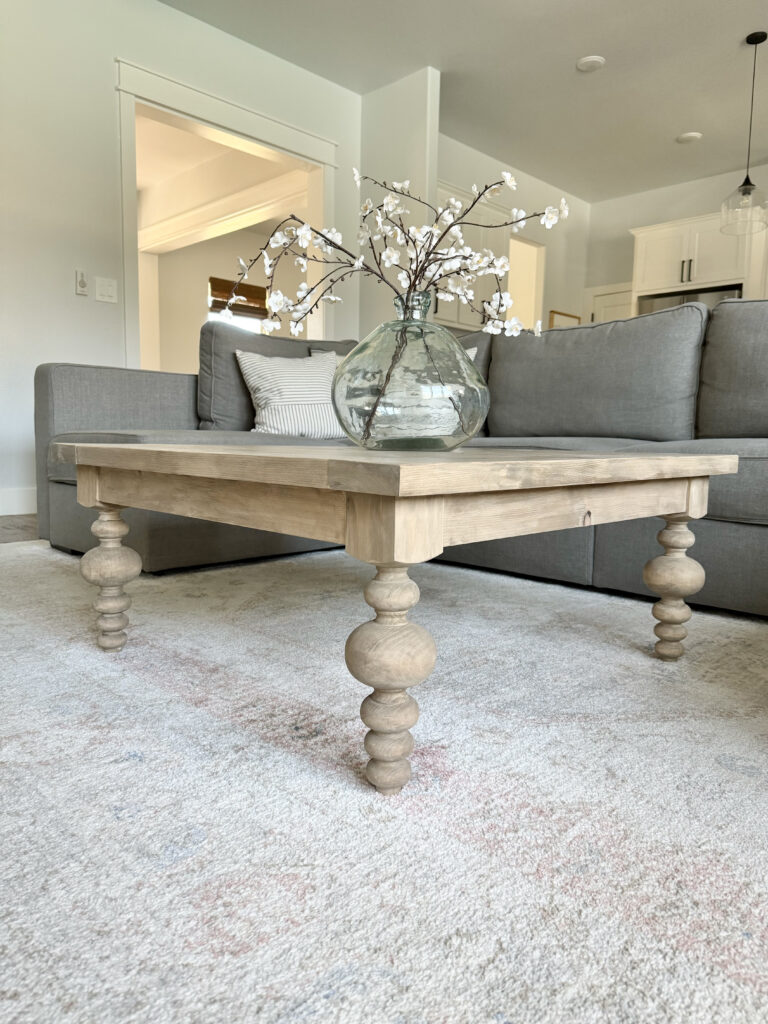
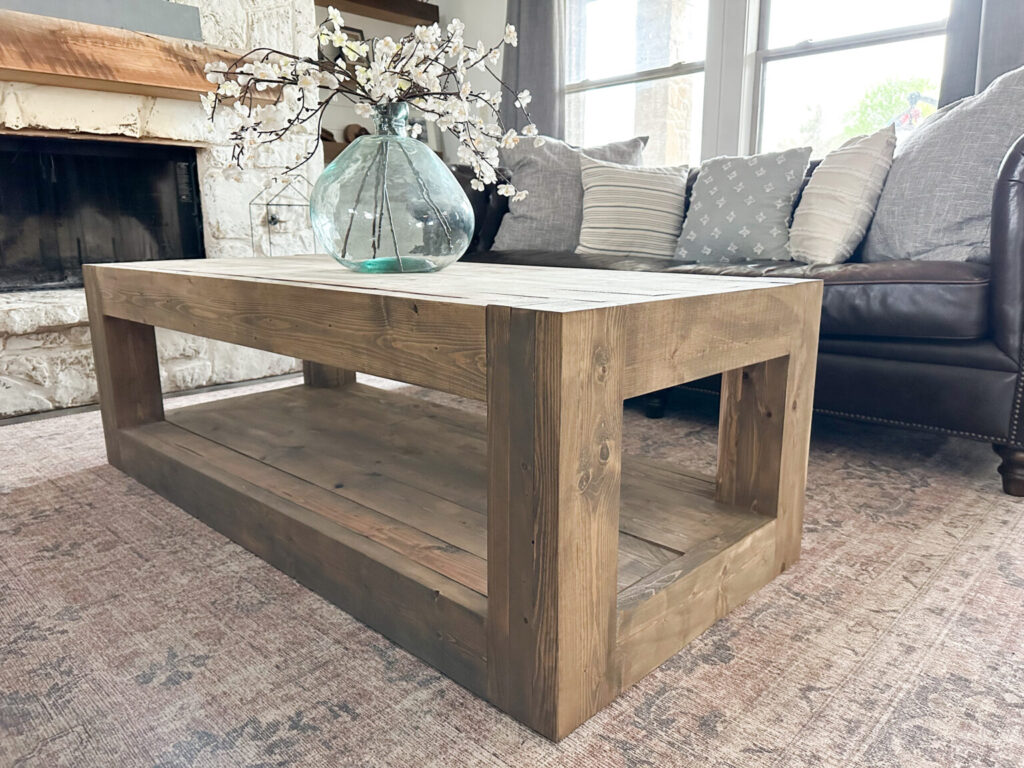
That was it! I absolutely love my new table! I love the rustic muted brown color and the vintage look of the turned legs! It’s the perfect mix of a modern coffee table with a farmhouse-style. The square shape is the perfect fit for the sectional in my living room and I built the entire piece for a total cost of under $200 (under $100 if you choose the budget-friendly legs)!
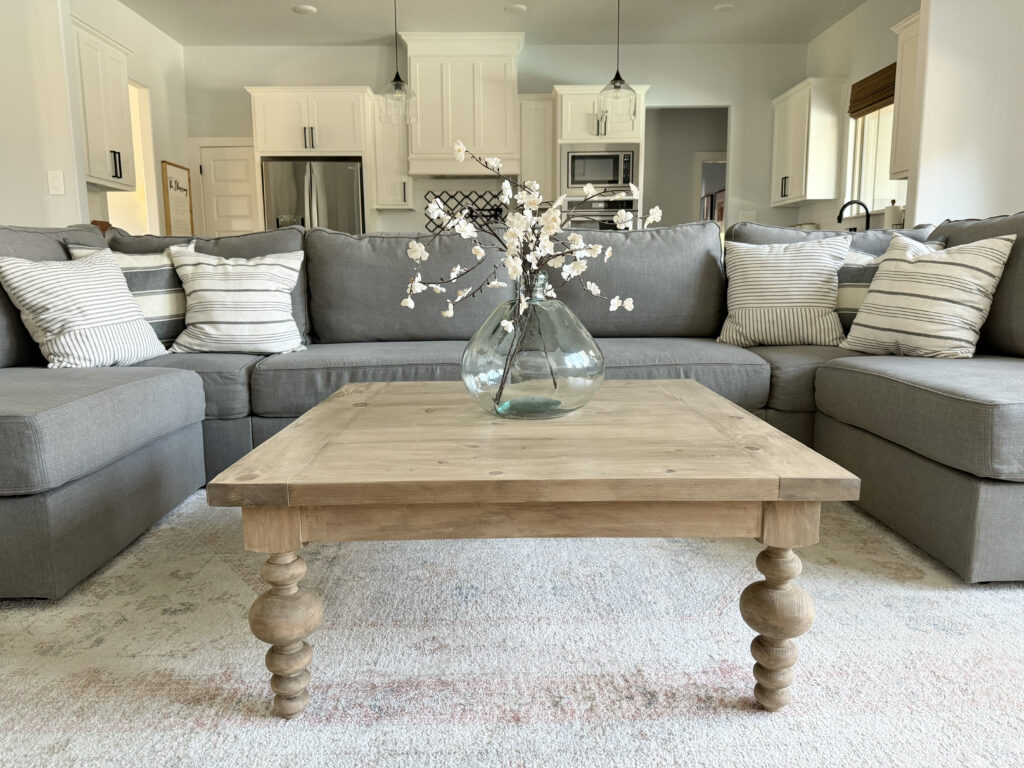
If you need a different size or shape for this table, it’s an easy modification to the table plans! A couple of seagrass baskets underneath would make great storage as well!
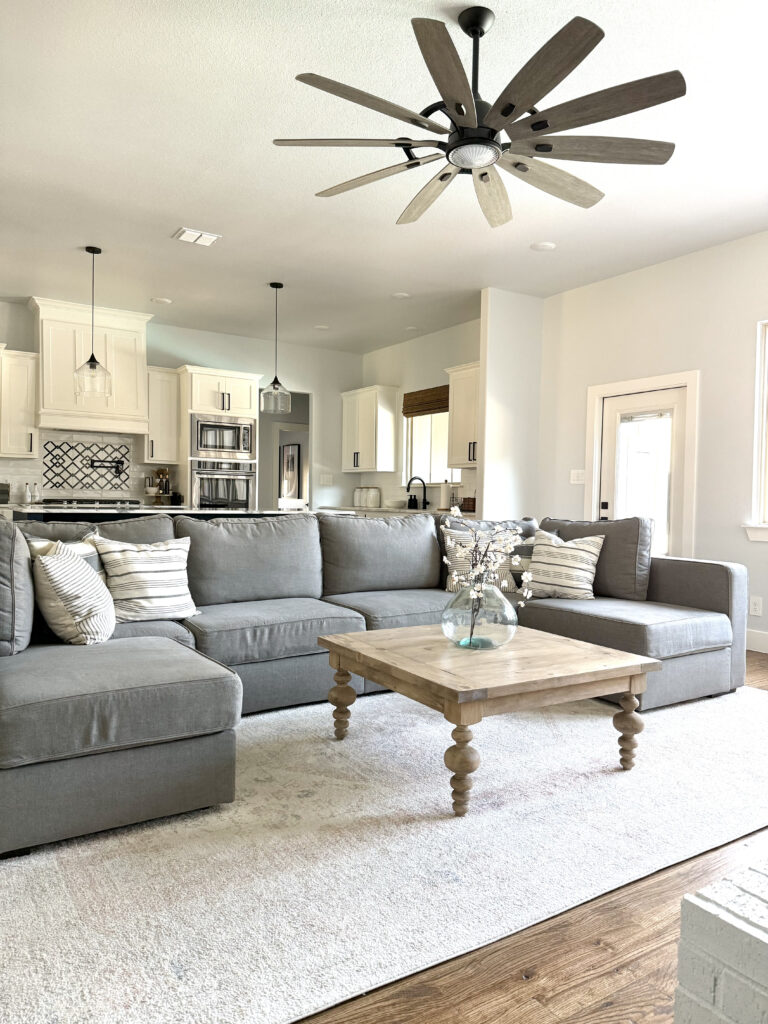
- You can find the link to my living room rug here. I ordered the 10×14.
Make sure to share your builds with us on social media and use #shanty2chic so we can share them too!
Happy Building!
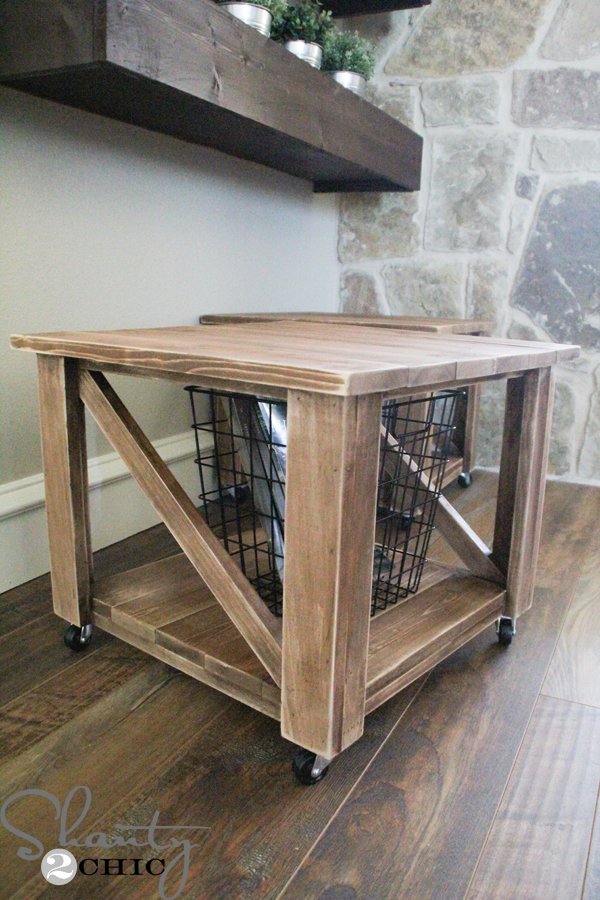
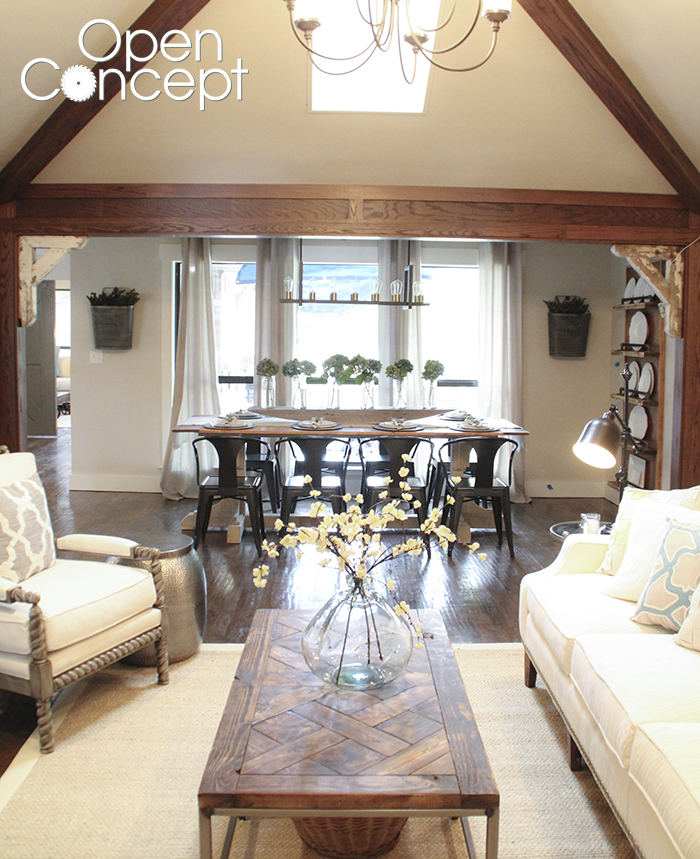
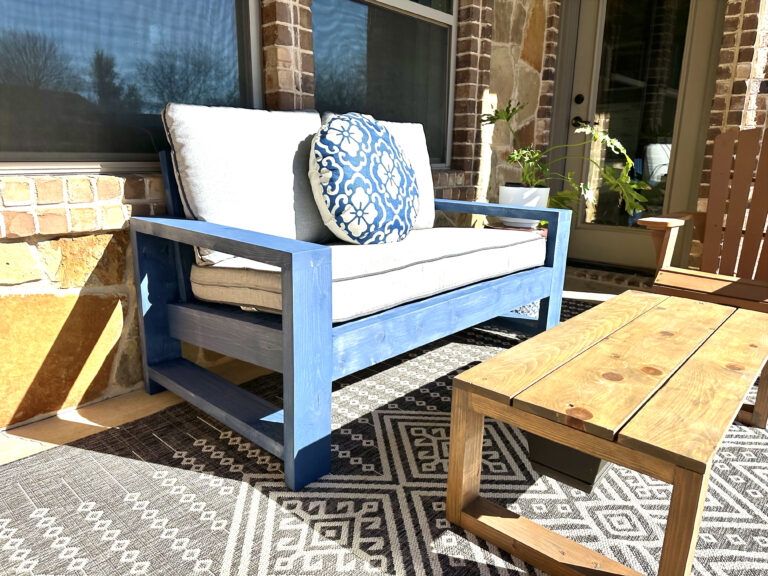
Check Out Some of Our Other Coffee Table Builds!
DIY Turned Leg Coffee Table Plans

DIY Turned Leg Coffee Table
Tools
- Miter Saw
- Drill
- Kreg Jig
- Table Saw (optional)
Supply List
- 5 2x6x8 Framing Lumber
- 4 Turned Legs
- 2 1/2" Pocket Hole Screws
- Stain or Finish
- Protective Finish
- Wood Glue
Instructions
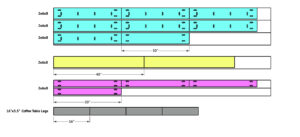
- Cut List

- Cut your plank boards to size and drill 1 1/2" pocket holes on both ends of each board and one edge on all except one board. Attach the planks together with 2 1/2" pocket hole screws.

- Cut the breadboard pieces to size and attach them to the planks with 2 1/2" pocket hole screws, through the pocket holes at the end of the planks.

- Cut the apron pieces to size and drill 1 1/2" pocket holes at both ends of each apron piece and 3/4" pocket holes on one edge of each apron. Center the aprons on each leg and attach them to the legs with 2 1/2" pocket hole screws and wood glue.

- Flip over the planked top and center the table base over it. Attach the table base to the table top with 1 1/2" pocket hole screws and wood glue, through the pocket holes in the aprons and into the bottom of the table.

- All finished! Sand down the entire table add a finish and a protective finish! You can check out the tutorial on our website to see how we finished ours! Have fun and make it your own!Make sure to share your builds with us on social media and used #shanty2chic so we can share them too!Happy Building


Check our our list of over 15 DIY Coffee Table Designs!


I have been watching your tutorials for years. I think I will finally try wood working and try this turned leg coffee table. May I ask where you got the turned legs that you used?
Thank you