We have had several requests for today’s tutorial. It may seem so basic to some of you, but I remember the first time I picked up a caulk gun… #confused.
I hope I can break it down for you enough here to at least inspire you to give it a try! Before we talk on ‘how’, let’s talk about the ‘why’… We recently had a reader say this to us, and we think it sums it up perfectly!

Ha! Isn’t that the truth?? Really, the same is true with caulk. When caulking trim or furniture, you basically want to caulk any seam that will be painted. You will only caulk before painting, not staining.
Here are a few examples of where I would apply caulk before painting…
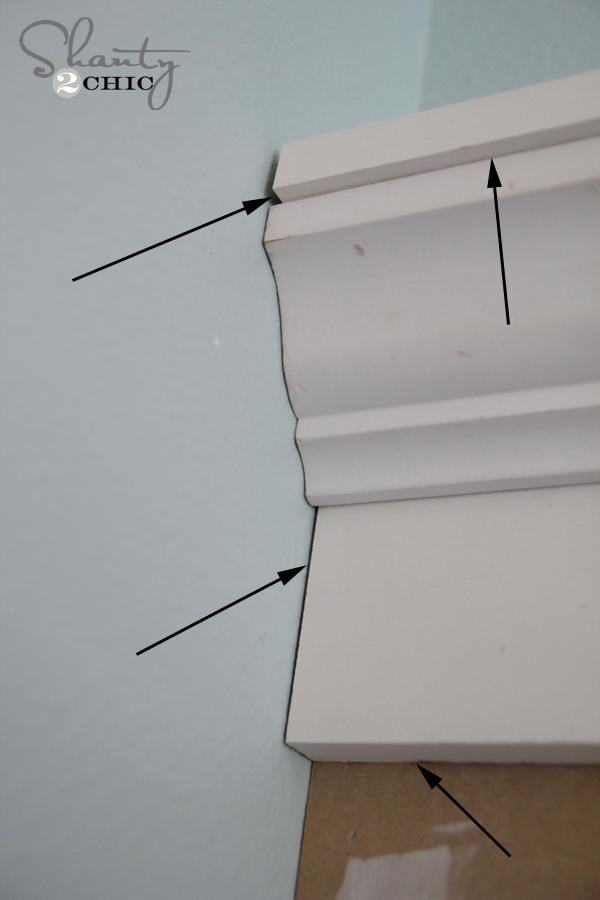
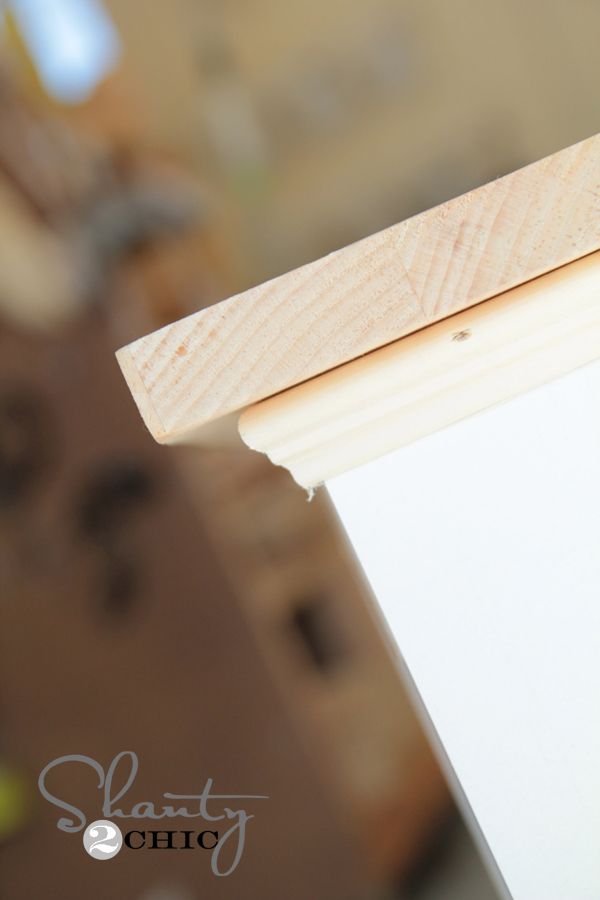
Yah… I was a little off on the measurement of that top board… Don’t judge. Just caulk. 😉
So, here I have 3 different surfaces that I plan to paint. I would caulk every seam to make them all run together and fill any gaps left from the boards.
See that seam that is slightly open? Caulking over that will completely hide it, and make me look like a master carpenter, which we all know I am not…
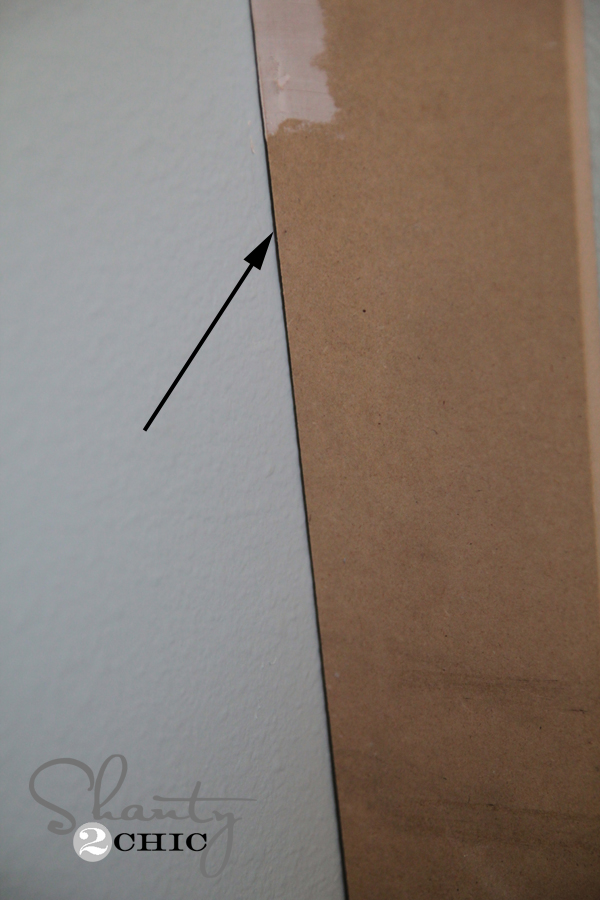
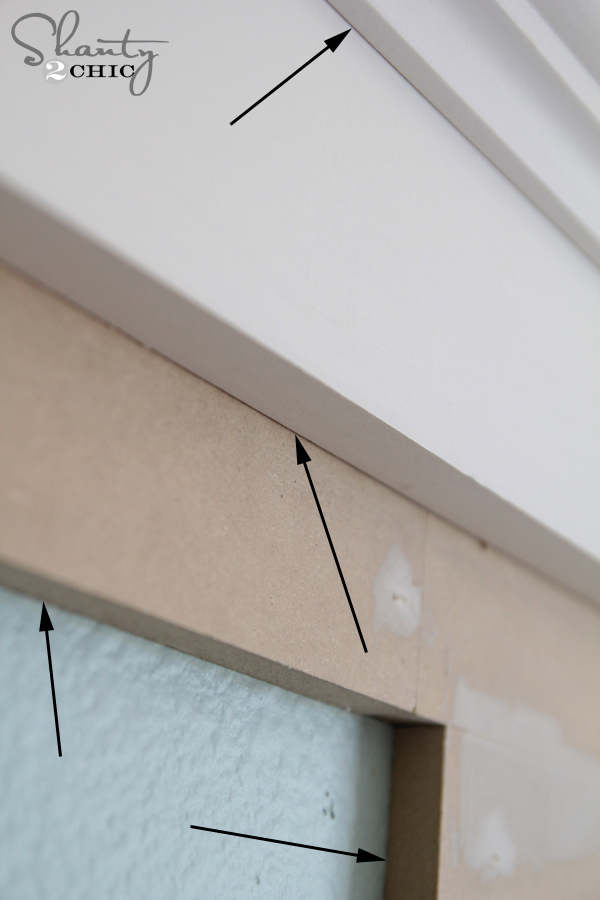
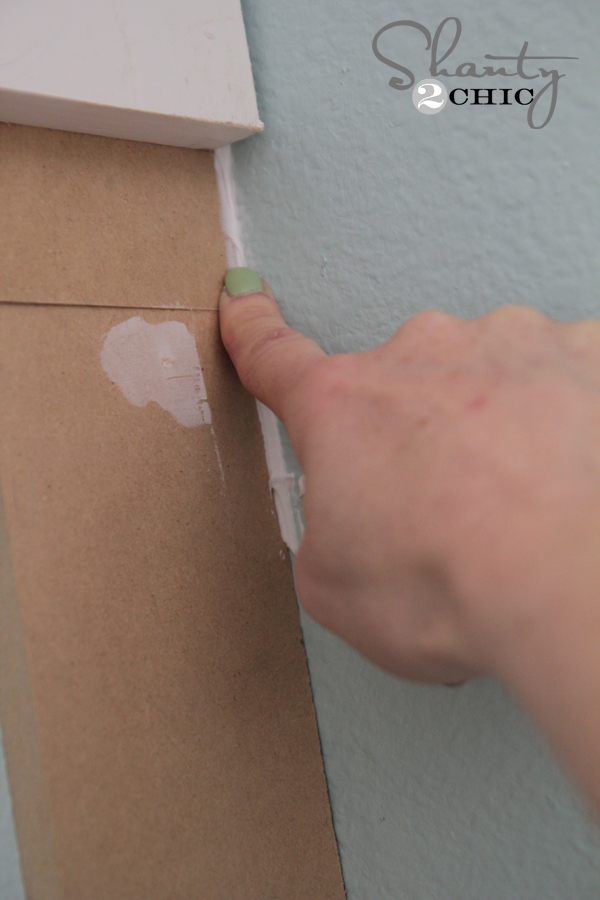
Another good example… Here I have wood placed in a corner. No matter how close I push it to the wall, I can’t get it completely flush. I will add caulk here to hide that seam.
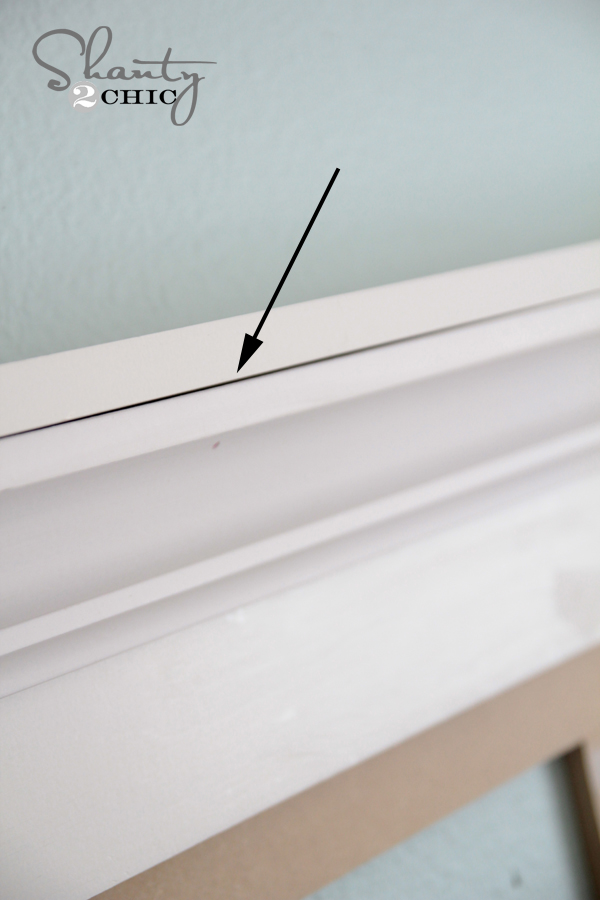
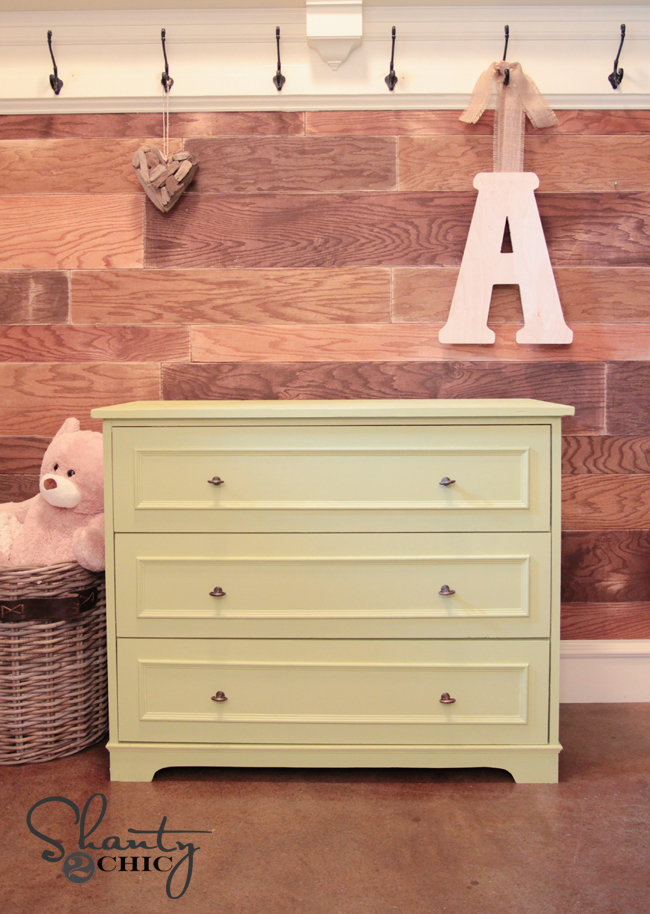
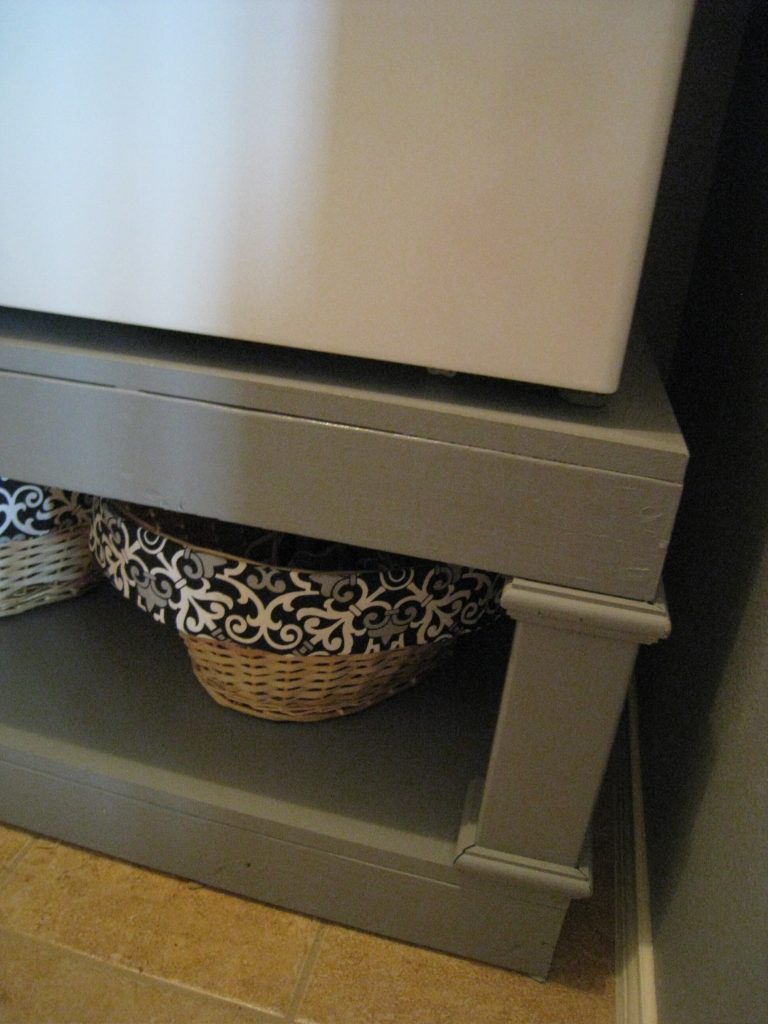
One more example of using caulk would be furniture building. On pieces I plan to paint, I caulk any of the seams before I paint the piece as well. You can see below how I have layered trim for this piece. I caulked all of the seams (or lines where the wood joins) to make it really look like one piece of wood.
So, that’s the why. Now for the how. Let’s start with the gun. I did have to be taught how to use one… It’s not rocket science, but it sure felt like it as a newbie.
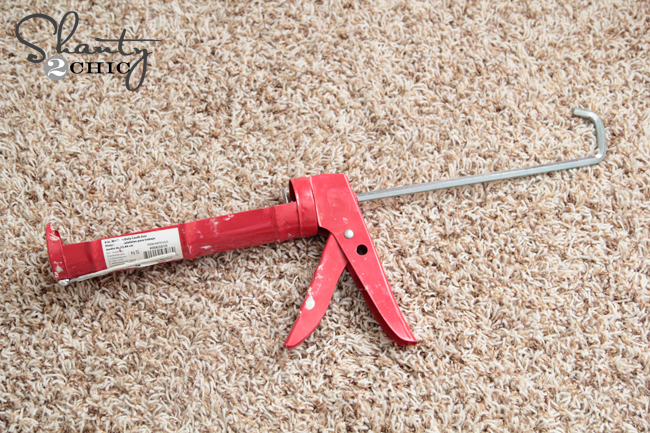
Here is my caulk gun. I just use the cheap ones from the hardware store. Excuse the mess on mine… It gets put to work quite a bit.
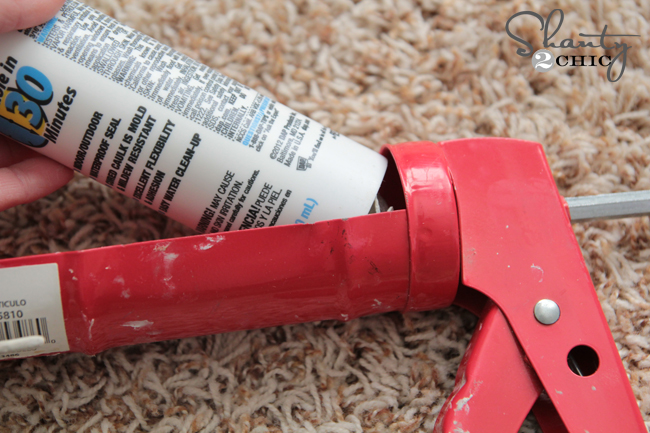
The first step is to pull that silver bar on the back straight out until it stops. I have mine fully pulled back in this photo.
Now to put the caulk can in. When deciding what caulk to go with, you want to read your labels. I typically go with something like this when caulking trim, walls or furniture.
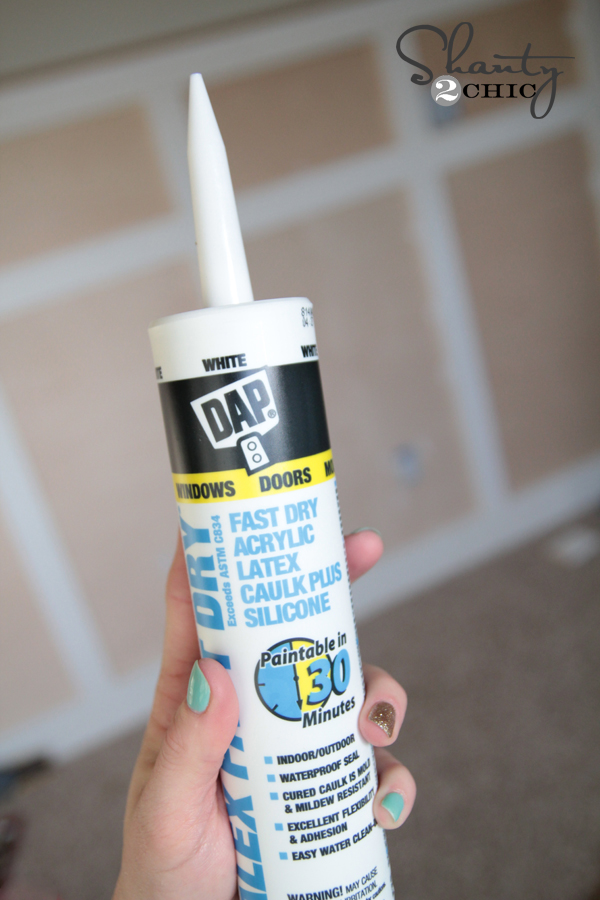
They had me at fast dry 😉
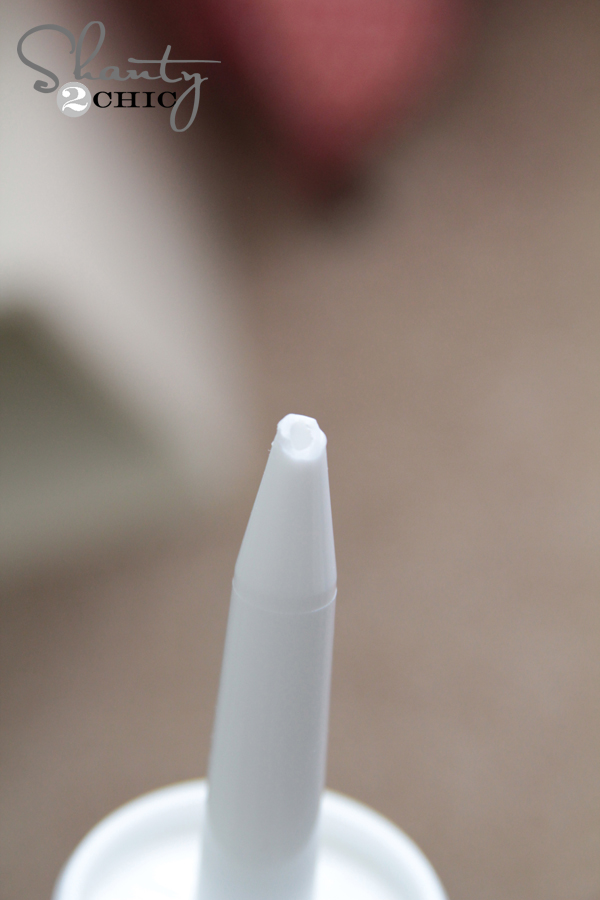
Before sticking it into the gun, you need to open it. Start by using a pair of scissors to cut the top at an angle. You don’t want to go too big on this part. The larger hole you cut, the more caulk that will squeeze out at once.
Next, we will put it into the gun. Start with the bottom of the can first and put it into the back of the can. The little circle piece on the gun will fit inside the bottom of the can of caulk.
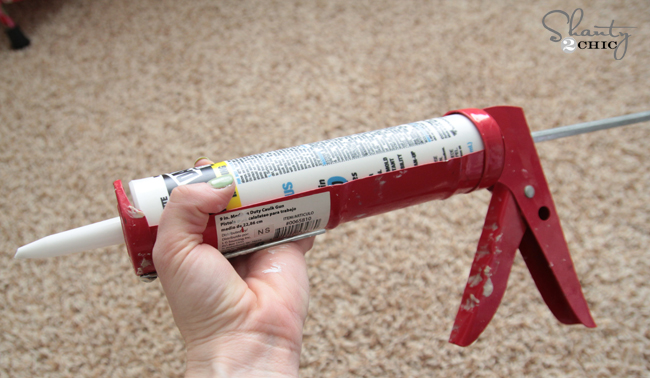
Next drop in the front piece. The can should drop right into place. Once it does, you can push that silver bar on the back forward again, until the can of caulk stops it.
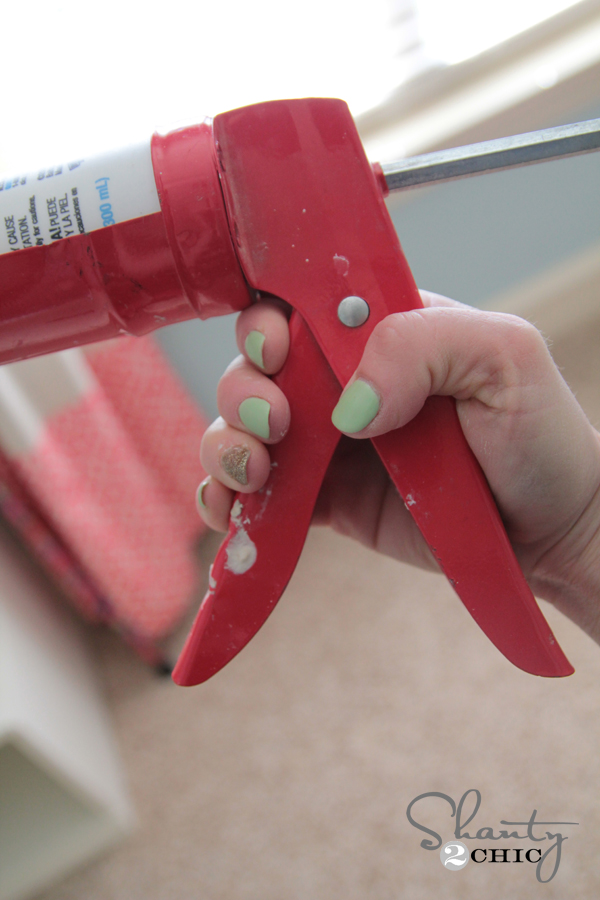
Now I use my hand on the trigger to get the caulk to the tip of the tube. Just squeeze the trigger a few times until you see the caulk come out the tip of the gun… When you see it, you are ready!
Time to caulk! My stepdad taught me to use a wet paper towel long ago. I have since upgraded to baby wipes ;-). Anytime I am caulking, I keep a box nearby and ready! Now, you can go buy all the shmancy caulking tools that do corners and edges, but I have found the best way to get a pretty line is by using my finger. It is messy, but the results look the best to me, and it’s really easy to clean off.
I work in small sections at a time. I usually apply 2-3 feet and then clean the line up before moving on. I start by applying a line of caulk to the seem by squeezing the trigger as I run the tip of the tube down the seam. This is a bit of a game at first. You will get used to knowing how fast to go and how hard to push the trigger the more you do this. Inevitably, you will shoot a giant glob out at some point (or maybe that’s just me 😉 ) but it’s an easy fix with a baby wipe or your finger. Here I am running a line (or bead) of caulk down this seam.

Next, I just run my finger down the line to smooth it out and make it look perfect.
That leaves my finger looking a bit like this.
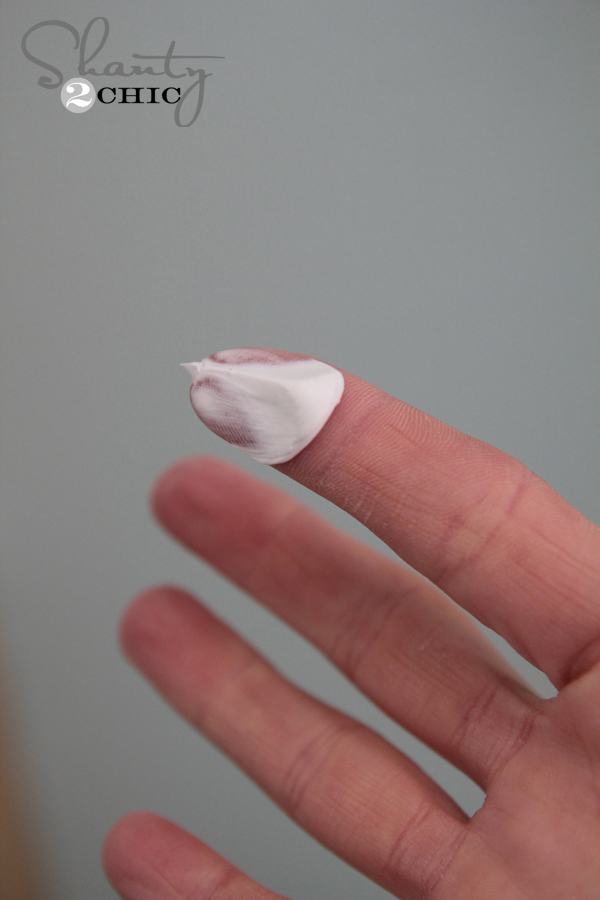
Enter baby wipes. 🙂
EASY. That’s all there is to it. I use the same method on curved and straight edges. You will have to apply more caulk to those edges with larger seams. Once you are done or need to switch out cans, just pull back that silver bar again and lift the caulk can out from the front first.
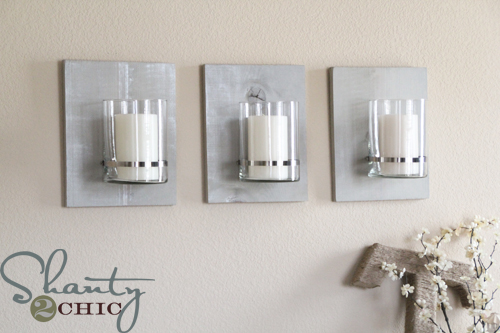
Here are a few shots after the seams were caulked.


Ahhh… So much better.
Now the last question… What did I just caulk?? It’s a SURPRISE!
Make sure to check back with us next week. We have teamed up with Ryobi Nation to bring you guys a fun and easy video tutorial to really help transform a space with very little money and time involved.
In the meantime, happy caulking! 🙂
I would LOVE for you to pin and share this tutorial with all your friends! Thanks so much for stopping by, and let me know if you have any questions at all!


Caulking is also great to seal the edge of painters tape to prevent bleeding. Seal the edge of painters tape with clear paintable caulk the viola! Perfect line.
??????Use the plans at www. WoodworkPlans.info for this project like I did – highly recommended you check those out too. They are detailed and super easy to read and understand unlike several others I found online. The amount of plans there is mind-boggling… there’s like 16,000 plans or something like that for tons of different projects. Definitely enough to keep me busy with projects for many more years to come haha
????????
☁☁☁☁☁
☁ ? ☁
☁ ☁
☁???????☁
☁ ? ? ☁
☁?????☁
☁☁☁☁☁
?
?
Did you know….that hole in your caulk gun handle is to cut the tip off your caulk! Easy peasy straight cut no fighting with scissors or a knife as I’ve been known to do since I can never find the scissors 🙂
The silver pull handle thing —- just won’t pull out ….. darn …. back to google…. Thanks, anyawaya.
When I caulk, I use painters tape, my fave is frog tape, on either side and then pull up the tape when I’m done…such a pretty line:)
The reason I hate caulking: whenever I stop pushing on the trigger, tons of caulk keeps coming out and inevitably makes a bit of a mess. It also is a huge waste. Am I the only one this happens too? Is there trick to make that stop.
Yes Chrissy! Just pull the metal rod back a tiny bit to release the pressure!
Thank you! I will try that next time! 🙂
I love using create a color…for those of you who have never heard of it, its a caulk. But you can buy this tool that adds paint to it, very simple to use and when you first apply it, it looks shades off but when it dries its the same color paint you added to it. It comes in handy when you have other than white casings, trim or walls. And another handy idea, buy the right caulk gun, one with a release trigger( I would call it). Depending on the caulk gun, when releasing the trigger, caulk will continue to pour out…
This post reminds me of the other day when one of my two-year-olds announced to me… I LOVE CAULK! And I almost sprayed my coffee everywhere. Great post! 🙂
I keep a wet towel in a plastic bowl half filled with water. I use it to wet my finger before I run it down the bead and then again to clean my finger. Works like a charm. I actually don’t totally “hate” caulking since I started using this.
Great tutorial! I need to get some baby wipes. Would work much better than the wet paper towel I’ve been using! You can also use the little hole behind the trigger to cut the end of the new cauck tube open. We put ours in a ziplock bag with a rubber band over the end if we don’t use it all to seal it.
Great tutorial… It is simple now that I know how to use it!
When you only use a bit from the can is there a way to store it to use again another day?
Yes! I like to wrap the top in foil or tape! 🙂
Painter’s tape works well too. It might be more accessible than foil considering what you’re doing and it’ll make for a better seal for an extended period of time.
I just stick a nail or screw into the end of it. The screw…will screw back out with a bit of a twist.