That’s right… ANYONE! These are super simple to build! This is by far my favorite $20 project to date.
Shelves Anyone Can Build
I have been in the process of redoing my oldest son’s room over the last few weeks. I shared his bed HERE and the headboard HERE.
I know one of the next things on my to do list will be a desk, and I knew I wanted some shelving for above it. I found THIS plan on Ana’s site and jumped on it.
If you own a drill (every woman should!) you can build these shelves. I made 2 for my son, and I also made 2 for my younger sister. Each shelf cost $10 to build. Here are a few tips and progress shots…
You will need 2 – 1×4’s and 1 – 1×2 for each shelf. That’s it!
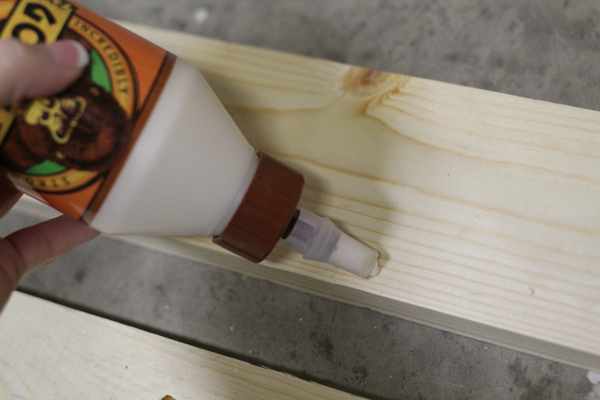
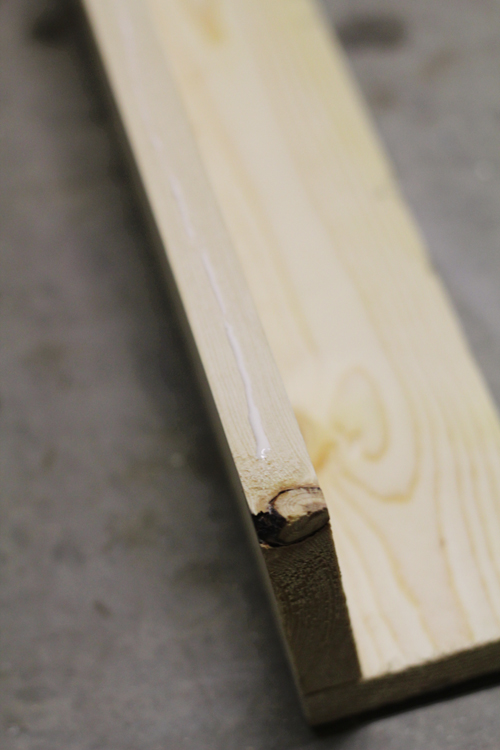
I made 8′ shelves so no need to use a saw. I also used my Kreg Jig, but if you don’t own one you can just pre-drill your holes and use wood screws to attach everything. I prefer drywall screws, but both will work. You will also need wood glue. I started by adding a line of glue where my 1×4’s meet.
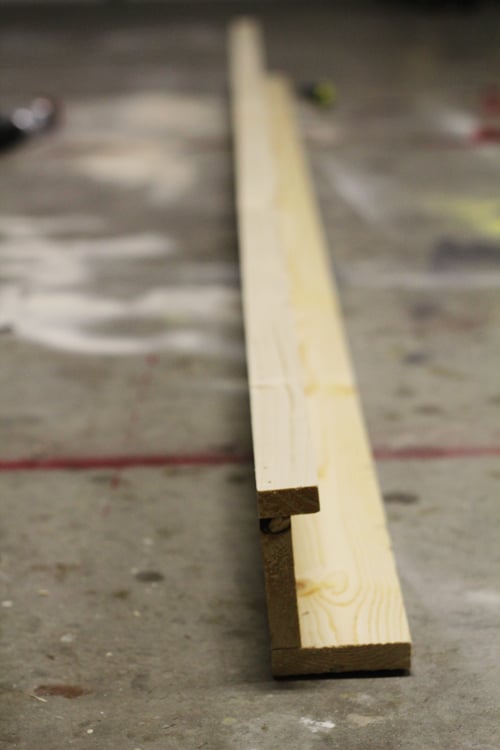
Join your boards together like this. Just pre-drill from the back and attach your screws.
Now add some more glue to edge of your bottom 1×4…
And use some finish nails to attach your 1×2!
That’s it! Not even kidding!
I didn’t even worry about filling nail holes because I stained mine and I like the imperfections… So shanty! 😉
I used my new favorite stain on mine…
Rust-Oleum Ultimate Wood Stain in Dark Walnut
I LOVE this stuff… It dries beautifully within an hour… Whoop! You can get it at Lowe’s.
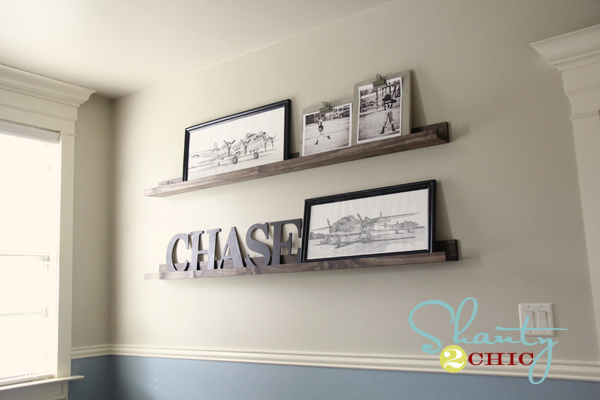
These are super easy to attach to your wall too! I used 2″ drywall screws directly into the studs of the wall. I didn’t even have to cover the screws because the things I put on the shelves covered them easily.
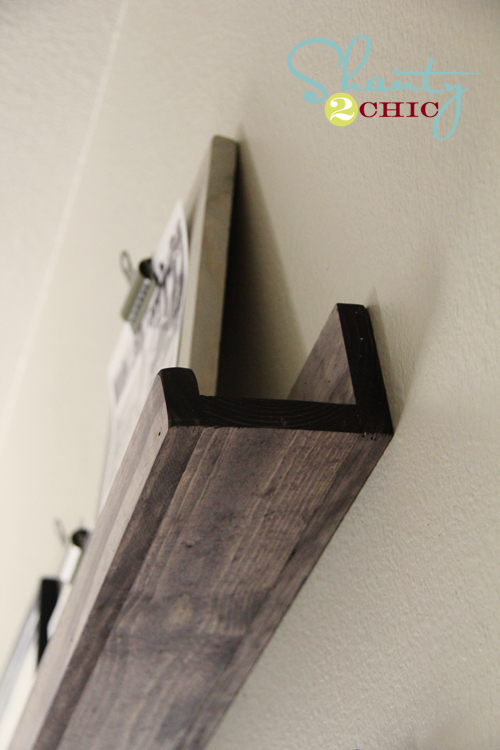
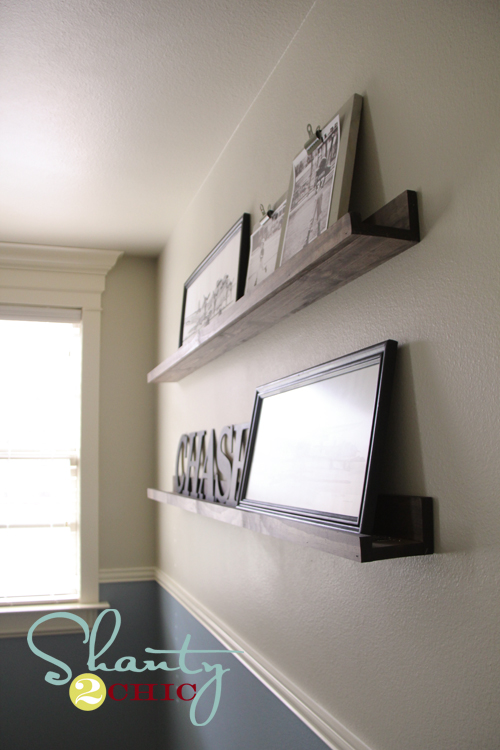
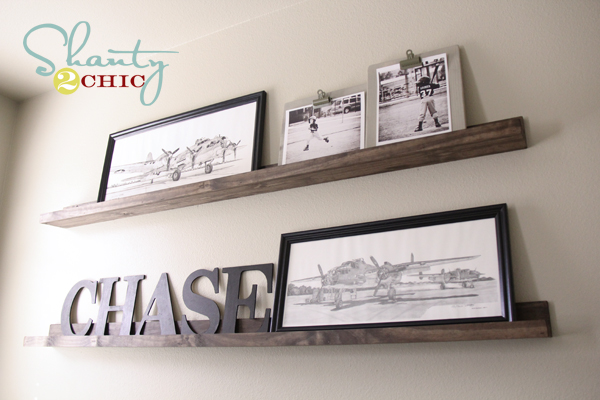
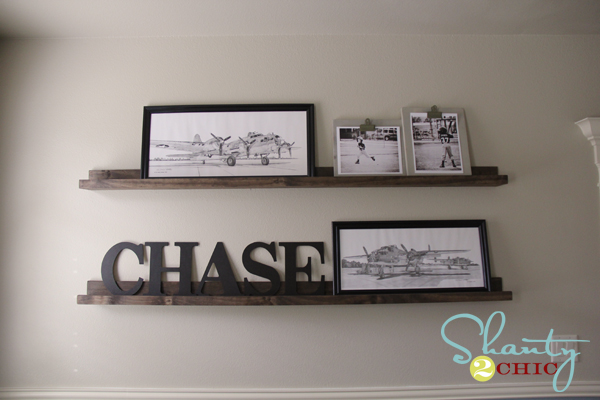
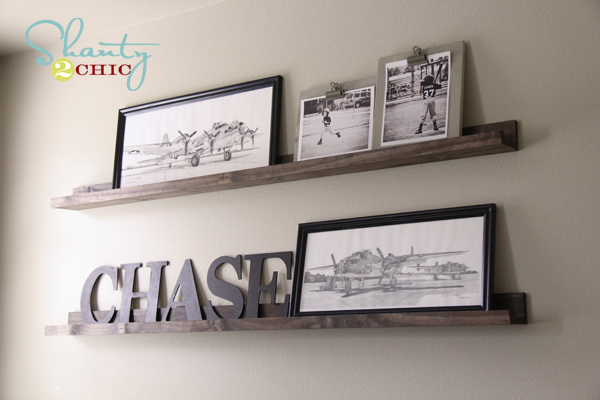
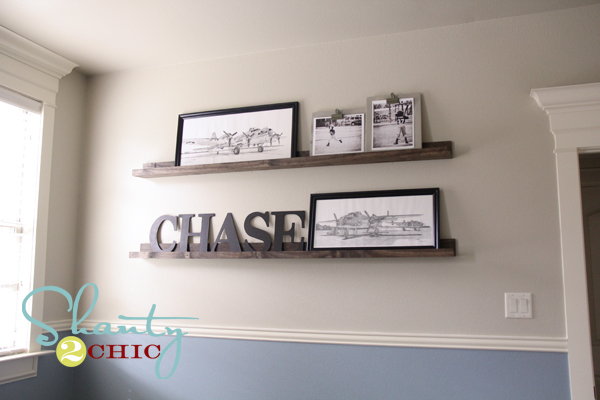
I got them up and took some pictures for you!
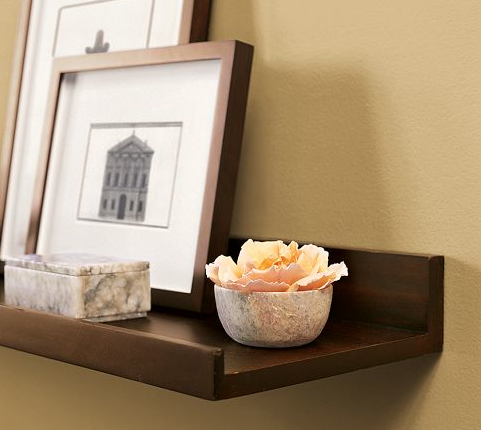
And if you aren’t quite convinced please look at this picture…
Yes. Looks familiar! You can find this lovely at Pottery Barn, except it costs $85 for 4′! That’s half the length and 8 times the price. No thank you!
What do you think???
You OFFICIALLY have no excuse to not build! These are easier than putting together anything you can find in a store. I LOVE them.
You can see the detailed plans HERE on Ana’s site!
FINALLY…
Did you like it??? Would you be a dear and PIN IT please?!? I would appreciate it greatly 😉
Thanks so much and happy Tuesday!
~Whitney






yes inquiring minds want to know where the awesome plane prints came from! 🙂
Those were a gift from a friend who was actually going to throw them away! Crazy! Wish I could share where he got them but I don’t know… Sorry! 😉
darn! I was going to ask too! My husband is an air force pilot!
Boo! I get lots of questions on them! Wish I could tell you how to DIY them ;-)!!
This is exactly what I am going to put in my breakfast area. I have been looking for the perfect, but EASY DIY shelving….THIS IS IT!!! I found you from Tator Tots and Jello….Happy Dance 🙂 Hugs, Jan
I featured you today for my Pinterest Thursday post. http://instantmommie.blogspot.com/
This is such a great idea! So cute! We would love to have you come share this at our weekly link party every Saturday! -The Sisters
http://www.sixsistersstuff.com
Just made some today, very easy! Thanks for the great idea!
I love them! I’m going to try it. How did you attach them to the wall? I have plaster walls so I’d probably have to use sink hooks, but just wondering….
Wow! that is super easy to make! thanks for sharing this tip!
-Tootsie.
www.thetootsiewootsie.com
BEAUTIFUL! Love them and love they’re so easy .. question being that you just used glue do you have any idea of how much weight they could bare?
Pinned these too! 🙂
Pamela
PBJstories.cokm
You’re right, these shelves do look so simple! I love them! Thanks for sharing the great tips!
I just made these and saved so much money thanks to you!! your advise was amazing and helped me so much!!
How did you hang them on the wall? Did you just screw it directly to the drywall, or did you find studs? I’d like to do this project soon! Yours look great, I love the stain as well.
???I’m so so happy with how mine turned out! I used the plans at www. WoodworkPlans.info to build mine – I highly recommend you visit that website and check their plans out too. They are detailed and super easy to read and understand unlike several others I found online. The amount of plans there is mind-boggling… there’s like 16,000 plans or something like that for tons of different projects. Definitely enough to keep me busy with projects for many more years to come haha ?????
????? Check it out! Go to www. WoodworkPlans.info – click the pink link above for some more plans! Best of luck on your building adventures! ✨✨✨
Oh wow, I was just telling my husband that I needed something like this in my son’s room! I love Anna’s projects, thank you so much for bringing this one to my attention. I love your blog!
I’d love to know more about the things that look like clip boards. Is that a bulldog clip on a piece of scrap wood?
This is my next project post Erin 😉
Love these shelves. How did you attach them to the wall?
Such a great idea and so easy! Thanks for sharing this. And the stain looks amazing.