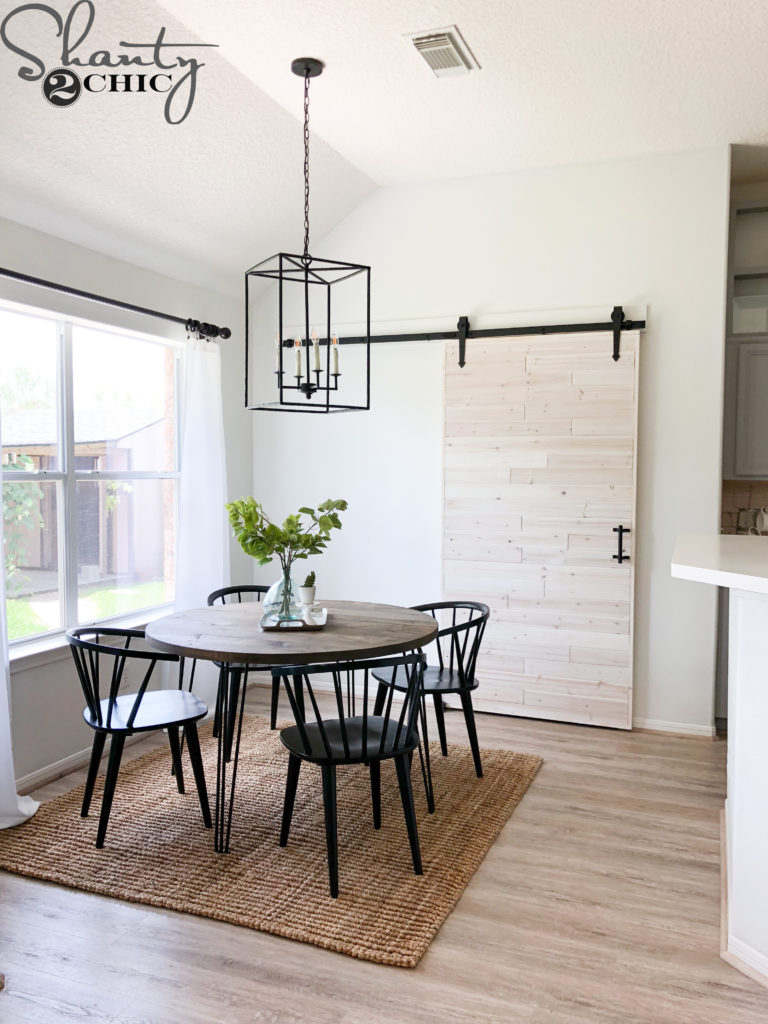
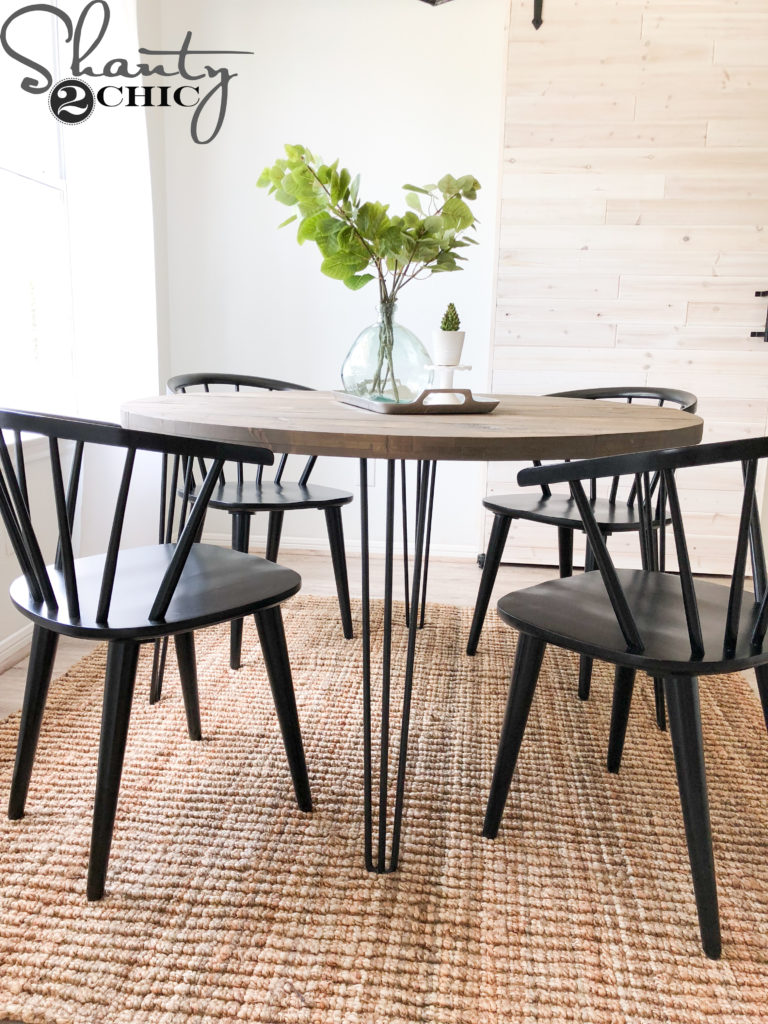
We are back with another project in our sisters ShantyHouseCrash series! This week we are moving back into the kitchen and showing you how to build this DIY Round Hairpin Table! You only need a few tools, 5 – 2×6 boards and 4 chunky hairpin legs! So, grab a cup of coffee and let’s go build this cutie!
Just click HERE or the video below to watch!
You can download the FREE Printable Plans HERE and follow along below with the step-by-step tutorial! I’m also sharing how I built the jig, for the plunge router, below!

First, we ran the 2×6 boards through a table saw to rip the round edges off. This made the boards 5″ wide. This is not a necessary step but it will give a smooth table top! Make sure to adjust the measurements accordingly if you choose not to rip your edges.
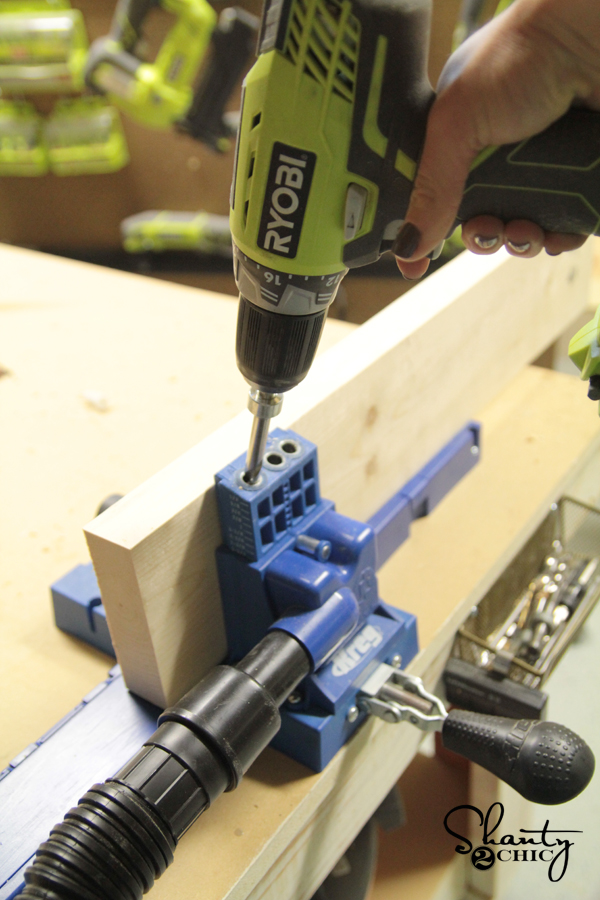
Next, we cut our boards to size and drilled 1 1/2″ pocket holes into the edges of each board. Refer to the plans for the placement of these pocket holes. You can find our favorite model of Kreg Jig HERE!
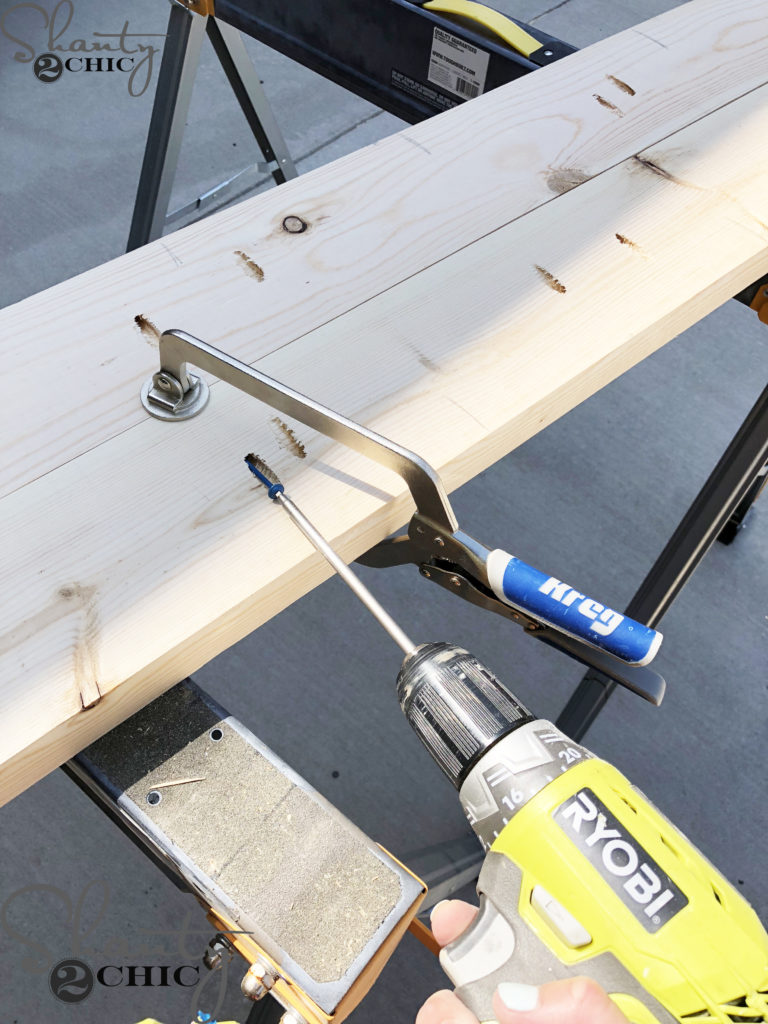
To assemble the table top, we began by attaching the two middle planks together. We used 2 1/2″ pocket hole screws and our Kreg Jig Face Clamp. The face clamp is great for keeping the planks flush with each other while you are assembling. Just clamp down over each pocket hole, where the two boards meet.
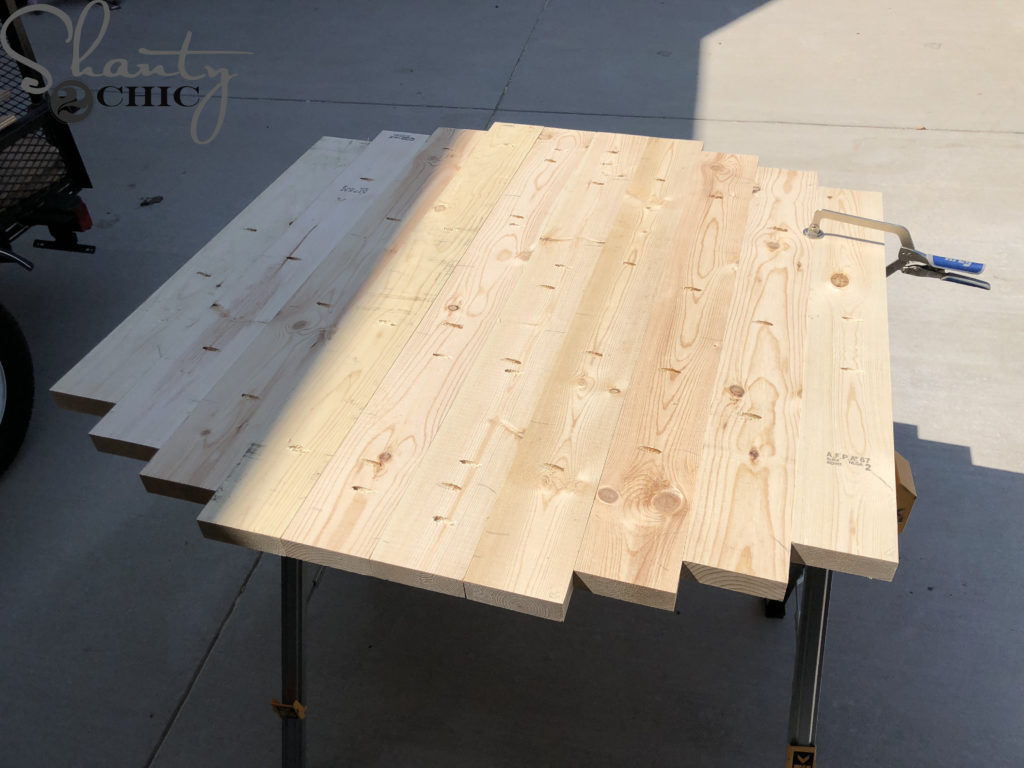
We followed up with the rest of the planks. Make sure to refer to the plans for the placement of each plank!
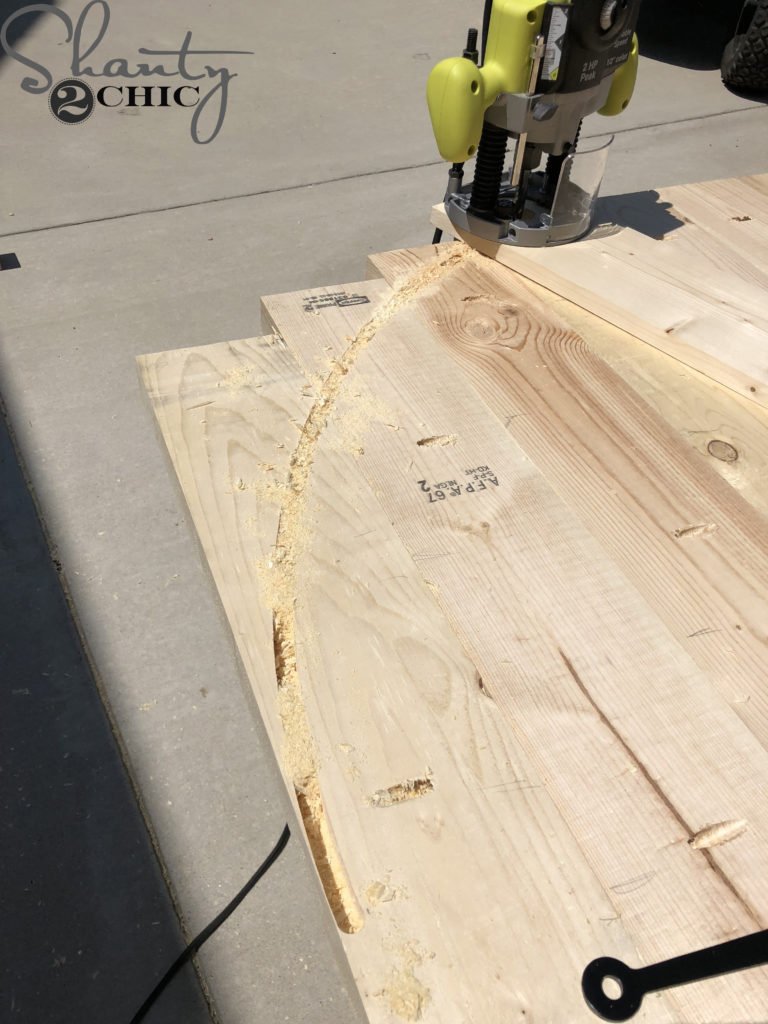
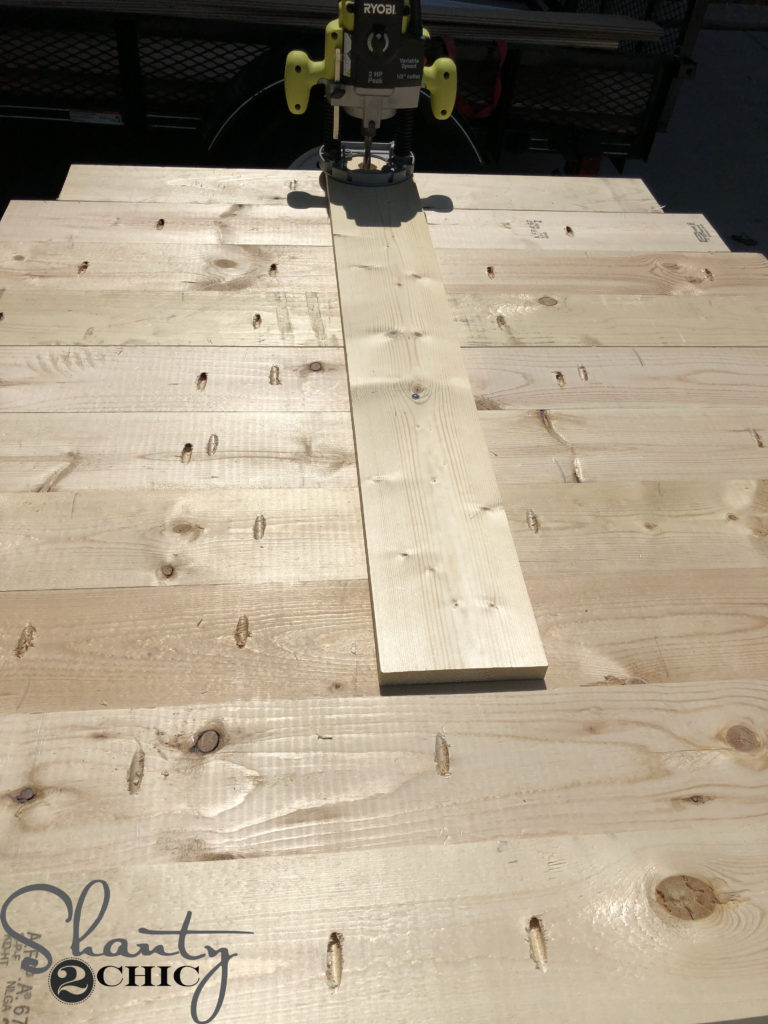
Once the planks were all attached, we used our Ryobi Plunge Router, on a homemade jig, to cut the table top circle. We shared a how-to for the homemade jig towards the bottom of this post.
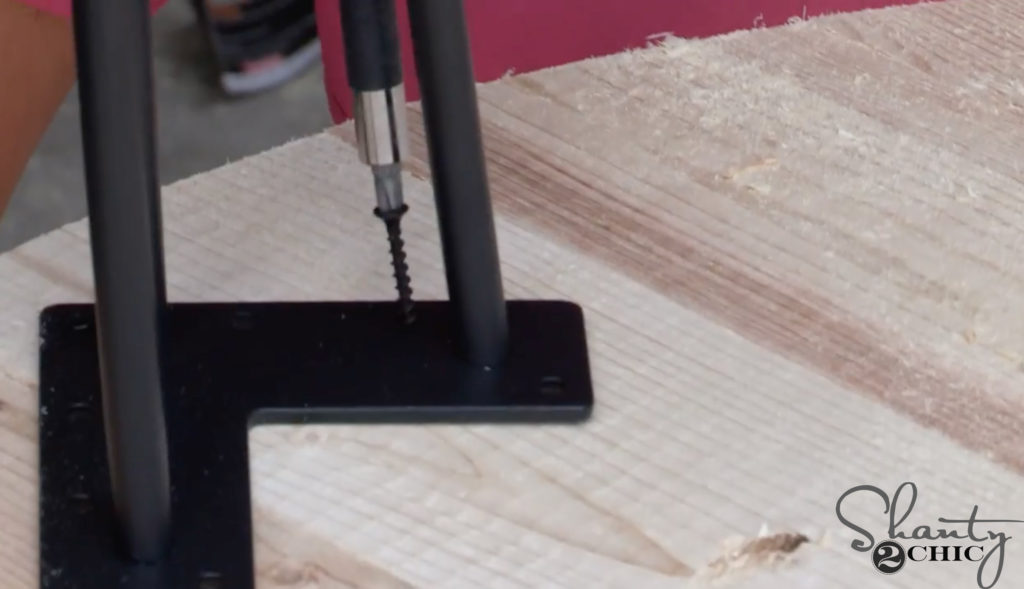
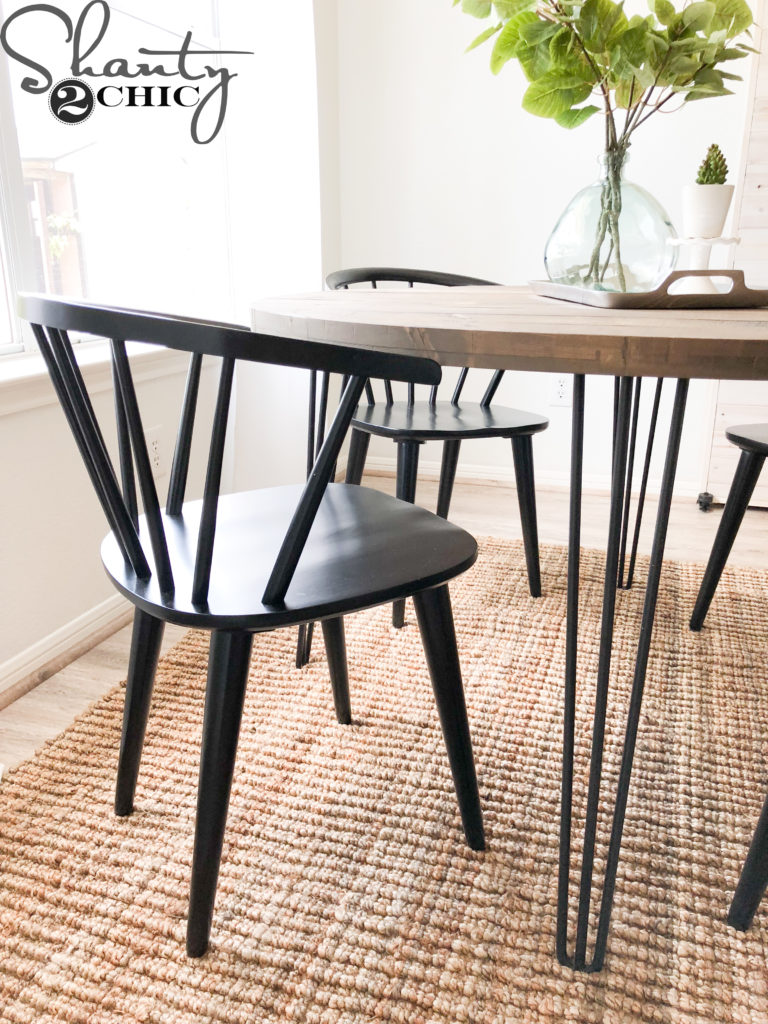
The final step of assembly was attaching the hairpin table legs. You can find the table legs that we used HERE!
We gave it a coat of stain and a protective finish and that was it! You can find the stain that we used HERE and the poly that we used HERE!
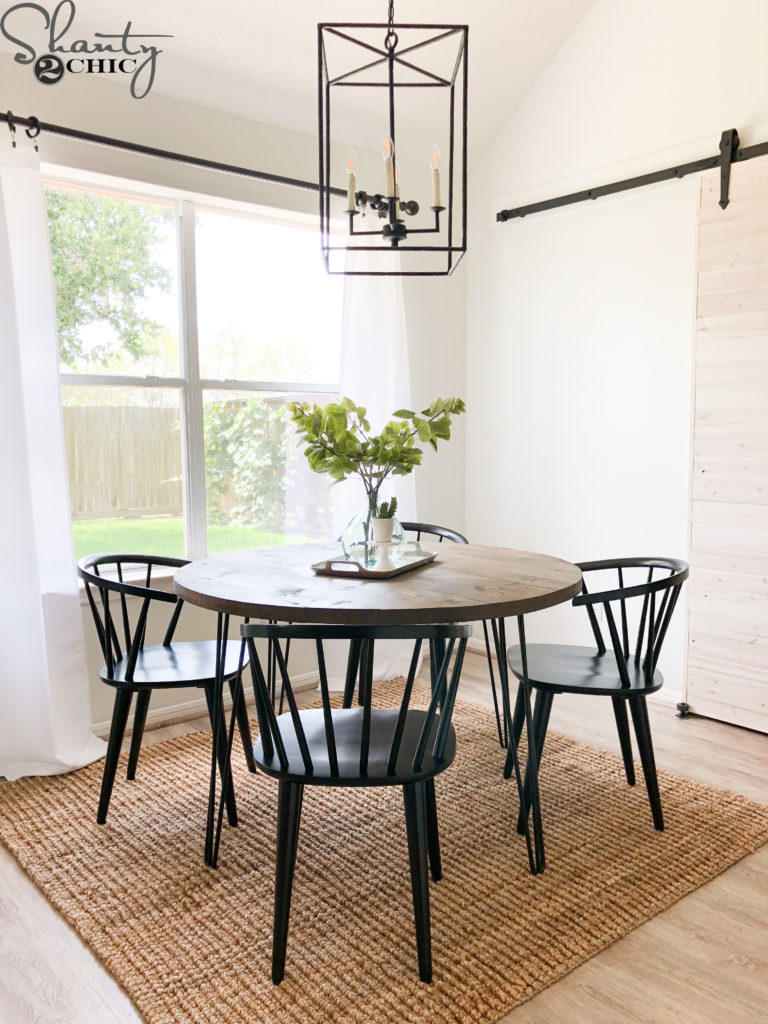
It’s the perfect table for this space and it gives the kitchen so much style and character!
Click the links below for for info and sources!
Plunge Router Jig Tutorial:
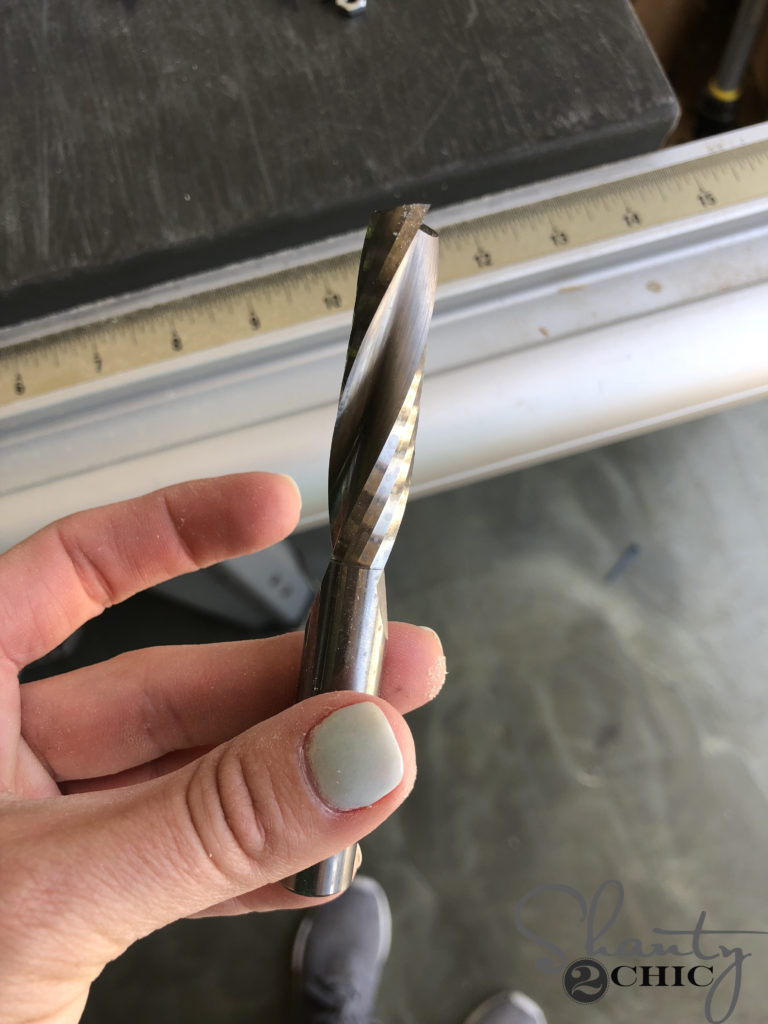
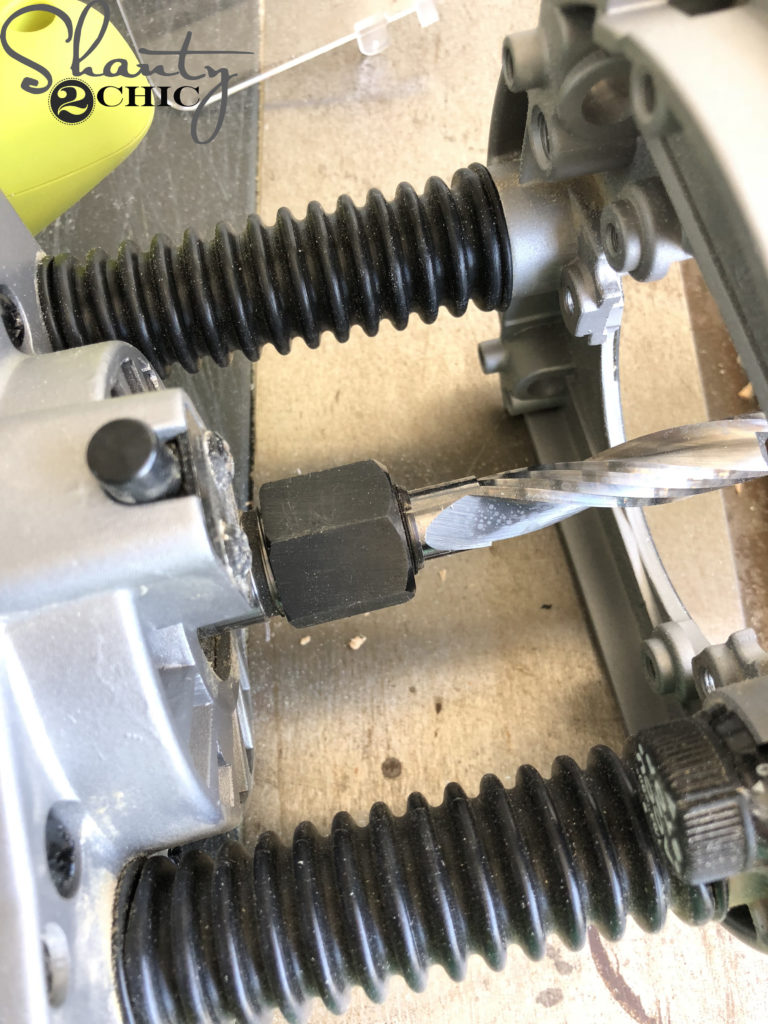
You’ll need this bit to cut the circle with this plunge router. We bought ours HERE.
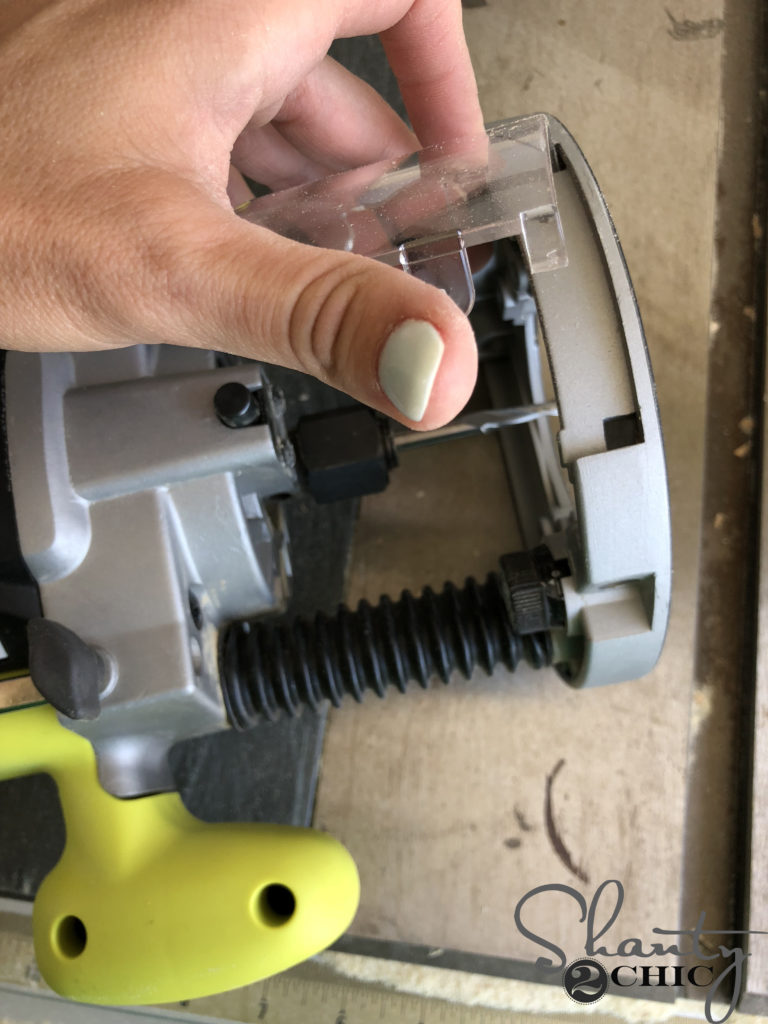
Remove the clear, plastic guard from the front of the router.
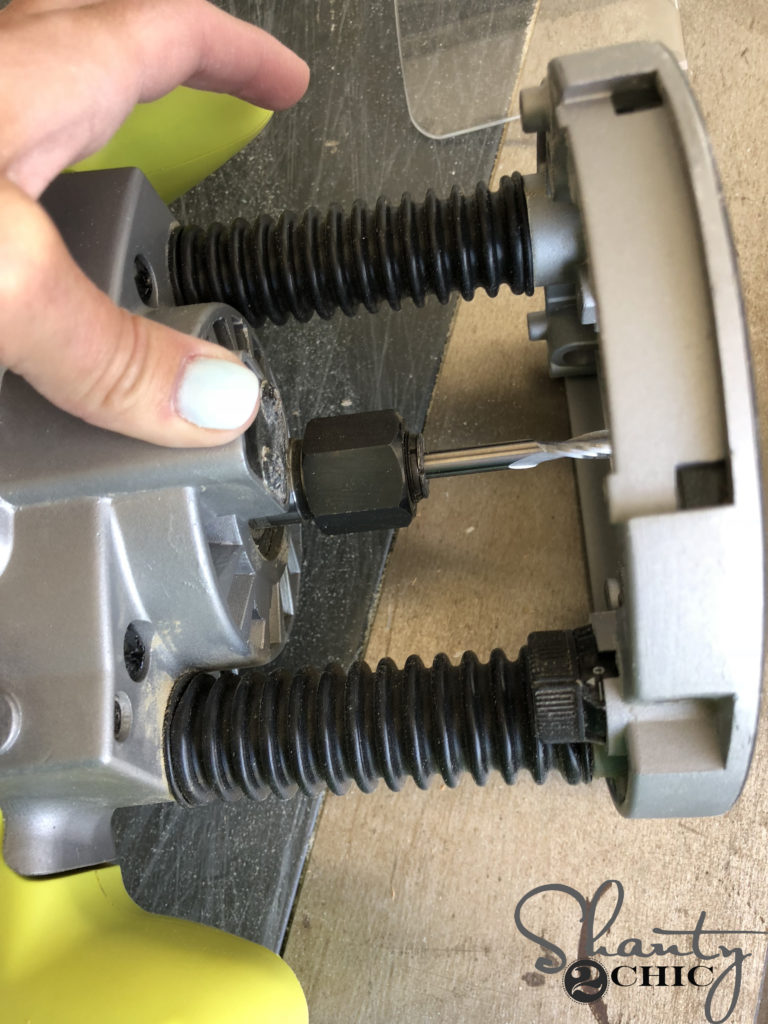
To change the bit, hold down the lock on the side of the router.
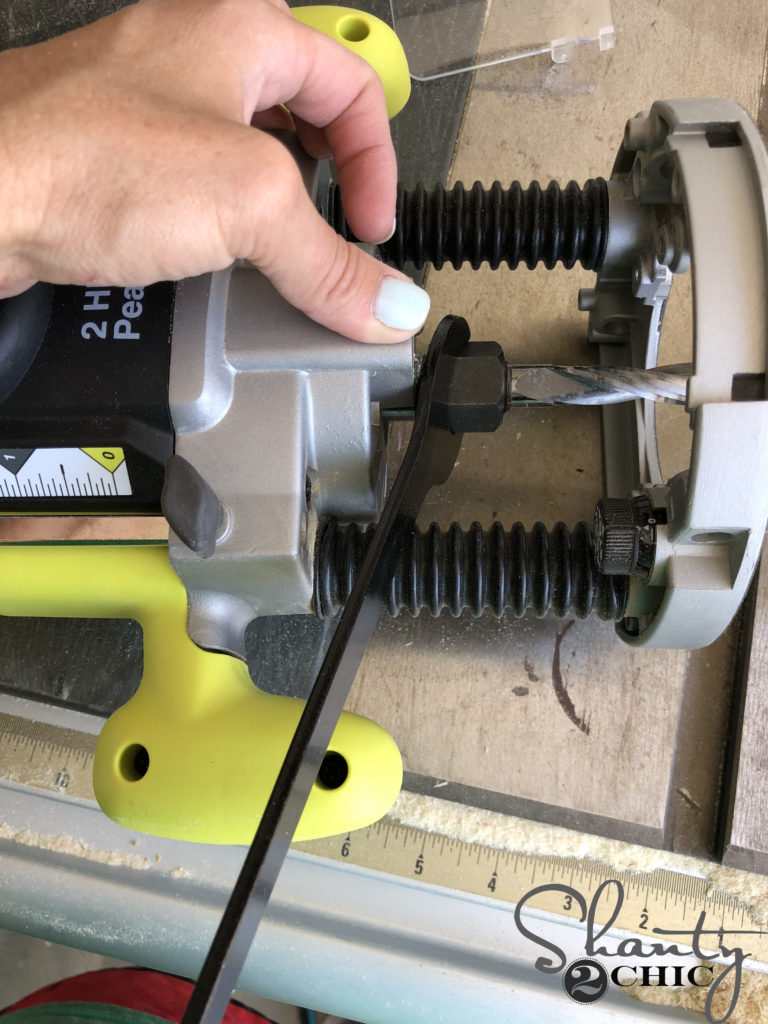
Use the wrench, that came with the router, to loosen the nut.
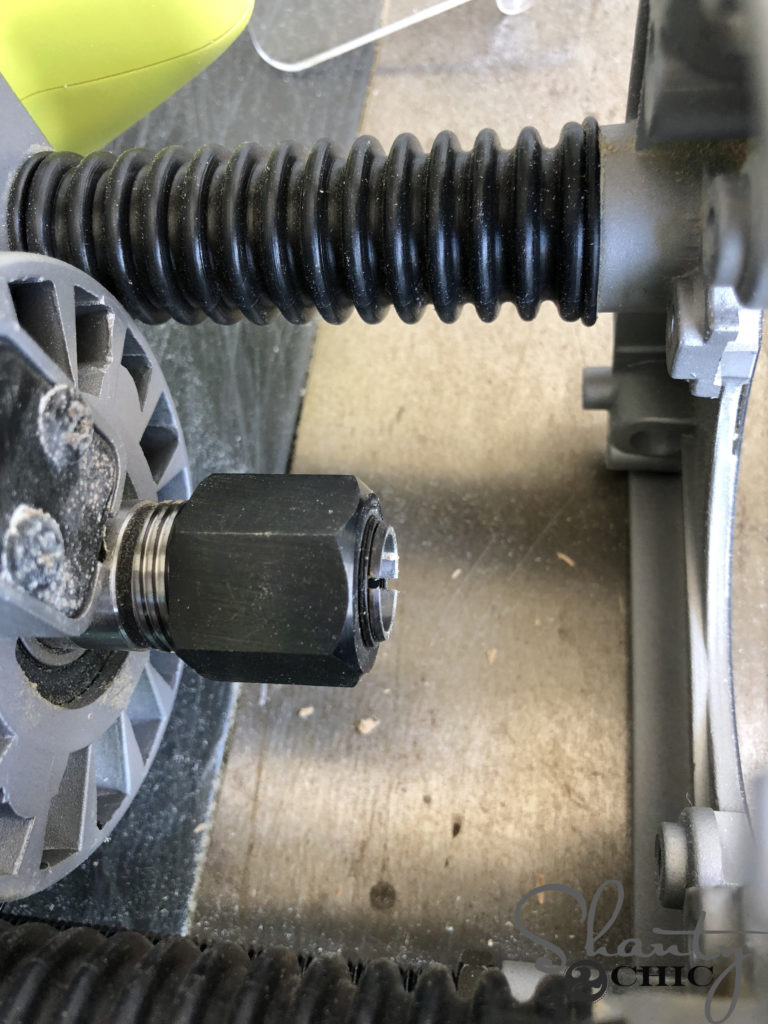
Once the nut is loose enough, slide the bit it all the way, then back it out a hair.
Tighten the nut back up with the wrench and replace the clear, plastic guard.

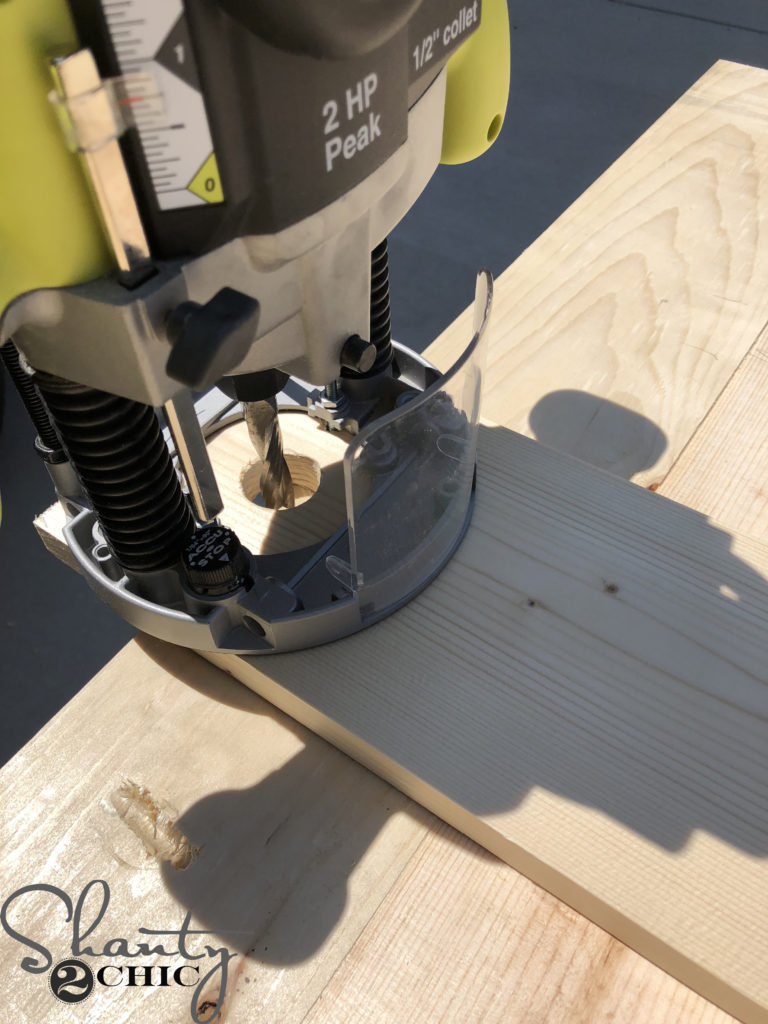
Next, cut a 1×6 board to about 32″ long.
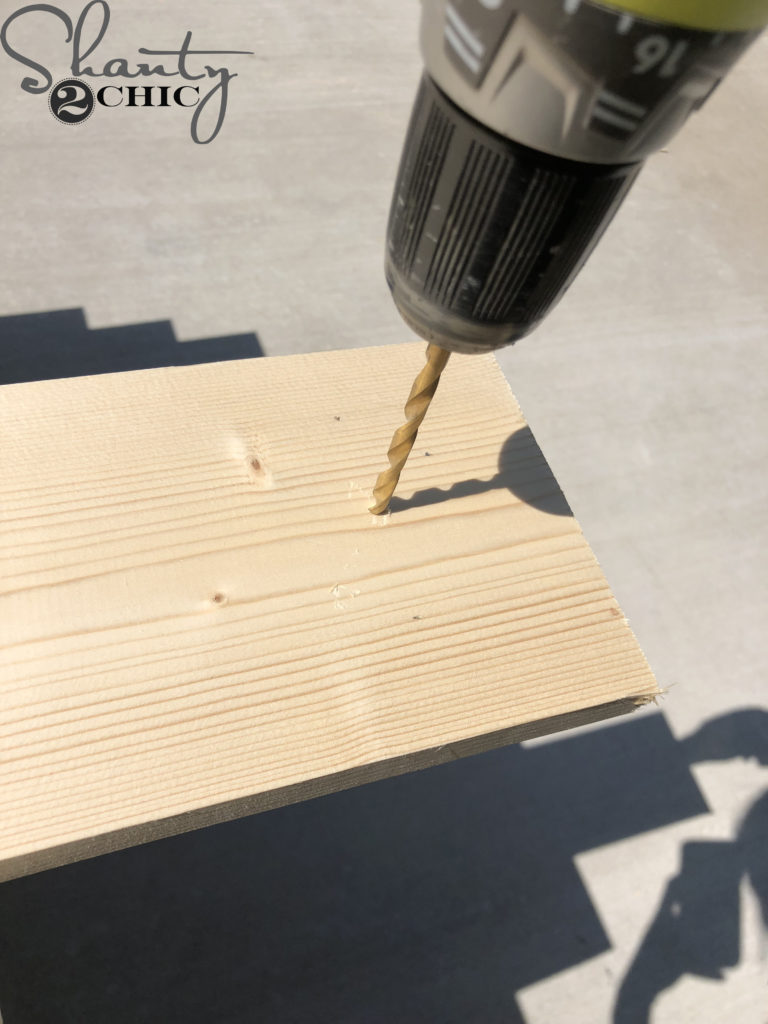
Hold the plunge router at the end of the board and mark where the bit will enter and drill a pilot hole.
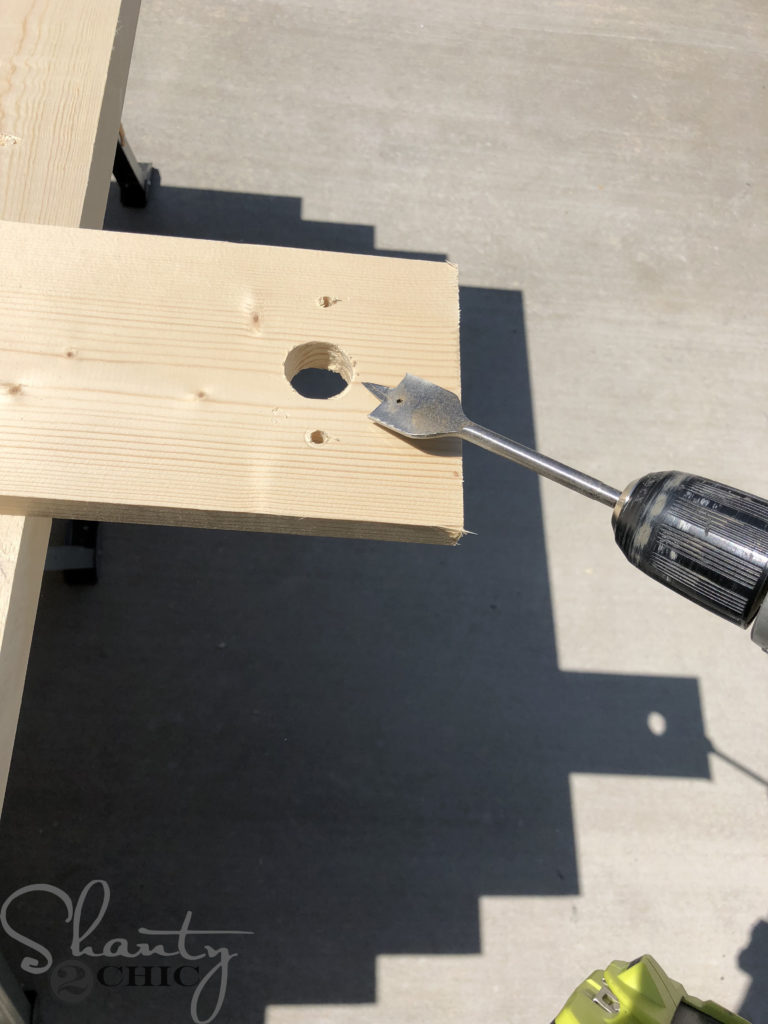
Use a 1″ paddle bit to drill a 1″ hole for the router bit.
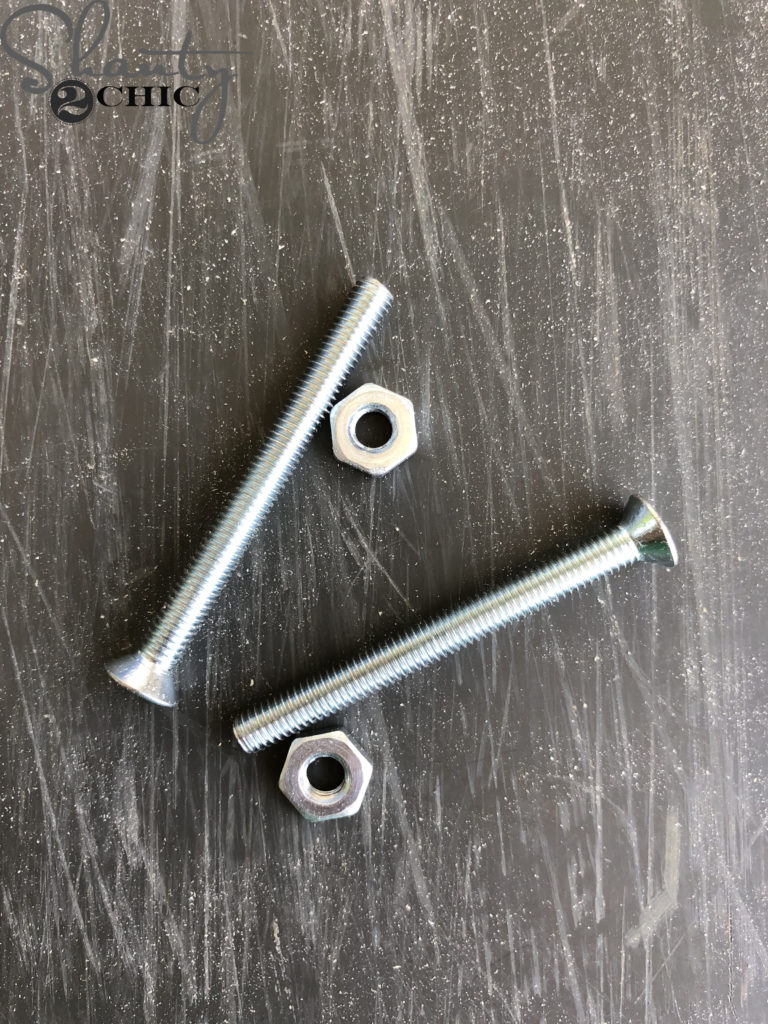
Place the router back on the board and mark the screw holes to attach the router to the jig. We used 2 machine screws with nuts.
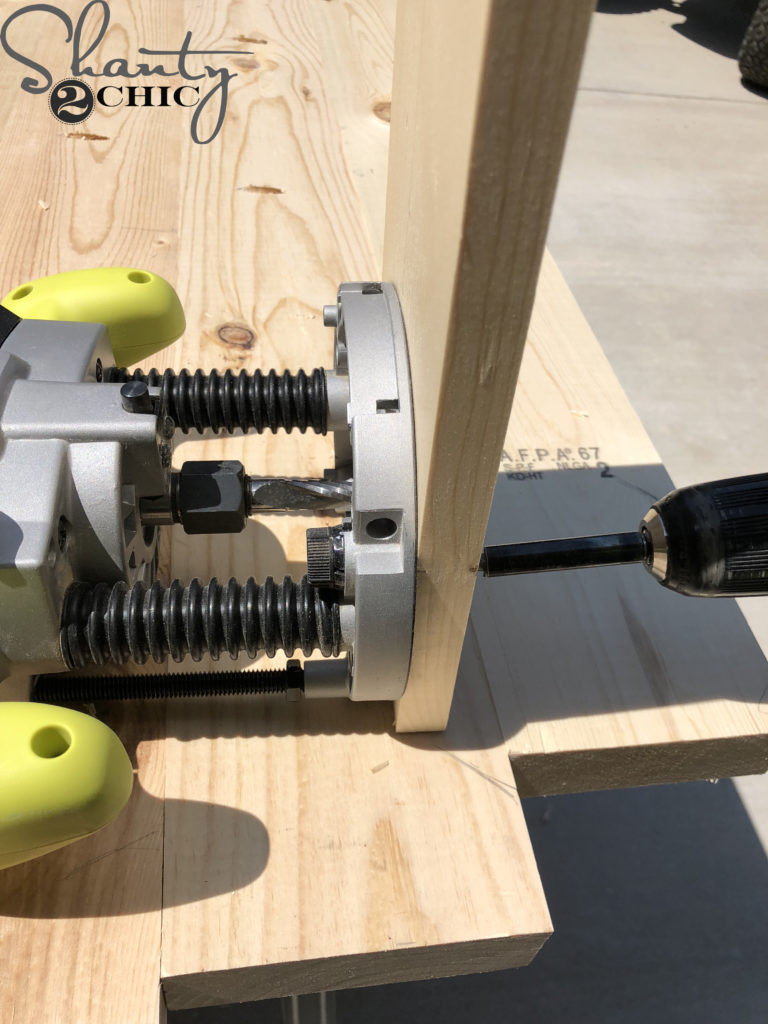
Attach the router to the board from the bottom of the board and up into the router. Secure the machine screws with the nuts.
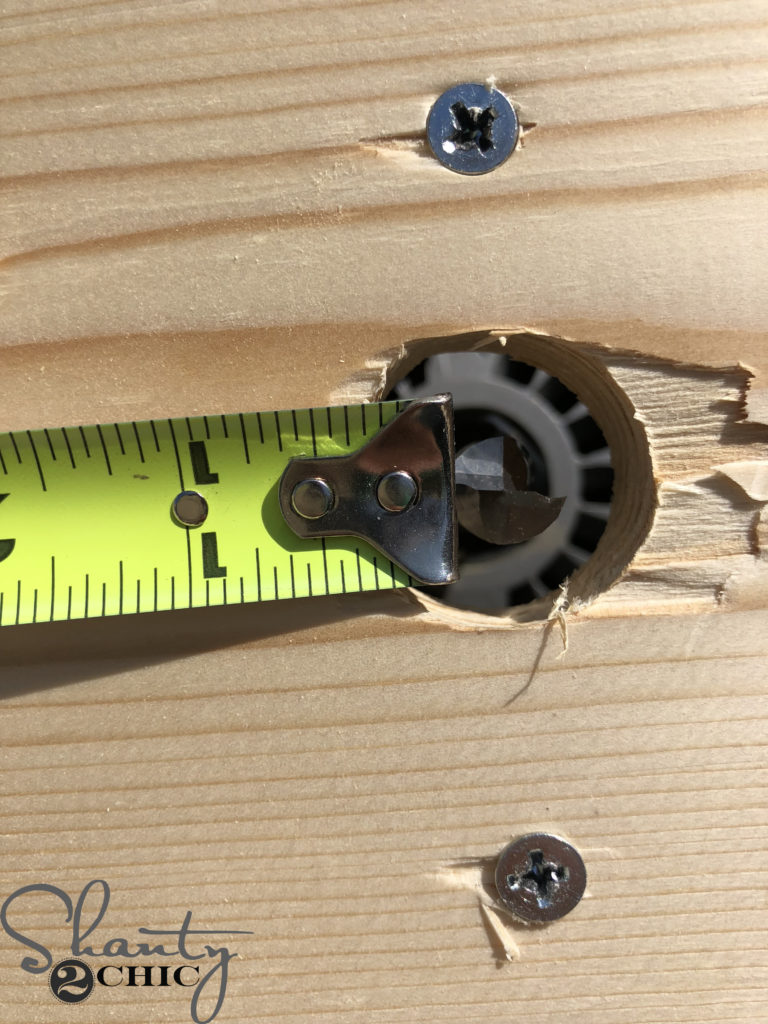
Turn the jig upside down and measure 24″ from the inside of the router bit to the opposite end of the board.
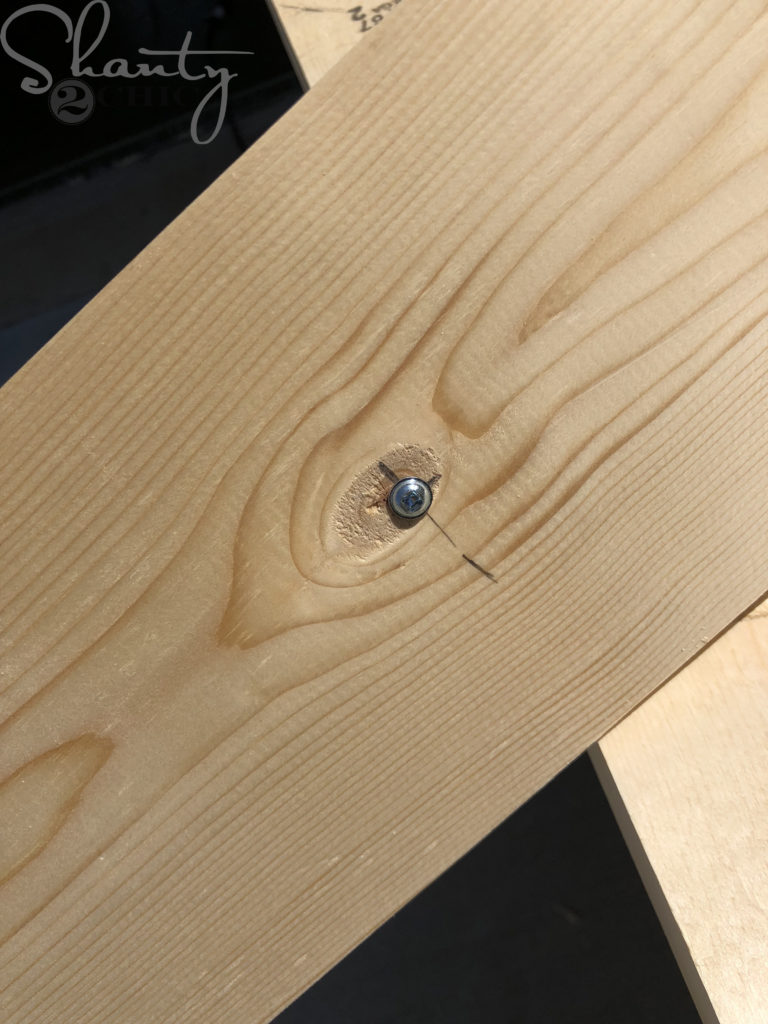
Drill a 1 1/4″ screw into the board from the bottom
and into the center of the bottom of the table top.
Set the plunge depth to only cut 1/4″ for the first pass. (This was my first attempt and I set it to 3/4″. That was far too deep for this size bit and it fought the planks pretty bad. I built the table top again and went at 1/4″ passed and it was super easy).
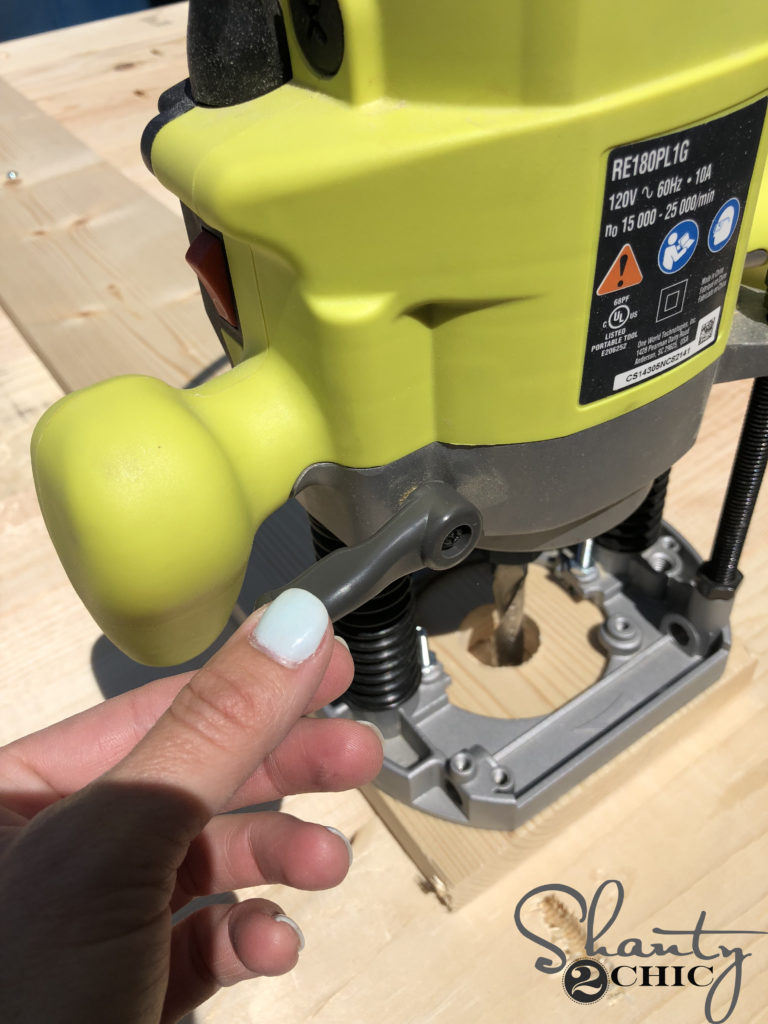
Use the lever on the back of the router to lock the plunge depth. This will allow you to focus on cutting the circle without having to push down while you cut.
Move the router, slowly, around the table top. Continue making 1/4″ passes until you are through the entire table top. Should take about 6 passes.
That’s it! Super easy, super smooth and super round 😉
Check out all of the other projects from this Shanty House Crash series below!
Farmhouse Dining Table – Free plans and how-to video live, now!
DIY Driftwood Backsplash – Free plans and how-to video live, now!
How to Add Height to Kitchen Cabinets – Free Plans and how-to video live, now!
Custom Cabinet Trim Hack – Free Plans and how-to video live, now!
How We Paint Cabinets –Free Plans and how-to video live, now!
How to Frame and Cover a Crescent Window – Free Plans and how-to video live, now!
DIY Round Kitchen Table – Free plans and how-to video live, now!
DIY Pipe Shelves – Free plans and how-to video live, now!
DIY Barn Door for Pantry – Free Plans and how-to video live, now!
Thanks so much for stopping by!
Happy Building!!


This website is the absolute worst. So cluttered with ads, instructions are poorly written. Videos overpromise, website underdelivers.
The middle of my table is sagging… what would you recommend for more support?
Still trying to find the formula. Why is this information not being made available??
Am I crazy in thinking that the 28′ legs linked are too short for a dining table? Did you use a different length of legs for this table?
That’s what I thought too! But, the legs were a perfect size for us. In fact, it was the same height as our Ashley Home Furniture table that we had before
So I need to redo my round table top. It’s partial board under a laminate. But it’s a leaf table and I’d love to make this round yet have a matching leaf for it.
Any ideas??
Does anyone have the formula for adding the legs on?? My package didn’t come with it and I can’t find it on any plans. Can’t finish till the legs are on
hello! I too was looking for the formula for leg placement. Did you happen to get this information eventually?
I never found the formula! What I did was place the table face down and set the legs up. Then I made measurements from edge of the table to the leg to make sure the depth was the same. Then I made sure all legs were equally measured apart and squared up. I’ve done it with two table so far and they have been level and no wobbling
What size in length did you use for the 2×6’s? And what size did you cut them down?
Never mind, I didn’t see the plans.
What is the diameter of the table? Thank you!
Hello. I am building the table now and was wondering what the mathematical equation would be to place the legs. On your video you said it was on this post. I cant seem to find it. Can you please let me know? Thank you for your time.
Hi! It’s actually in the instructions that come with the legs!
Which legs are they? The link comes up as an error now.
How do I determine the placement for each pocket hole? I can’t find this in the plans. Thank you.
Did you find the formula? My legs didn’t come with anything in the box
The link to the legs doesn’t work, can you tell me the length needed?
The link for the legs are only 28 inches. Is this correct? Isn’t this too short for dining table? How tall is the table?
How sturdy are the legs to keep the table from wobbling over time?
The link for the stain color doesn’t work. What brand and color stain did you use. Thank you!