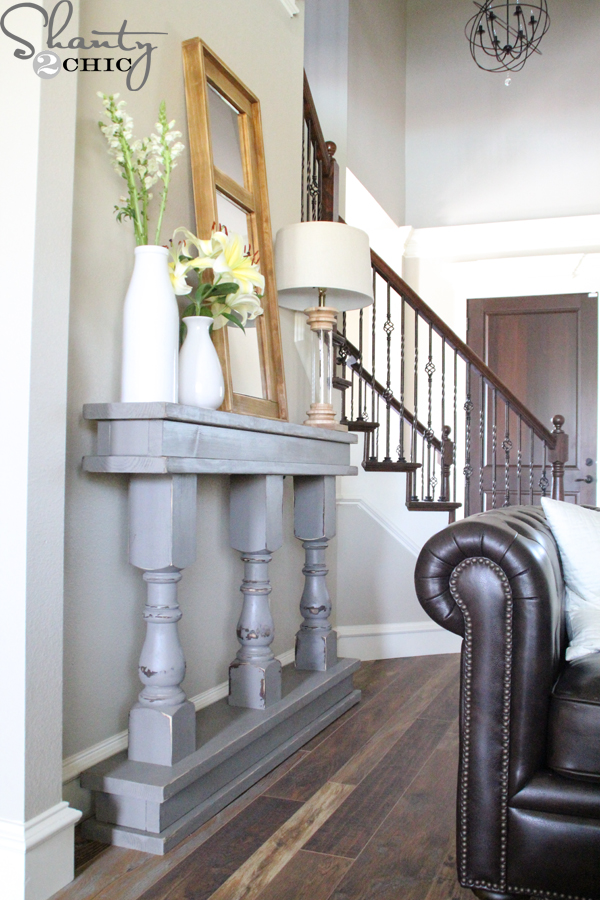
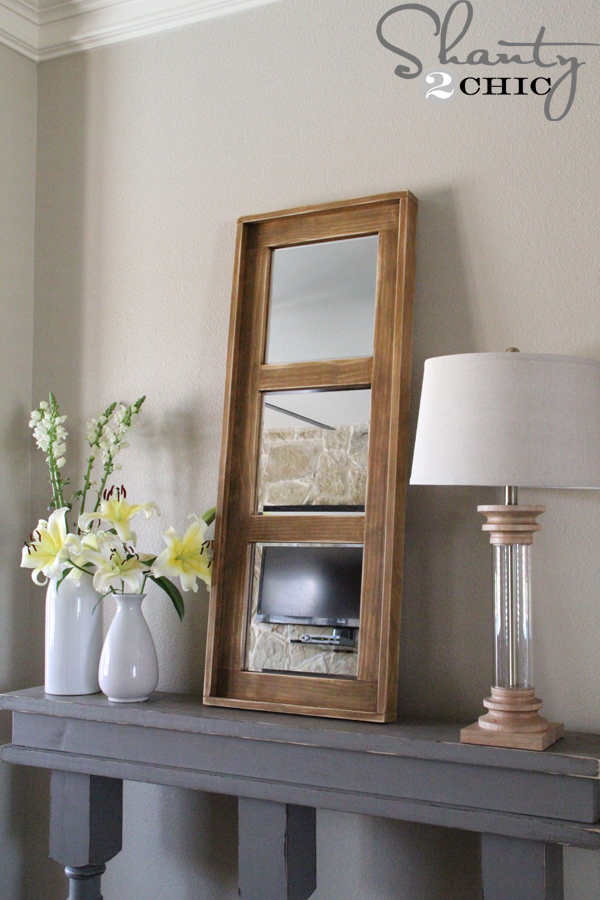
 Well holy moly I’m in love with it!! *If you like the mirror propped on top, click HERE to see how I made it!* This DIY Console Table is so easy!!
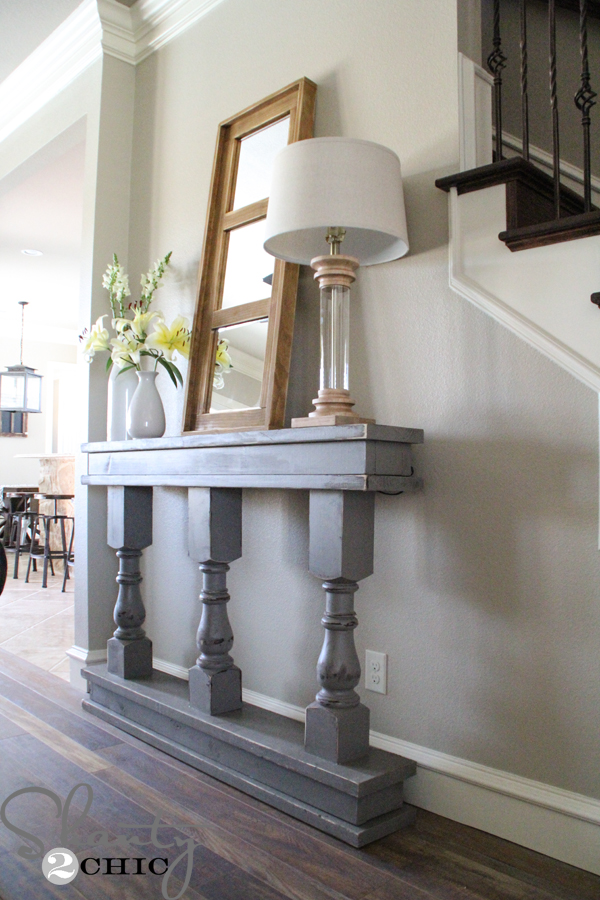
 I needed a narrow console table to fit a blank wall next to our stairs and came up with this SUPER EASY beauty! And of course we have the free plans for you as well! Just click the image below to print! Let’s get into this DIY Console Table.
 You can also click HERE for the Free Plans!
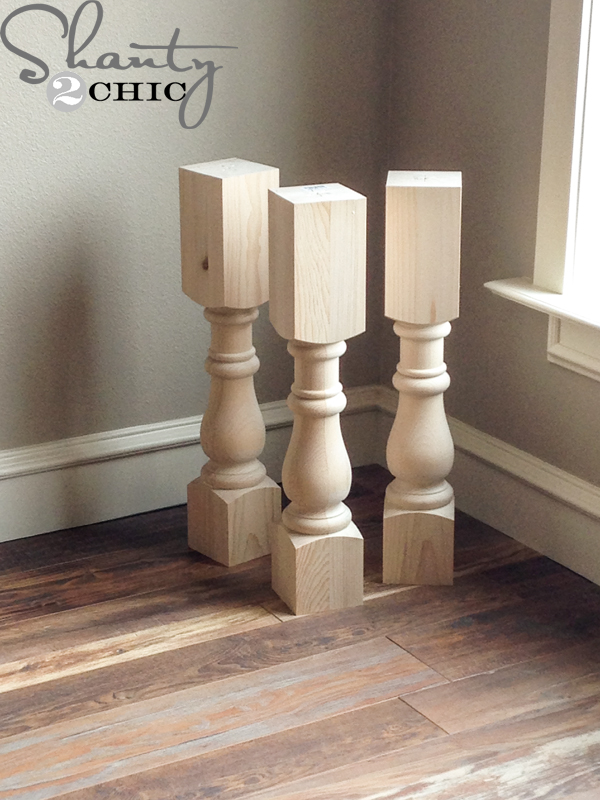 When I said this table was easy, I wasn’t kidding! It’s built with these awesome turned legs that I ordered from Osborne, 2×4’s and 2×10’s! That’s it friends! You can click HERE to order the turned legs. I ordered the knotty pine – they are about $60 each but that is the bulk of the cost with this table!
Here’s how I built the table!
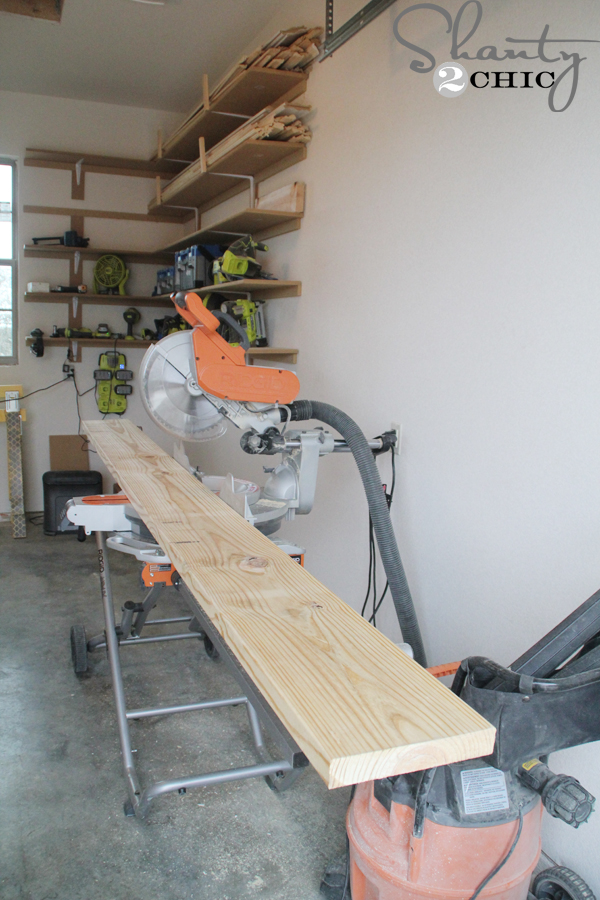 I started by cutting my 2×10 boards. These will be the main bases for the top and bottom of the table.
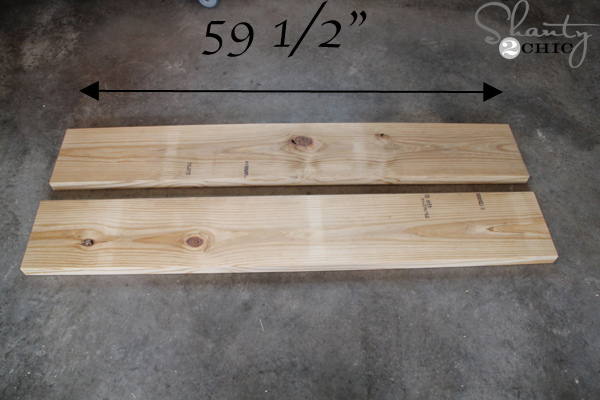 I cut 4 pieces at 59 1/2″.
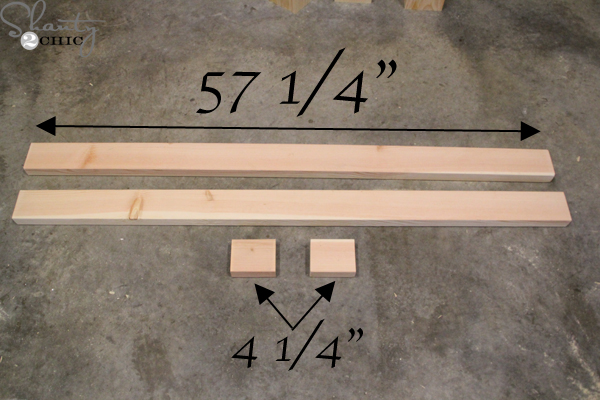 Next, I cut 4 2×4’s @ 57 1/4″ and 4 pieces at 4 1/4″. That’s it for cuts 🙂 We usually say measure and cut as you go but for this project, you can go ahead and make all of your cuts.
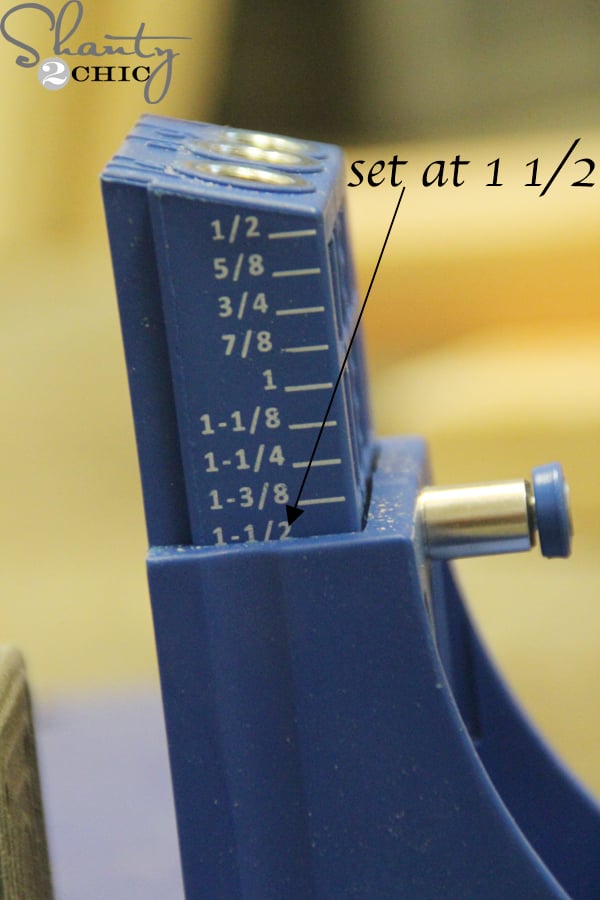 Next, I drilled all of my pocket holes. Set your Kreg Jig at 1 1/2″. If you don’t have a Kreg Jig, no worries, you can use 3″ wood screws and fill your holes.
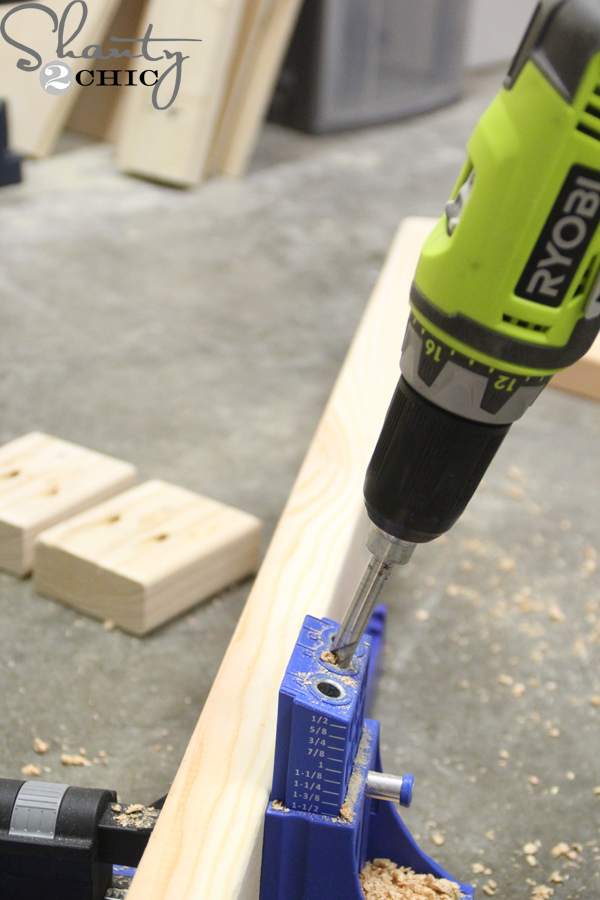 Follow the plans to see where to drill pocket holes. For this particular piece, you will only be able to use pocket holes in certain areas.
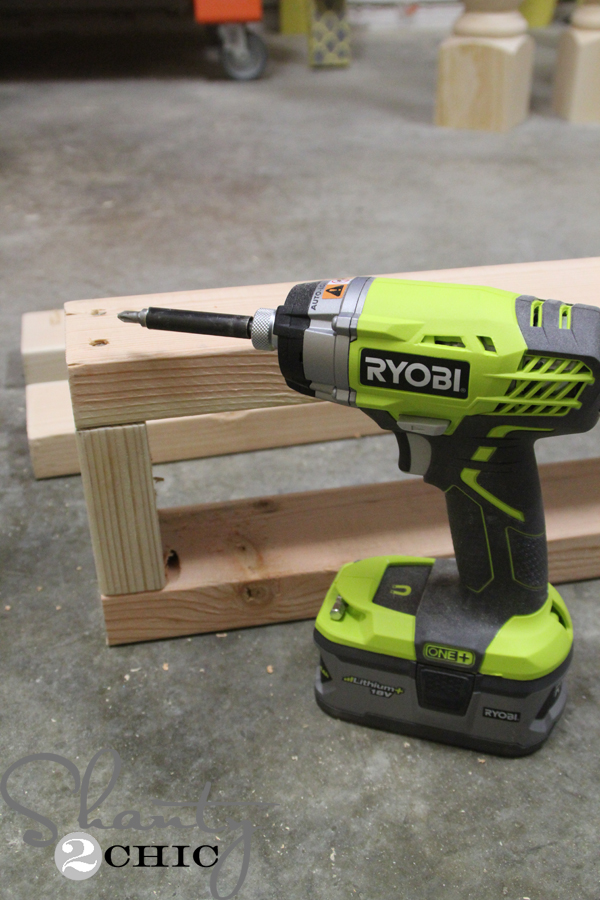 Start by connecting the 2×4’s. I used 3″ on the side that will face the wall and used 2 1/2″ pocket hole screws on the other side. I like to use my Ryobi Impact Driver when I’m attaching 2x’s! It’s one of my new favorite tools and It saves my arms 🙂 Build two of these and set them aside.
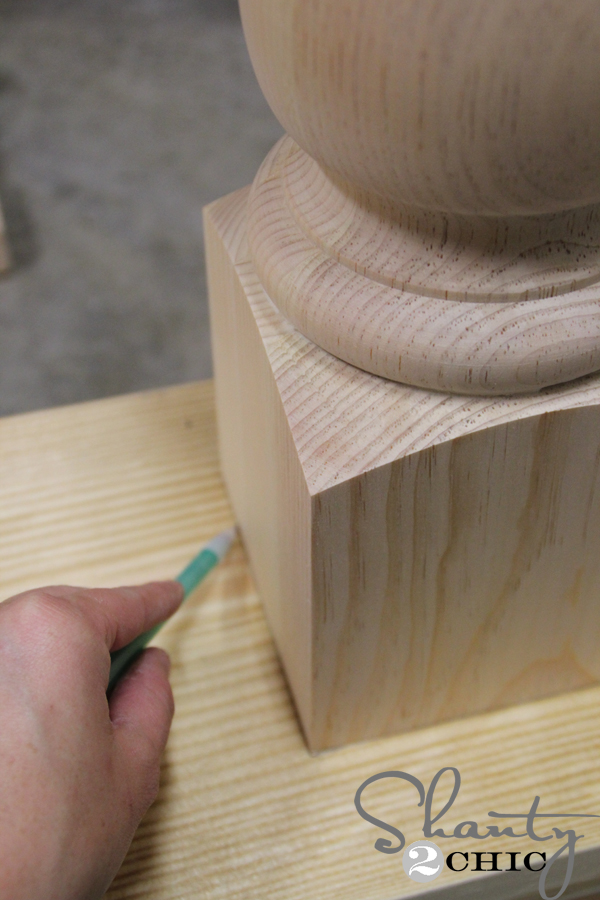 Now it’s time to attach the legs to the bottom 2×10. I traced around each leg before I flipped them over to attach.
 I used 3″ wood screws and my impact driver to attach the legs.
 Then I added one of the 2×4 assemblies and attached it with wood glue and 2 1/2″ pocket hole screws.
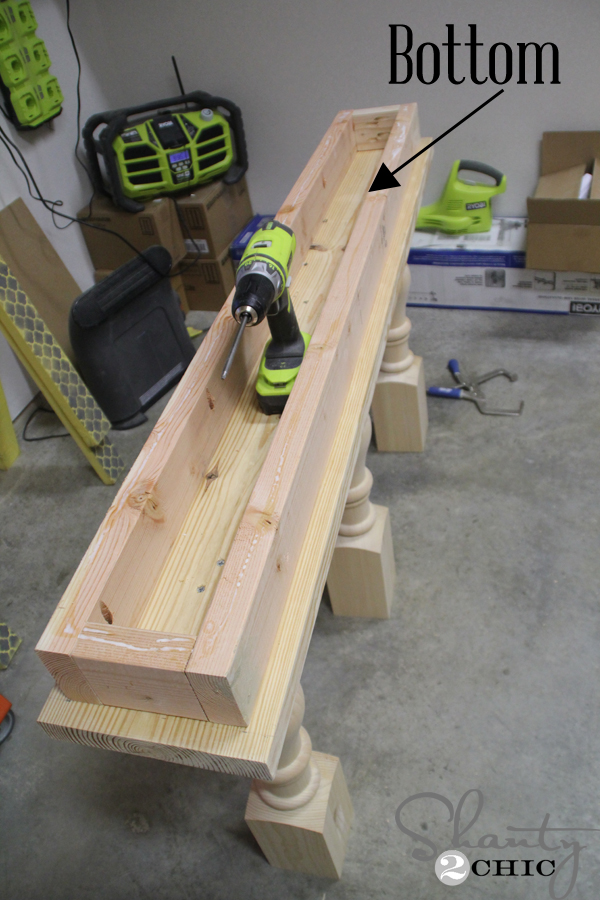
 Since this is the bottom of the piece, I used 3″ screws to attach the final 2×10 board. Don’t worry about filling your holes here!
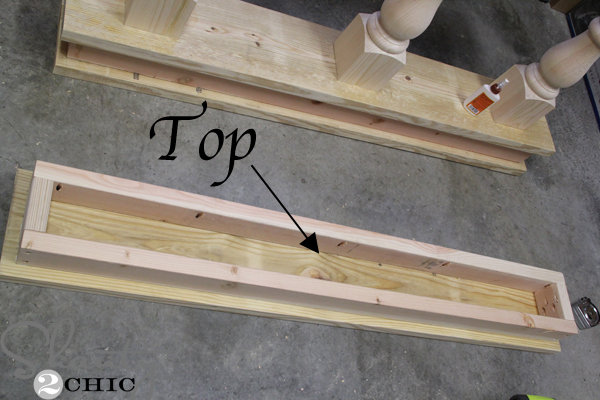 Now, flip the console over so the base is on the ground. Attach a 2×10″ to the top of the legs using 3″ wood screws and wood glue. Then, attach the other 2×4 assembly with 2 1/2″ pocket holes to the final 2×10 board. This 2×10 will be the very top of our console so we don’t want any screw holes.
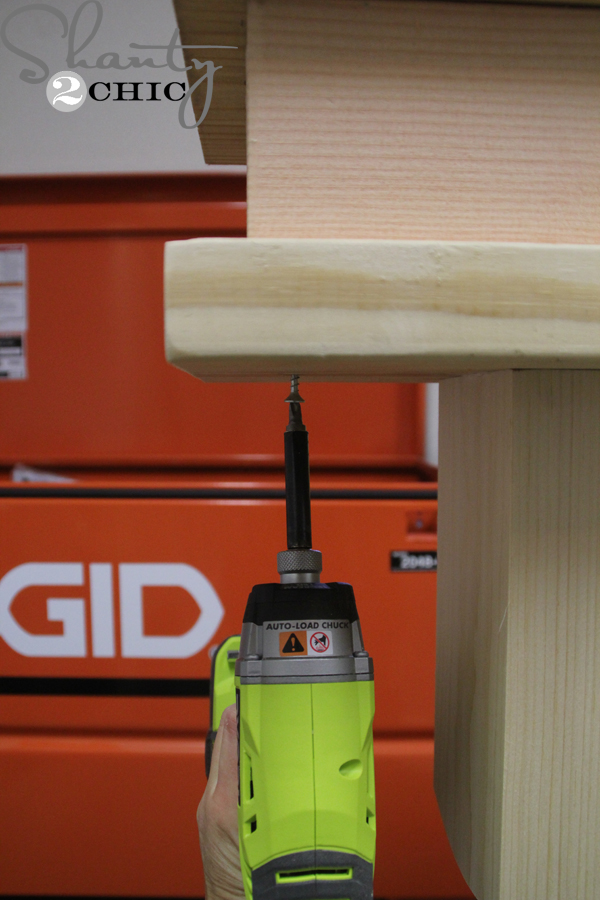 Set the 2×4 assembly on top of the console and attach it (from the bottom of the 2×10 into the 2×4 assembly using 3″ wood screws.
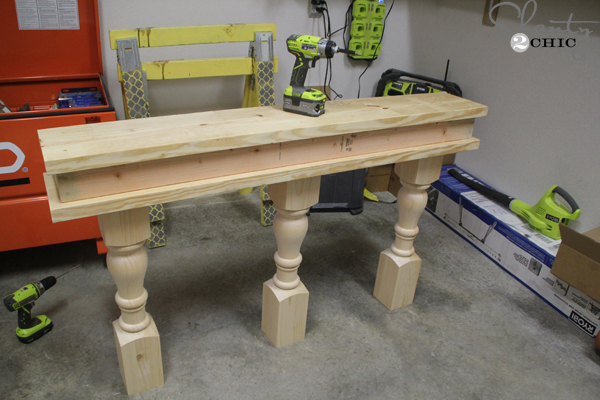
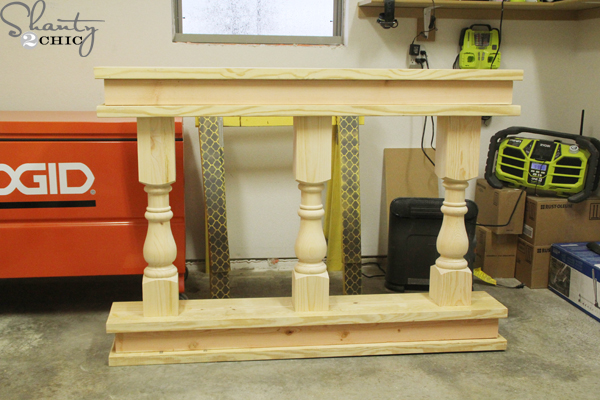 Here she is all ready for paint 🙂
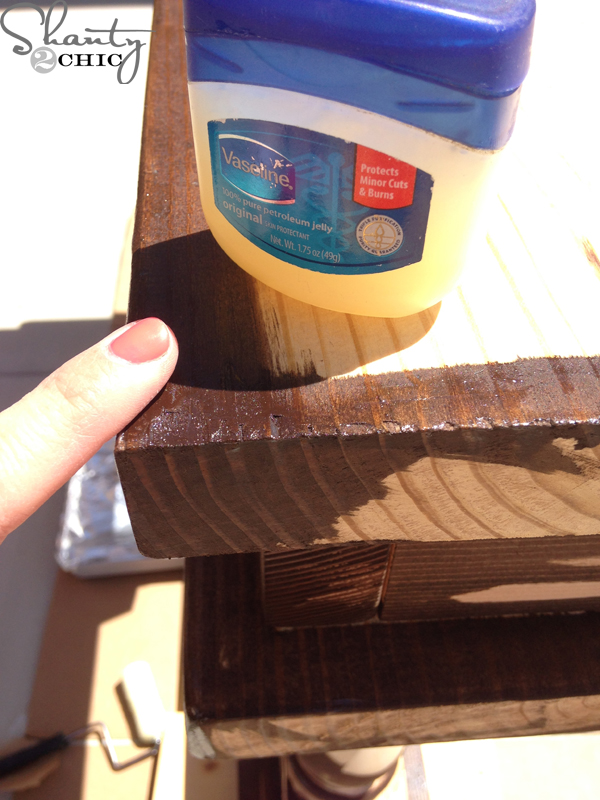 I used one of our favorite paint techniques to finish this off! I applied a bit of Rust-Oleum Dark Walnut stain around the edges of the piece. Once it was dry, I applied a little bit of vaseline on the edges and then painted two coats of Seine paint by Valspar,
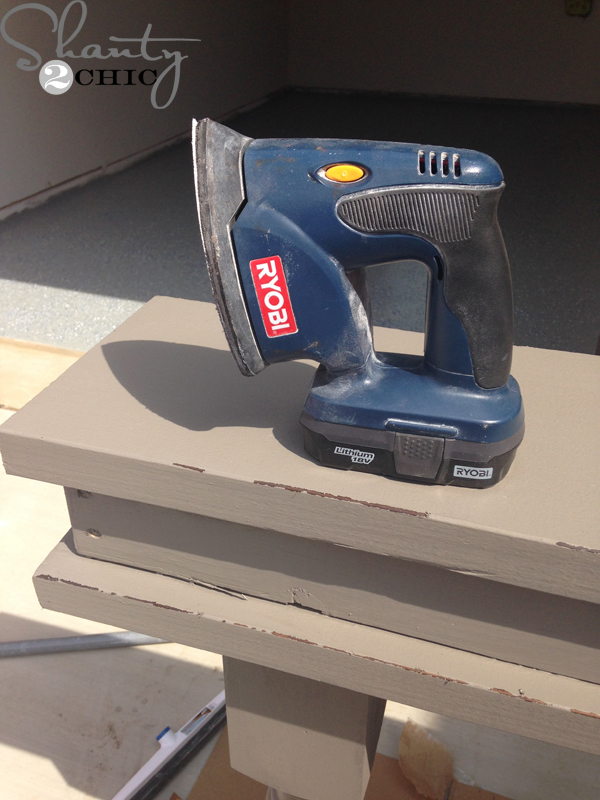 Once the paint dried, I used my Ryobi Corner Cat Sander to distress all of the edges. The vaseline creates a barrier between the paint and the stain allowing the stain to show when the paint is distressed.
 EEEEEEKKKKK!!!!! I LOVE, LOVE, LOVE this! It’s the perfect table for anyone that has a narrow spot that needs a little something 🙂 And, it’s super fun to decorate!
I hope you all love this console! Make sure to print your FREE Plans HERE! A huge thanks to Jay from Jay’s Custom Creations for taking our custom plans and converting them into PDF form for you guys! We always appreciate your shares and pins! Hope you enjoy this DIY Console Table 🙂
Do you love the wood floors in my living room? You can click HERE to find out all about them!
Thanks for stopping by!
Ashley


How tall is the finished product?
What great idea! I’ve been looking for something like this to put in my hallway. 🙂
Just finished mine. A bit different than yours as I need to shorten and lower it. Great plans, and I love the result.
Hello, I love this modification and is exactly what I am looking for. what size boards did you use? 1×10 and 2×2? Also, how wide is your table? Thanks
Main boards are 1x10s and 45 inches long. The middle level is scrap wood I had laying around that I cut to 1.5 tall and 42.5 long (since the 1×10 really measured .75 x 10, I just doubled that so get what I felt was the right proportions). So total width of the table is 45 inches x 10 inches deep.
perfect, thanks for the info!
I am going to attempt to make this!! How can you make sure the boards are even to prevent wobbling? I made a bench in the past, but it was so uneven I had to disassemble and trash it!!! I am afraid of this because I am worried I’ll put my time effort and money and it will be wobbly!! HELP!!
Make sure the lumber you pick is straight! Hope this helps and good luck!
It took about 8 hours to build, stain, paint and distress. I did the mirror too as a second piece. It’s only the second build and my wife really loves both pieces. I find DIY very enjoyable and save money by building quality real wood furniture.
did you order your table legs from the site on directions? Wondering if local hardware stores sell these table legs for a lower price??
This is the best looking version I’ve seen thus far. Great job!
thanks for the inspiration!
Thanks for the inspiration!!
Hi lacey, where did you get your thin posts from?
I am in LOVE with your living room wall color and trim. Can you share please?!?!
I just found this and am so making it today! I did want to ask about your brown leather sofa. Where did you get it?.
Thank you so much for your tutorial!! I obviously opted for a 2 legged version, but I’ve never built anything before & I’m seriously so proud of myself!! 🙂
where did you get your legs from can you share the link? your table turned out fab!!!
Thank you! There is a link in the post to the legs 🙂
I know this is an older post but I’m hoping I’m not too late to ask a question. I tried figuring out how tall this piece is. I came up with about 43.5 inches. Am I anywhere close to right?
Love what y’all do!!!
Hi it’s awesome .so what is total height?
love it too. i need this piece. I’m putting it together. it’s going to be perfect.. thanks for a beautiful idea.
Is your table 5′ long (or just shy of)? I need to make mine about 4′ long (50″ max), do I need to subtract a half inch when making the cuts as you did on the length? Also…does it have to be 2 x 10’s? Can it be 1 x 10’s? I don’t see much in the way of 2″ thick boards at Home Depot…mostly 1″ boards. Thanks…this will be a first DIY project of this type for this gal!
ohhhhhhh my – this could be my next build! haha!!! 🙂
I love this! I’m sourcing the columns now… Question – since the table is so narrow, do you have any problems with it tipping over? Wondering whether I’ll need to secure it to the wall somehow?
Awesome Hannah! I don’t at all (even with a 3 year old and 2 teen boys) but, if you are concerned, I would fasten it to the wall through the studs with “L” brackets or something similar.
Thanks!
I’ve been following your projects for some time now and have recently added you on instagram. Love the work you do! Keep up the creative genius!! 🙂