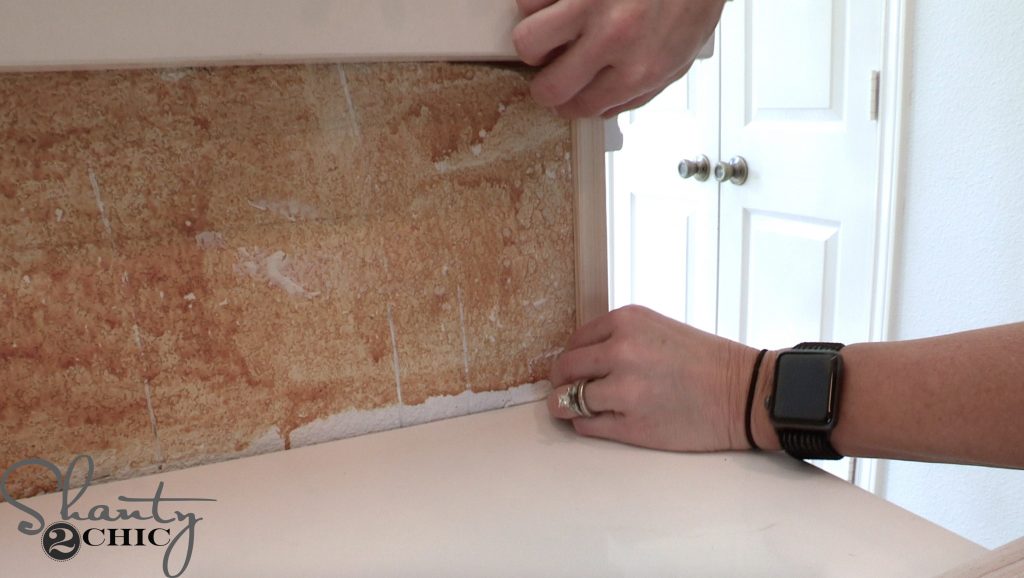
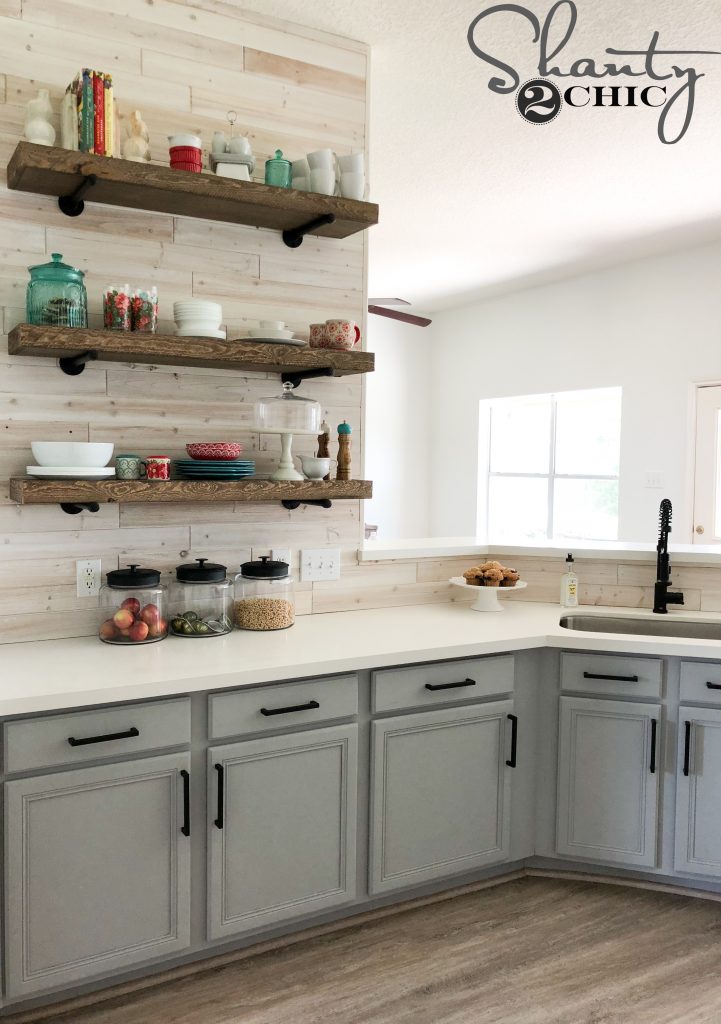
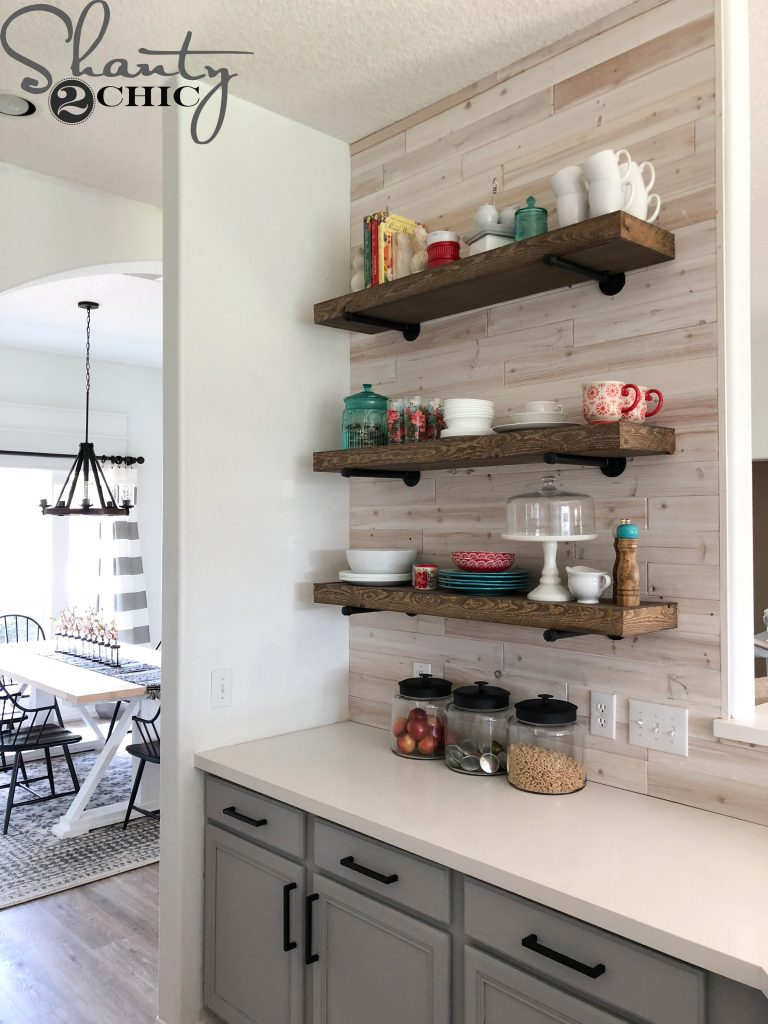
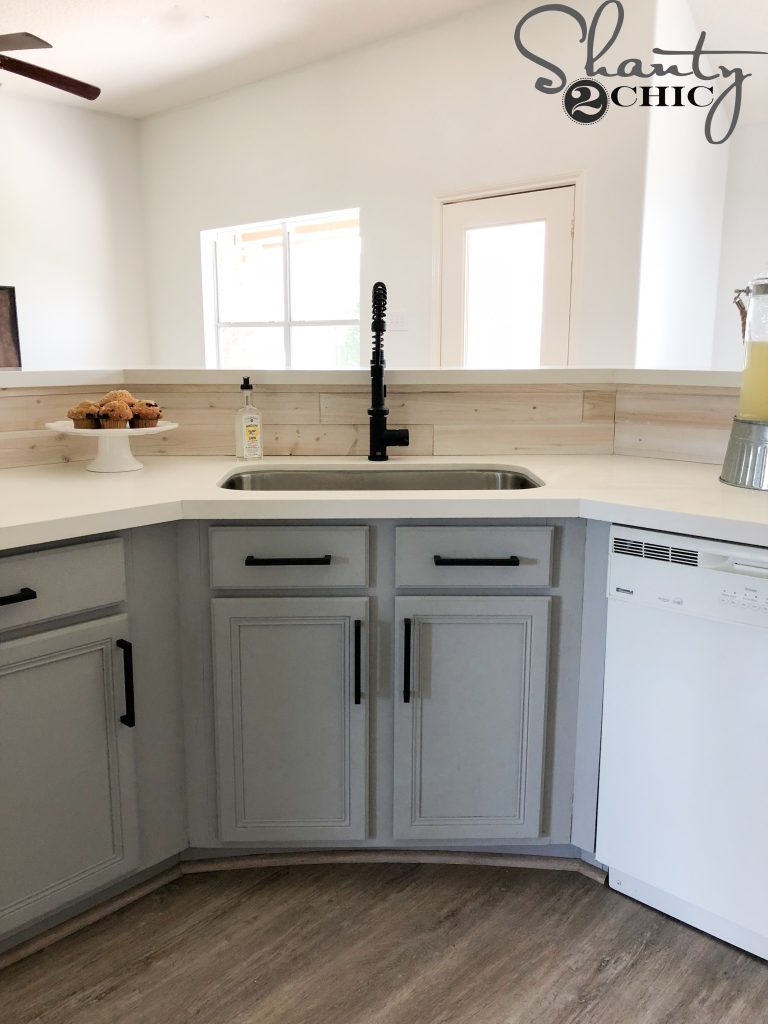
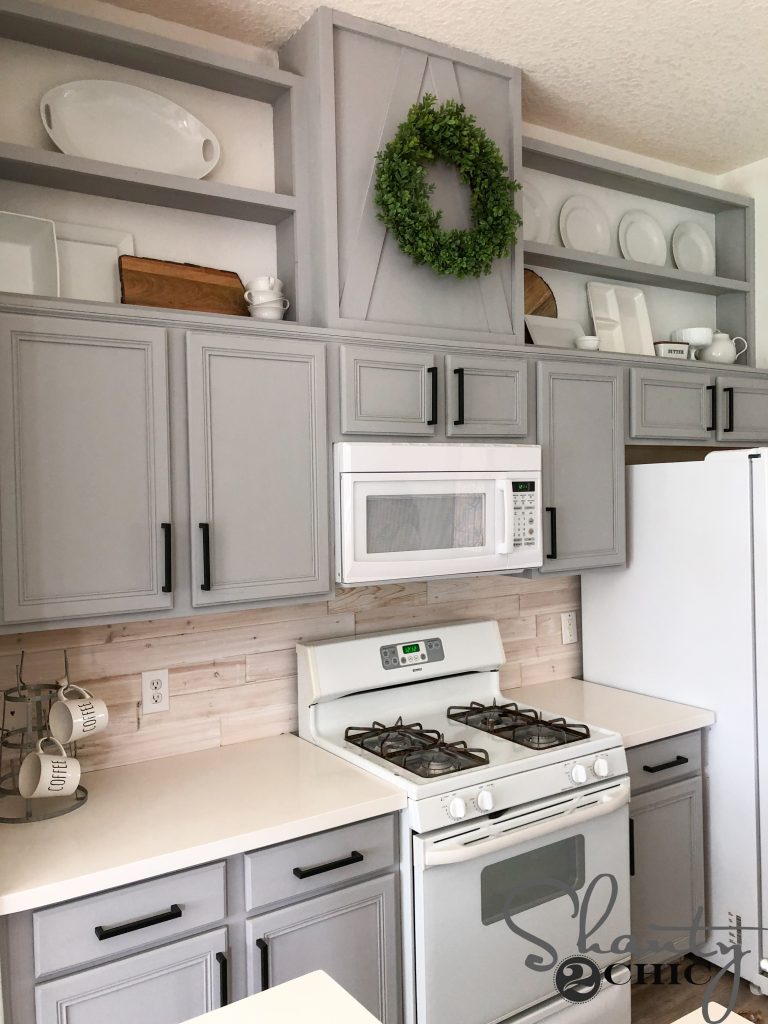
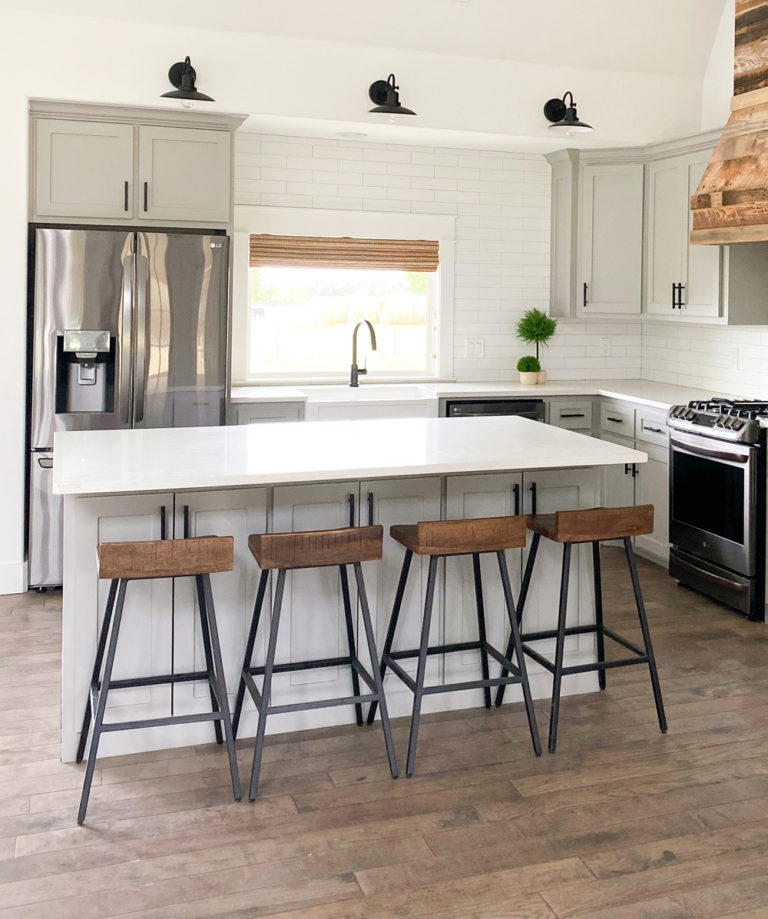
DIY Driftwood Backsplash – Free plans and how-to video live, now!We are back again to share our latest update that we did in our sisters Shanty House Crash series! We took a road trip this summer to her home in Houston, Texas. The goal was to transform her outdated, builder-grade home a custom update. This DIY Driftwood Backslash was our first project to tackle in her kitchen and it really set the whole look for the room!
Just click Play in the box below to watch!
This is such a simple DIY and this is all we used for install:
Ryobi 18-Volt Power Caulk and Adhesive Gun
Ryobi 18-Volt Pin Nailer
Miter Saw
Level
That’s it!
DIY Driftwood Backsplash – Installation
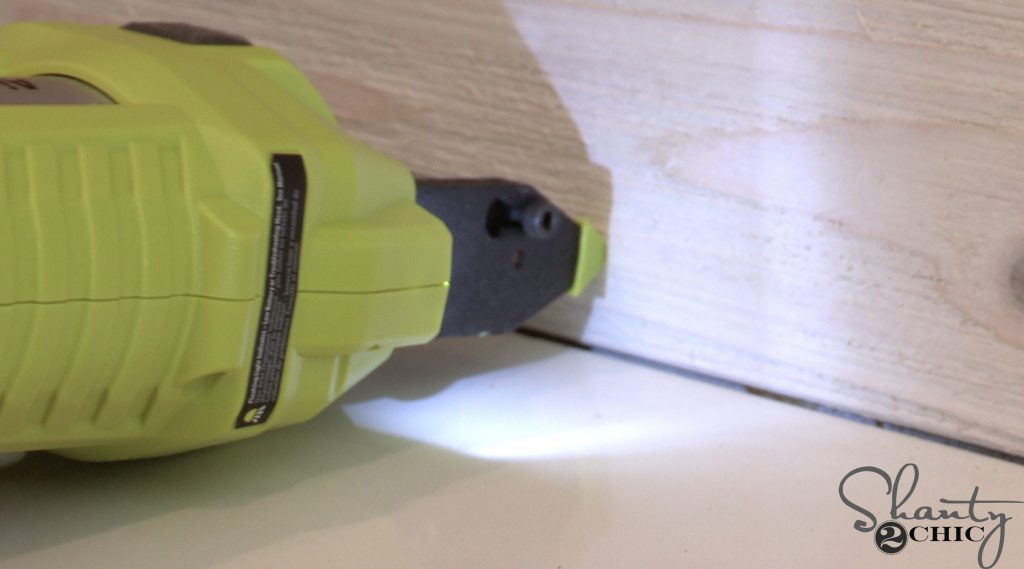
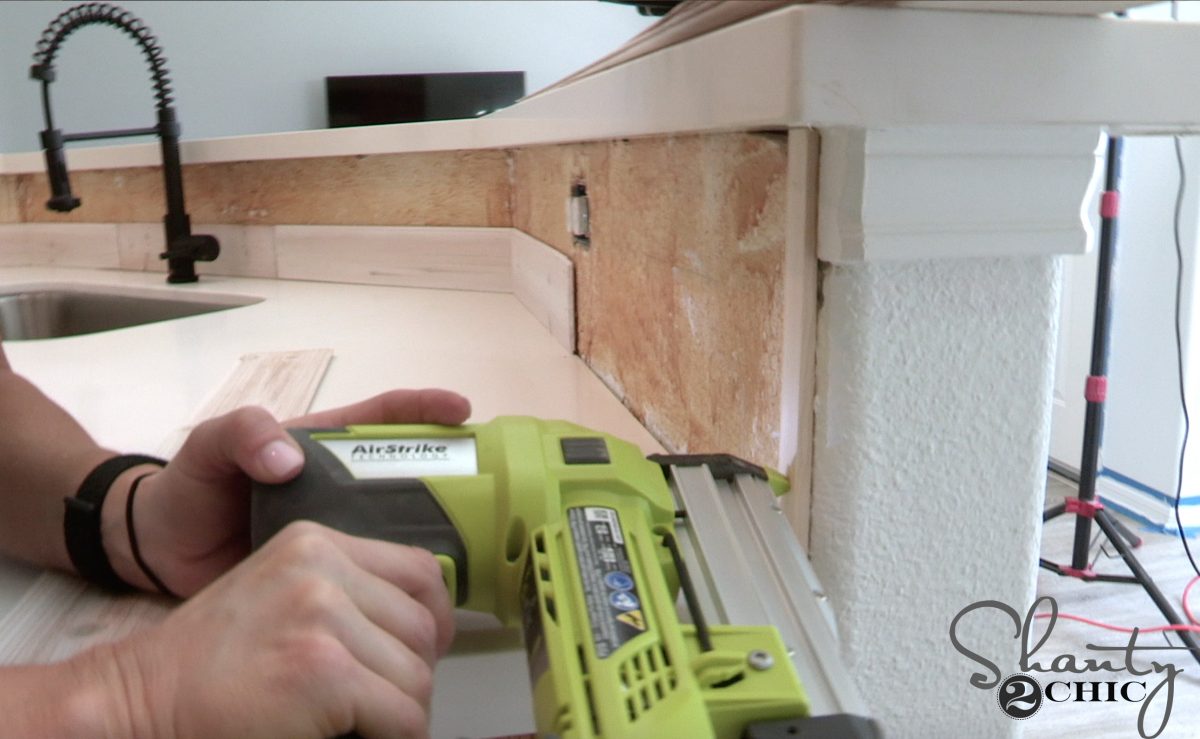
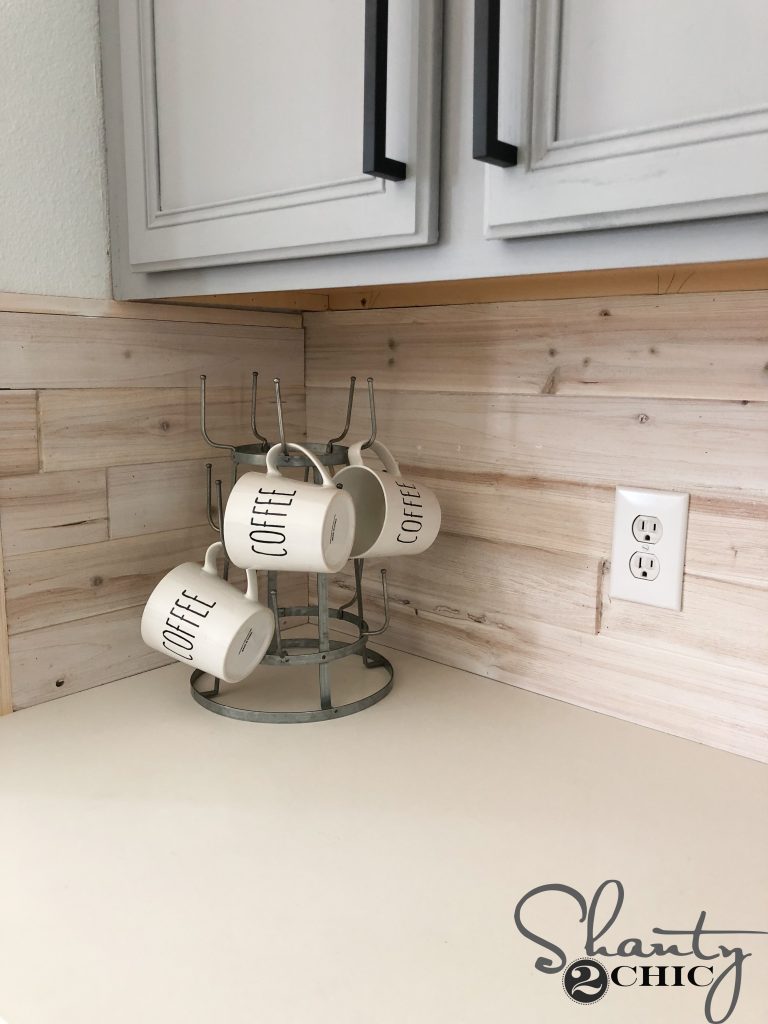
Installing it is very simple! Just add some panel adhesive and attach each plank to the wall with 23 gauge pin nails. Start with the first row, against the side wall. Work your way down the counter top, making sure that the planks remain level with each other.
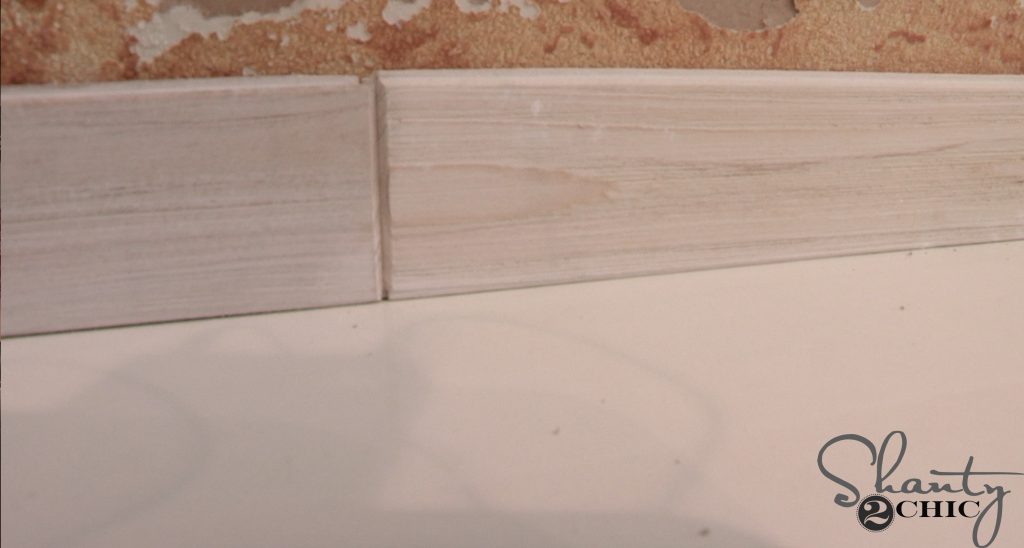
These planks are tongue and groove so they will interlock on each side, top and bottom. The tongue and groove on the first plank (wall side) should be cut off.
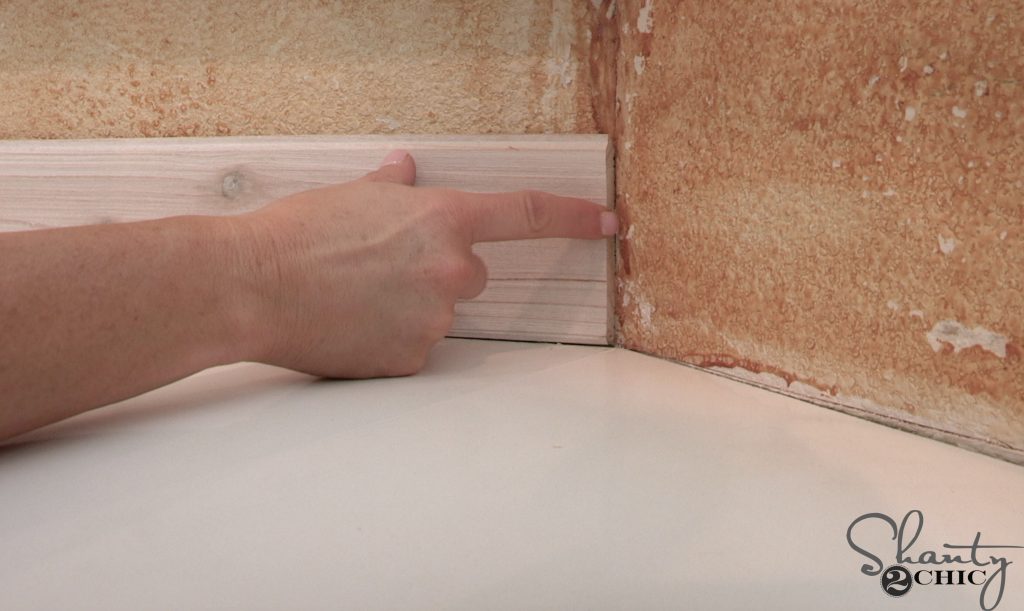
DIY Driftwood Backsplash – Cutting an Edge
If you have a 45° counter wall, cut one edge at 22.5
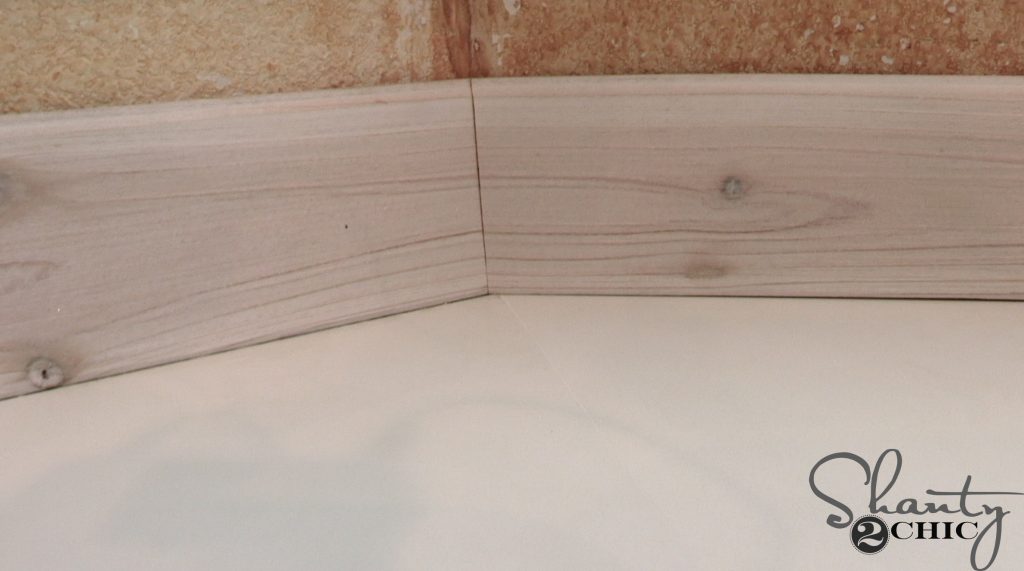
then, cut the return side at 22.5° as well.
DIY Driftwood Backsplash – Adding Trim
The end of her island is rounded so, we cut a 1/2″ stick of trim
and attached it to the end of the wall with adhesive and pin nails. We dry-brushed some white chalk paint on the trim pieces to tie them in with the drift wood. Once the first row was complete, we worked our way up, row by row. Make sure to stagger the seams from one row to the next.
DIY Driftwood Backsplash – Add Your Finish
Because this is a backsplash, we added a protective finish. You can find the finish we used HERE. We are super happy with the way this DIY Driftwood Backsplash turned out and at only $2 per square foot – it’s not only a beautiful option, it’s affordable!
Check the links below for sources in this space!
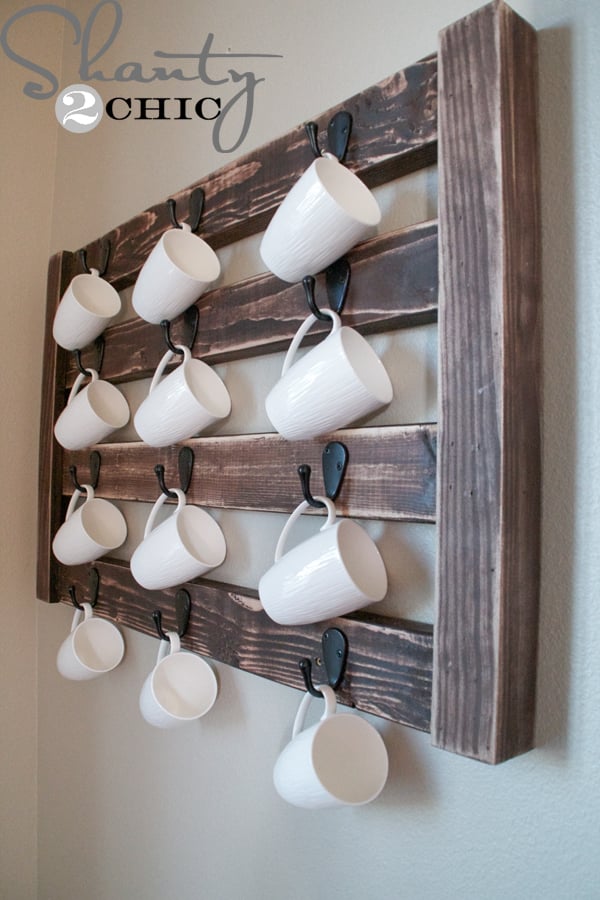
Mugs
Flooring
Items on Pipe Shelves:
We can’t wait for you to see the rest of the projects we did in her home. Make sure to subscribe to our Youtube Channel so you don’t miss anything! Here’s what’s coming up!
Farmhouse Dining Table – Free plans and how-to video live, now!
DIY Driftwood Backsplash – Free plans and how-to video live, now!
How to Add Height to Kitchen Cabinets – Free Plans and how-to video live, now!
Custom Cabinet Trim Hack – Free Plans and how-to video live, now!
How We Paint Cabinets –Free Plans and how-to video live, now!
How to Frame and Cover a Crescent Window – Free Plans and how-to video live, now!
DIY Round Kitchen Table – Free plans and how-to video live, now!
DIY Pipe Shelves – Free plans and how-to video live, now!
DIY Barn Door for the Pantry – Free plans and how-to video are live, now!

This is a very creative and unique backsplash idea. Using driftwood adds a natural texture and organic feel that can completely change the character of a space. I like how the design brings warmth and visual interest while still being functional. It’s always inspiring to see surface treatment ideas alongside broader interior and material trends here: https://plywoodbazar.com/ A bold and innovative DIY project.