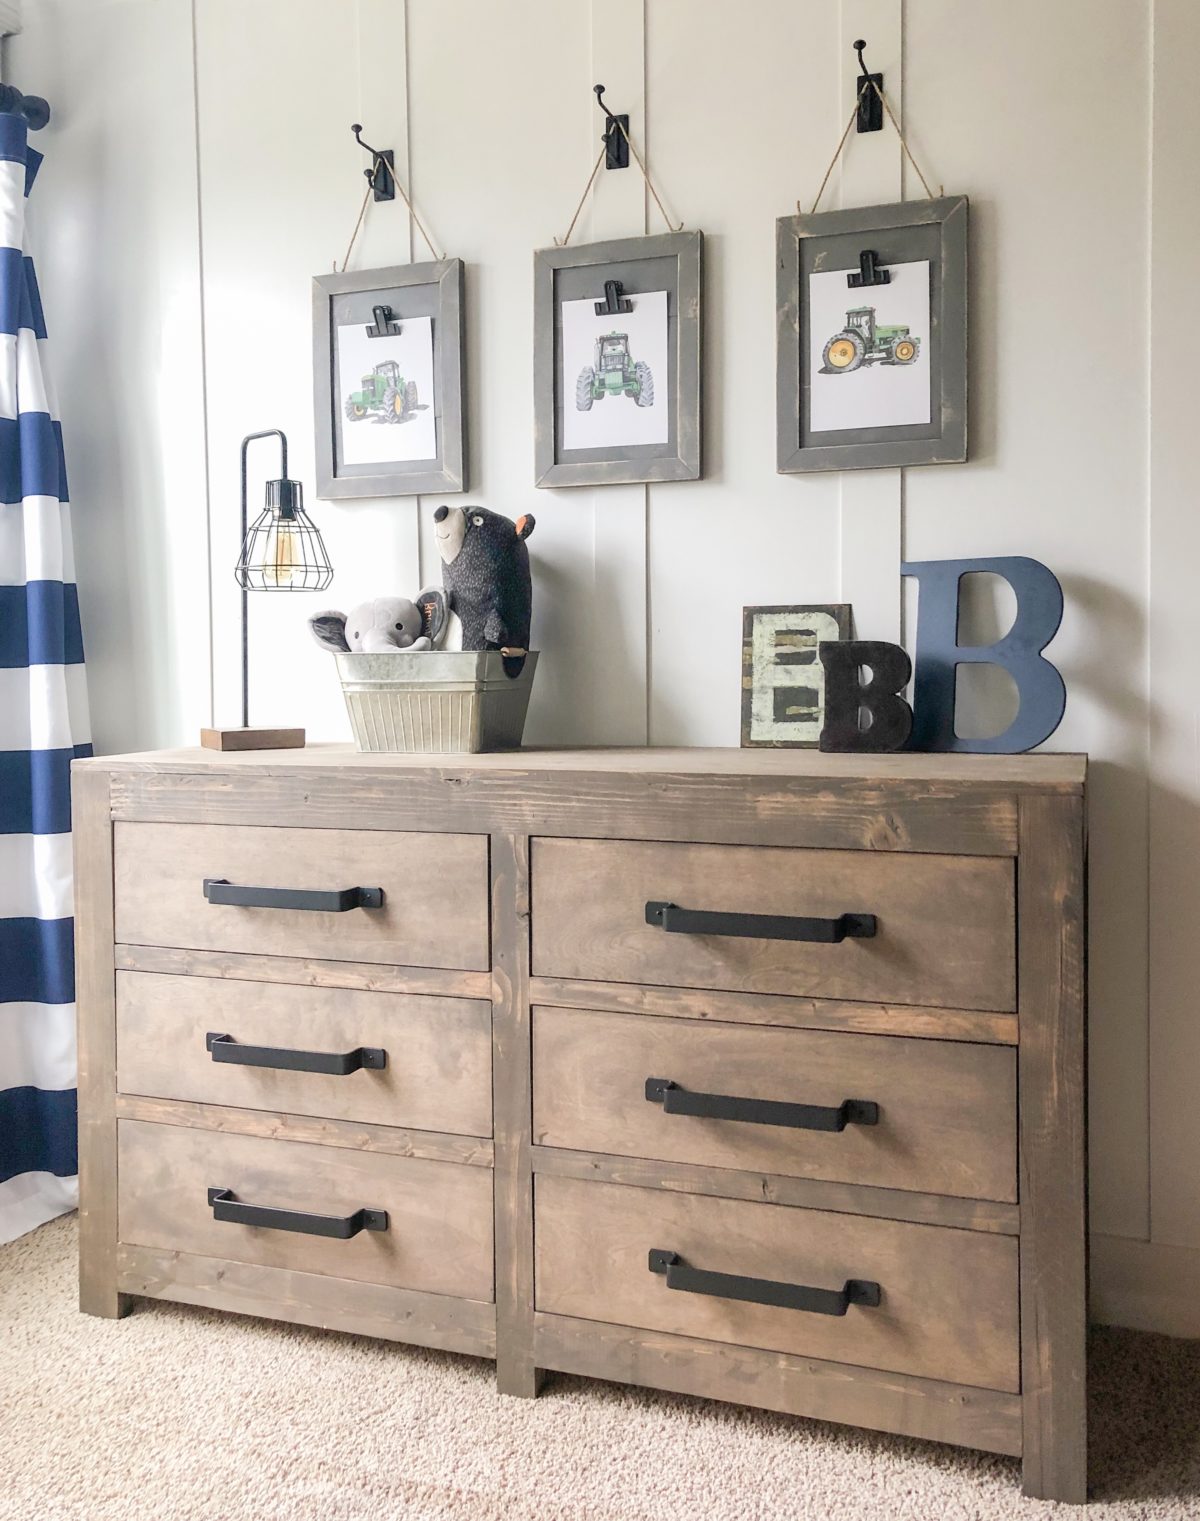
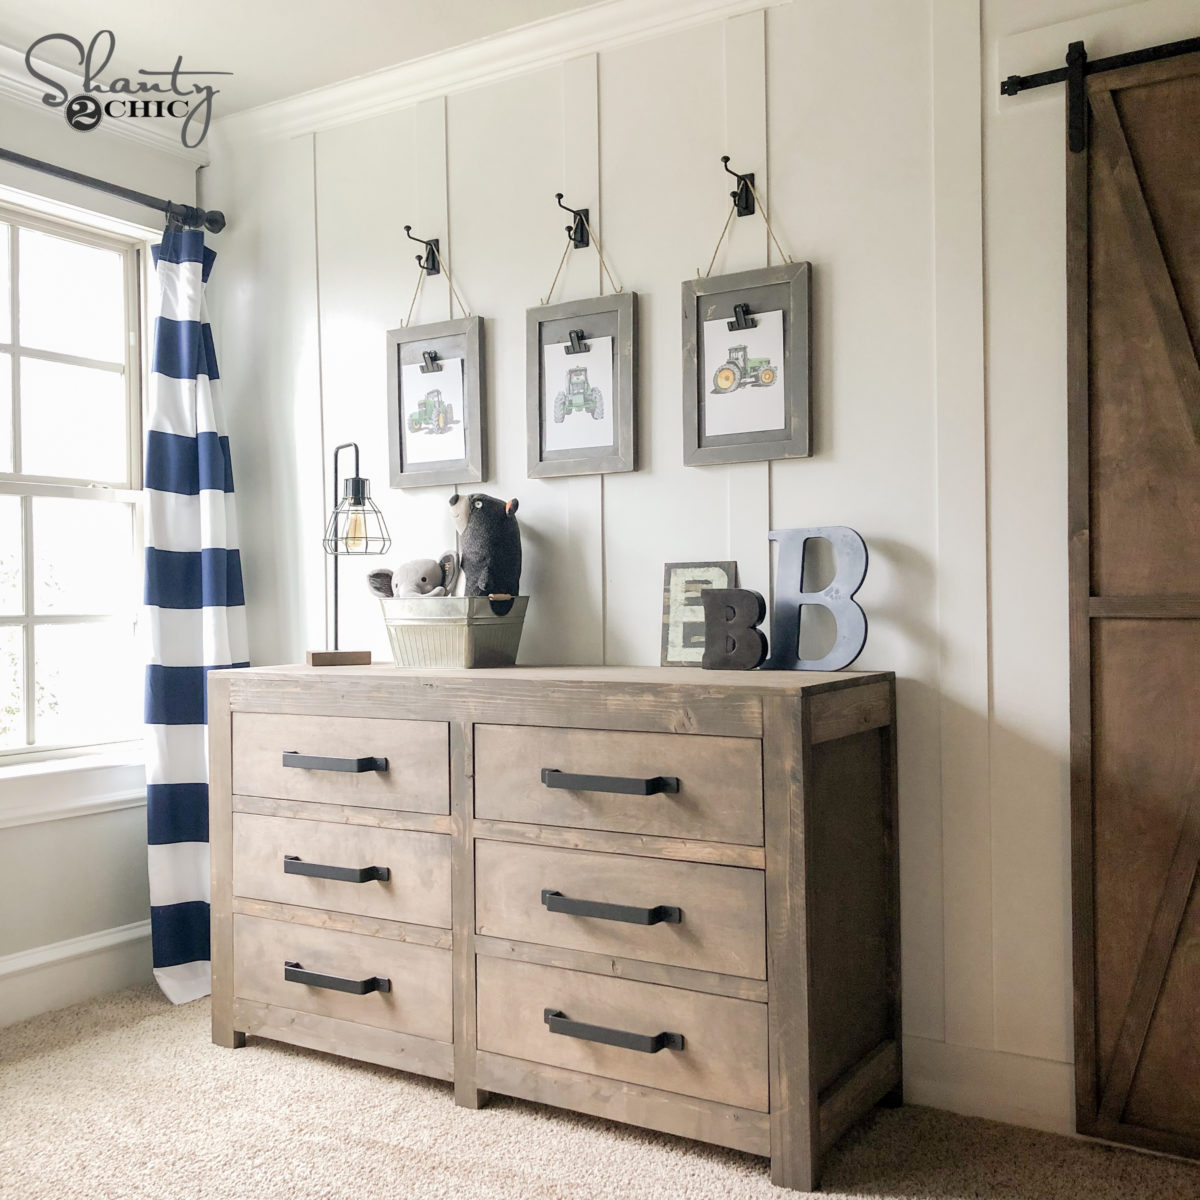
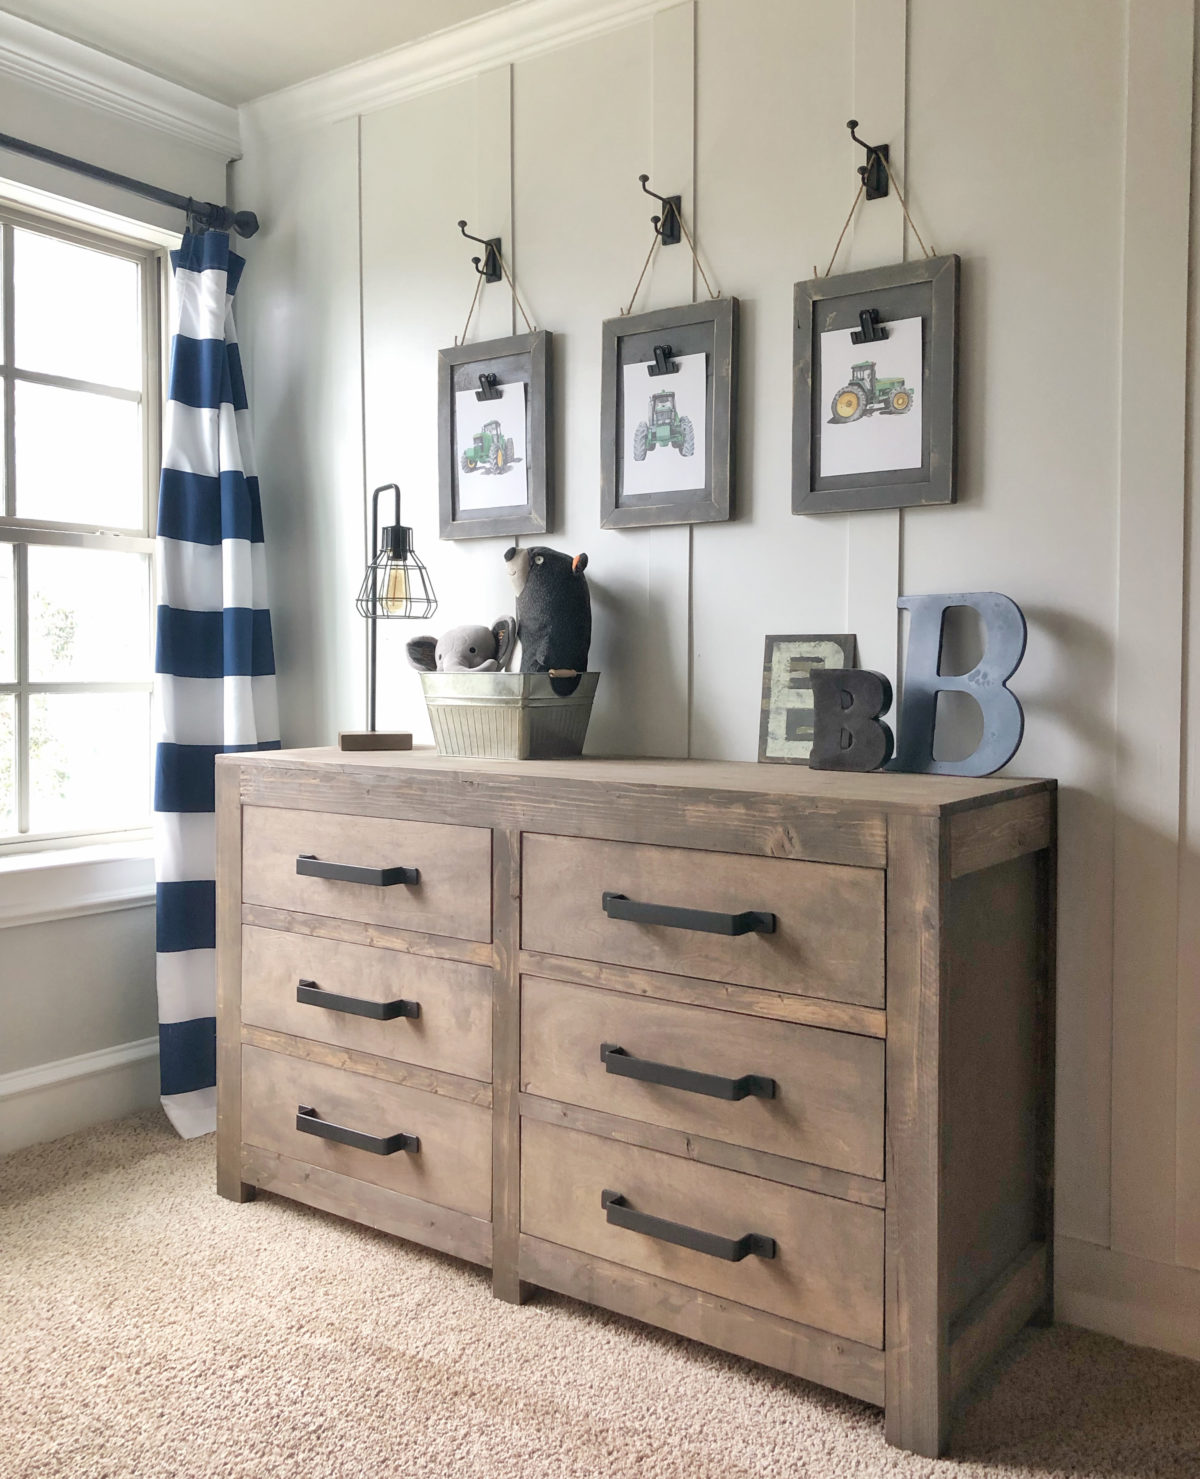
Learn how to build this DIY Modern Farmhouse 6 Drawer Dresser with free plans by Shanty2chic!
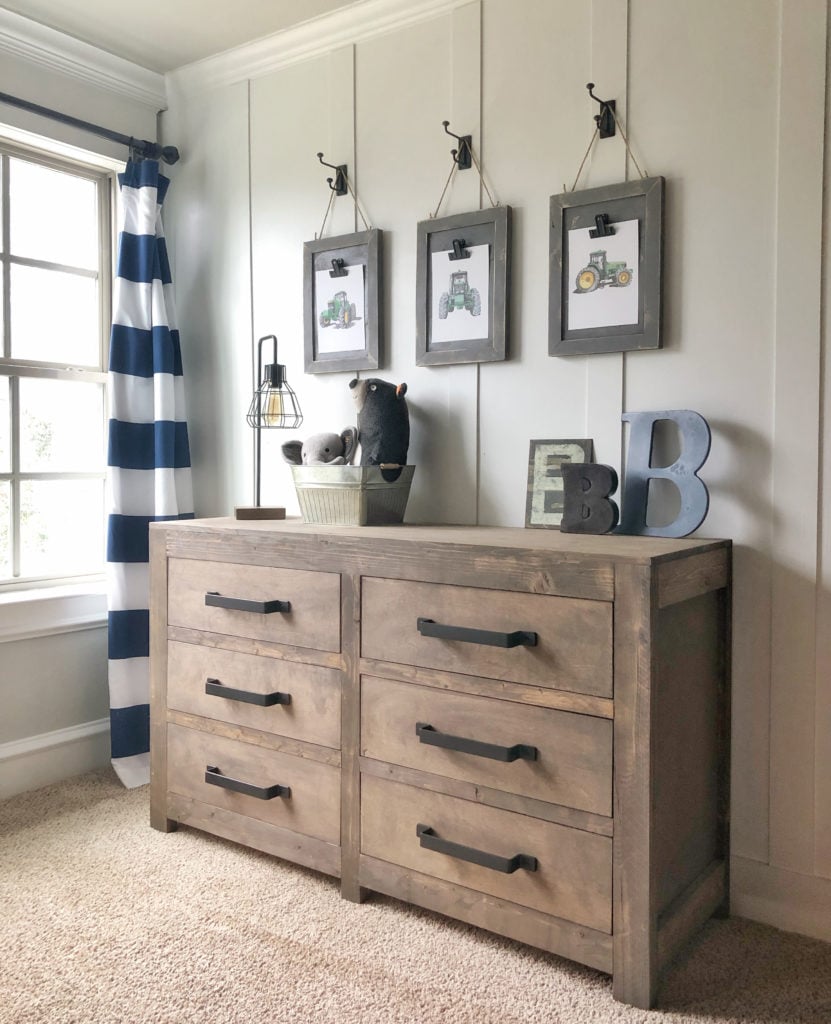
Hey guys! Happy Wednesday! To say I am excited about today’s project would be a vast understatement. I recently built a wall in my boys’ shared room to give them their own spaces and it has been a true game changer for me. The closet remains in one half of their room, I decided to build a dresser for the other half to help keep his clothes, socks and stuff in his space. Now, I am THRILLED with how this turned out! I can’t wait for you see my DIY Modern Farmhouse 6 Drawer Dresser!
I will walk you through the entire build below!
I’ve added a link to the free printable plans at the bottom of this post!
Table of Contents
DIY Modern Farmhouse 6 Drawer Dresser
Face Frame
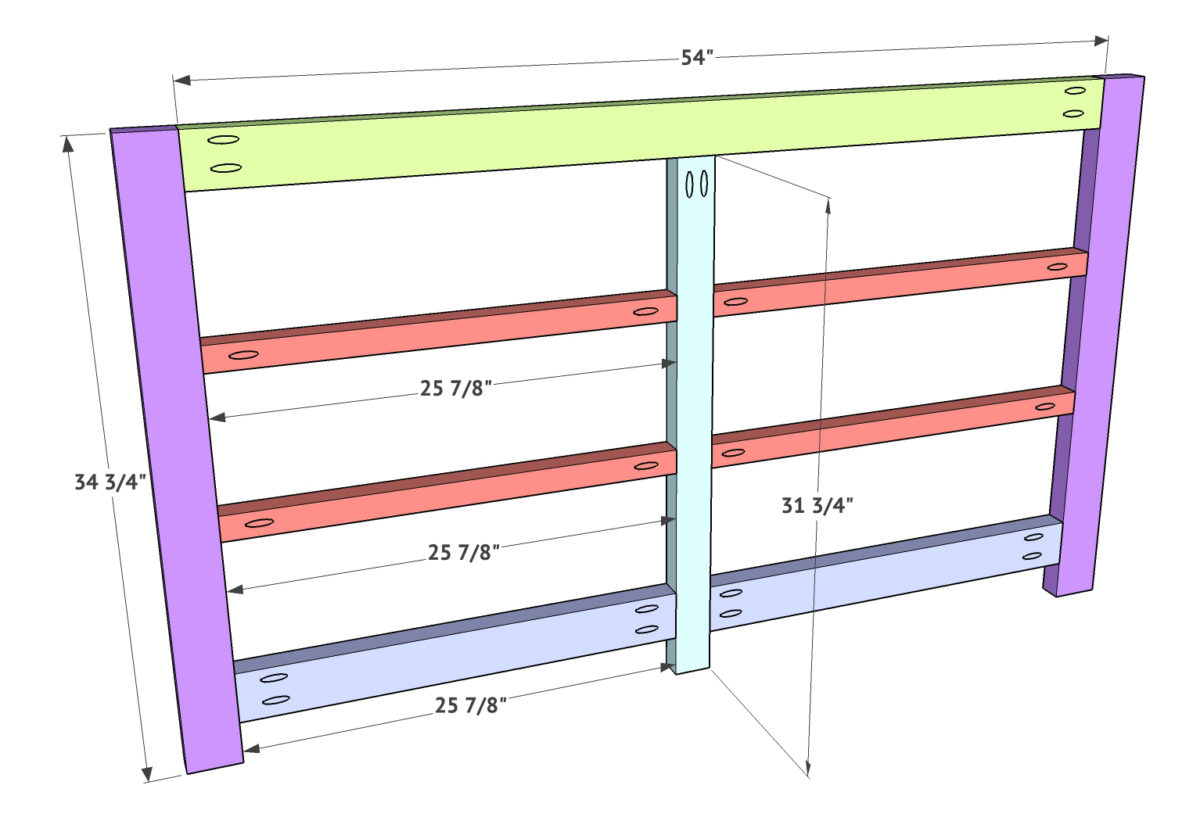
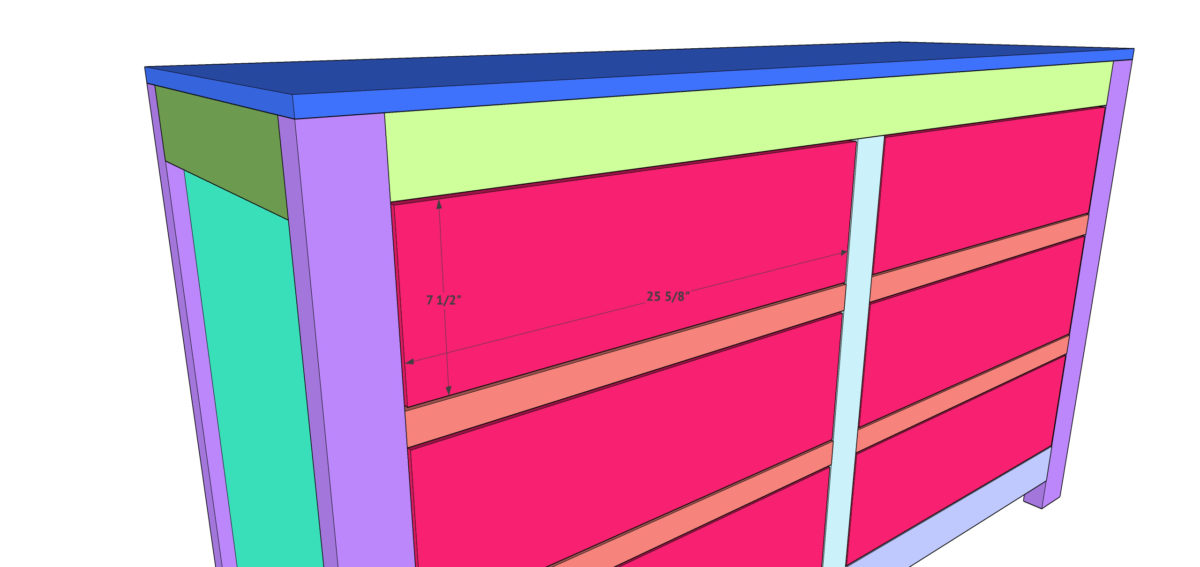
Step 1: Building the Face Frames
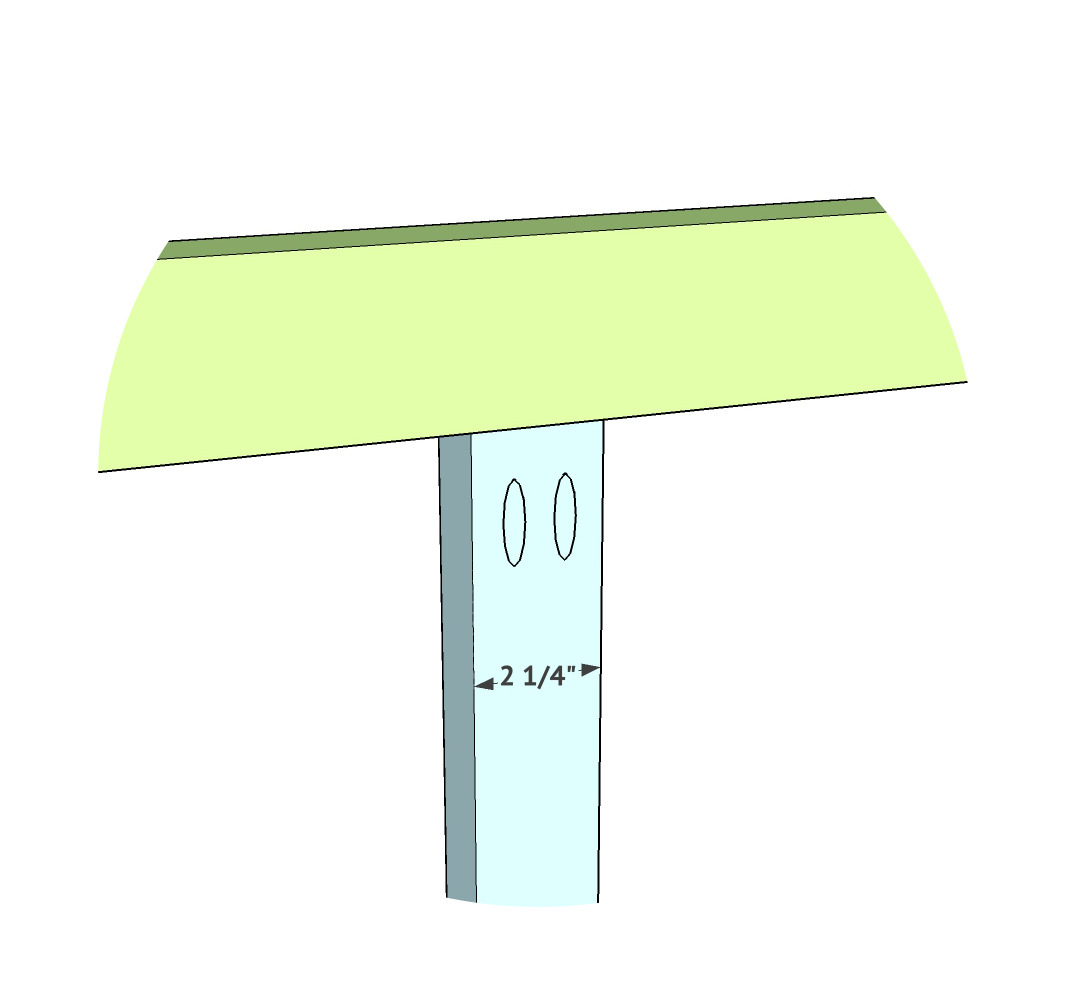
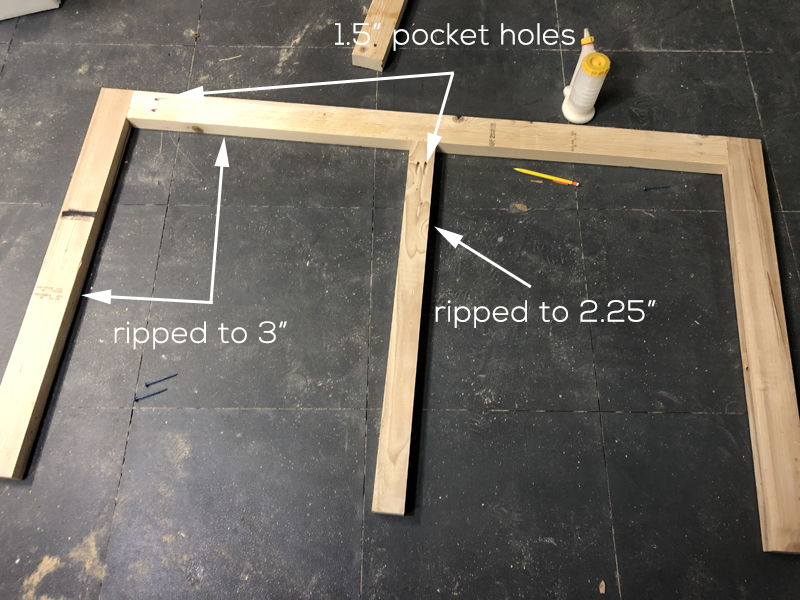
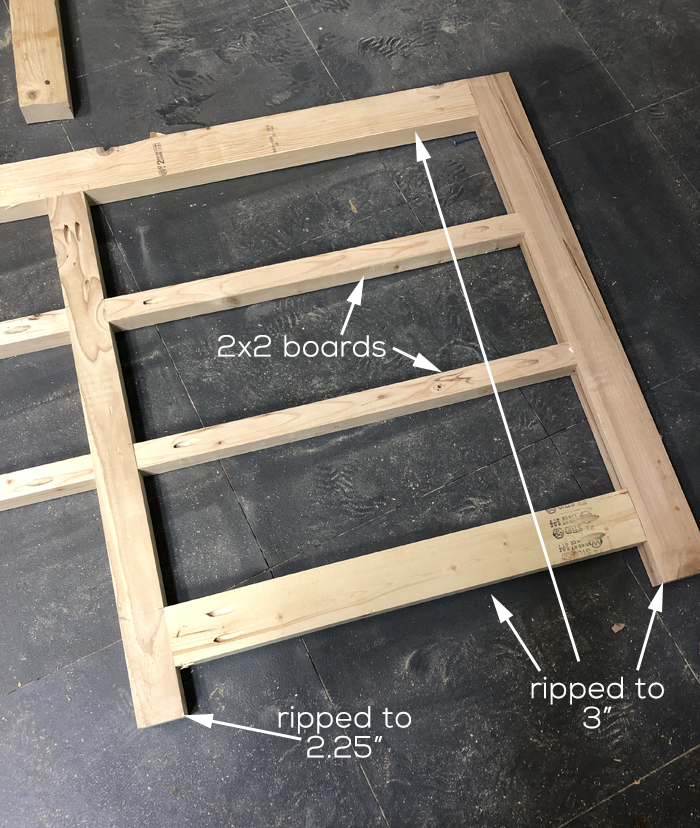
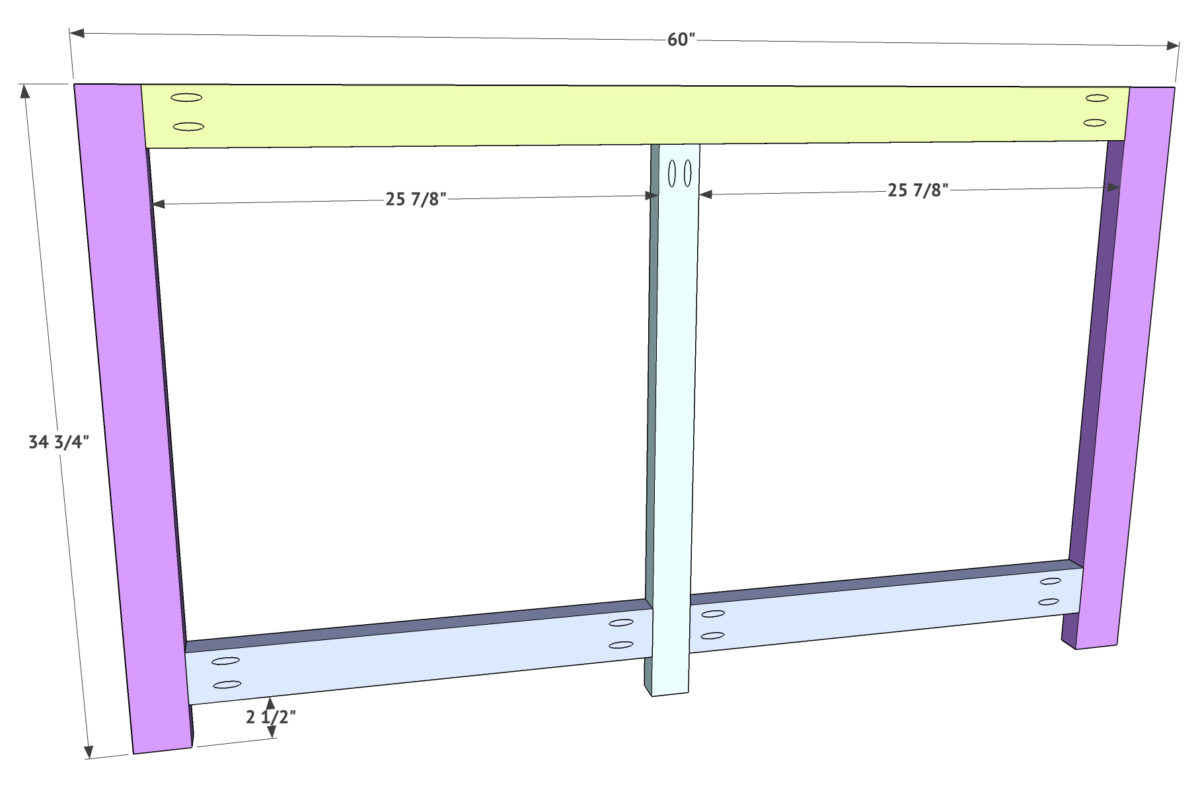
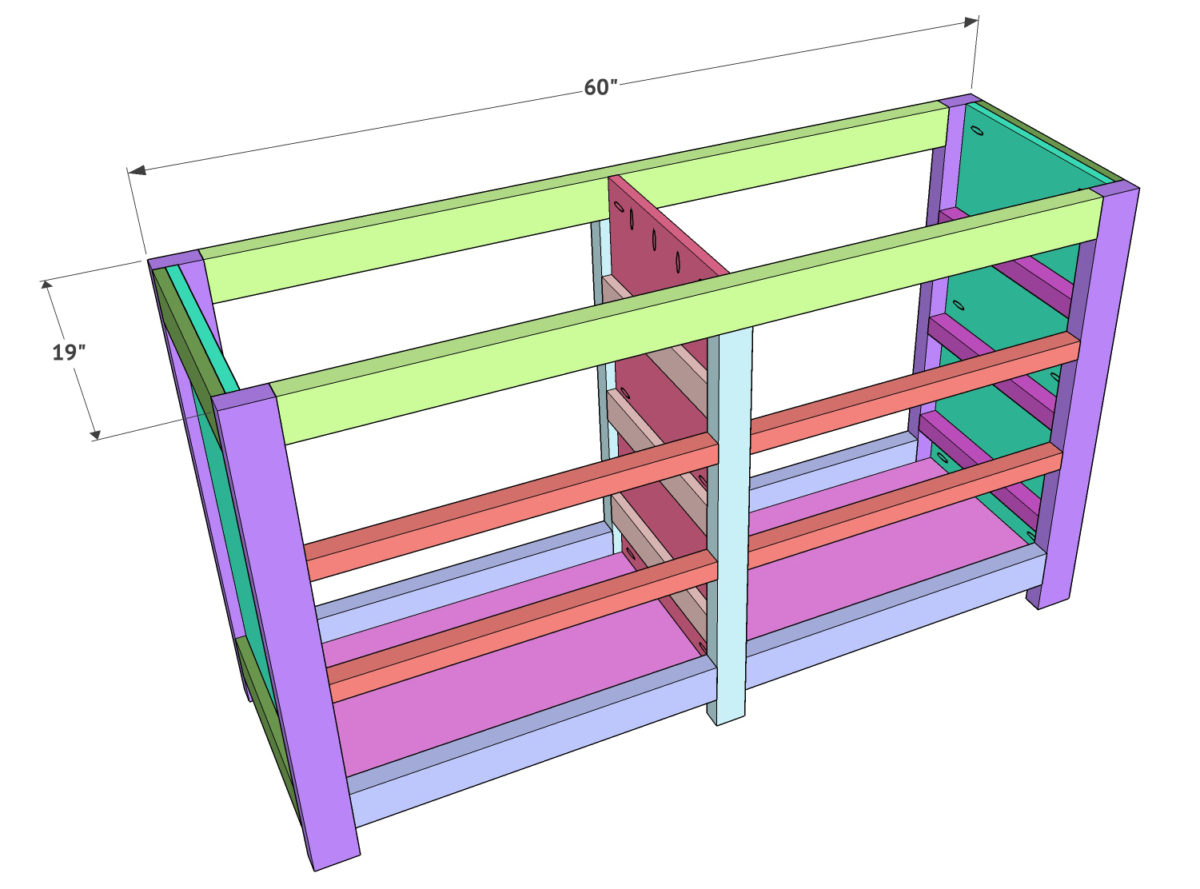
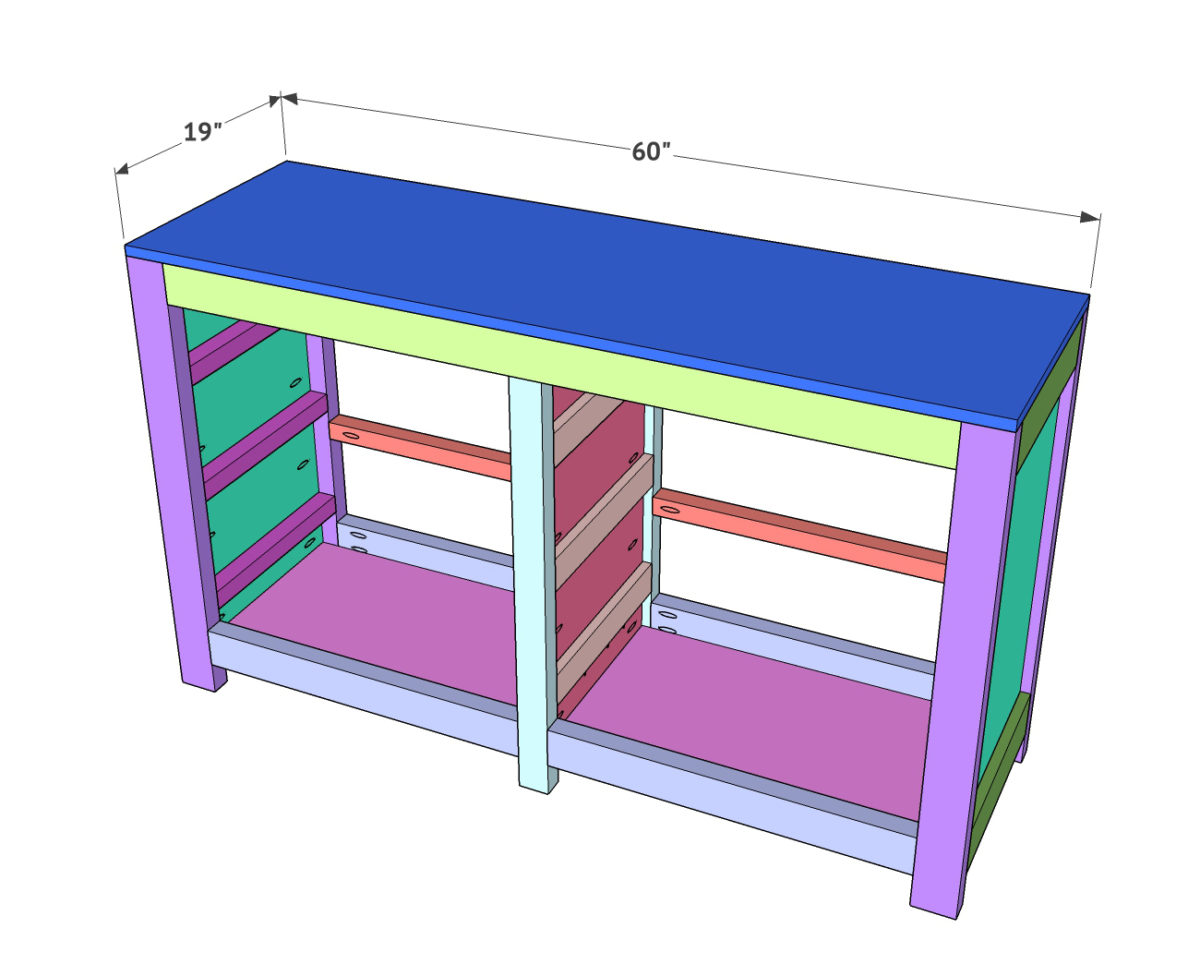
First, you will be building your face frames (note: the front face frame uses 2×4 boards that I ripped to 3” wide for the top and bottom boards as well as the two side legs). The middle leg will be ripped to 2.25” wide which is important for the spacing of the drawers. ** If you choose to not rip boards, it will change this plan entirely and you will need to figure spacing and sizing on drawers.
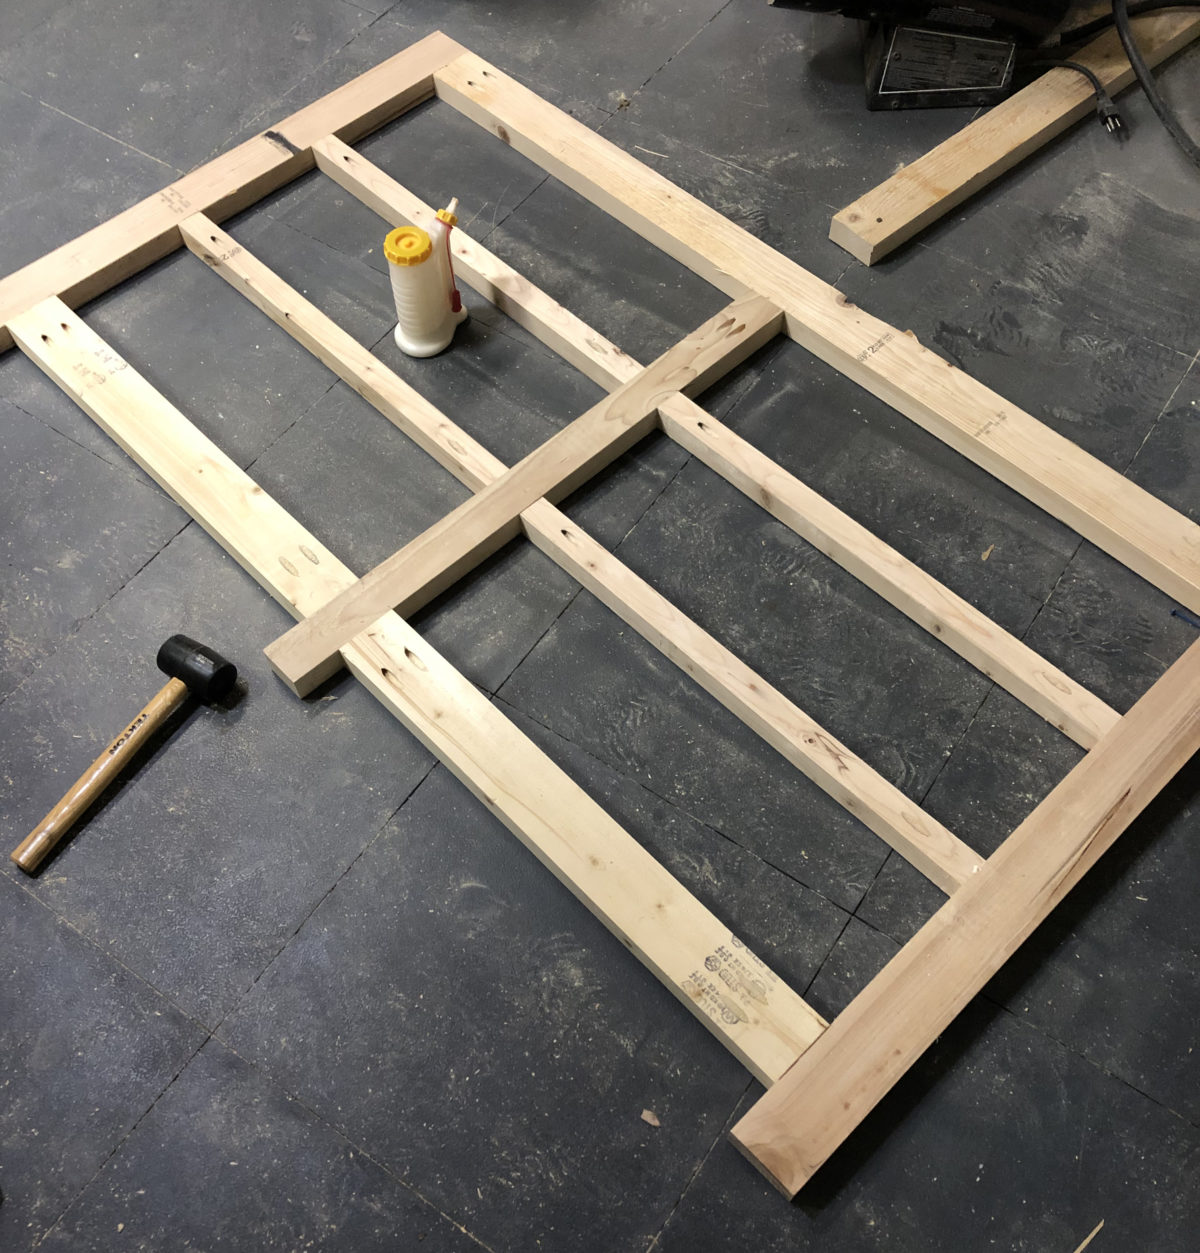
The drawer dividers on this step are 2×2 boards. We like to create our 2×2 boards by ripping down 2×4 boards as well. It’s inexpensive, and it gives you the same straight edge. Attach everything on this step using wood glue and 2.5” Kreg pocket hole screws.
Next, attach all boards the same way on this part, using wood glue and 2.5” pocket hole screws through 1.5” pocket holes (note: the back face frame is identical to the front, but it has no drawer dividers).
Side Frames
Step 2: Building the Side Frames
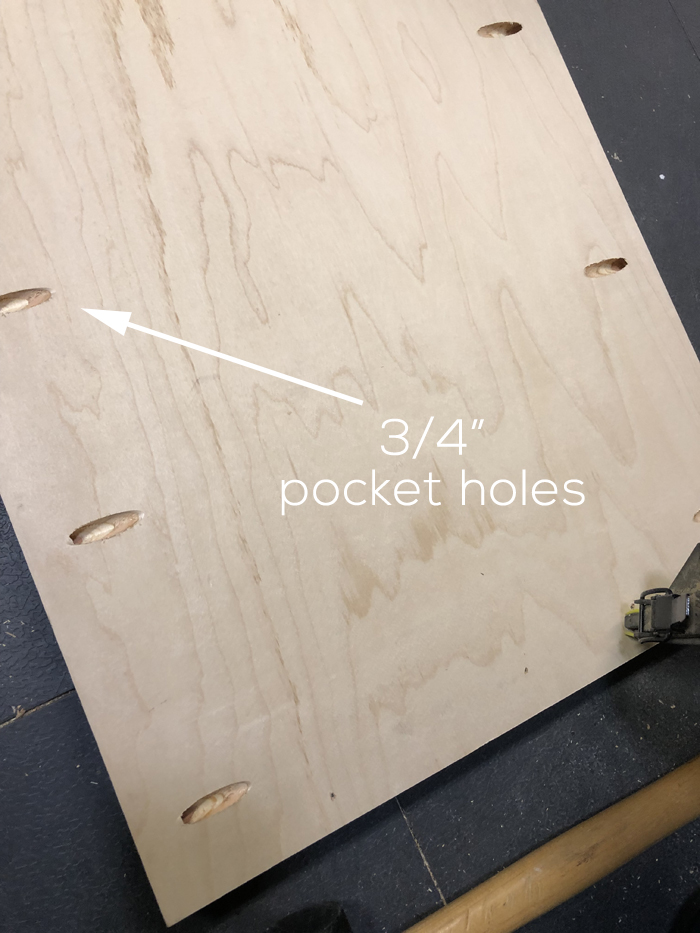
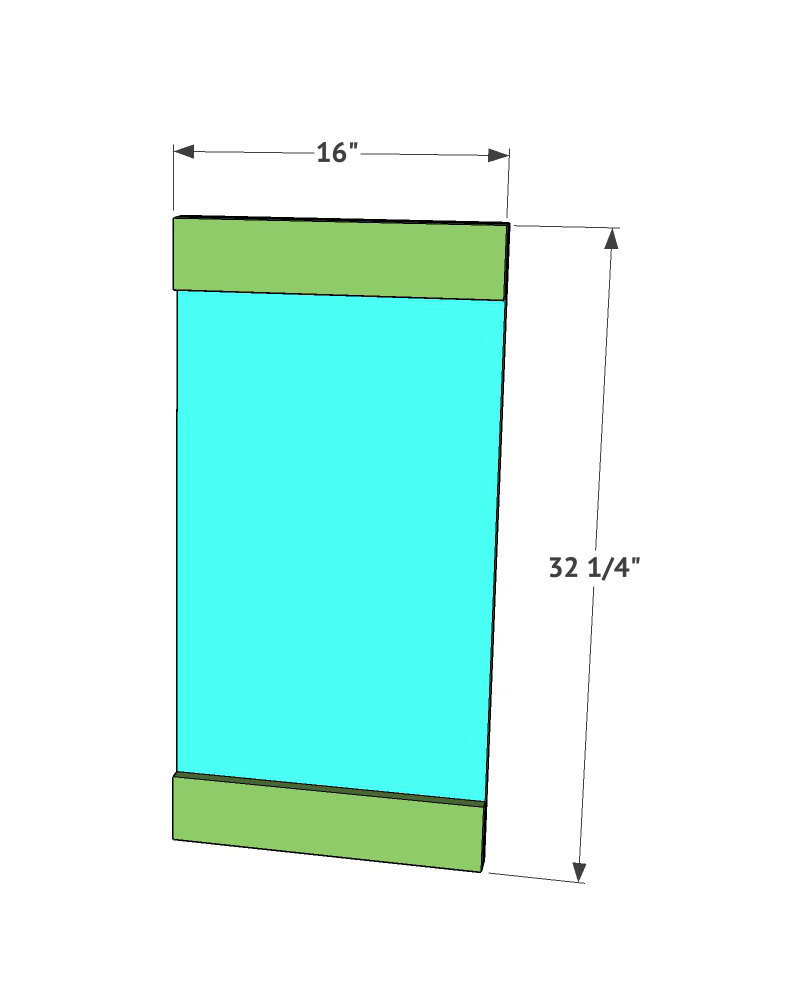
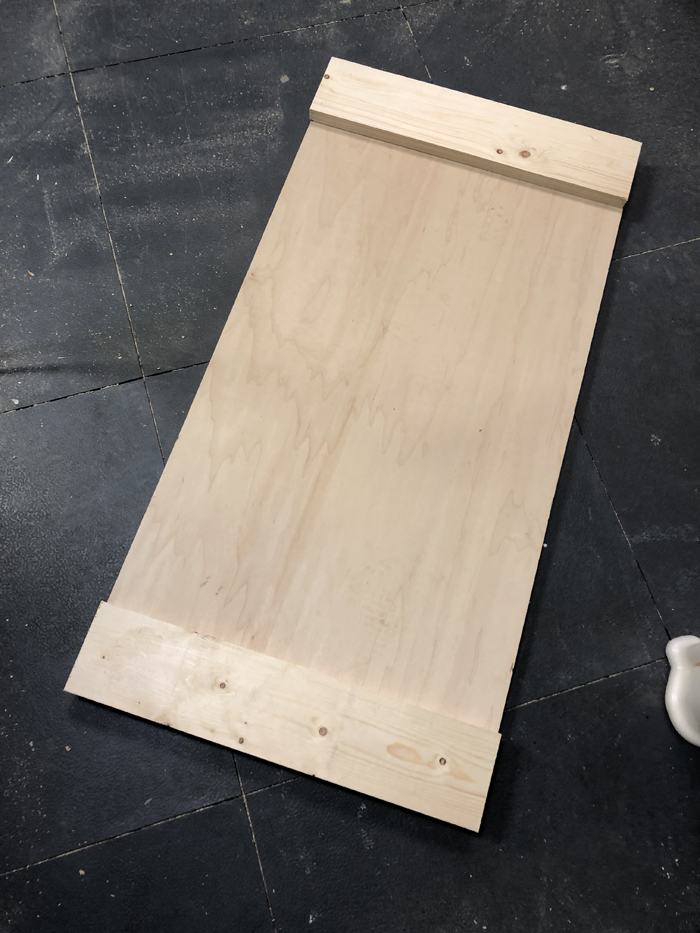
Build the two side frames next. These are 3/4” hardwood plywood, I used birch for mine. The trim pieces are 1×4 boards cut to size. The next step is to add 3/4” pocket holes down both long sides of these boards, first. Next you will attach the trim pieces using wood glue and 1.25” brad nails, through the back of the plywood and into the trim pieces.
Step 3: Attaching the Back Frame
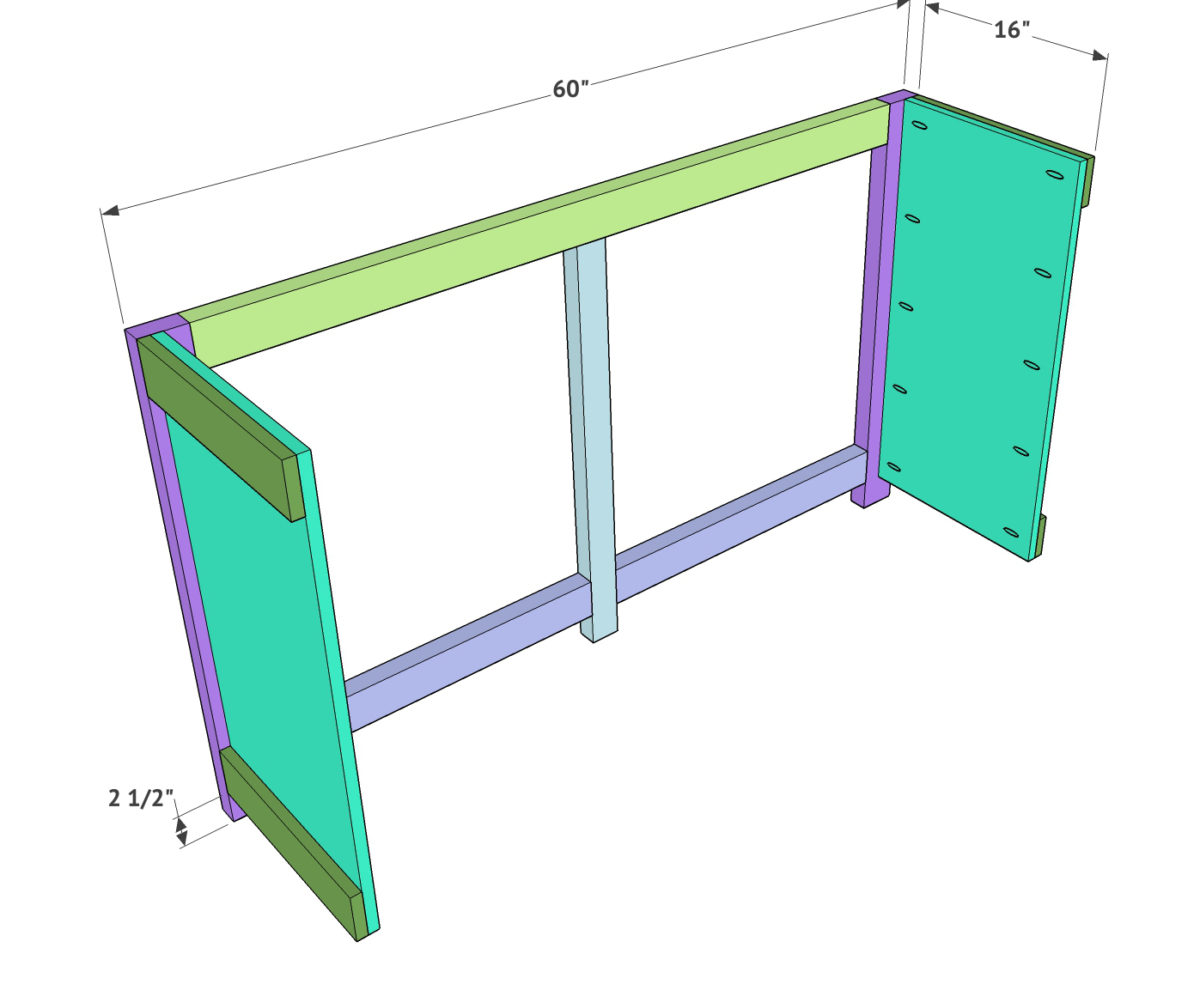
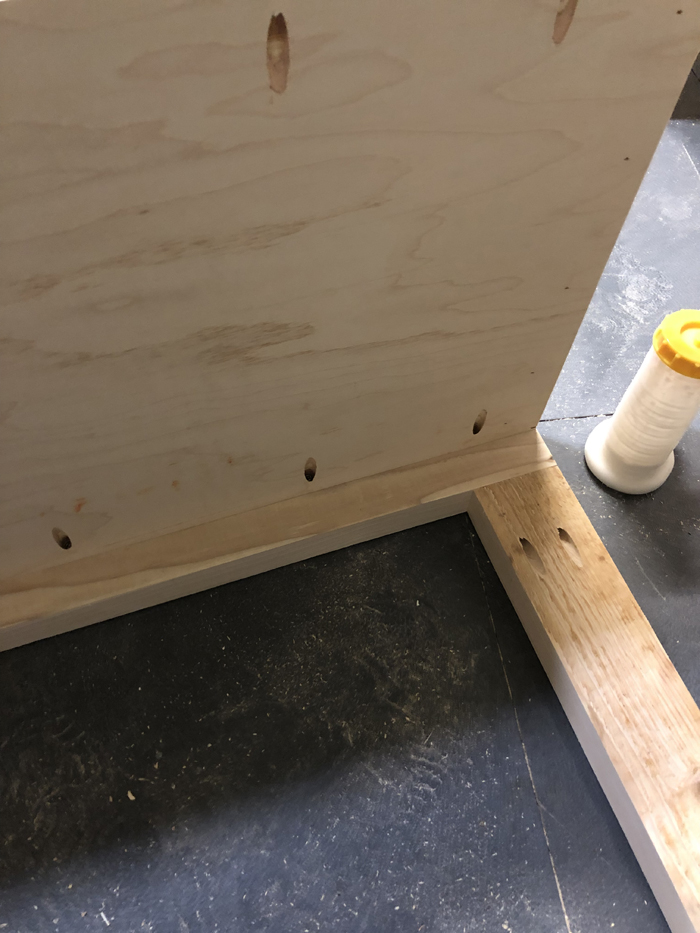
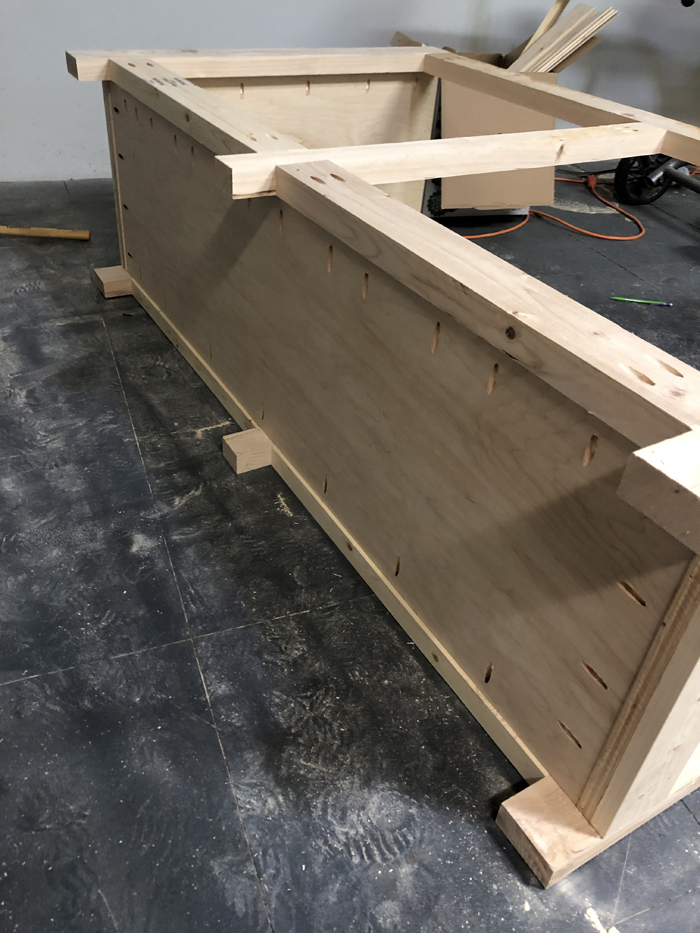
Now attach the two side frames to the back face frame using wood glue and 1.5” Kreg pocket hole screws.
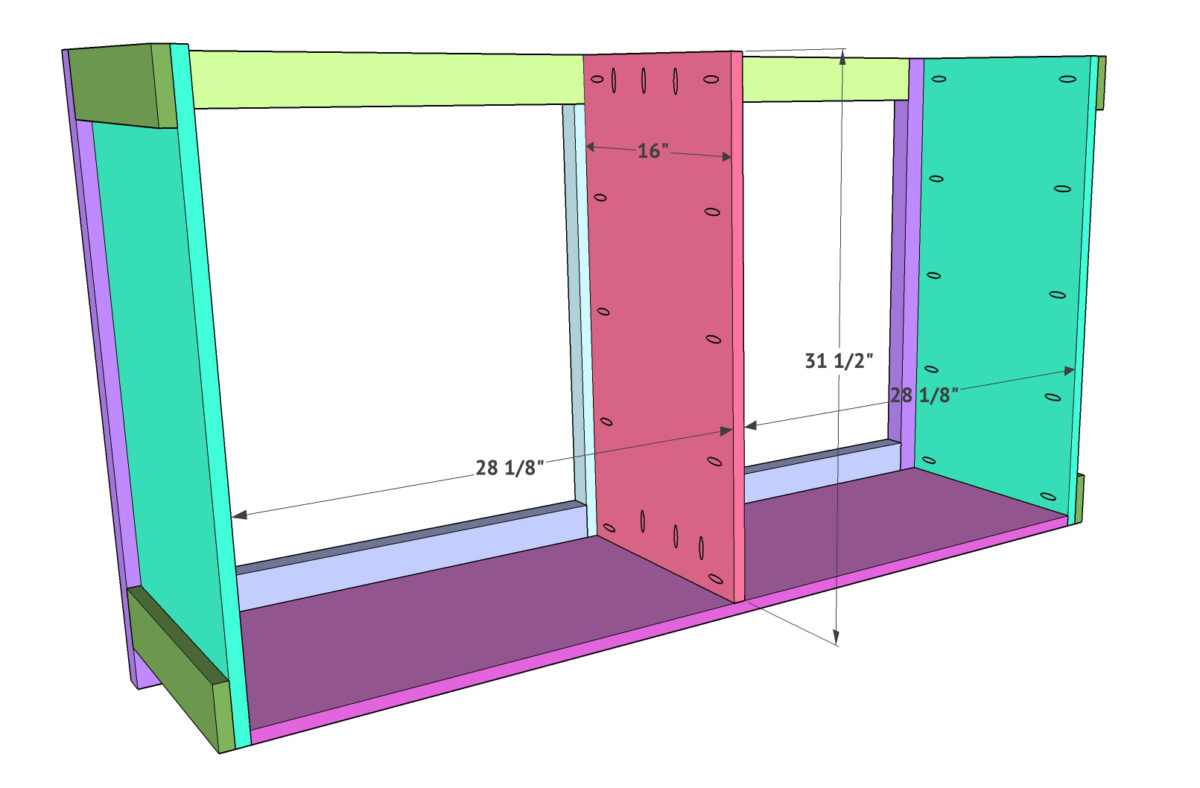
Make sure the top of the side frames are flush with the top of the back face frame. This will leave a 2.5” space below the bottom of the side frames. You will want the outside of the trim boards to be flush with the outside edge of the face frame).
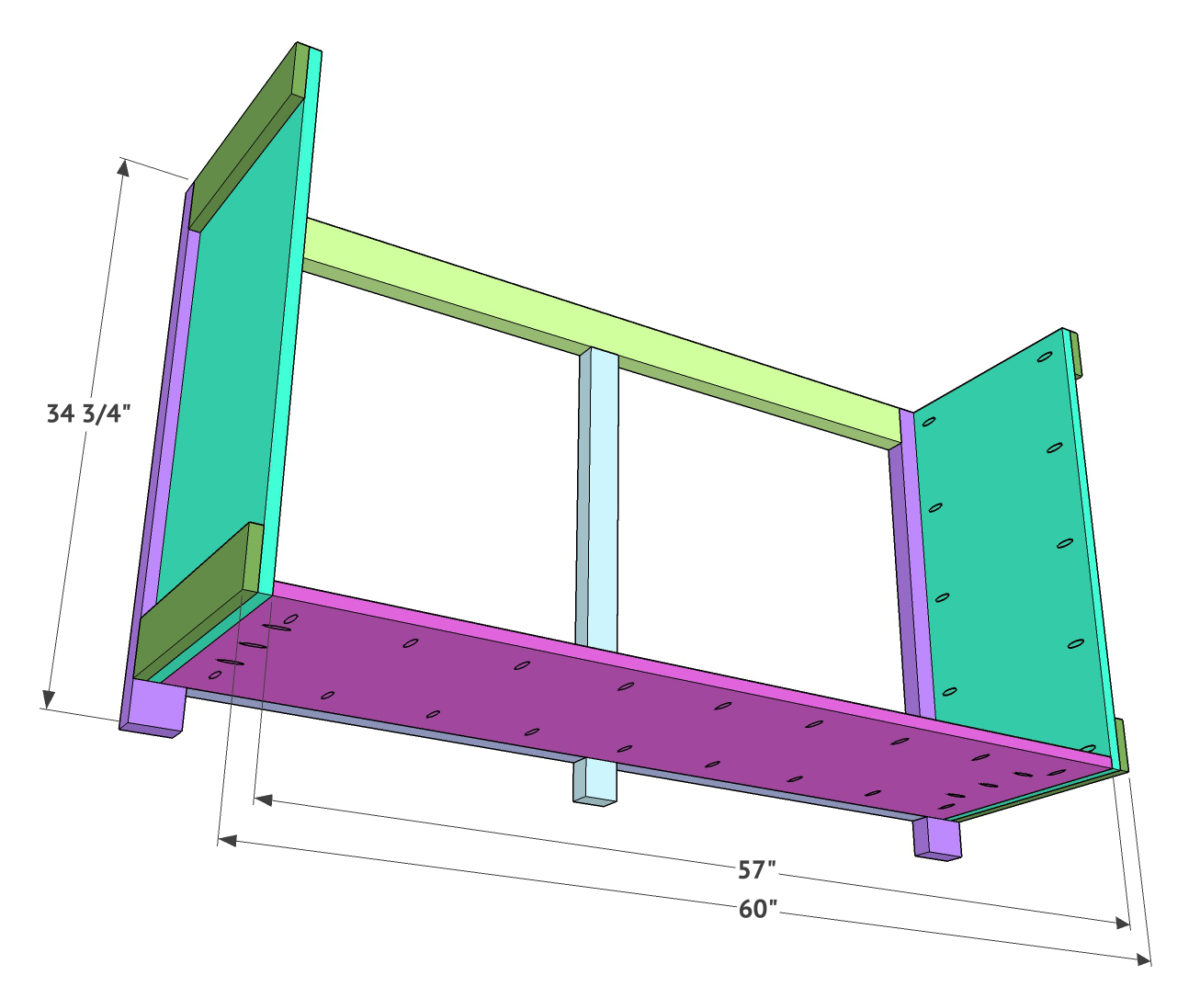
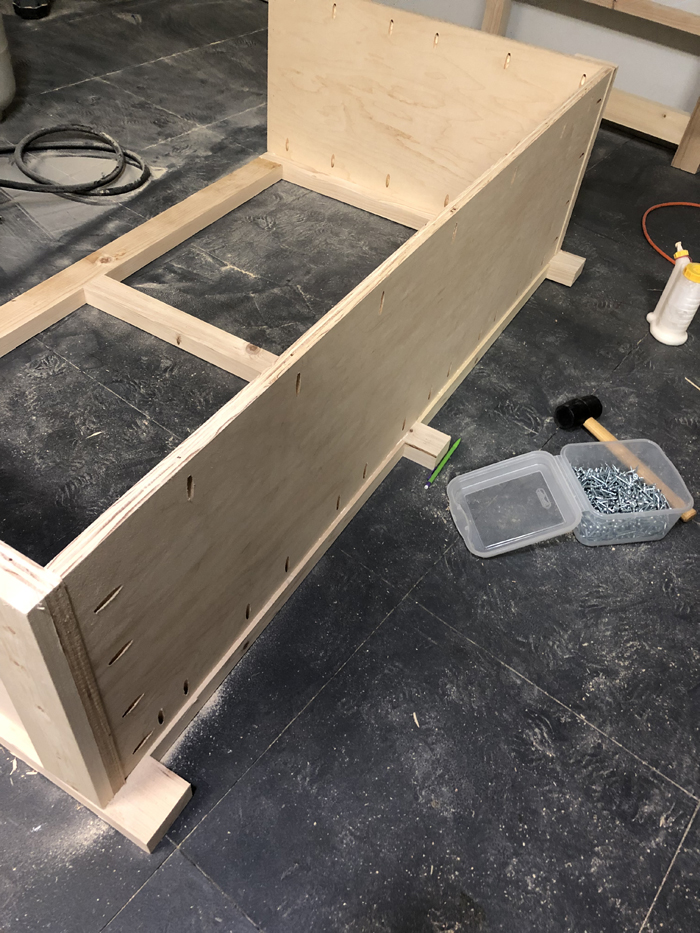
The next step is to add 3/4” pocket holes with the Kreg Jig, along all 4 sides of this piece then, attach it to the back face frame and side frames using wood glue and 1.5” pocket hole screws, the base of this dresser is also 3/4″ hardwood plywood.
Bottom of Dresser
Step 4: Attaching the Bottom of the Dresser
Middle Divider
Step 5: Middle Divider Attachment
Attach the middle divider next. This is also 3/4” hardwood plywood cut slightly shorter than the side frames. Add pocket holes down both long sides and the bottom of one side of this board. Attach it to the base of the dresser and the middle leg of the face frame using wood glue and 1.25” pocket hole screws for the bottom and 1.5” pocket hole screws for the longer sides. Don’t forget to use wood glue too!
Drawer Supports
Step 6: Drawer Slide Spacers
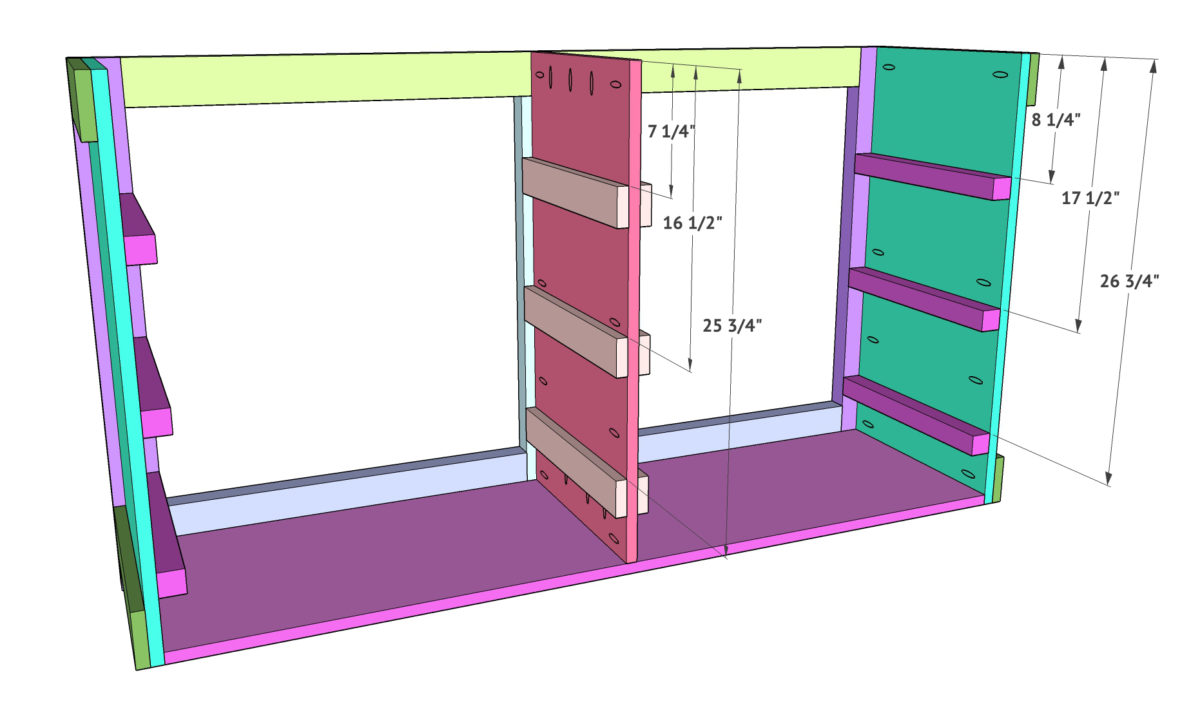
Now you can attach the boards that will support your drawer slides. The outside boards that attach to the outside face frame are 2×2 boards, and the inside boards that attach to the center divider are 1×3 boards. Now, attach the 2×2 boards using wood glue and 2” nails or screws. Attach the 1×3 boards using wood glue and 1.25” screws or brad nails.
Front Face Frame
Step 7: Attaching the Front Face Frame
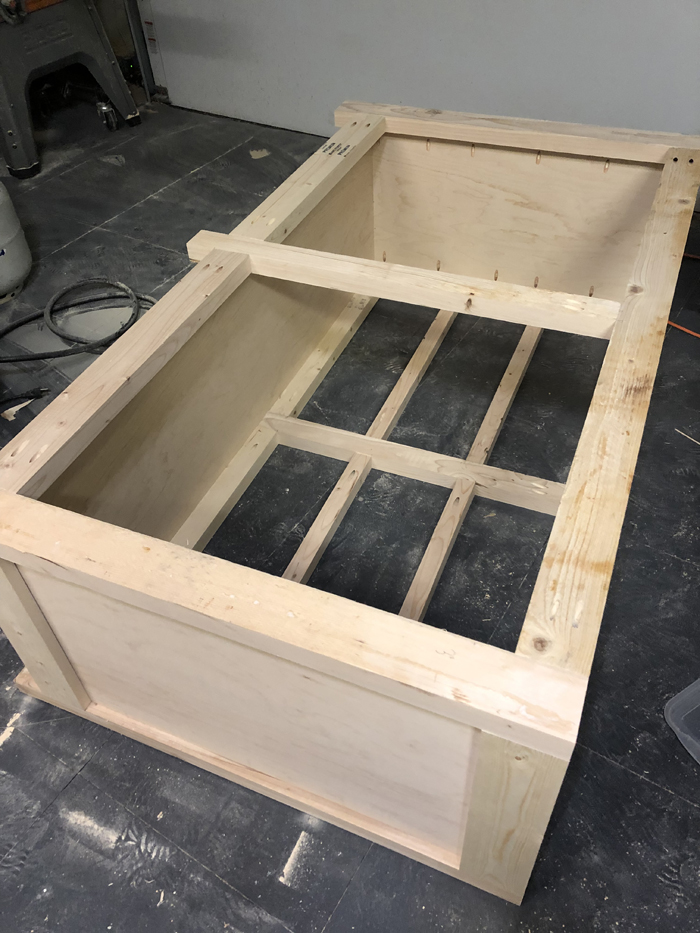
Attach the front face frame next! Use wood glue and 1.5” Kreg pocket hole screws to go through the side frames and center divider and into the face frame. Just like the back face frame, you want the outsides and top flush with the outside edges of the face frame.
Top of the Dresser
Step 8: Attaching the Top Piece to the Dresser
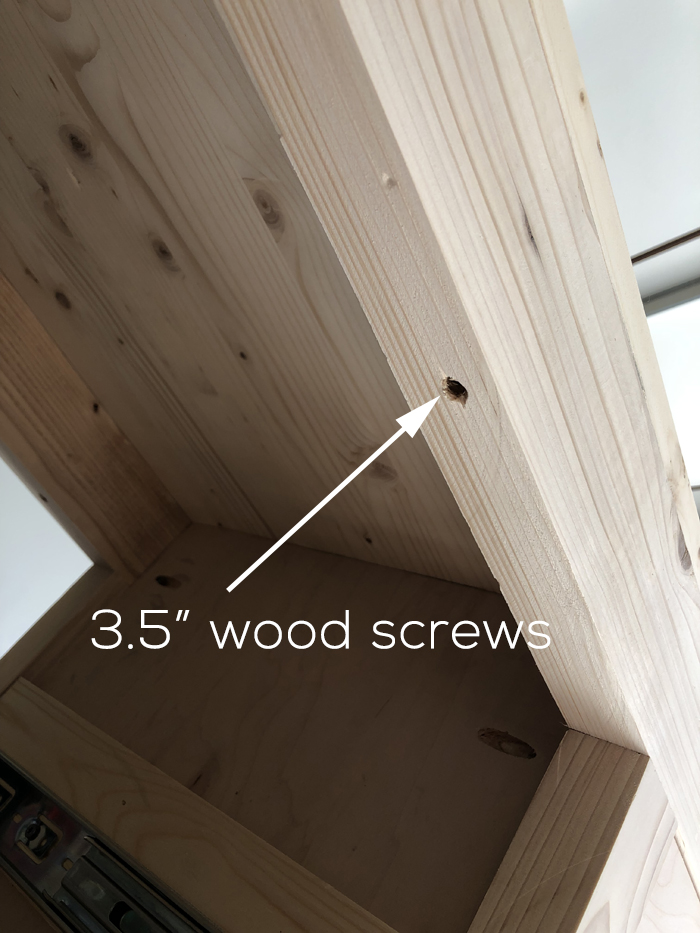
Time for the top! The top of this dresser is a pine project panel. I believe my original size was 24” x 72” and I used my table saw to cut it to size. You can also have the guys at the hardware store cut yours for you. Glue and clamp the panel to the top of the dresser and attach using 3.5” wood screws through the face frame top boards and into the panel. You can also nail the panel to the dresser base and fill the holes… Your call!
Drawers
Step 9: Assembling the Drawer Frames
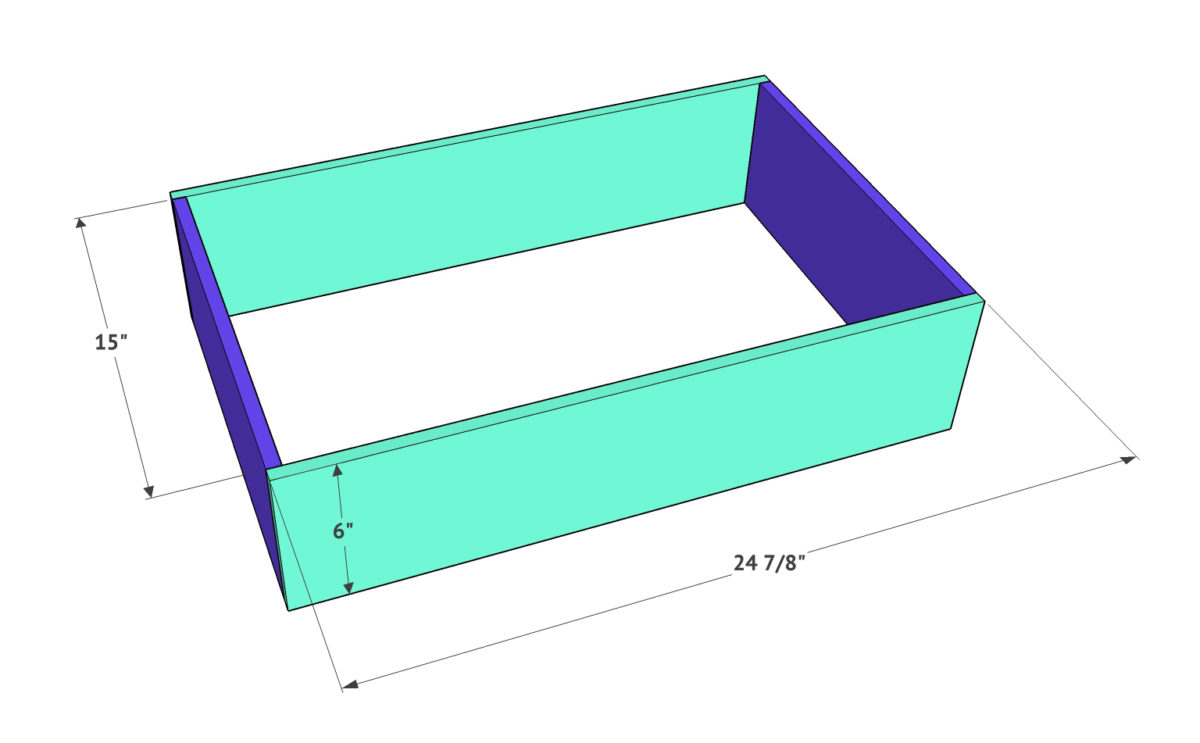
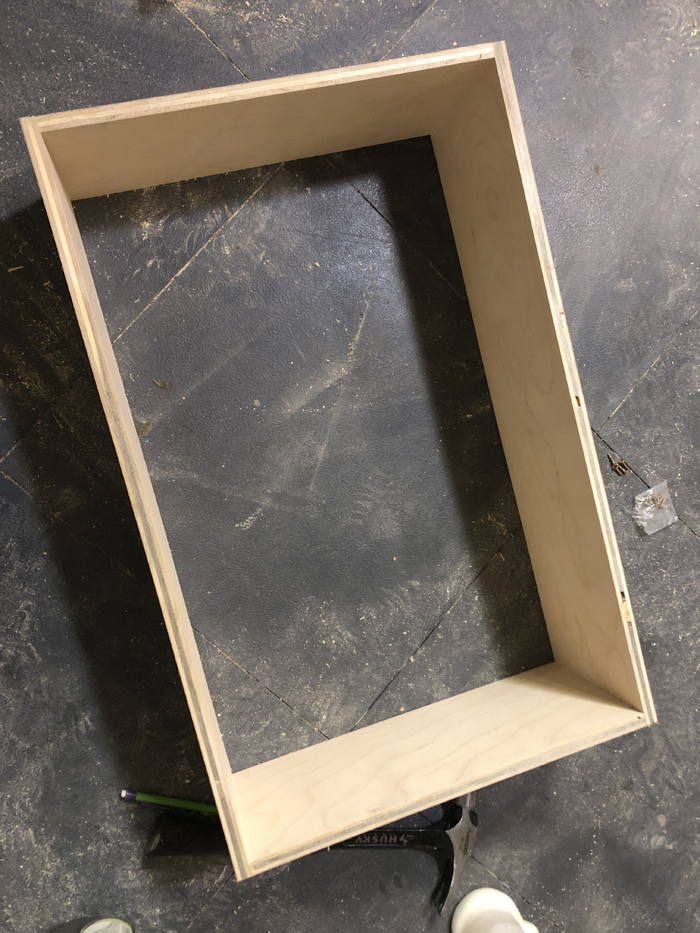
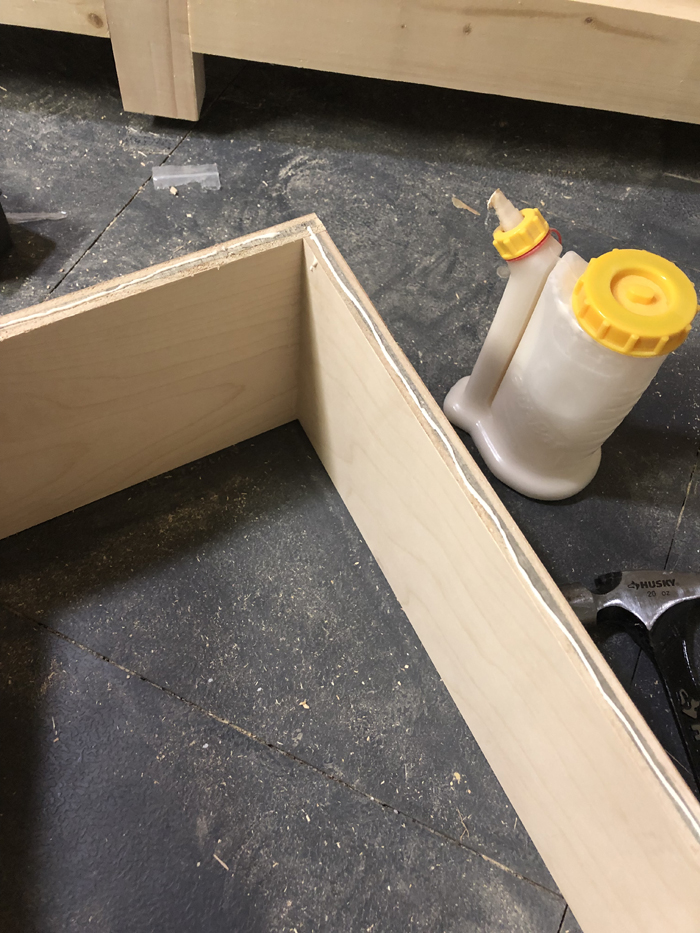
Build the drawers next. Be sure to measure each of your openings to get the best fit! The frame of these drawers are built with 1/2” hardwood plywood. Rip the plywood to 6” wide and then make your cross cuts. Attach the pieces together at the corners using wood glue and 1.25” brad nails.
Step 10: Drawer Bottom
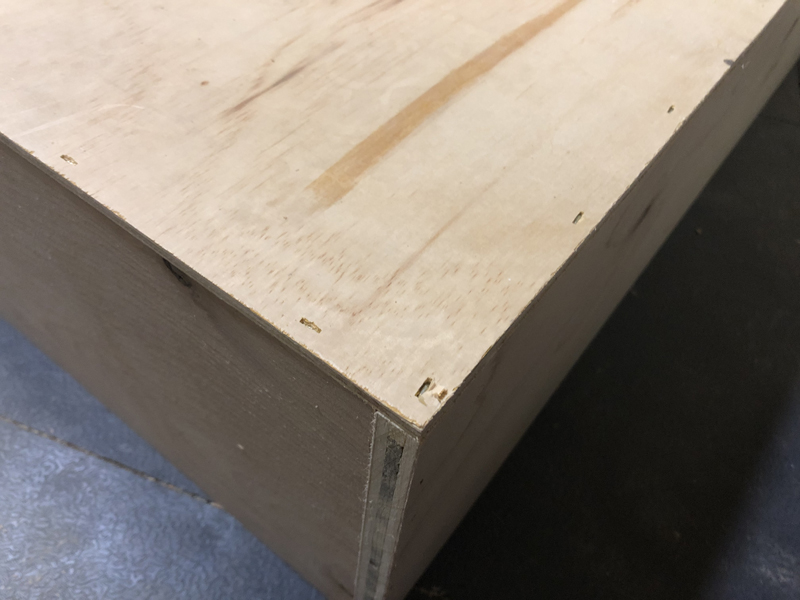
The bottom of the drawers are 1/4” hardwood plywood. Cut each to size, and then attach to the frame using wood glue and 1” staples or 1.25” brad nails. Staples are good on this part to hold that in place because it is a thinner material.
Step 11: Installing the Drawers
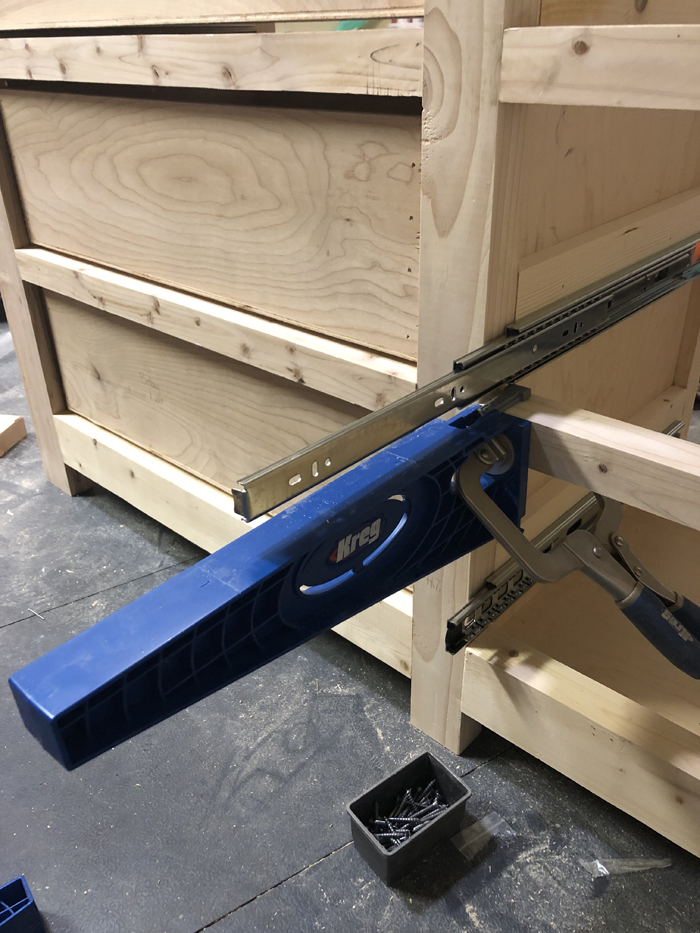
Time to attach the drawers. For this dresser I chose to use a new FAV tool. Everyone needs to buy them right now… You will thank me. You can find it HERE on Amazon or click the picture!
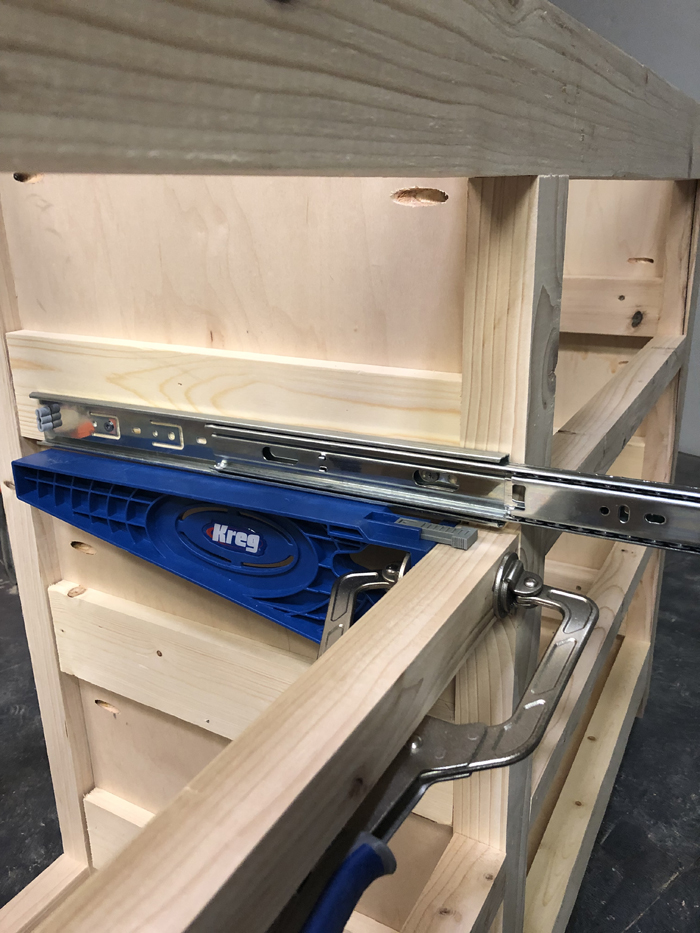
I lined the Kreg drawer slide jigs up on the inside first, then used the face frame to hold them in place and I set the drawer slide on top.
- You can see the THESE DRAWER SLIDES that I used for my dresser and I love them so much.
I lined them up 1″ from the front of the face frame and extended the slide to attach the inside piece first.
Then, I flipped the drawer jigs around and attached them facing out where they act as a surface to hold the drawer in place while you attach the extensions. Literally, genius.
I lined the front end of the drawer slide extension up 1/4″ from the front of my drawer front and attached the extension to drawer. Then, I repeated this 6 times 😉
Step 12: Drawer Faces
Finally, cut the drawer fronts. I made these plans so you are able to use 1×8 for this part, but I chose to use hardwood plywood again. I love the way that it stains and how straight the boards are to work with especially when building drawers. Cut each to size and use playing cards or other types of spacers to line each drawer up in place. I like to nail them in place from the front 2 times and then open the drawer and use screws from the inside of the drawer and into each face frame. Don’s forget to use wood glue as well!
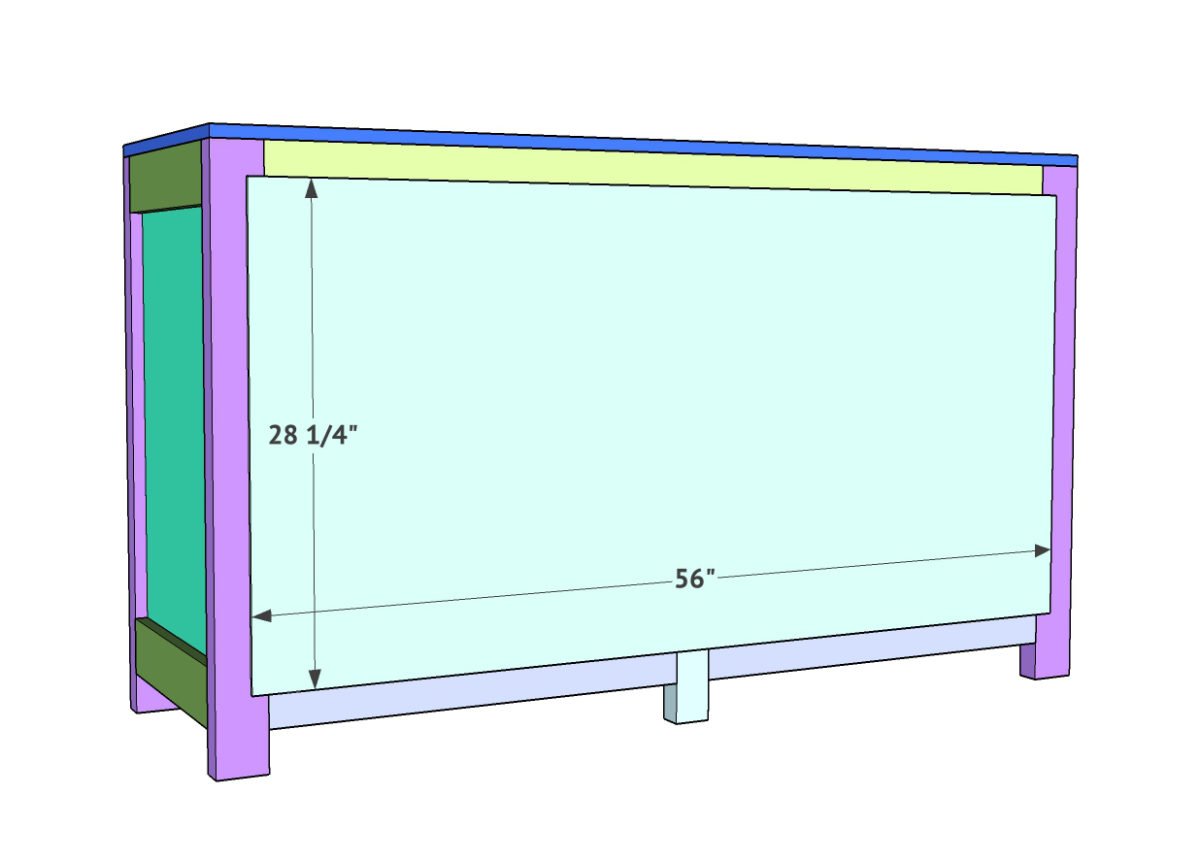
Final step is adding your back! This is just 1/4” hardwood plywood cut to size. Attach it to the back of the dresser using wood glue and 1” staples or nails.
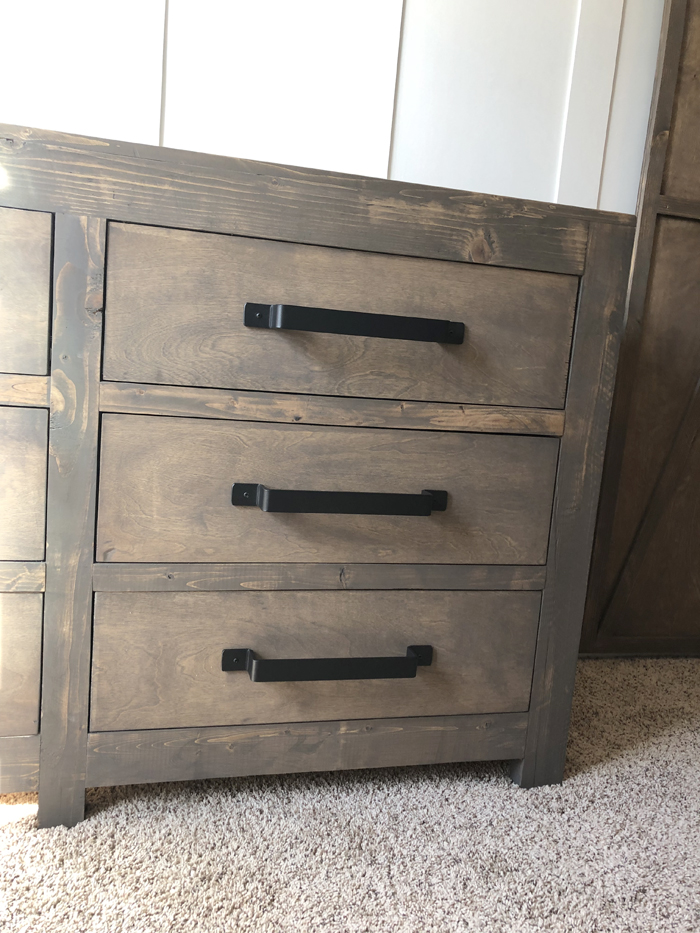
Now… Let’s talk about that hardware! How amazing are the pulls? Here they are! They are so affordable for their size and they are super strong and easy to attach. I also think they make this dresser…
I used Briarsmoke on this piece to match the other pieces I have built in their room. You can find it HERE on Amazon!
And here it is all set up in his room!
FREE PLANS!!!
Be sure to save and print the FREE PLANS BY CLICKING HERE!
Other DIY Dresser Plans!

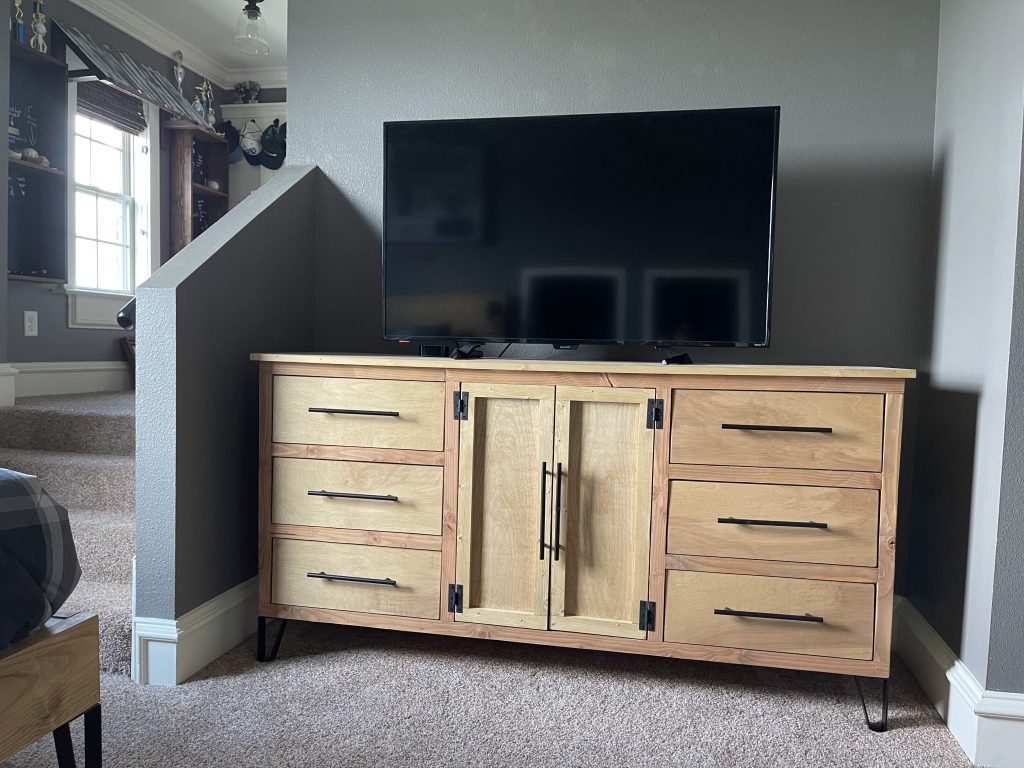
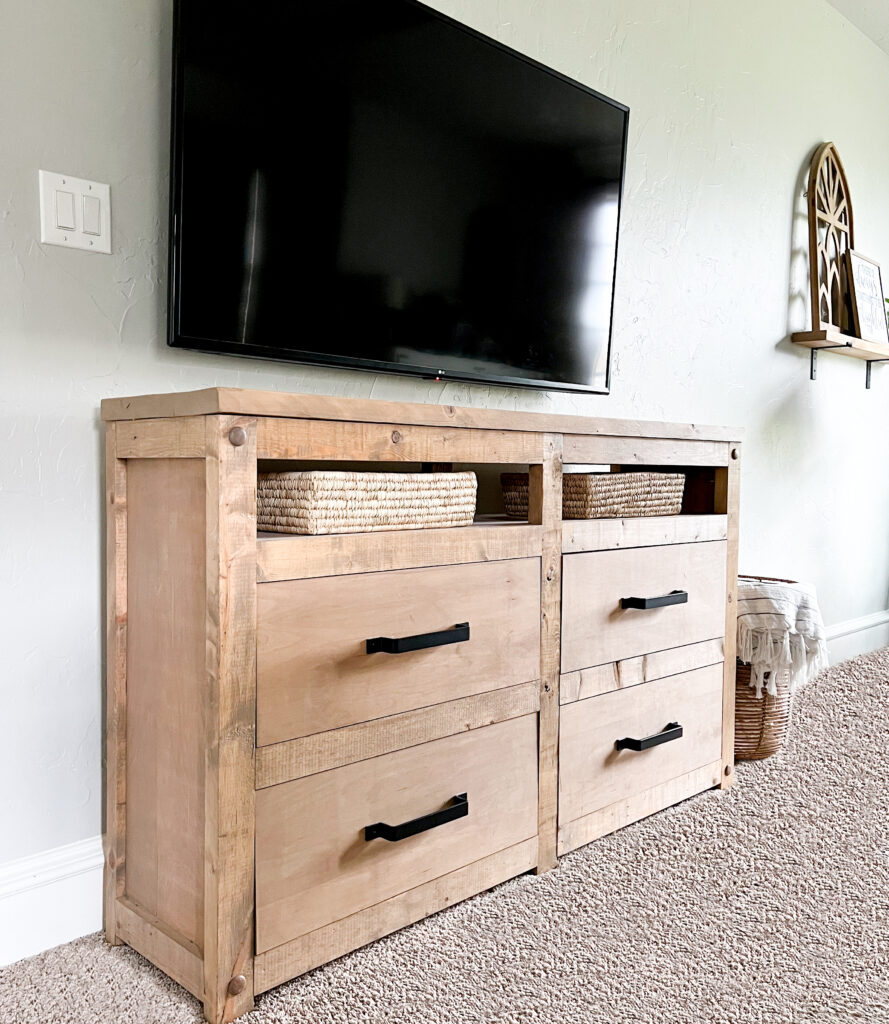







I absolutely love this DIY modern farmhouse dresser! The design is stunning and fits perfectly with my decor style. The step-by-step instructions look so clear and easy to follow. Can’t wait to give this project a try in my own home! Thanks for the inspiration!